Powered by Blogger.

More DIY Block Print Pouches

Hello,

I completed 2 more pouches using the fabric I printed last month. This time I made a medium size zipper pouch and a kindle cover. 

I used indigo processed jute fabric for the combination. I really love the fabric and have been waiting for the perfect project. 

Indigo Bell Kindle Cover

The bells are quite cute, aren't they? I think I may make more in different colors, maybe orange, yellow or green. I already have a red one, which I have not found a perfect match for it. 

Kindle Paperwhite Sleeve

I used my own Kindle Cover pattern  and added a short strap, just long enough to carry it like a purse. The kindle size is the favorite of many, because the size is perfect, for a mini cross body bag, perfect for both adults and children. 


As for the zipper pouch, this time I attached the zipper with reference to Noodle Head Tutorial. I really love the method.


I used a metal zipper. It was a bit fiddly to do the zipper, but I found an effective way to do it. I didn't take any photo, but I promise I will share in my next blog post. 

Sailing Ship Zipper Pouch 


This sailing ship pouch is a bit different than the previous large pouches. In this one, I used batting which I ordered from Tina of The Square Inch. Tina was kind enough to send me samples of the battings that are available. I chose 3 different battings. This one I used the 150 gsm polyester fleece batting and I really love the result. It's firm and gives enough cushioning so that one can keep gadgets in it. 


It's been fun and productive week for me. What about you? What have you been working on?

Until then,

Happy Sewing


Mini Zipper Pouches

Hello again,

Yesterday I spent my day cutting interfacing scraps and how! I used my regular rotary cutter and cutting 2-3 layers of woven interfacing at one go. I must admit, it took up a lot of energy!

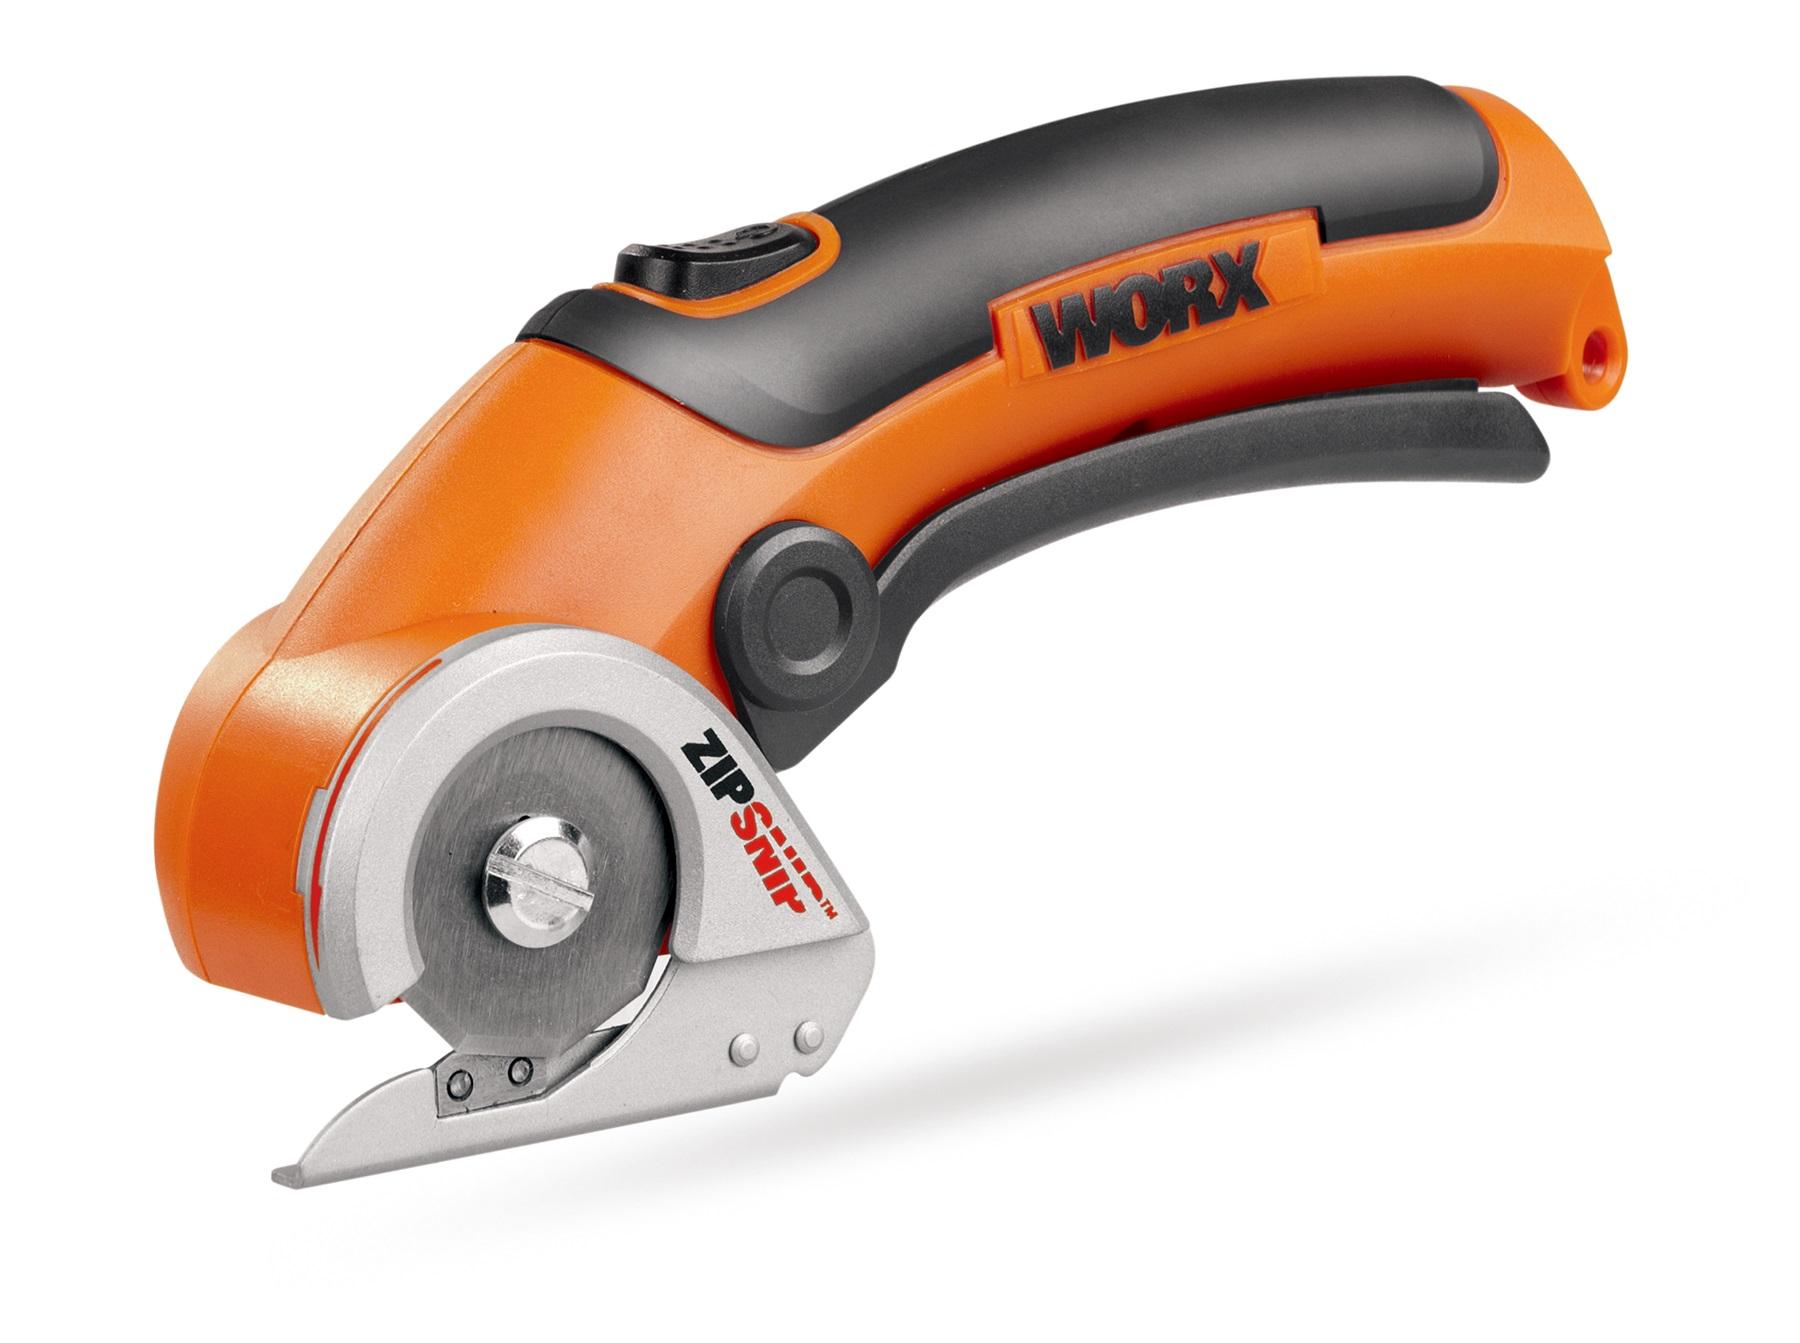
I ordered an electric cutter online last week and they said they will deliver it by 2nd of November. But at night, DH brought my electric cutter and I was so excited. Today morning I tried cutting several more interfacing, fabrics, and lining fabric. I LOVED it! I can cut 9 -10 layers of regular cotton and around 6 layers of woven interfacing at one go!! Howzzaat! 

 And out of excitement, I made these cute mini pouches today. 
 Two of the pouches are zipper tissue pouches and one coin pouch. 
You can find the mini zipper tissue pouch pattern HERE or go the Pattern Category in my blog. It's always fun to make things with cute and pretty fabrics, right?

Mickey Mouse Tissue Zipper Pouch 

I guess I made the right decision by ordering the electric cutter. It makes "batching" work so much easier. For me, cutting interfacing is the most tedious job of purse/wallet making. 


This pretty pink fabric was from my scrap bin. Last Friday I cleaned my scrap bins and threw out quite a bit, esp the smallest pieces, like the corner cuts of bags and big pouches I made earlier. I made this coin pouch using the same pattern, but without the tissue holder pieces. 

Floral Pink Card Holder

Sorting out scrap bins always feel like opening a treasure box. My DH always laughs at me, because I always end up keeping most of the scraps again, instead of throwing them out. But how can you throw a pretty fabric like this, right?


These are the Before and After Photo of my interfacing scraps. I sorted out the woven interfacing and still need to sort out the heavy interfacing ones. 

Scraps - Before
For now, I rolled them up according to the projects. Now I have enough interfacings to keep me busy for a couple of weeks. 

Scraps - After 

And here is the picture of my new toy.  

Image result for zipsnip cordless cutter amazon india
Photo is from google 

How do you do your "batching"? Do share in comments, I'd love to learn. I'm pretty bad with keeping things organized LOL. 

Until then,

Happy Sewing


and I'm featured in Handmade Monday! Yay!


Latest Fabrics

Latest Video