Powered by Blogger.
Showing posts with label 2020 Quilting. Show all posts

Scrappy Patchwork Mug Rug - Scrap Buster Project


Making patchwork mug rug is my fave scrap buster project. This time I made this super easy one using strips of fabrics from my scrap bin. It's fun and quick to make plus it's a perfect project to make if you're looking for a quick last-minute gift.

Without further ado, here's what you need: Assorted fabric 5" long fabric strips 1" to 1.5" wide Contrast or solid fabric 6" W x 8" H Backing Fabric 12" W x 10" H Batting 12" W x 10" H

Binding 1.5" Wide x Wof (40")

Let's get sewing!

1. I used narrow strips, less than 1.5" wide. They should be enough to make 8" long patchwork panel. Don't be afraid to mix and match. The narrower the better, IMO :).


2. Sew the strips together using 1/4" seam allowance. You can use those selvages scraps too. My panel here finished at 5" W x 9" H. Iron the patchwork panel flat. 


3. Now sew the patchwork panel and the solid panel right side together using 1/4" seam allowance. Now your top panel is almost ready.


4. Iron the top panel flat and trim it into 10" W x 8" H. The patchwork panel is about 4" wide after trimming.


5. Now sandwich the batting in between backing and top panel and quilt it as desired. This time I did a diagonal gridline quilting which you can watch in the video tutorial at the end of this post. 


6. Once the quilting is done, trim the quilt top into 10" W x 8" H and now it's ready for binding. Watch the video below on how to sew the binding. I cut the binding 1.5" wide for small quilts, so it won't be too bulky. 


If you want to finish the binding by machine, attach the binding on the backing first. I attached the binding on the front first because I prefer to finish the binding by hand for small quilts.


Now your scrappy mug rug is ready to use. Make a few for your family and friends! 

I hope you find the tutorial helpful! Don't forget to subscribe to my blog or YouTube channel for more tutorials. 


Thank you for stopping by, 

Take care & Happy Holidays

Elvira


Linking up to these wonderful BLOGS


Hand quilted Trivets - Moonshine and Valentine

 Here are some 9980 hours to mastering hand quilting 😃


I'm a big fan of Suzuko Koseki and I collected a few of her books. The one I particularly love and want to learn from is the Modern Quilts book. It has an interesting quilt pattern from simple to complicated ones, or at least it looks complicated to me :D. 

In these 2 mini quilts, I am using Indian Handloom fabrics in high contrast colors. I was not sure in the beginning but once done, they turned out really pretty. Sometimes, we have to try something out of our comfort zone! 


Colorful Trivet


The book only gave dimension of the block but not really gave instructions. But I supposed it was to be pieced in half circle. So I did with this teal and orange one. 

I made another one which I cut 5" square and piece quarter circle block. I don't know if this is the correct term :D. 


I called these block my Moonshine and valentine - just because it the shape remind me of the moon and I was watching C-Drama with the same title. Johnny Huang is stunning in the drama 💙! 


Hand Quilted Trivet
Mug Rug

On the back, I used glace cotton fabric in dark teal and I love the texture of the finished quilt. They turned out very soft. The trivets finished at 8" x 8" and it's just the perfect size for anything. From mug rug, doily, trivets, or even for indoor plant mat.

I am still curious about the block and plan to make more but using poplin cotton instead of handloom fabrics. Although handloom colors are gorgeous, it's a bit too stiff for circle piecing. Maybe I can do better with cotton or Bali Batiks! 


I bought this local brand needle Jyoti Needles before I did the Kantha Workshop. I was skeptical in the beginning but the shop owner didn't have Pony Needle when I went. And guess what? It turned out really good and all the needles are sharp. I always have a problem with Pony Needle for hand sewing my wallet. But this one turned out better than Pony. I may need to stock up now.


I am still doing the quilting based on the Kawandi Quilt as I really love it. I plan to make more small kawandi quilts too, but it may take a while before I finally get down to make it. I have a few UFO quilts that I want to finish. Most of them are small quilts and a few single bed quilts. 


If you want to know how I did the quilting, I uploaded a small video on my Youtube Channel. It was recorded during my first Instagram Live. You can watch it here. 


Thank you for stopping by, I hope you enjoy your visit!

Happy Sewing,

Elvira

***Linking up to these wonderful Blogs ***


Resources:

Book: Modern Quilts by Suzuko Koseki

Fabric: Handloom / Shotcotton


A finished quilt - Under the Sea Jelly Roll Race Quilt

 Finally a finished quilt!


Jelly Roll Quilt


I finished the jelly roll top early this year and it was approximately 60 x 60 inches. I made the jelly roll from Indian block print fabrics in turquoise /emerald green shades. 
I thought I'll add a white border on top and bottom to make a 60 x 80 inches quilt, but I changed my mind when I found the teal green print in my stash just enough for the border! 


Initially, I thought I will do hand quilting but I don't have to confident LOL. I am still learning to make smaller hand quilted mug rugs and coasters and to jump into making a big one will be too ambitious, I think haha! So, after finished making the quilt sandwich in the afternoon, I went ahead and quilted it in the evening. No fancy quilting, simply wavy lines about 2 inches apart in my Jack machine. I used a stitch length 4 and it turned out ok. 


On the back, I made a panel from Indian batik which I got from Tina a few years ago and I got a matching floral print from my stash. 


I am inspired by Saira's quilts on Instagram. In case you want to make backing like this, I cut the middle panel at 42" x 62" as I want approximately 10" borders all around. The floral fabric has a printed border on one side, and luckily it was long enough that I can put on the top and bottom borders. 


The quilt is a birthday gift for my younger son. He loves green and he's happy with this one. Now, the quilt will be happily used - just in time for winter. He's been using the first quilt I made years ago

the elder son is helping me with the photoshoot! 


I posted the quilt on Desi Quilters Group on Facebook and Barbara mentioned that Under the Sea would be a perfect title for this quilt! Thanks, Barbara! 


I'm glad I got one UFO quilt done and I still have 2 more big quilt tops to quilt. I hope I can finish them within this year. I picked the backing already and I got a full roll of cotton batting, so I really have to make an effort and finish them :D. 

Thank you for stopping by!

Stay creative, stay safe!

Elvira


Reopening My Etsy Shop after Vacation Mode

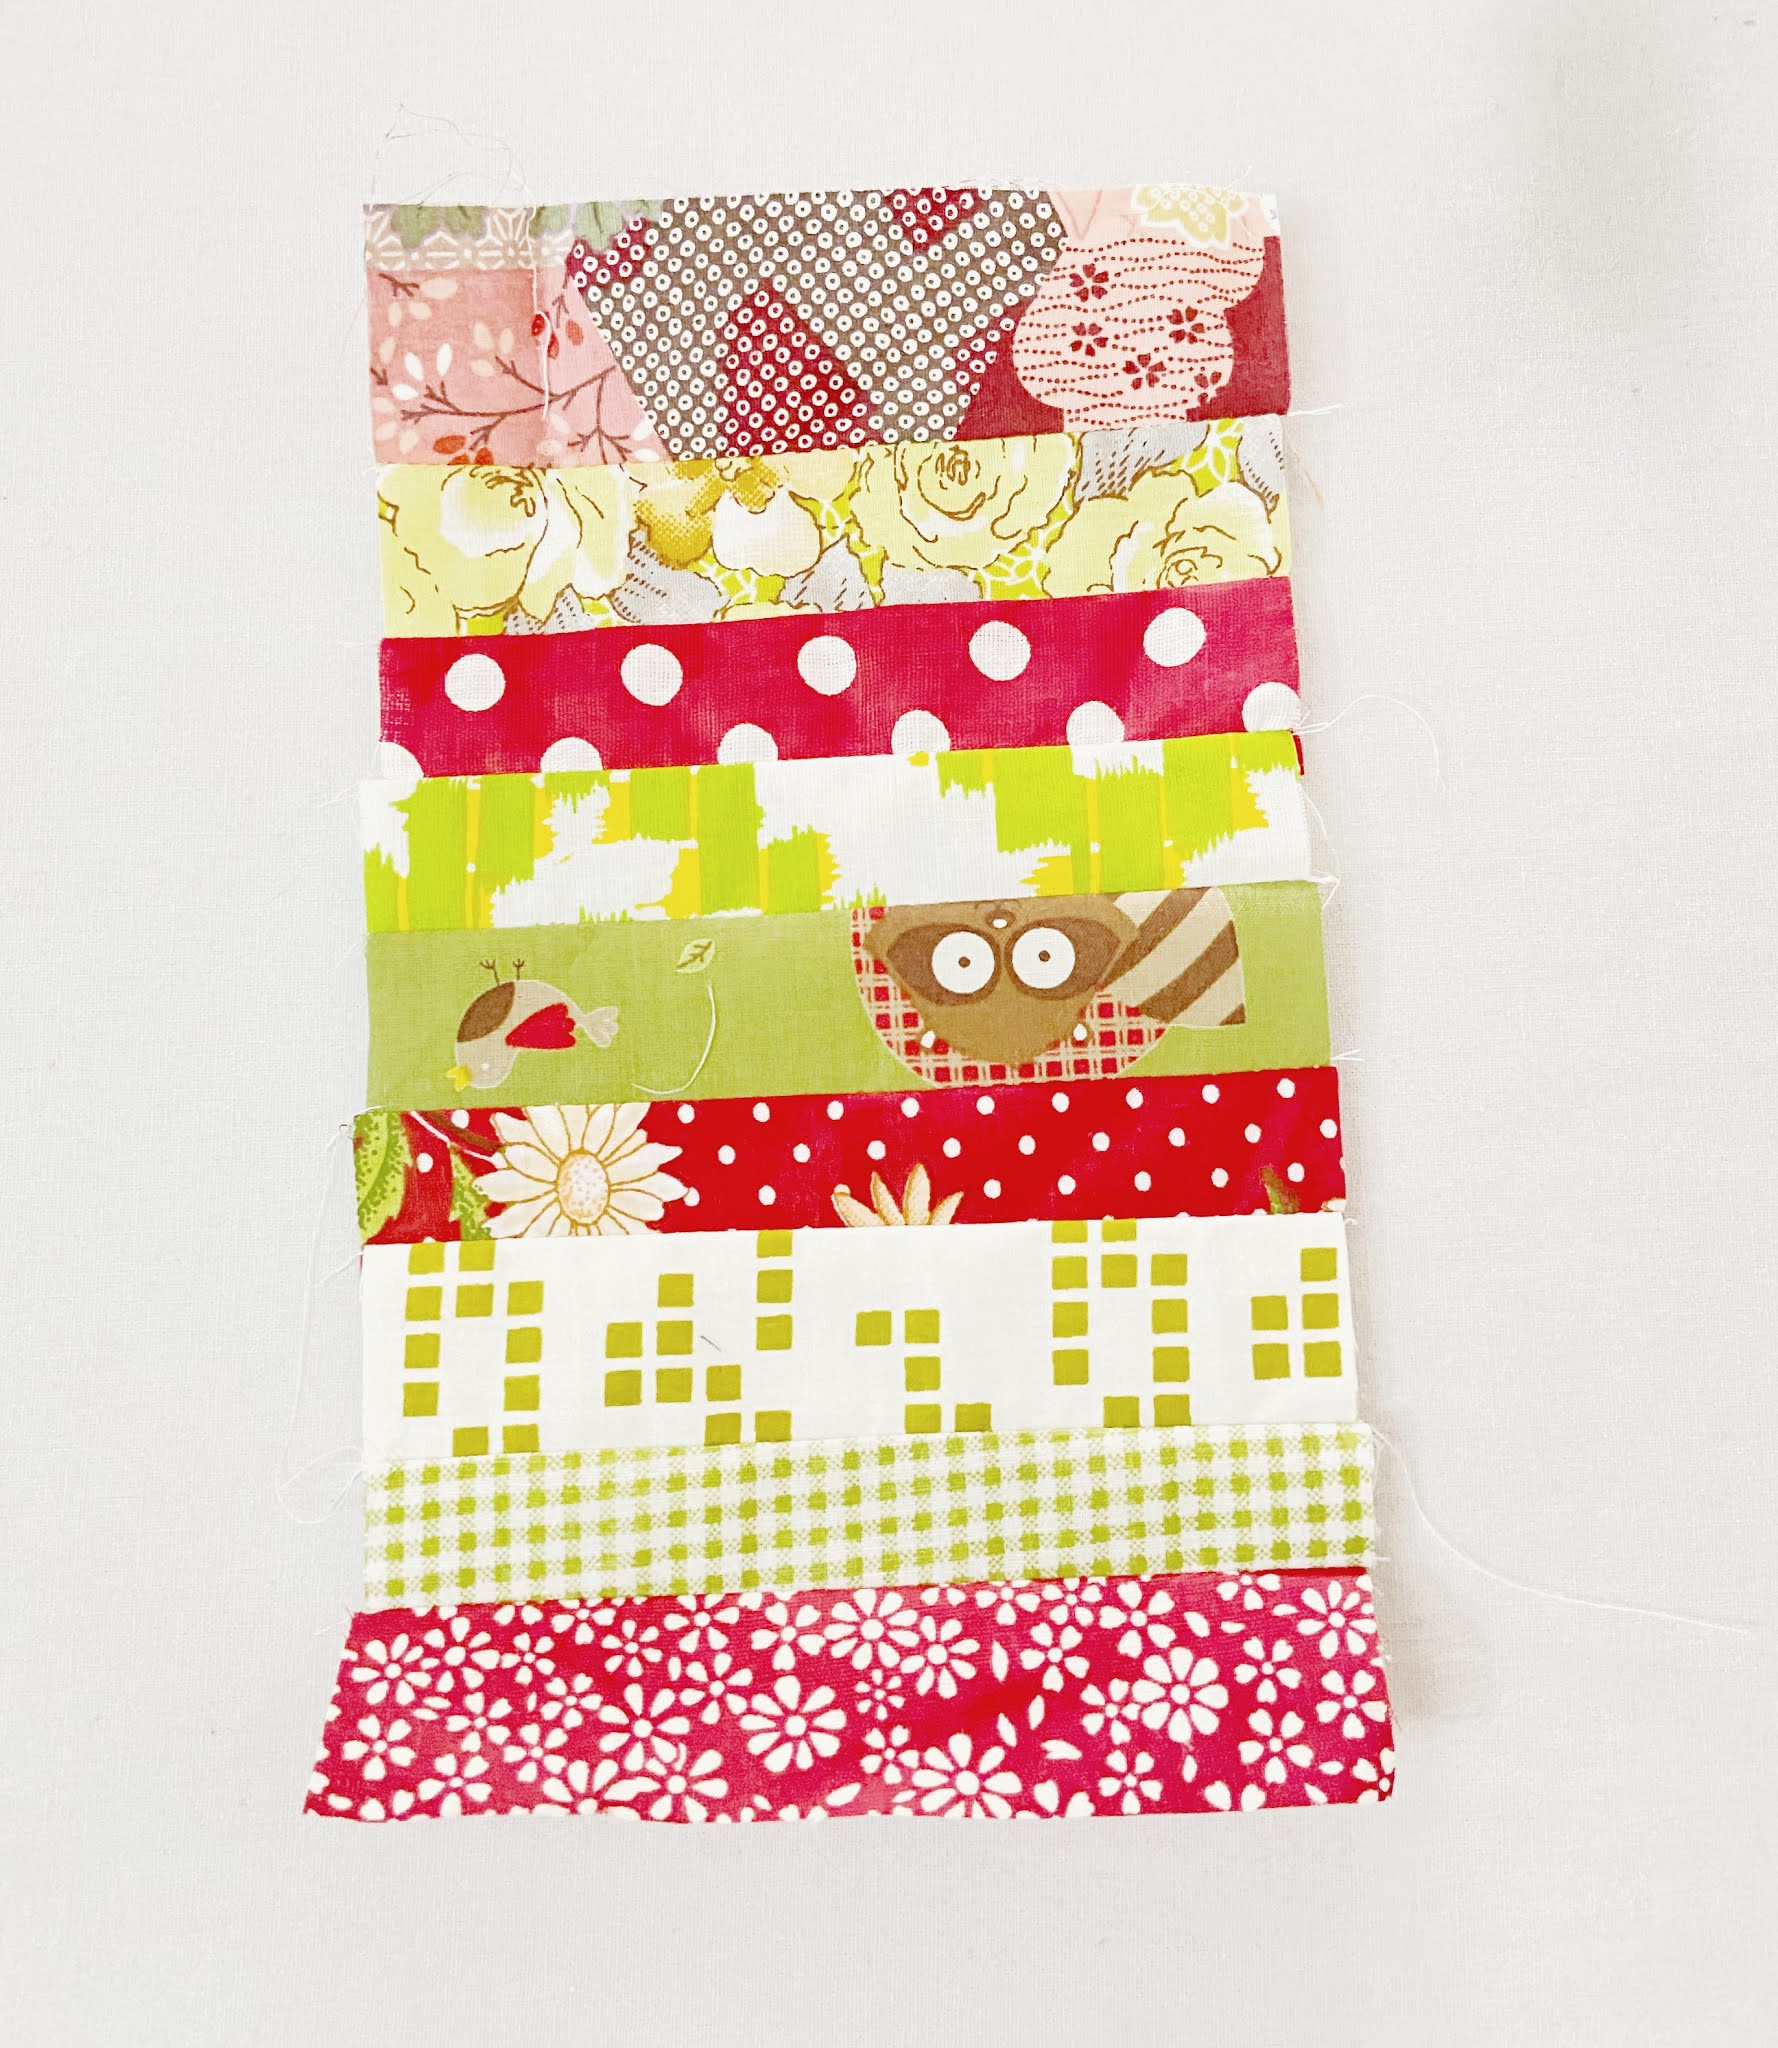
 As you know, I really enjoy making simple and small quilts. And since I took the Kawandi Quilt Workshop last month, I've been hook to hand quilting. I have many small patchworks waiting to be made into something, but always got sidetracked. Well, I always have several projects going on besides working on orders. But you know what? Working in something you love is a great mood booster. And no, you don't have to follow so and so design or style or trend. Just simply do what you're happy to do. Even if it's a simple project. 


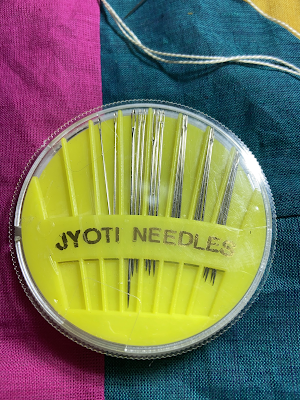
Last week I finally open my UFO/WIP bins and started working on small hand quilting projects and I am so happy with the result. In the Kawandi workshop last month, Saba told us about big stitch quilting (check out this post), which apparently trending now. I looked up about it on Pinterest and it's basically running stitch hand quilting like sashiko, Kantha, boro, and kawandi. Now, there is more than just running stitch! All those arts have a significant style and history behind it. And I'm so happy I'll be learning more about Kantha in next month's Workshop with Brinda Ma'am. so stay tuned and make sure to subscribe to my blog :D. 


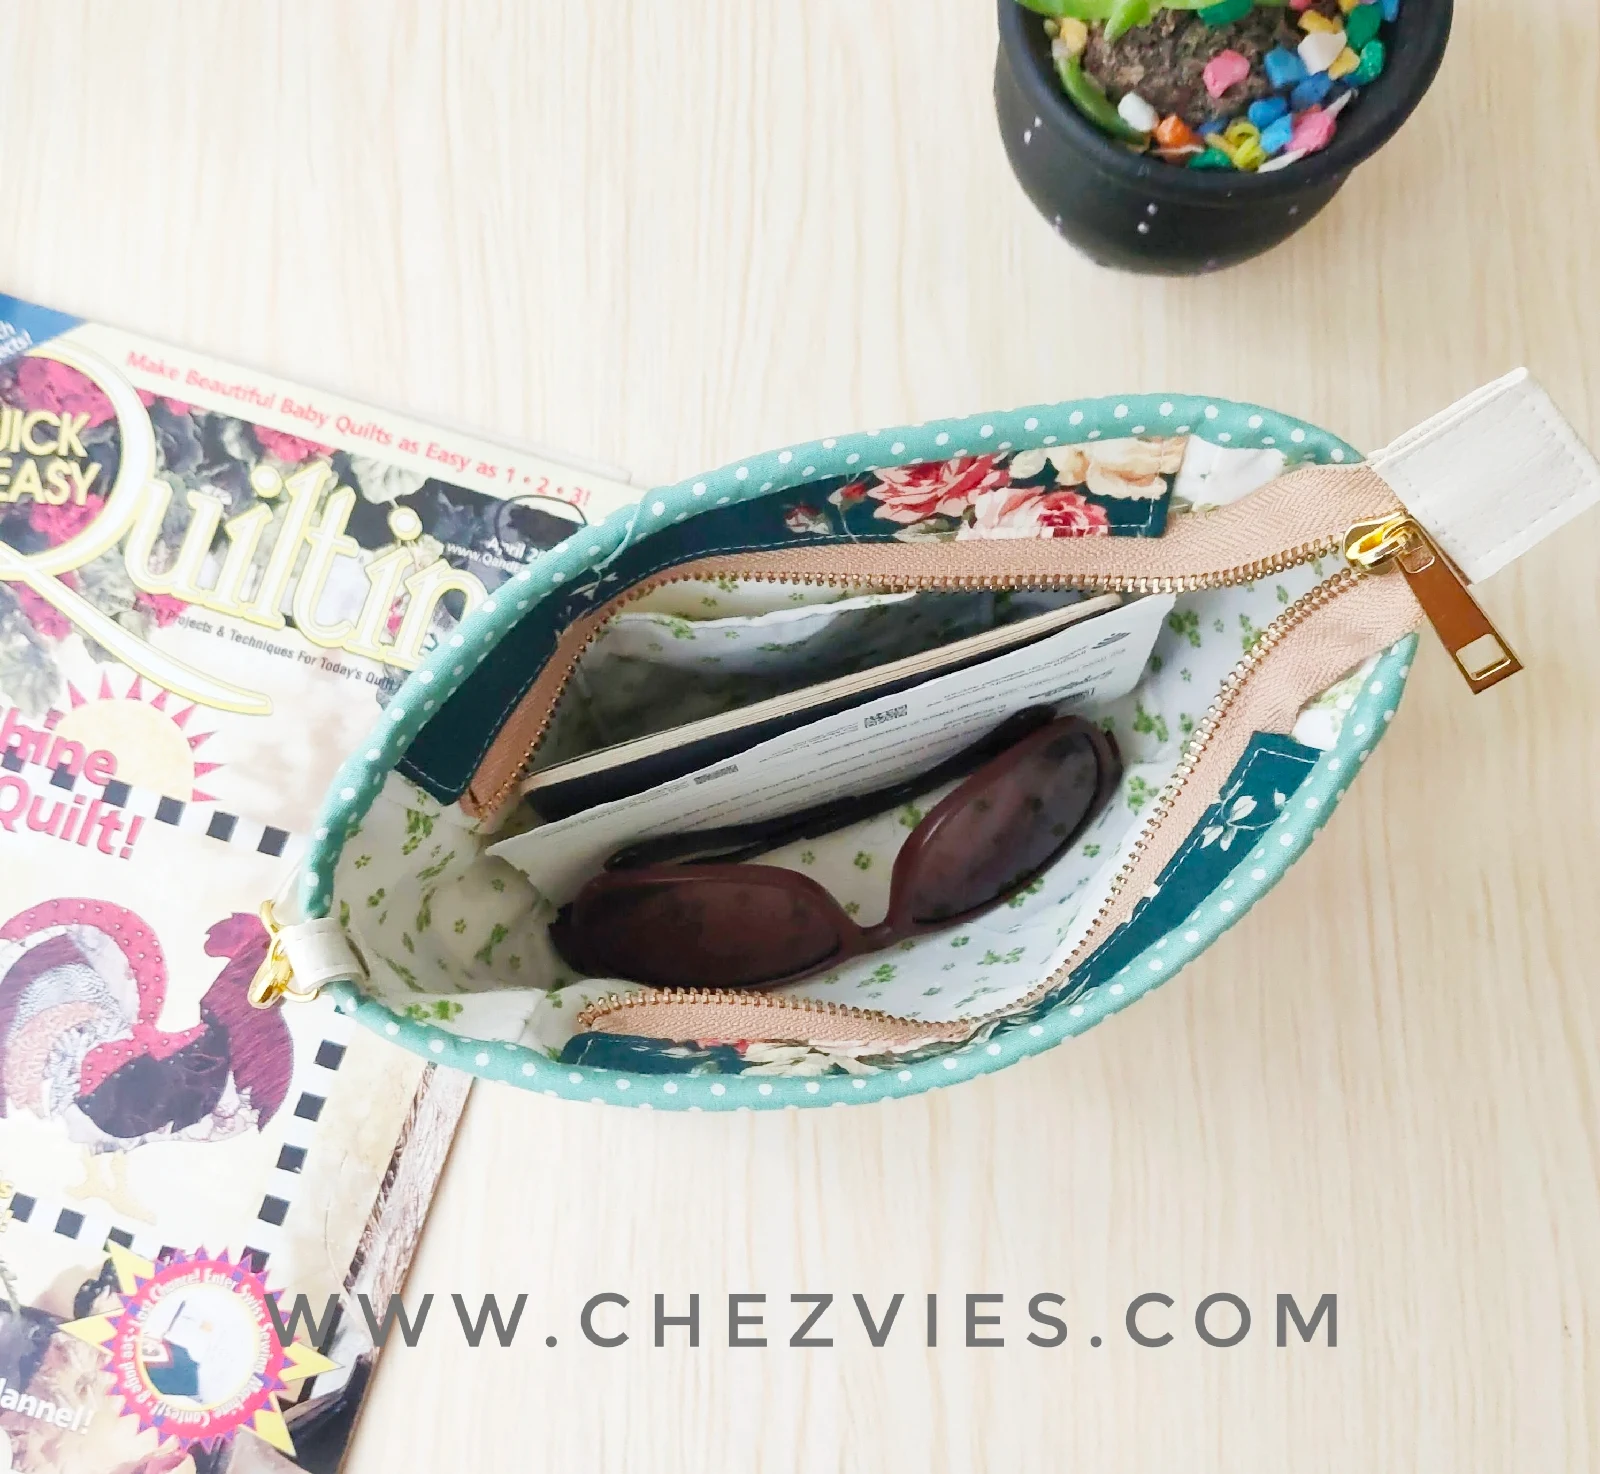
I've been procrastinating about re-opening my small quilt shop on Etsy and finally a few days ago I did it! Wish me luck and if you have a little time, do check it out and favorite the shop! Thanks!!

VISIT MY QUILT SHOP

Right now, I only listed ready to ship items. Mostly are mug rugs and coasters! I really love the rectangular coasters. I used solid color at the back, so it will have a unique design and make it reversible! 


The coasters come in a set of 2 and since the gifting season is here if you buy 3, I offer free Express Shipping (5-7 days delivery)! The offer is also valid in my Handmade Shop.


What happened during Vacation Mode? 

Well, if you also thinking of re-opening your Etsy shop after a long hiatus like me, there are a few things you have to keep in mind.

According to Etsy, here's what happened when you put your shop on Vacation Mode:

  • Your shop will still appear if someone searches for your exact shop name, but will not appear as an auto-suggestion in Search or other shopping tools.
  • Your items won’t appear in Search.
And when you re-open your shop, it's basically like starting a new shop. What I noticed tho, my products still WON'T appear in searches for at least 24 hours after I activated the shop. Well, I used to put my fabric shop and handmade shop on vacation mode when I travel for a month or two, but I always able to bounce back within a few days. 
I think it's because the shop was not active for a long period of time, and during that time many changes have happened in Etsy, and all my previous data sort of deindexed. Now, I will have to work from scratch again! How exciting is that! :D

Now, how to get your shop up and running again after a long vacation mode?

I've been reading a few blogs and articles and I'm trying out a few things right now. When I checked my stats, I still have visitors every month even though it's very minimal. The visit mostly comes from my other shops. 
Here are a few things I am doing now:
  • Edit my shop - fill up all the shop policy, announcement, about info, etc
  • Editing the listing photos. If you have stock of your previous products, you can retake the photos, editing the title, tags, and description. 
  • Adding new products at least one every day! If you have many items to list, DO NOT list them all at once. By listing one or a few products each day, your shop will get a little booster in search placement. 
  • Post shop updates every day and
  • Share it on Social Media as much as you can. Using Etsy social media updates comes with a link to your listing. It's very convenient instead of copy-paste the link from the browser.
  • If you have a blog, it's a good time to post about it too (like what I am doing now).
  • If you have a small budget to spare, you can consider using Etsy Ads, starts with a minimum amount, and increase it as needed.
I've seen an increase in views and visit since yesterday and hopefully will hear a ka-ching soon :D

If you're thinking of opening an Etsy shop, use this LINK to get 40 free listings! 

Thank you for stopping by today.
Happy Sewing!

~ Elvira


Learning Traditional Indian Kawadi Quilt


When there was Kawadi Quilt workshop a few years ago in Bangalore, I really wanted to go but couldn't. It's been on my bucket list to learn this Indian traditional quilt. 
When Brinda Ma'am from Moments of Quiet announced on Desi Quilters Group on Facebook that she will have another workshop, I quickly registered. And I am glad I did.

 I already learned so much during the first lesson. The story and the wisdom behind Kawadi Quilt, also what set it apart from the other form of quilts in India. Kawadi or Kawandi is originated from Siddi tribe in North Karnataka. Apparently, every tribe has a different unique design. 

We are given a list of materials we have to gather. Preferably old muslin saree or muslin dupatta. I have this pink muslin dupatta which I don't use and it's just perfect. 
Also, we have to provide some kind of saree borders. I decide to use this fancy one. Though traditionally they are using saree border. 

My stitches are not even as yet but I thoroughly enjoyed this! I finished sewing 3 lines running stitches around the border and looking forward to the next class where we will add more fabrics and special design! 

Check out the Moments of Quiet Facebook Page if you want to know more information about the next class. Choosing fabric was fun, cos I have lots of Indian mulmul/muslin scraps and pre-cuts

In the second class, we learned to add patches to the border and also make a special design. The special design is quite tricky for first-timer, I had to rip it several times before I managed to do a decent one. These special designs or motifs symbolizes everyday life like Kites, Angan (Courtyard), and temples. The Kawadi quilt also always has 4 flowers at the corners. This a must-have. Without the flowers, the quilt will look incomplete. 


As for the quilting, it is done by doing running stitches from the outside border going around towards the inside. We don't use any measuring tape or ruler, instead, we learn to measure using our fingers. The space between stitch lines is usually 1 finger apart and you can use any fingers. 


Another unique thing is we should "feed" the quilt before we finish with a few grains of rice. The wisdom behind it is that the quilt must be nurtured, and that is by feeding the quilt so that it will last for along time.


While doing Kawadi, I learned that I should only focus on the patch and stitches that I am working on, don't worry about how it will turn out cos this is supposed to be organic. When we reach the end of one patch, we simply pick up another one, fold and cover the raw edges and move on. We don't need a design wall. The result will always be a surprise. It reflexes who you are and how you feel at the time you make the quilt. It's liberating! 


Most of us finished our quilts before the last class. So on the 3rd meet, Brinda Ma'am told us more history about it and we kinda have a show and tell what quilt we're working on. You can check her experience when she did a residential workshop with Nirmala Akka
Check out these few quilts from Nirmala Akka that Brinda Maam shared with us. You can also see her Kawadi Quilts  on her BLOG.


It was a really lovely workshop and I'm looking forward to more! We need to learn this ancient art and preserve the authenticity of this art. 

I'm looking forward to making more of kawadi quilts. I really enjoyed the freedom and the hand quilting process. 

Update: This post is featured on Handmade Monday! Thank you Julie!!

Thank you for stopping by!

Stay safe & happy sewing!
Elvira

Chevron Quilted Purse

India

There are a lot of things happened at the end of 2019 around the time when the new pattern Dotty Mini Purse was released. At the time our State was put under curfew for a few weeks with internet ban. I made several things during that time. I even edit it but somehow didn't get posted here on the
Blog.  Well, I guess no internet makes us more productive because we don't have the urge to keep checking our Facebook and Instagram. But this purse happened just before the internet was banned. I was searching for fabric bundles for a makeup bag that Achumi wanted me to make [I'll write that in the next post]. I took out several Quilt Gate bundles which I picked up from Tokyo Quilt Festival in January 2019 (or was it 2018?).

Anyway, I  so wanted to make another Dotty Purse after looking at everyone's photos but wanted to try using a different patchwork block. After browsing through books and magazines (yes real one and not Pinterest!), I settled for chevron block. I used 1.5" strip here and made the block based on Seminole strip piecing. 


I've done this Seminole piecing for the border in THIS QUILT and I really enjoyed piecing the small pieces.  I only did the patchwork for the main panel. I used a bigger print from the bundle for the side panels and love this turned out!! 


Dotty Purse Pattern on Etsy

This purse is really compact but you can fit in quite a lot of stuff there. I also made my own handle using off white vinyl. there was a lot of try and error. The vinyl was leftover from my elder son's project a few years ago. I don't want a stiff handle and since the vinyl is quite soft I tried to add interfacing by iron it on the wrong side using silk setting. It stuck quite well. I cut 2 strips of vinyl ( 0.75" wide by 17" H) and simply sewed them together, then attached the swivel hook on both ends and finished it with rivets! And Tada! my DIY Vinyl bag handle!


Well, that's all the story behind this purse. I am tempted to make more now but I still have few masks and scrubs hats to make. I could not sew for a few days because I got this pain again in my neck and spread to the hand. After 2 days of stretching exercise, I feel much better but I keep taking a break every few minutes.  I really have to start exercise regularly again after Ramzan is over! 

Now lockdown part 4 is going on and our state has few cases every day. Let's pray that the world will heal fast, in the meantime, let's do our best to stay home! Explore your hidden talent so that you won't be bored ^^. 


Take Care & Stay Healthy!


Elvira

Latest Video