Hello,
Finally, the video for making patchwork drawstring bag is up on my YouTube Channel. I just recently realized that I have not make a proper video tutorial for this bag.
I made and sold a few bags in the past and I always wanted to make more. I have one bag that I always carry whenever I go out. Although it's small but it's pretty spacious to store my basic makeups, and other necessary items. And sometimes, I can just carry it when I run an errand.


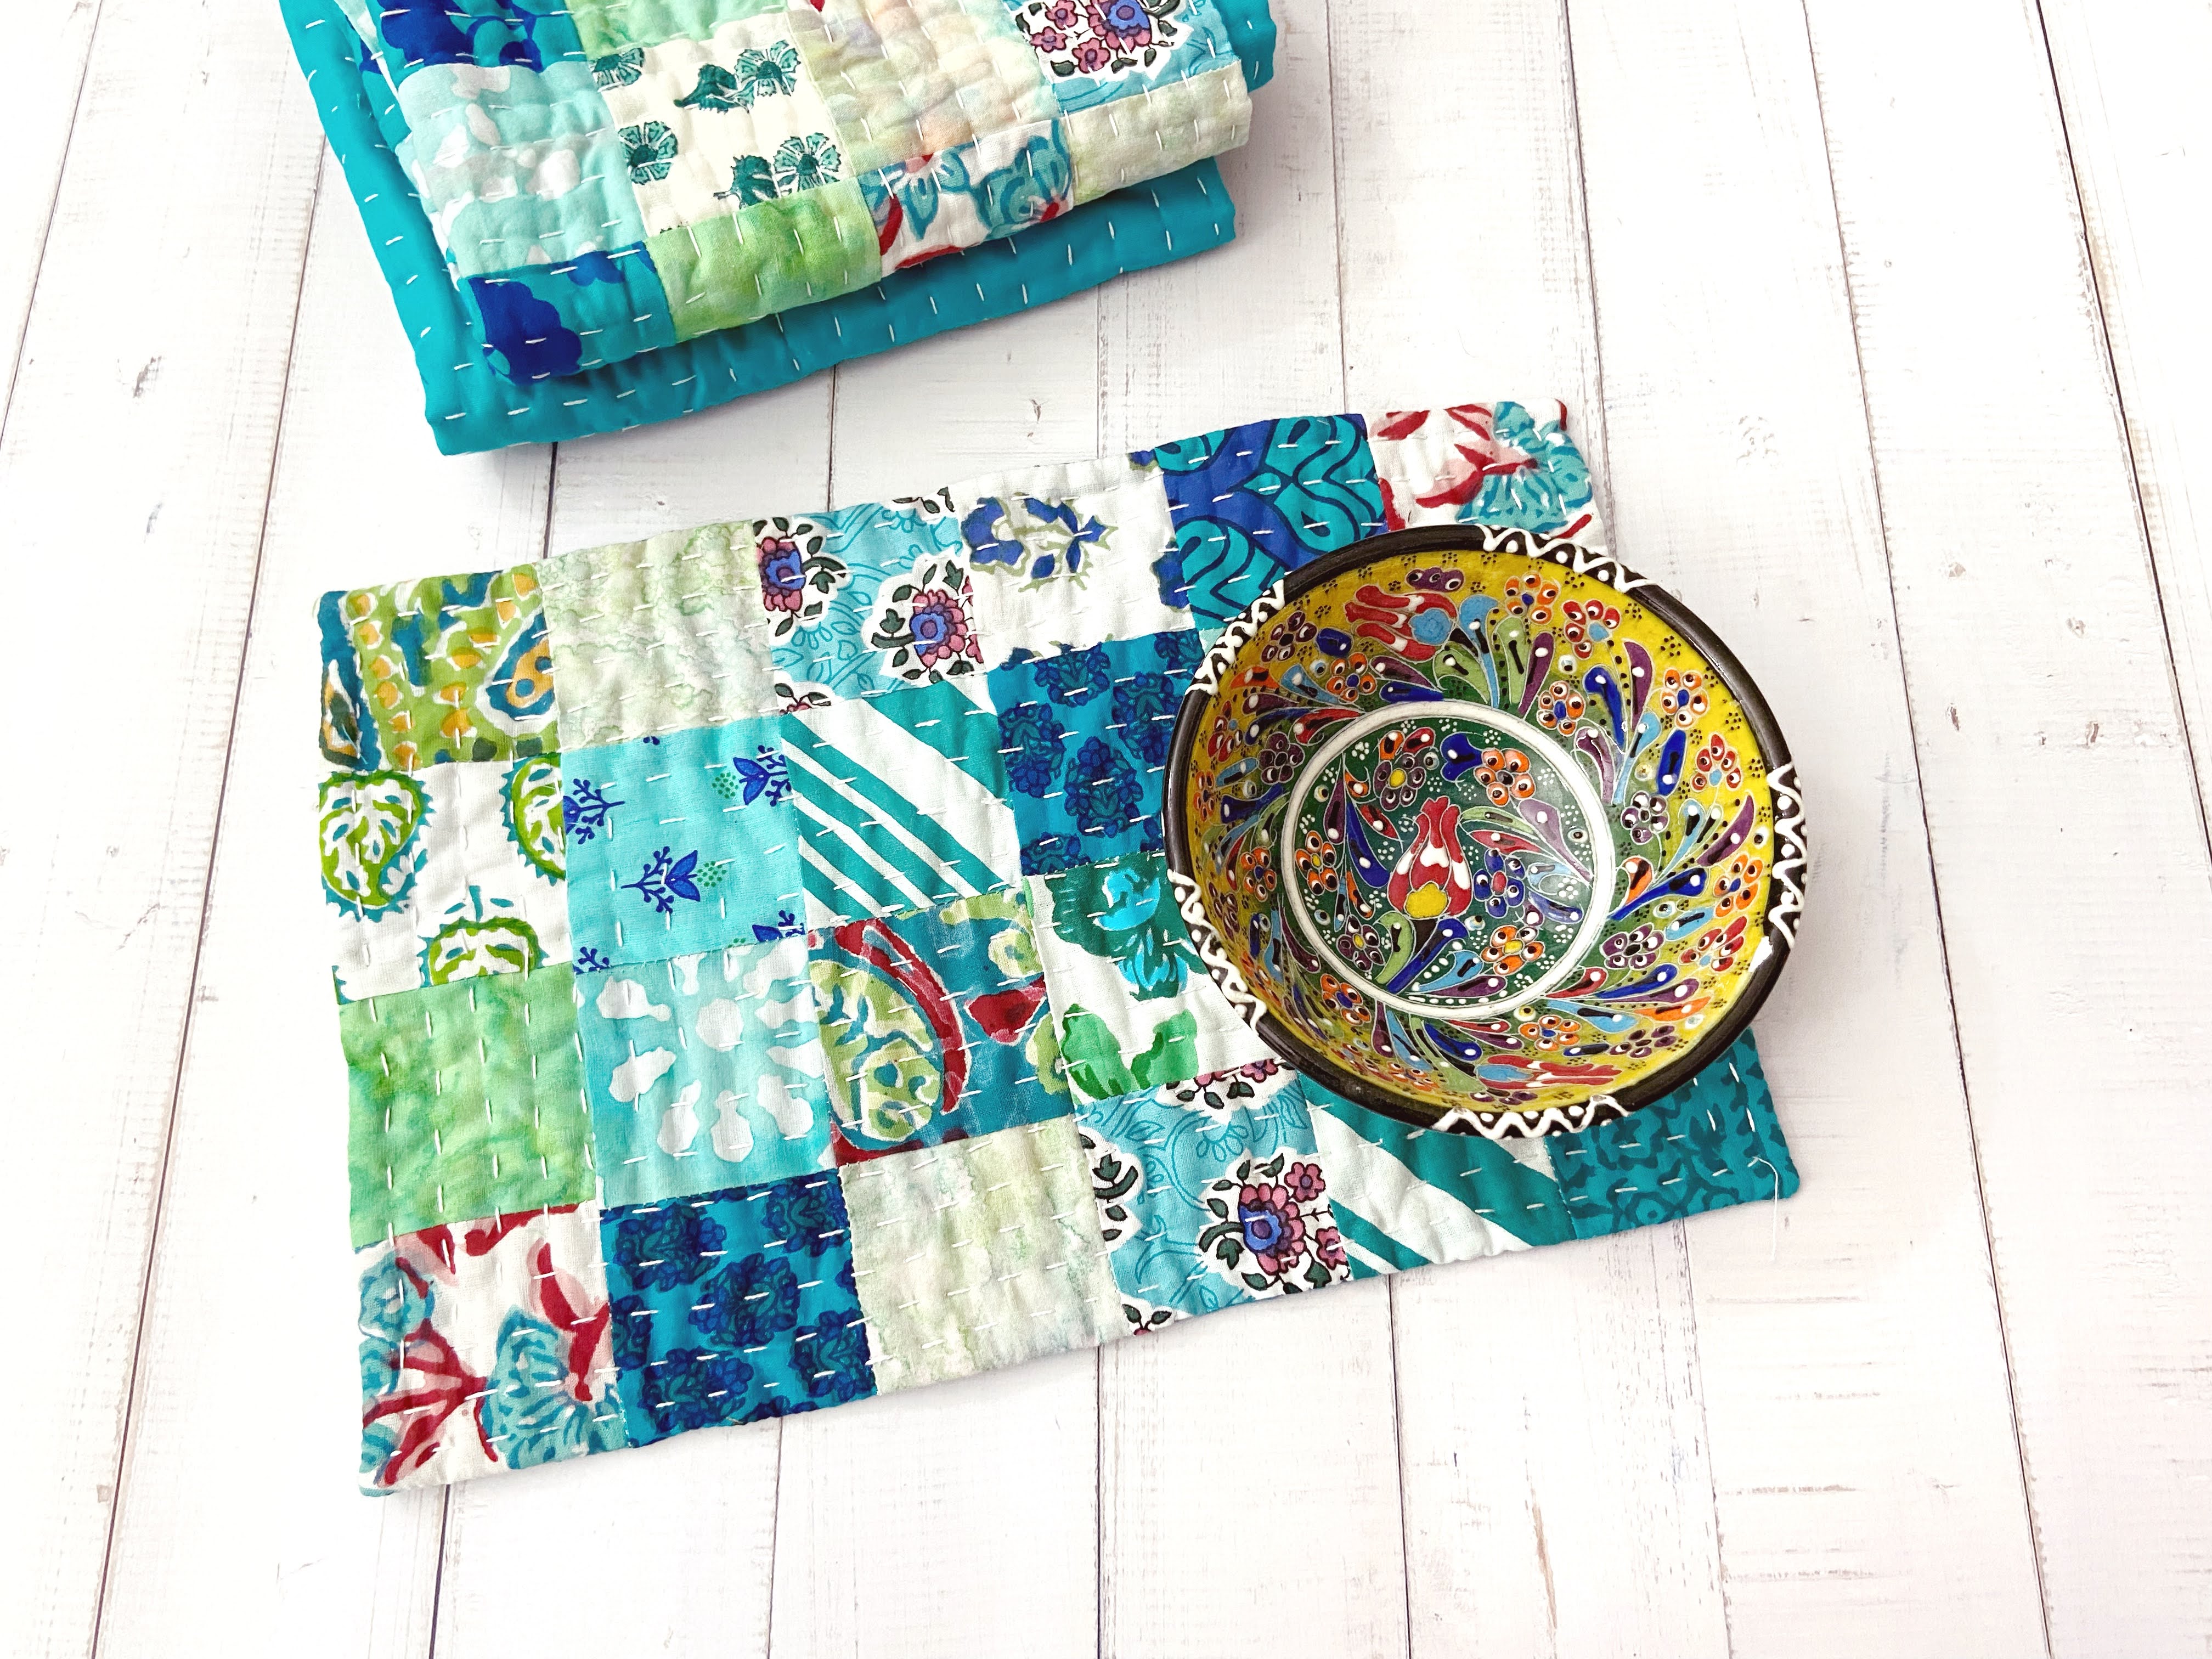
After reading Viridan's Blog I was so inspired and decided to sort out my 2.5" scrap bins (I have 2 bins!). Then I found a few 16 patches I made in the past. I am not sure if I wrote about it in this blog, but that got me inspired. The plan was to make scrappy 16 patch every week, but somehow it stopped. I made around 9 blocks and this year Insha Allah I plan to continue.
I managed to sort it out by color. I kinda like this bins with divider. It's just perfect for the small scraps!

 |
| Here some blocks I made in the past |
Finding UFO blocks in your PHD bags is like finding a new treasures and got me excited that I want to complete something small. I was thinking to make placemats or mug rugs, you know something quick, also I want to make video tutorial for my channel. So I decided to make drawstring bag. Well, I ended up making 6 bags!! But instead of using that 16 patches I have already made, I decided to make from scratch, because I want more color-coordinated scraps!


I also edited the tutorial that I wrote for this bag to make it clearer and added tutorial how to make boxed bottom/square bottom bag. It's easy, fun quick projects to make one afternoon and with small pieces, the bags looks really nice! Here are some more photos I took!


If you prefer watching video, here's the video tutorial:
That's all for today. I am so excited to make more happy scrappy stuff this year! What about you? What are you sewing this week?
Thank you so much for stopping by!
Happy Sewing,
Elvira