


Hello,
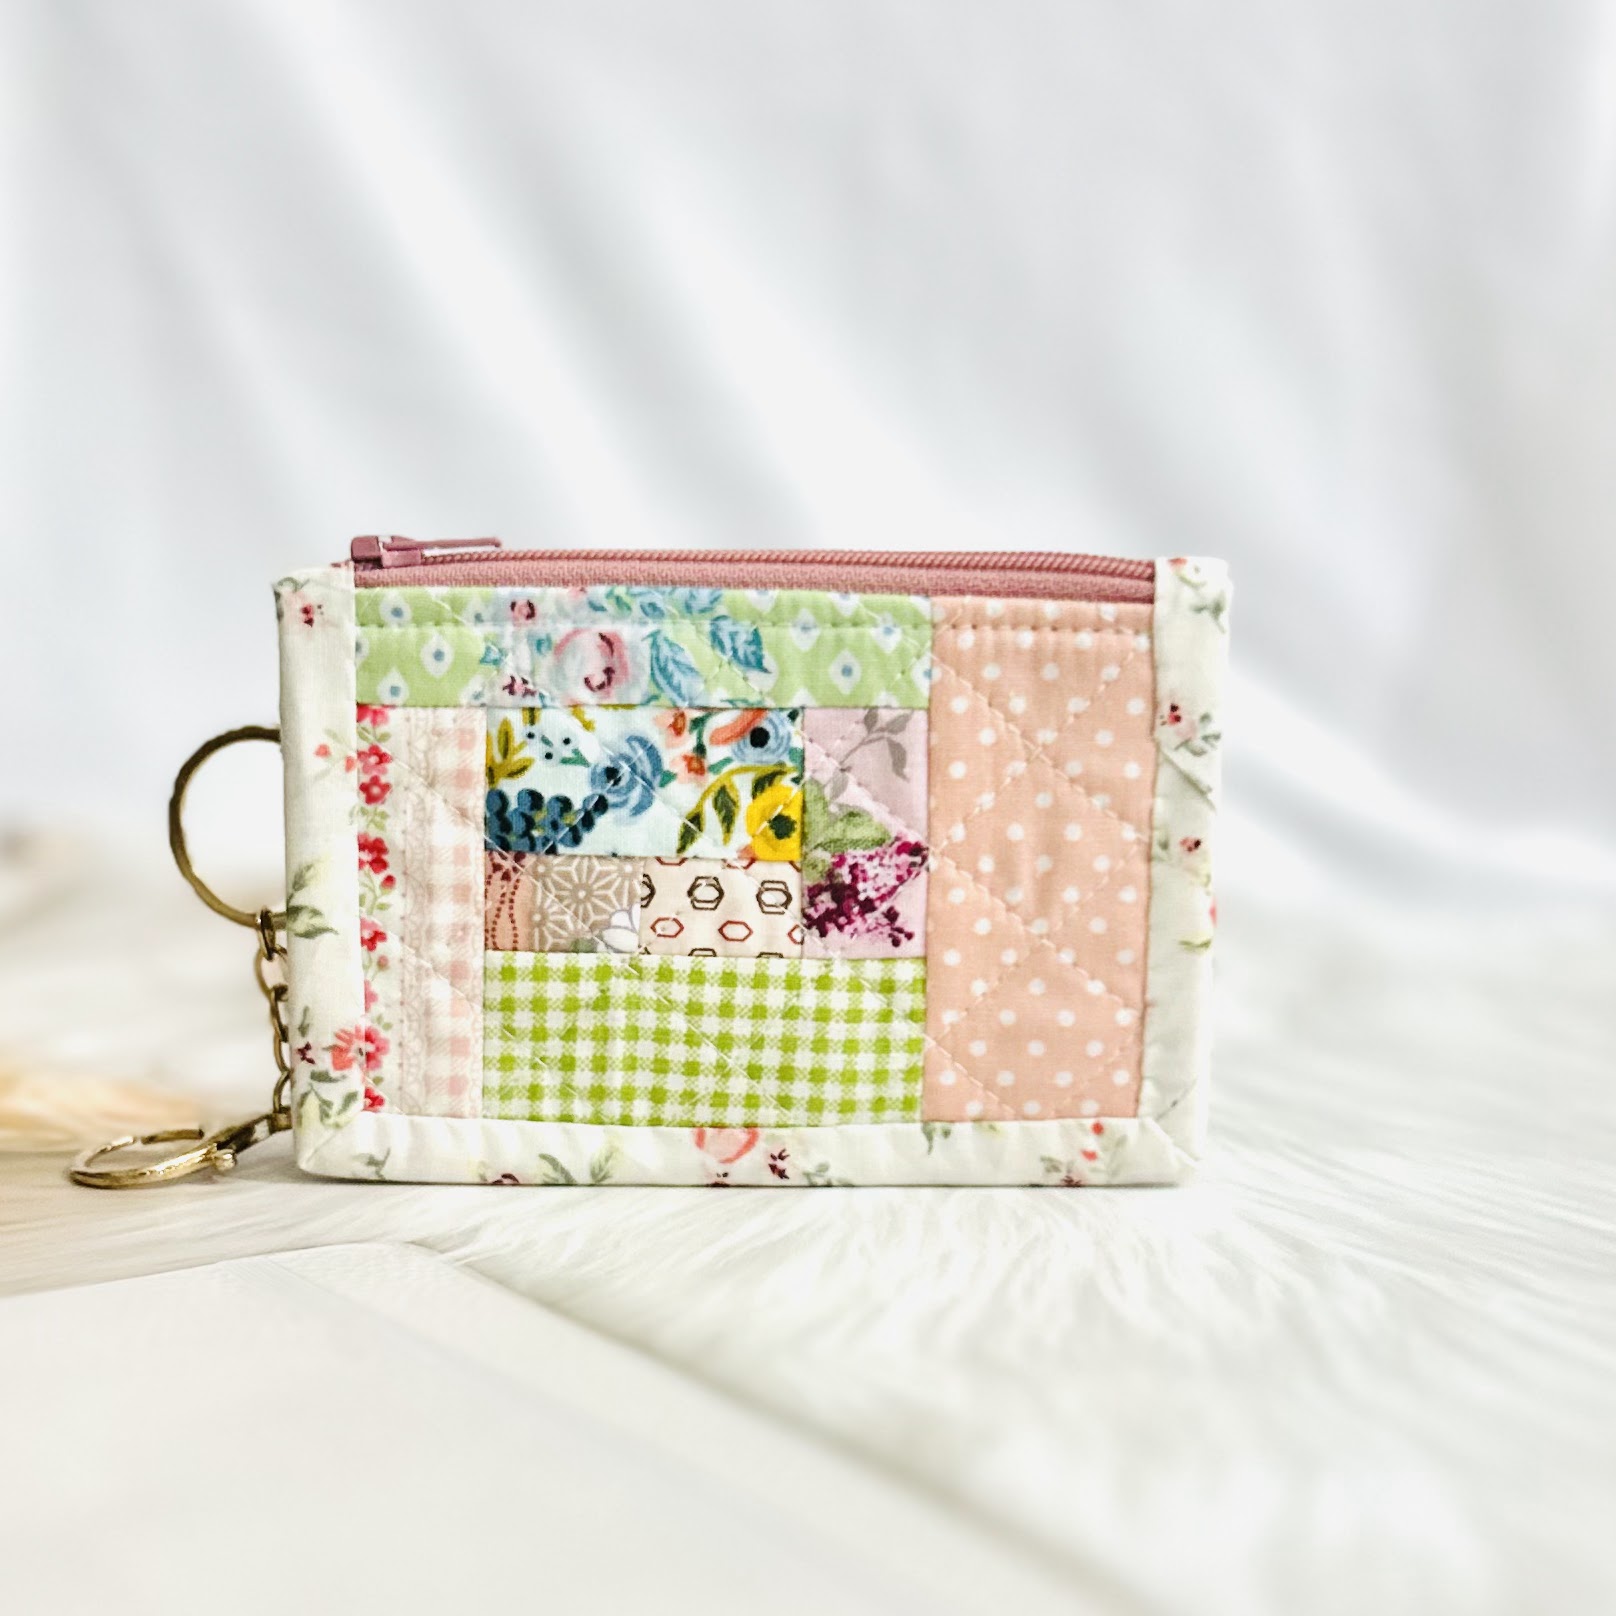
Last week I had a quite productive week. After a long time, I made a small batch of patchwork wallets. This time I used the Rosie Wallet pattern. Since the wallet is pretty small (the finished size is 4" x 5"), I use skinny strips of fabric. I cut the fabrics between 1" to 1.5" wide.

It started with a message on my Etsy shop that she wanted pink and green patchwork Rosie Wallets. She said she loves floral prints. So I started working on the order making the patchwork panels first. And of course, I cannot stop making just one wallet, right?
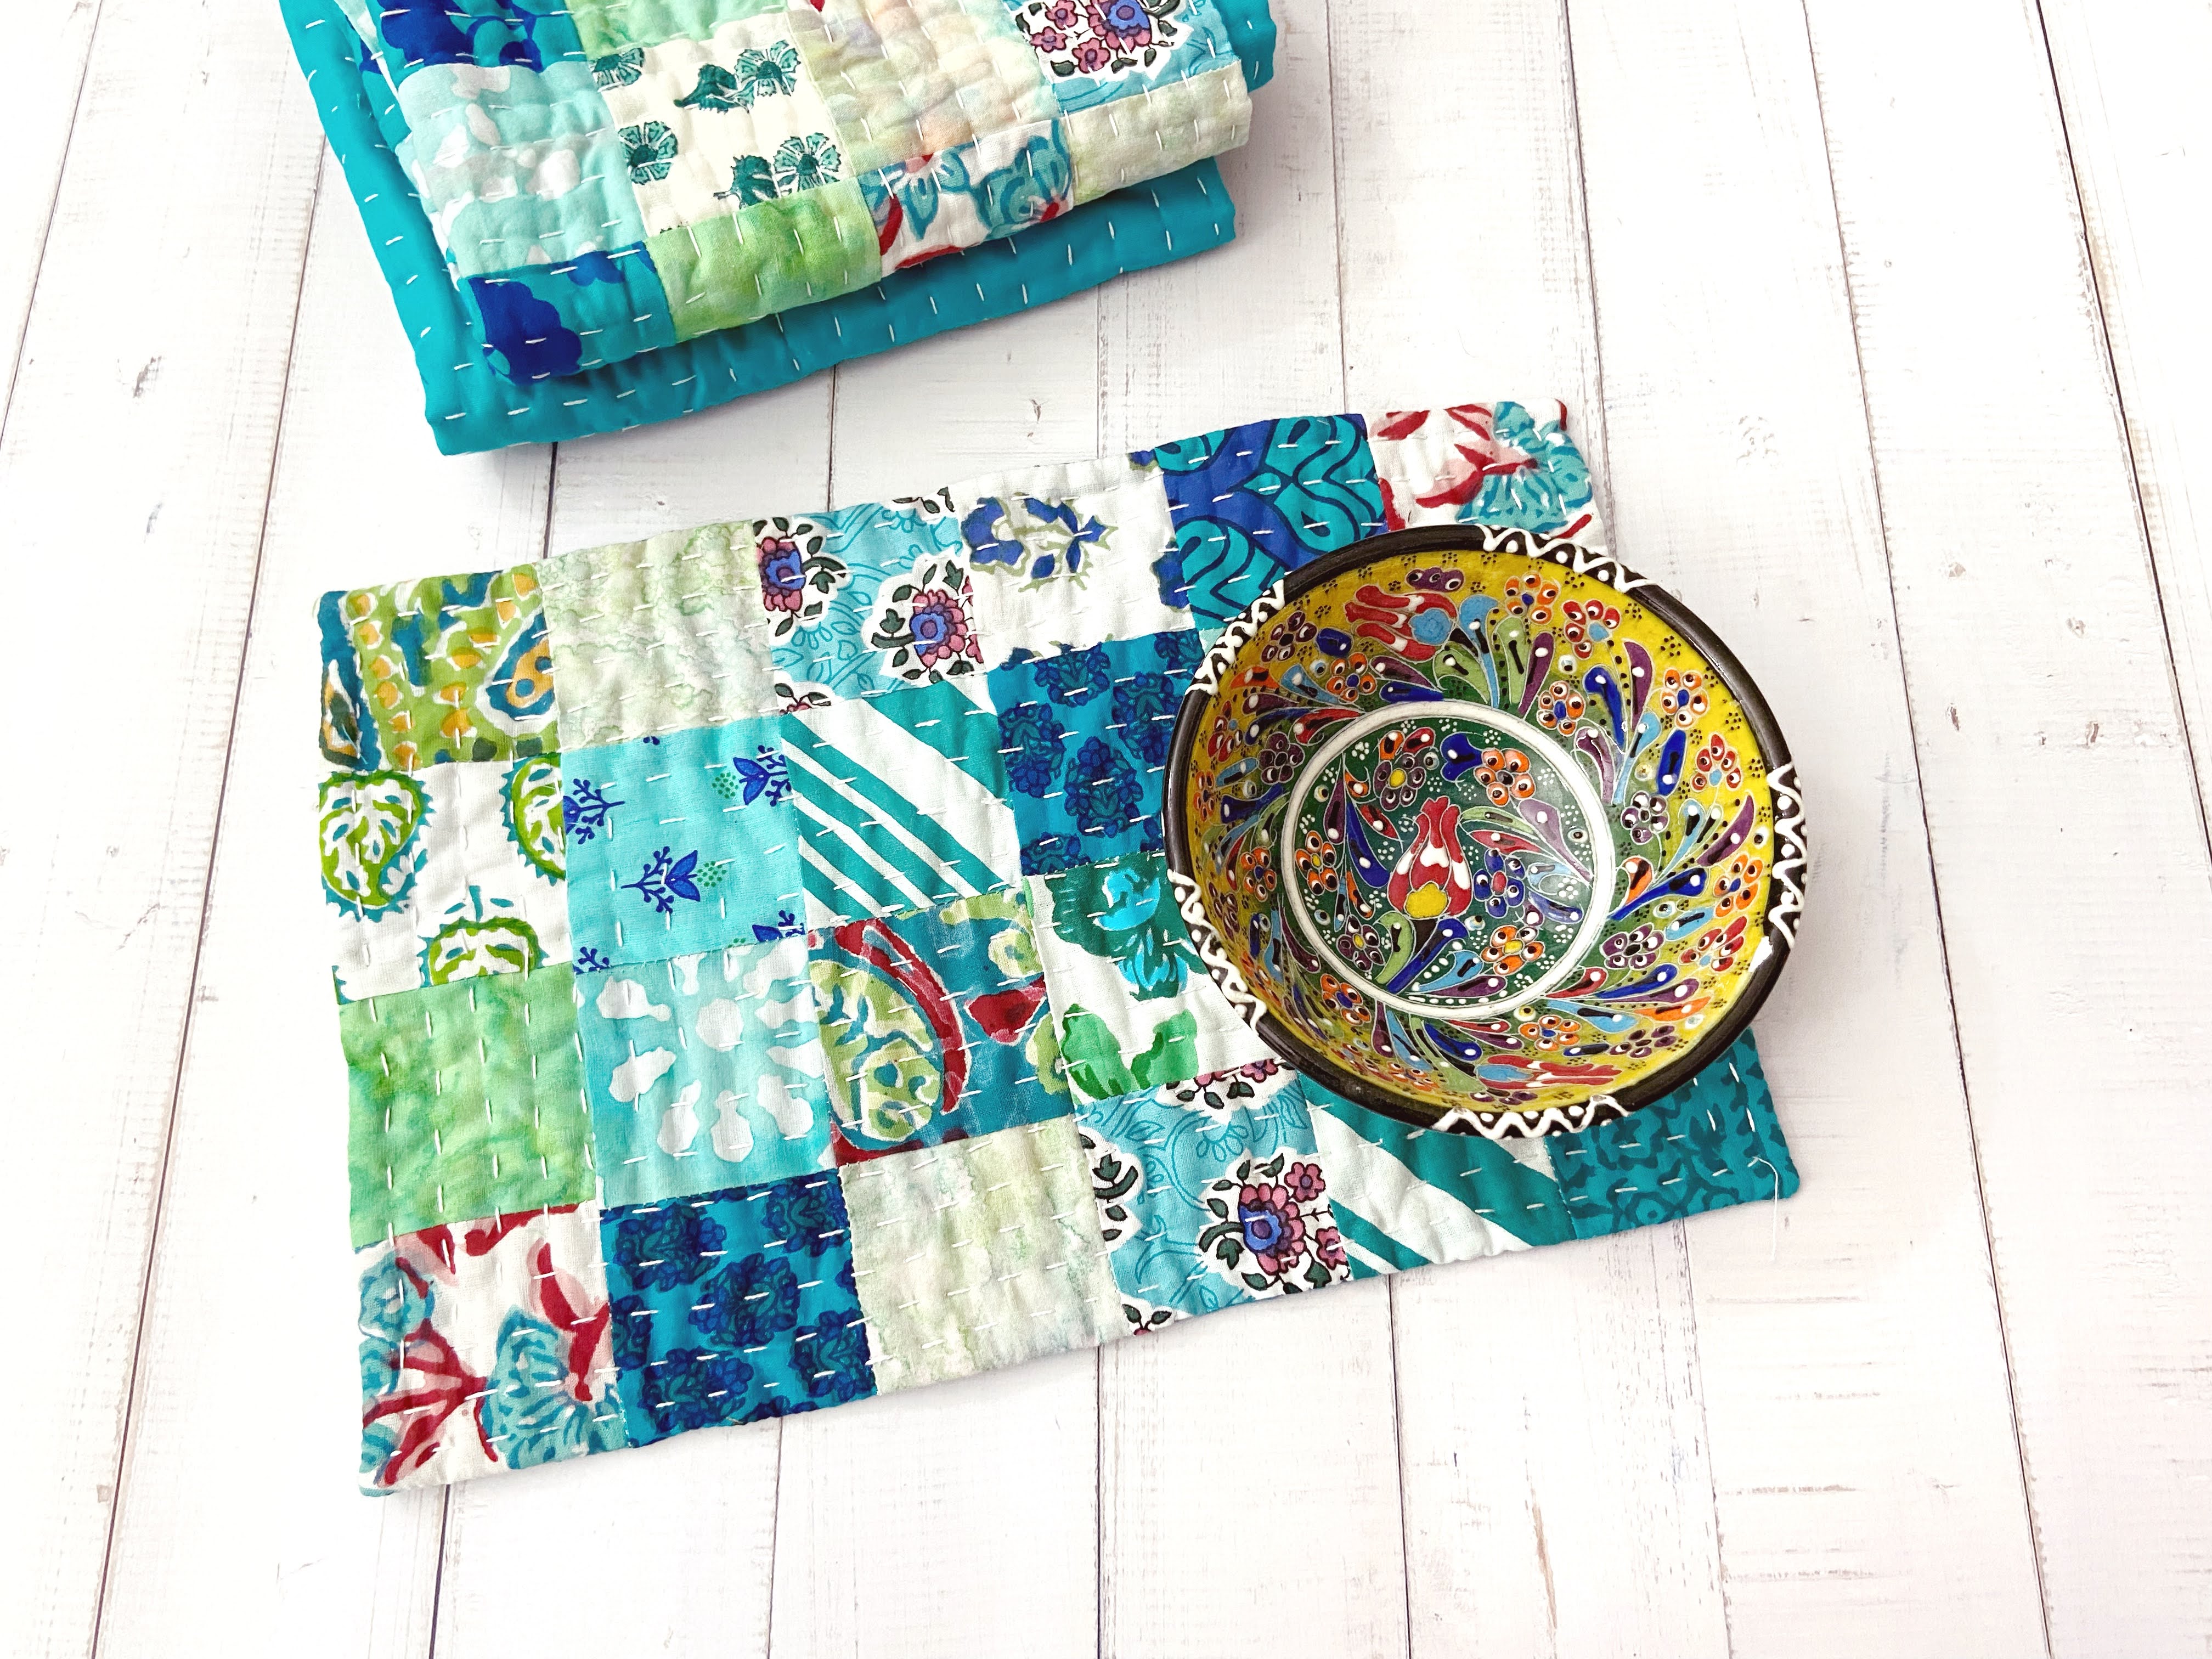
Making patchwork wallets is always fun. From sorting out the scrap fabrics to choosing the best combination and binding.
I happen to have pink floral scrap bundles that I bought from Indonesia. So from those, I choose a few for the card slots.

This time I used polycotton batting 180 gsm which is pretty sturdy so I did not use lightweight interfacing on the patchwork panels like the previous patchwork wallets. If using low-loft cotton batting, I'd suggest using lightweight interfacing before quilting it.
This time, I also did hand quilting in 2 wallets and in one wallet I did machine quilting. For the hand quilting I used pearl cotton thread no 8 and I really love how it turned out.
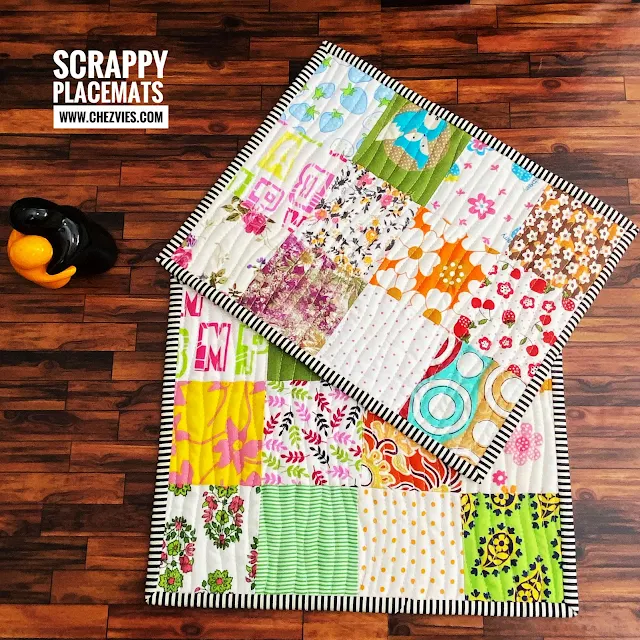
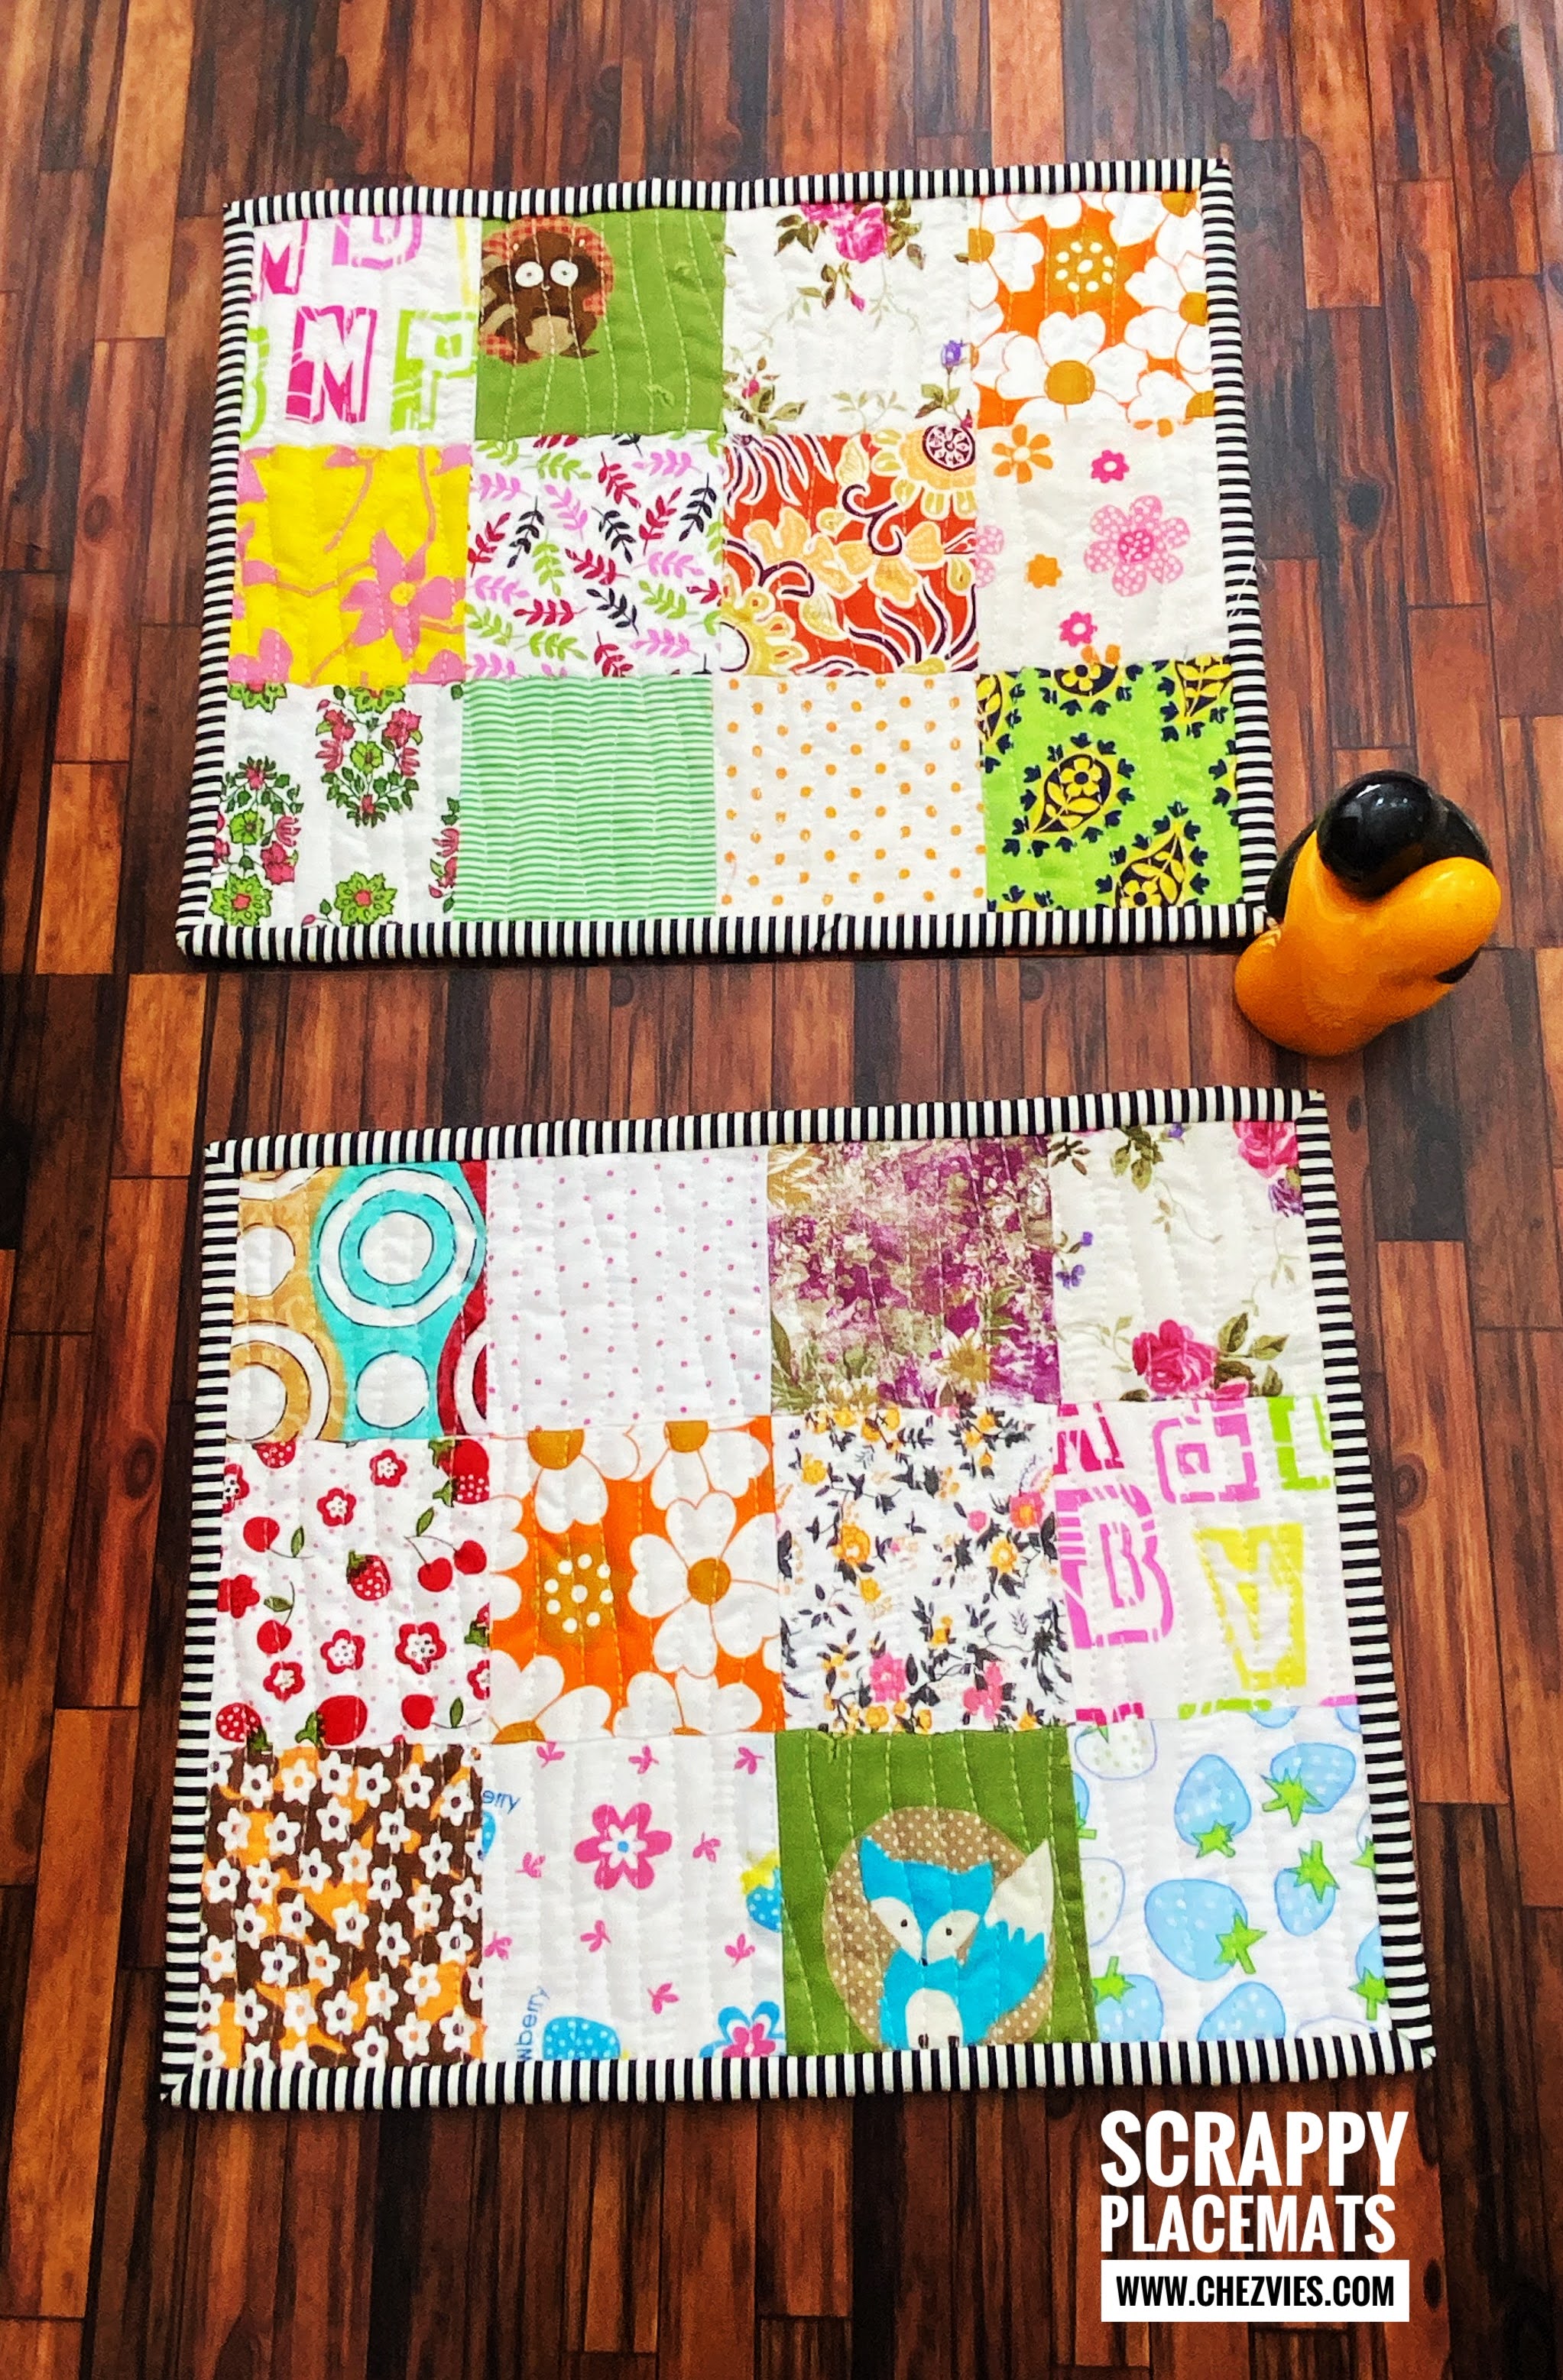
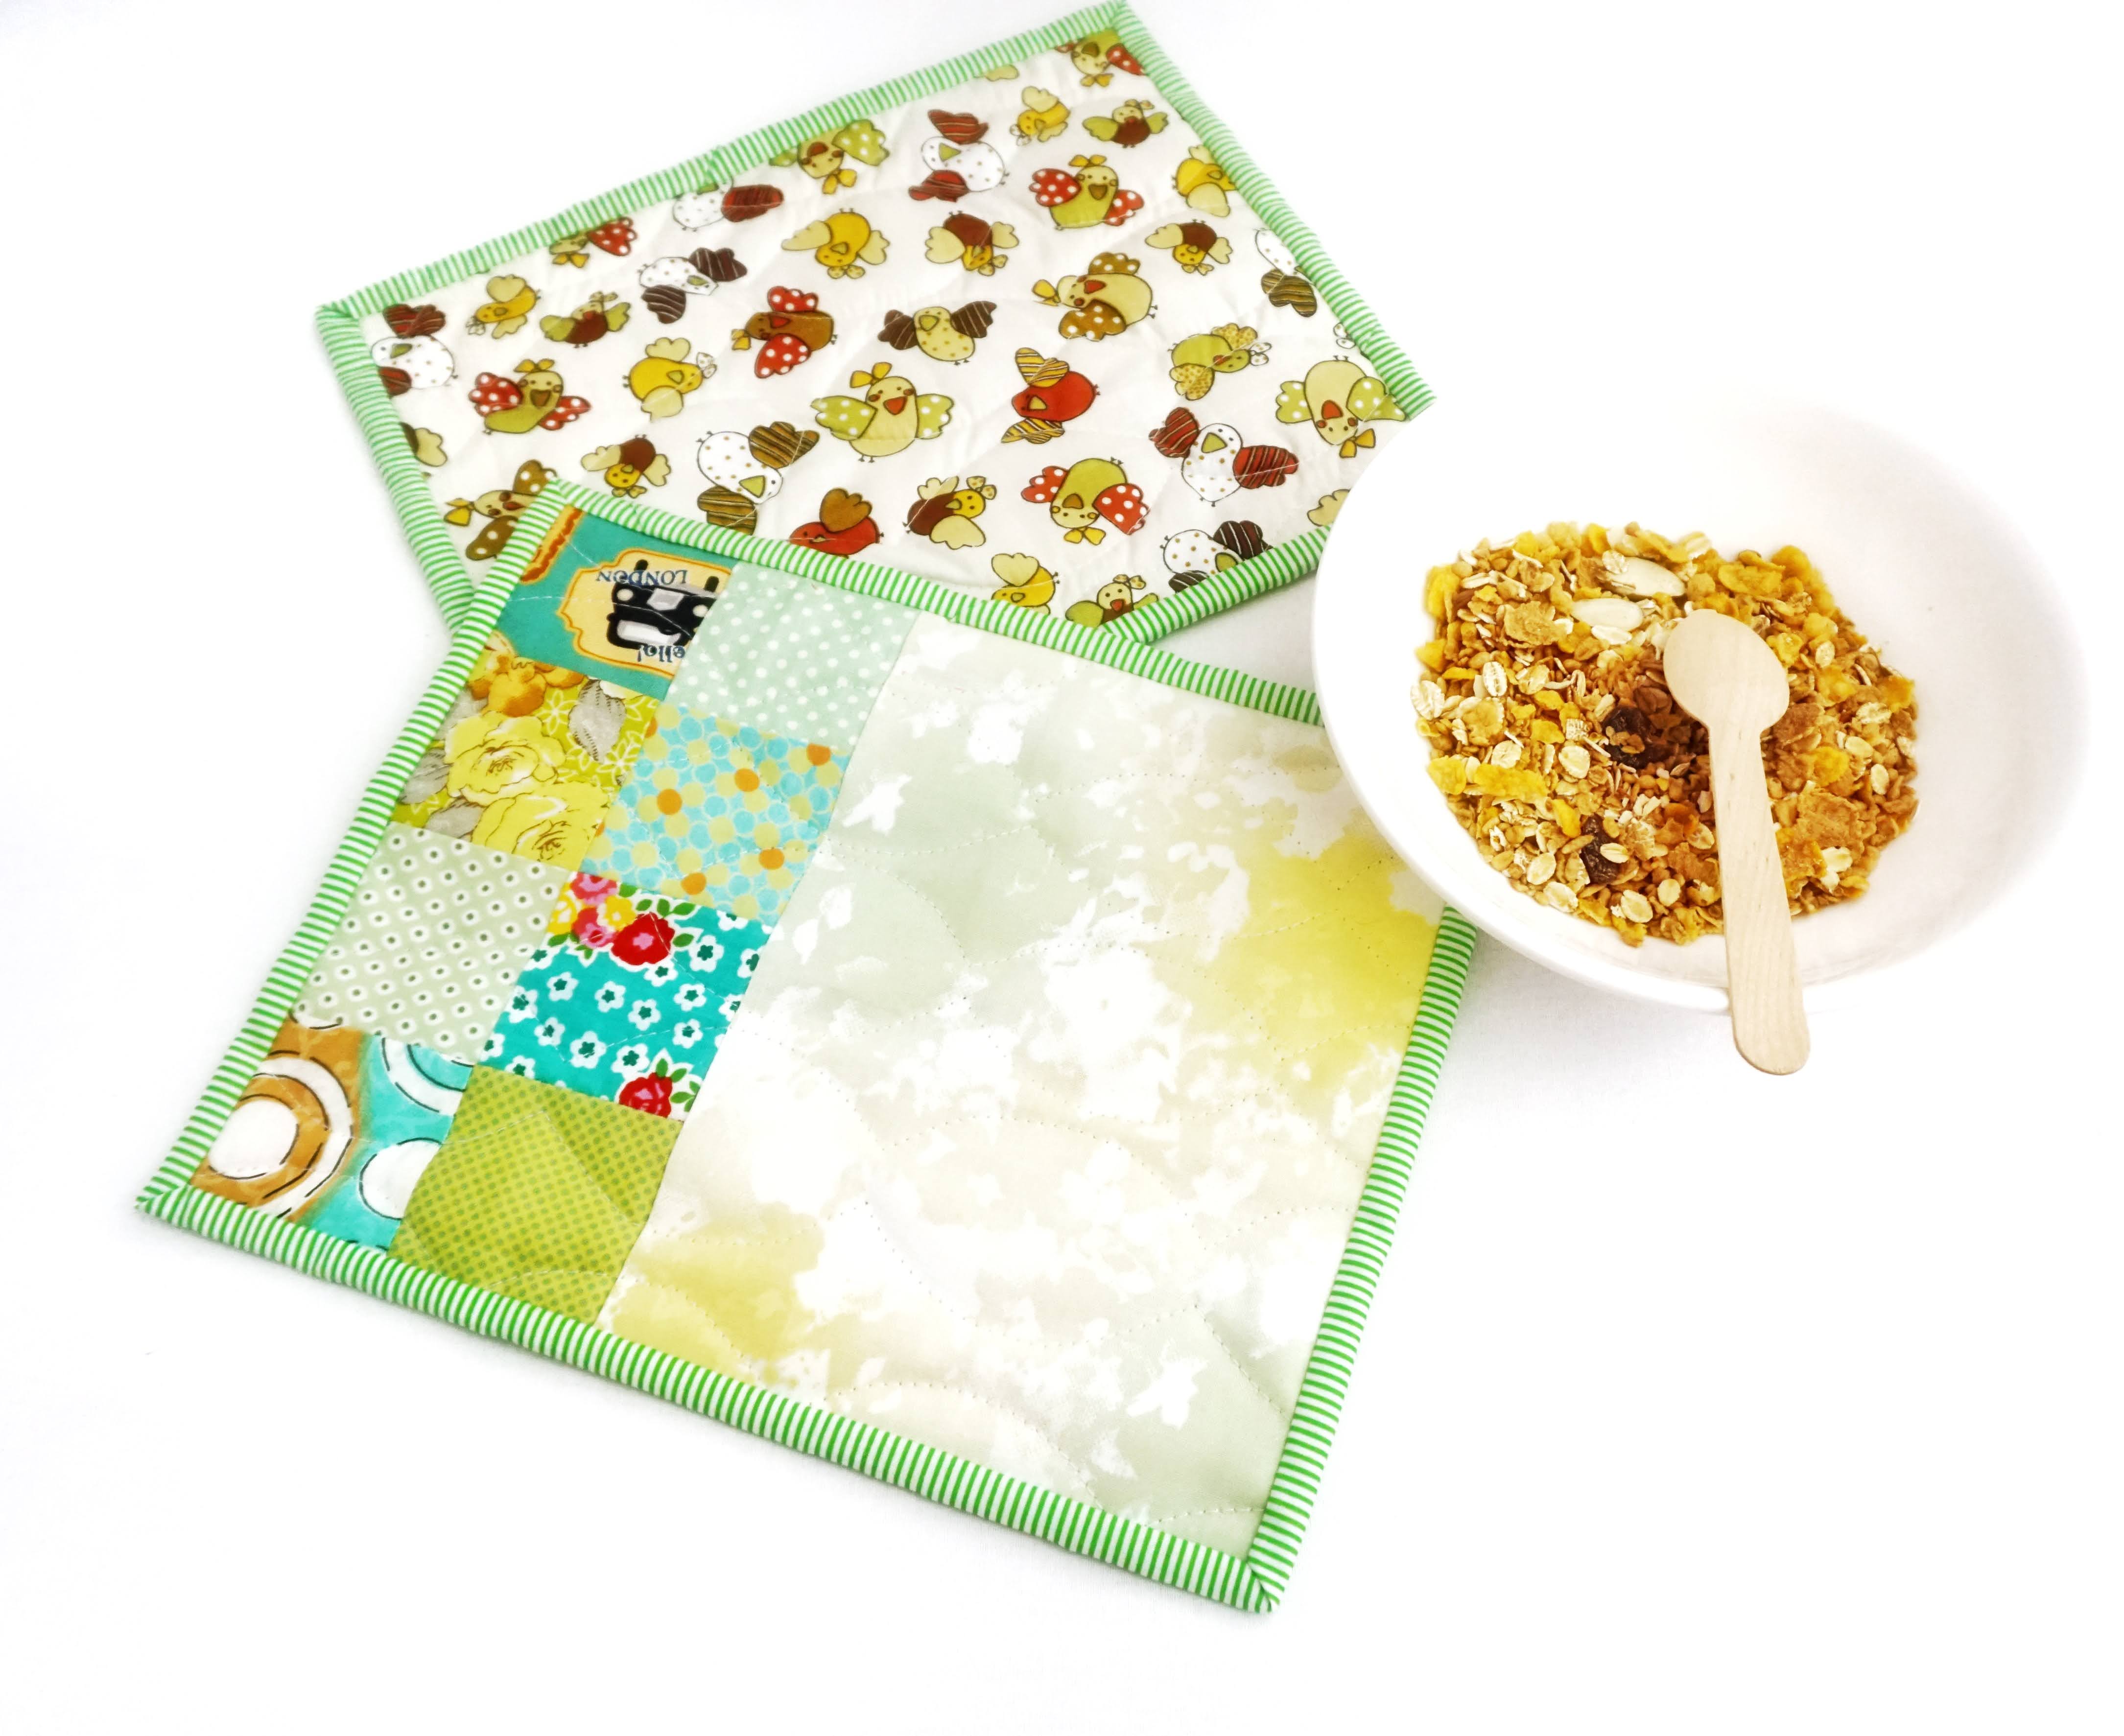
Deciding which binding to use is also another fun part. My go-to choice for binding is either polka dots or stripes. But this time, I decided to try floral binding too and I think it's turned out pretty great.
 |
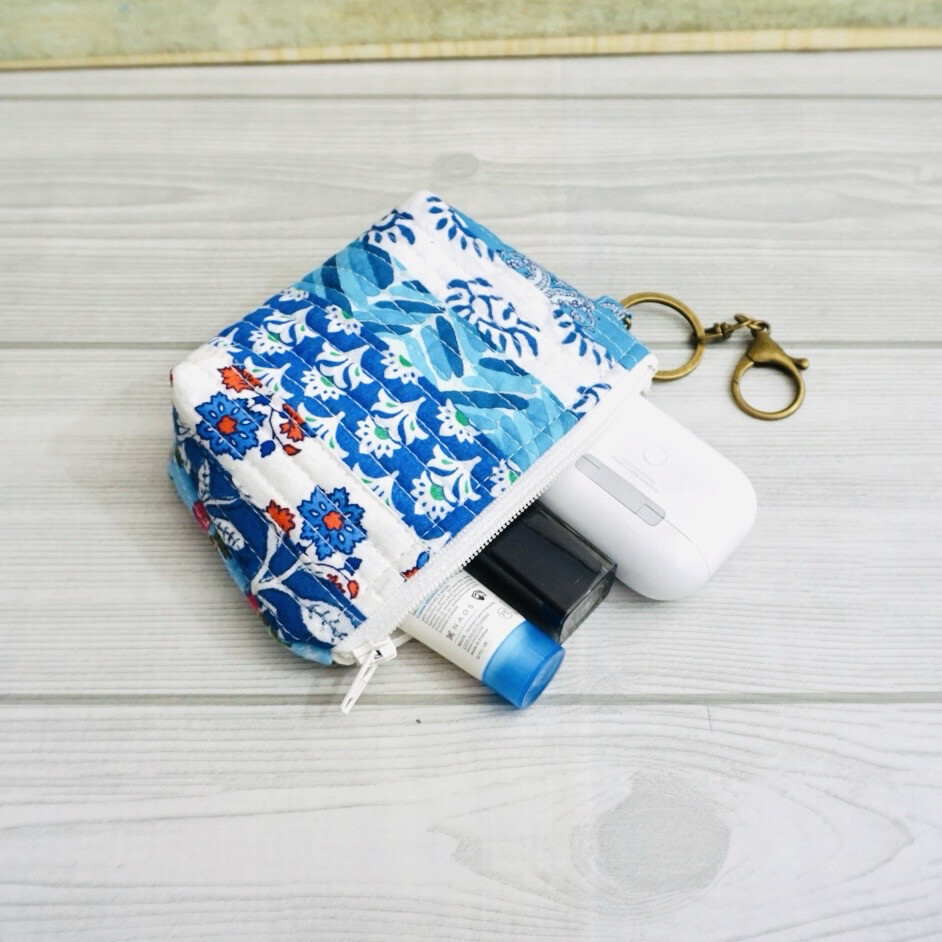
| Patchwork Polka Dots Wallet |
 |
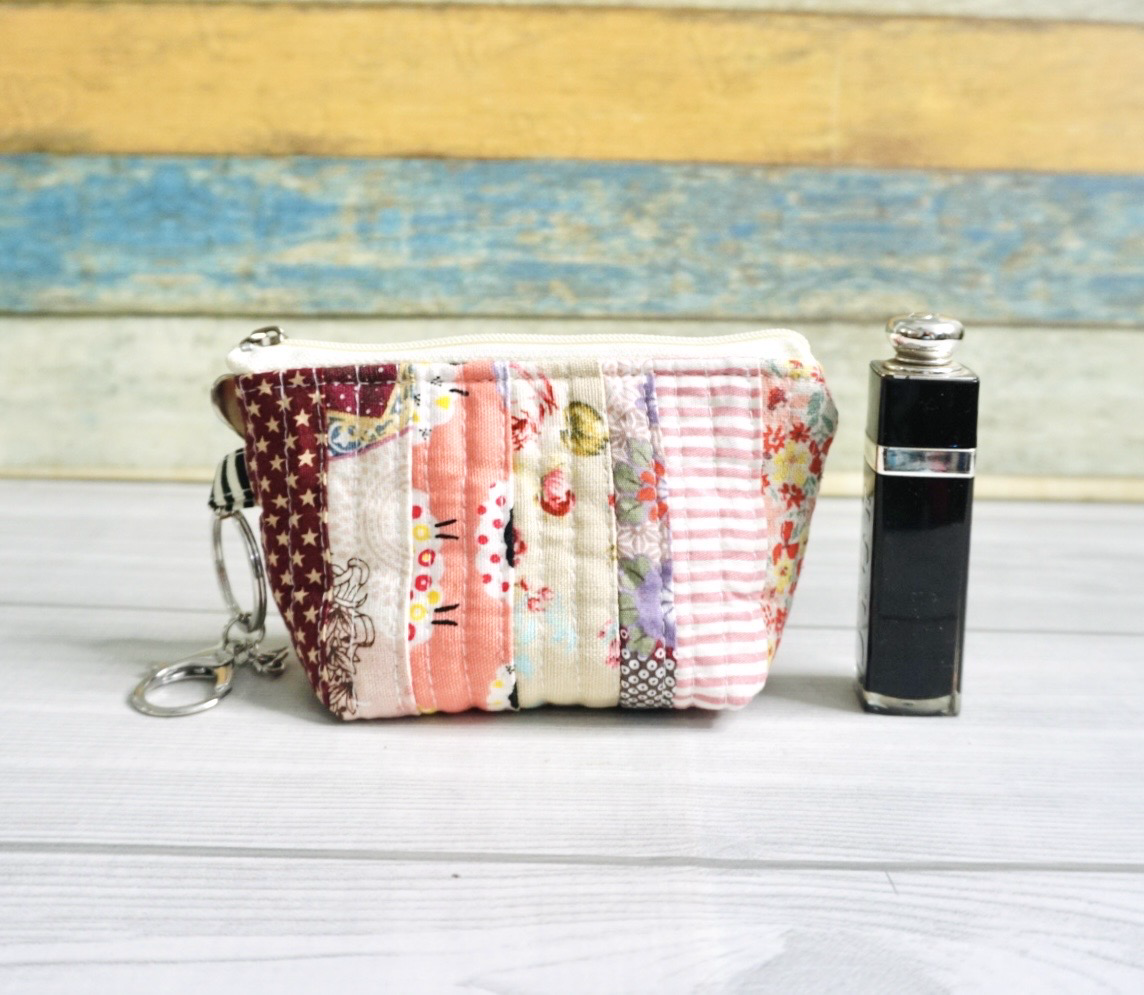
| Cardholder Wallet |


 |
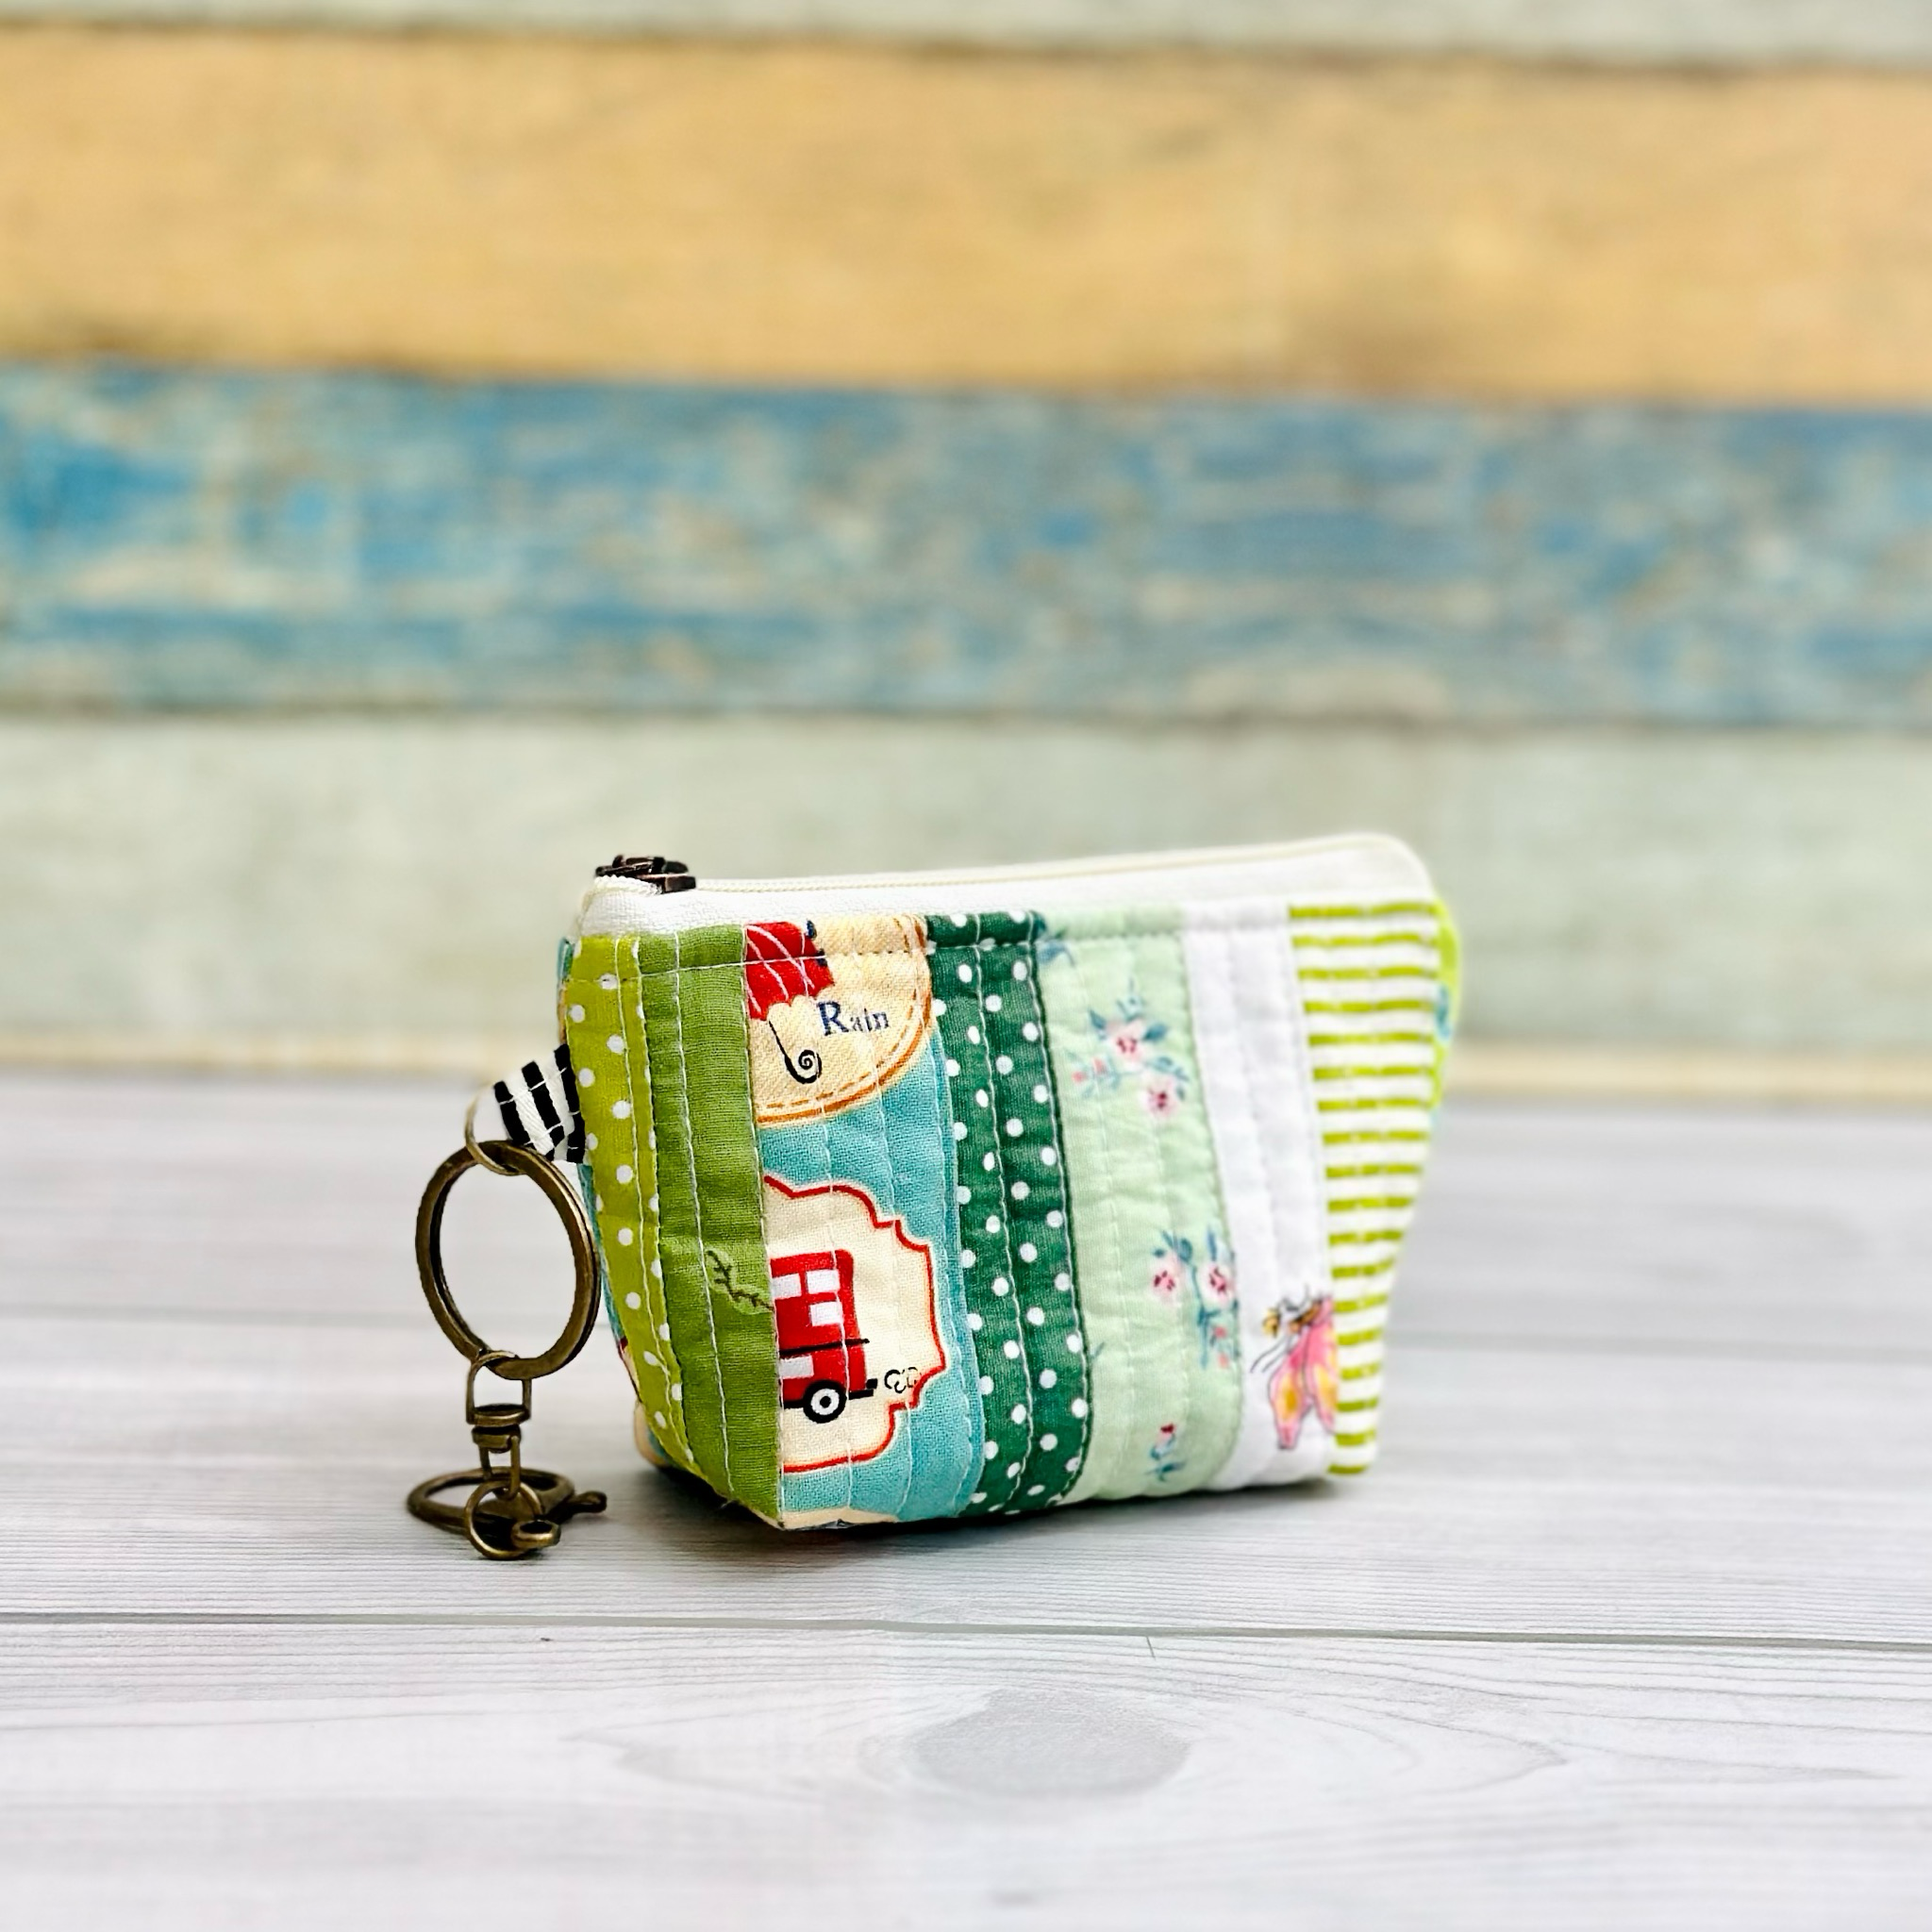
| Card Holder Wallet |
Rosie wallet is a versatile wallet. I carry it often as it fits perfectly in my small crossbody bag. It can hold quite a few cards (6-10 cards) and the 2-in-1 zipper pocket is handy to keep small changes or items. As we mostly use mobile payment, for me personally carrying a small wallet is very convenient.
I plan to make more patchwork wallets in the future. I need to seriously use my overwhelming scraps and of course my stash! I have a few ideas in my head, so hopefully I'll be able to share another Scrapbuster video tutorial soon!.
Thank you for stopping by today!
Have a nice day,
Elvira
.heic)


