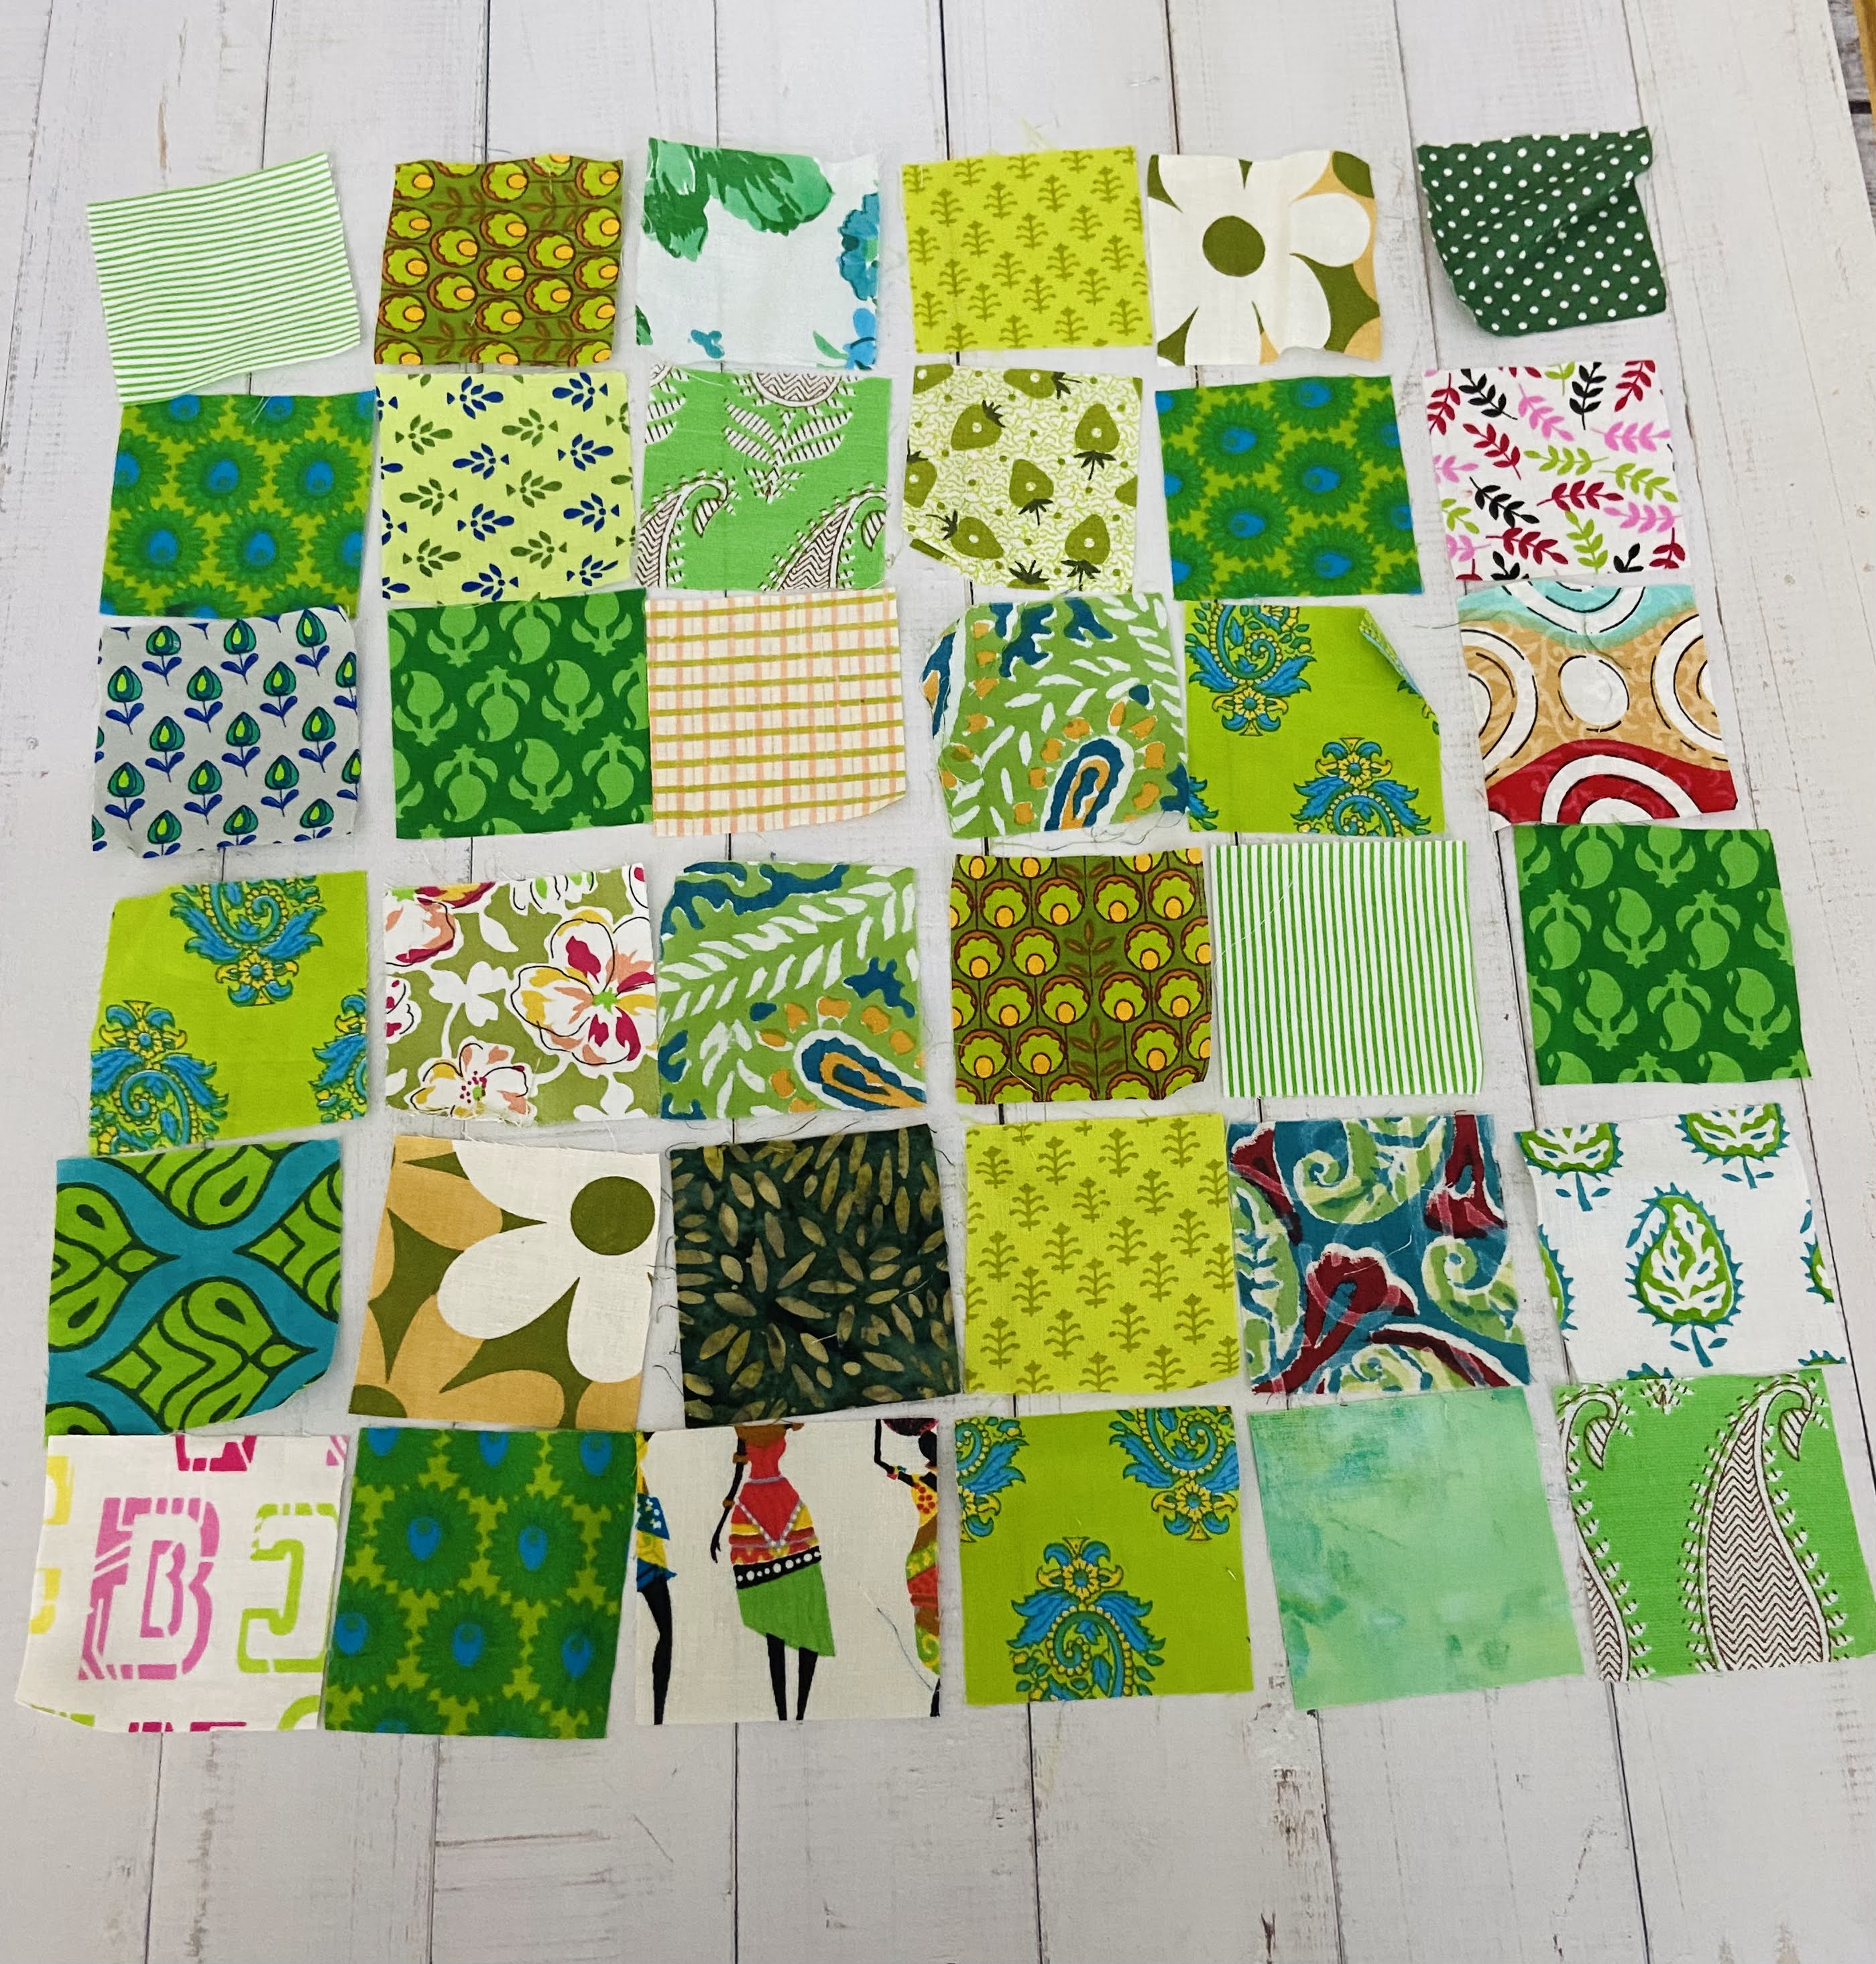
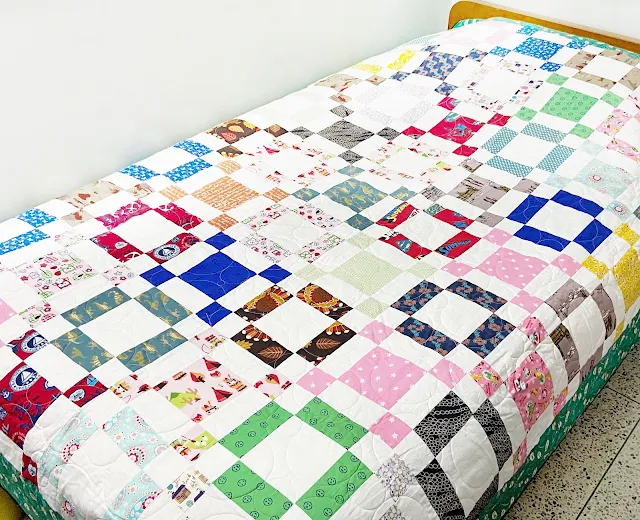
Last month, I finally completed my first scrappy quilt, which I had wanted to make for a long time. During the pandemic, I had a lot of odd off-cut fabrics from making facemasks, so I cut some of them into 5" squares and some into smaller squares.
I had a box full of 5" pieces and a few weeks ago, while rearranging my sewing room, I decided to take the box out and started piecing 9 patch block.
My plan was to sew a few blocks in a week. I figured I needed 35 blocks to make the quilt size that would fit our rather large single bed. Making smaller blocks is less overwhelming than making one long single row at a time. Since it's meant to be scrappy, so I don't think about color coordination. It will work out in the end :)
It took me a few weeks to make the top and then I found this VIDEO about basting quilt on a small table. Frankly basting a big quilt is a bit daunting for me! Now with this method, I can easily baste my quilt without breaking my back!I fact I could baste the quilt pretty quickly.
Next to cleared my sewing space and started quilting it on my Jack sewing machine. I have not quilted a big quilt in a while so I was a bit nervous. I decided to quilt it 1/4" from each side of the square, vertically and horizontally. I wanted a slightly fluffy quilt this time. I used 150 gsm cotton batting.
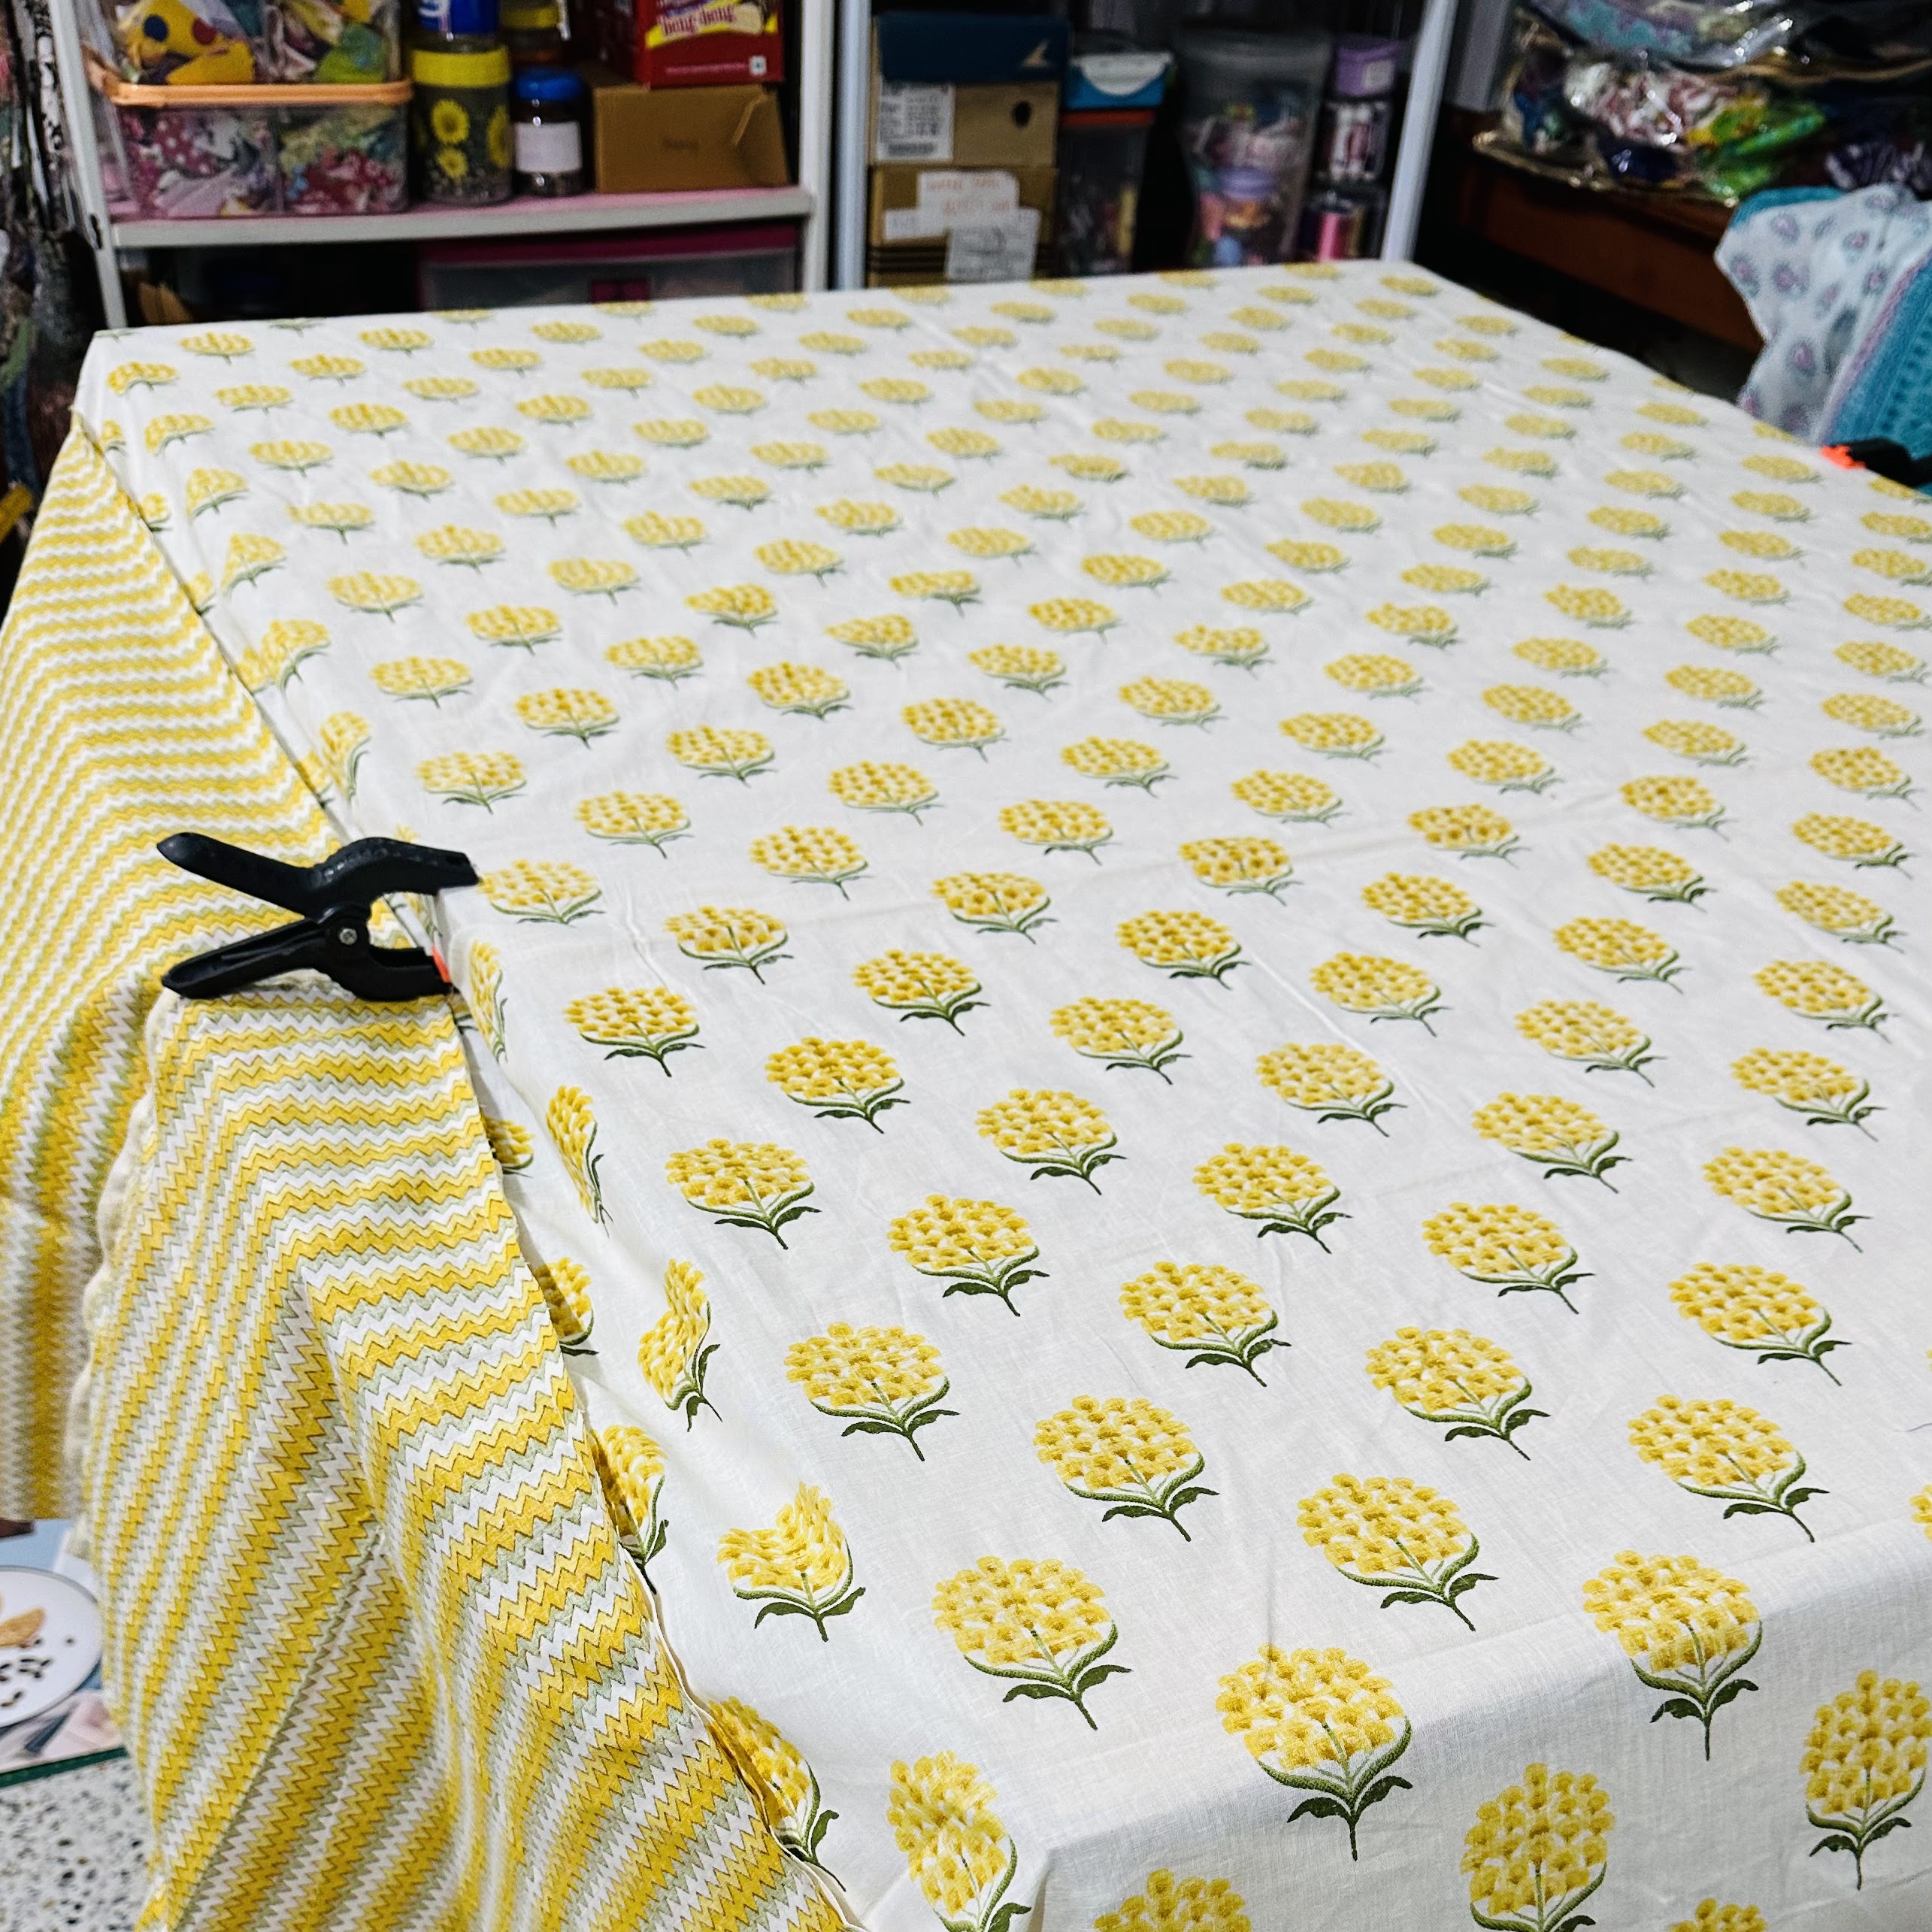
For the backing, I opt for this cheerful yellow print from HERE . There is a similar one in Orange . I used the floral one for the middle part and the chevron print for the sides. The fabric is soft and it's great for quilt backing!
Now I can't wait to make another one, maybe with bigger squares. I still have quite a lot of 5" squares and also 10" squares. If you'd like to see the process, I have made a video and put it up on my YouTube channel a few weeks ago.
Here we are again at the end of 2023. Looking back, there were a lot of things going on. Even though I didn't write as much as I intended to do at the beginning of the year, but I accomplished one thing from my bucket list which is to reach 10K subscribers on my YouTube Channel!
However, the blog is still very important to me as this is where everything started. Now, once again I join Meadow Mist Best of 2023 Linky Party to reminiscence how's 2023 had been. Let's get started!
I love making stuff from scrap fabrics. I made a few last year and have a whole bunch of scrappy panels in my PhD bin which hopefully I can make into something in 2024.
Another scrappy project! This time I made these small scrappy wallets and made a video tutorial too. These small pouches are very handy to use and also make a great gift!
After years, I finally participated in another quilting bee at Desi Quilters Facebook group. It was fun to make a few blocks every month and I learned a few things along the way. This will be another quilt to complete next year!
Another list that is ticked off from my bucket list is to start making a patchwork wallet. I'm looking forward to making more patchwork wallets in 2024. Insha Allah.
Thank you so much for stopping by my blog, reading, and leaving comments. I may not be as regular as I'd like to be, but I hope I will be able to share more meaningful content in 2024.
Here wishing you a great creative year ahead, I'm looking forward to reading your stories too (even though I may not always leave any comments, but I enjoy reading blog posts!)
Spring is almost here. Well, in our part of the world, February is always dry and dusty and then followed by seasonal flu season. I hope you all stay healthy!
Last week, we at the Desi Quilters group on Facebook started Quilting Bee. It's been years since we did the quilting bee. There are 24 participants divided into two groups - Oddbees and Evenbees. I am the first queen bee for the Oddbees group. When Tina announced at the beginning of February that we are going to have a quilting bee again, I am very excited. I mean, this is the way you can learn and in the meantime get your blocks done in no time, right?
I know I wanted to make a 36-patch block made up of mini charms in different colors. It's been high on my list. So for the 1st bee block, I go with this simple block! I made a 36-patch quilt a long ago and it's still my fave.
This block is very easy and my block finished at 12" square. The fabrics I used are assortments of cotton fabric scraps that I previously cut and keep.
So for this particular 36-patch bee block, I want one block in ONE color shade, and the scrappier the better.
It's super easy to make. All you need is 36 pieces of assorted 2.5" square pieces of fabric.
1. First step is to arrange the fabric pieces to your liking, alternating between light and medium/dark. Although it's not always easy, that's fine!
2. I like to make them into a 9-patch section. Sew them together with a 1/4" seam allowance and press the seam to the darker side.
3. After finishing 4 mini blocks of 9-patch, iron the blocks. I am using assorted fabrics, some fabrics get a bit stretched after ironing. That's fine for me.
4. Now, trim the blocks to 6.25" square.
5. Sew the 4 blocks together and voila you get a 12" square block.
I made 2 blocks as samples for the quilting bee and I am so excited to see everyone's block. We have 14 quilters in the odd bees group. And guess what? I already got one in the mail yesterday. Priya sent me her pretty pink block along with lovely gifts!! Thank you, Priya!!
There are several blocks already posted in the group and I am so looking forward to receiving them. I will update again when I receive all the blocks!
The past few days I've been busy spring cleaning (and it's not done yet!). The weather is pretty peculiar this year. We had chilly weather throughout February and turned pretty dry and hot in March. And it's pretty dusty too. I usually start packing winter clothes and duvet around April, but this time I am doing it early. Yesterday, all duvet is washed and kept away today.
I have two quilts that came back from Tina at the Square Inch. The first one is the ground cover quilt top that I did 2 years ago. The top was quite big but Tina suggested making it bigger if it's meant for my elder son, who is 6.1' tall. After a few chats over WhatsApp, we agreed on this green border and black and white bear for backing! I used mostly scrap from wallets and bags, and I am glad I did. I still have lots of scraps that I don't have the heart to throw it away. When I look at this quilt, I can't help remembering what stuff I made with those fabrics.
I really love the emerald green fabric that Tina suggested. It really framed the patchwork well. For the backing, I chose the bear print fabric and love it!!
The second quilt is the Jellyroll race quilt in Batik. I think I finished the quilt top back in 2019 when I was doing this quilt. The JR was a gift from my BFF mbak Belly when we first met in Jakarta years ago. At the time, I just started learning about patchwork and quilts. I finally decided to make another Jellyroll race quilt with it. Once I did the top, I was still undecided on what to put for the border and backing. This part usually takes me so long to decide. And when I sent it to SQI and had a discussion with Tina, we decided to use Indian batik for borders and backing. The Square Inch has good collections for Indian Batik. Definitely, 2 heads are better than one, right?
The quilts are washed and now in use. I may need to make another one for my son when he goes to college, but still undecided what pattern to use. I took out one batik JR and also Indian fabrics in the shade of blue. Let's see which one will I finally make first! Just waiting for the idea to strike.
In the past few days, I've been busy making a few wallet and placemats orders. I got a couple of passport wallet orders in the past two months. I think now that travel around the globe is eased, many people started to travel again.
This time, the zip around small passport holder seems quite popular and as usual, whenever I make for an order, I cut one extra to add to my shop. Because I am working solo and nowadays hardly have time to sew, this way I can add a couple of new designs in a month. Also, I will always have projects that are ready to sew. Although sometimes it takes days to finish and sometimes I can finish 2 wallets in a day. Well, as long as I can sew, I am a happy girl!
Ah, I also recorded the video tutorial for this small passport wallet - which hopefully I can finish editing and put up on YouTube this week.
I often got questions regarding bias binding. For beginners or someone who never makes or use bias binding, it can be a daunting task. There are a few ways to make a bias binding but this traditional method is my fave because the binding always turns out perfect.
Please check the video below. I hope the video is clear enough. If you have any questions, you can contact me or leave a comment below.
Here are more fabric wallets recently done and a couple of them are on their way to the new home. I love making this classic bifold wallet. My first wallet was this bifold wallet and even after washing it several times, it is still in a good shape. The interfacing and padding did make the wallet sturdy and did not lose its shape.
And here's the medium scrappy placemats I recently finish and sent out. I hope they will be received well. As a maker and seller, nothing more rewarding than a happy customer!
I kind of love these medium-size placemats and I have a couple more to finish hand sewing the binding before I put them up in the shop.
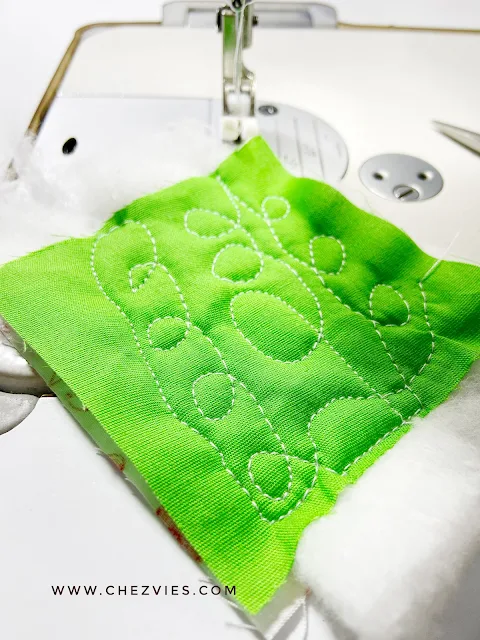
I also experimented with different quilting lines on my Industrial machine. I tried doing FMQ after watching a couple of YouTube videos where people do freehand machine embroidery using a similar machine as mine. Well, guess what? I worked! I will try in my next project and hopefully can share a few tips with you all. Stay tuned!
On the 16th, my SIL and I went to a wedding in a village nearby. It was great fun for both of us. And of course, I love watching how the folks are having a great time at the party. In the village, a wedding party can last a couple of days (2-3 days) from morning to midnight. People from all around the village and nearby village will keep streaming in, sitting and chatting. I love to see the young girls dressing up to the latest Bollywood trend.
And of course, I enjoyed the ride through different small towns and villages. Since the harvest season is just over, most of the fields are dry now. But it was a lovely day!
The bride and the bridesmaids
Henna - a must in every wedding!
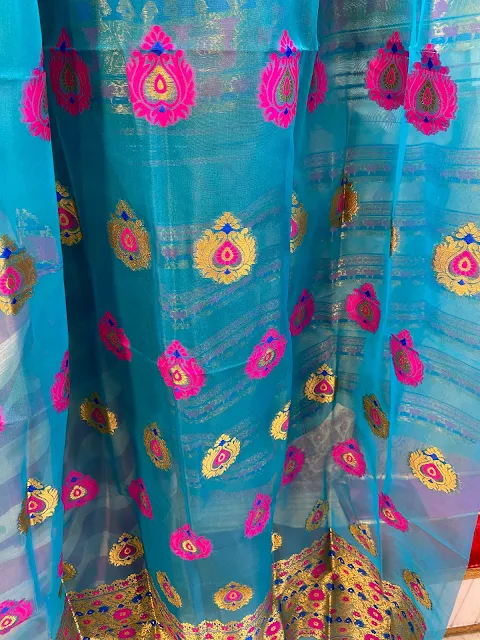
We also went to the market last week. We went saree shopping for one of our helper's daughter's wedding next month. Of course, I wore a double mask even a lot of people are not wearing masks now since the state government announced that all pandemics restrictions are lifted off.
I really enjoyed looking at those colorful sarees. Even though I don't wear colorful clothes myself, looking at those bright colors, makes me happy! And no, I did not buy for myself, I only went to my regular fabric shop to get denim material. I suppose to go look for Mekhla (Assamese dress) border for my kawandi project but it was getting late, so maybe next time!
That's all for today. I hope you enjoy reading my blog. Thank you for stopping by and please leave a comment or two.
I have a mountain of scraps in buckets and bags all around the house. Somehow I just don't have the heart to throw them away. Whenever I see my fabric scraps I feel inspired and full of ideas, but then those ideas remain on my "bucket list".
A few weeks ago, Tina and I discussed the next swap, after the successful swap we has last month in Desi Quilters. This time she has with the idea of exchanging Potholders and as usual, she came up with the most suitable name "pot of gratitude". This is to remind us to always be grateful during this Pandemic and by making a gift for our virtual friends who always be there to help in our crafting or quilting journey.
So, let me talk about potholders that I usually make.
1. Batting
The first question that people ask is always about what kind of batting to use for potholders. Well, we don't have thermal batting for retail here in India. I usually use double or triple layers of cotton batting. A few years ago before cotton batting was easily accessible, I use a few layers of cotton flannel (like THIS coaster). If you have scrap batting, you can use it even if it's narrow strips you can layer them.
2. Fabrics.
Store-bought potholders usually use thicker or canvas cotton. I normally use quilting cotton or poplin cotton. And if I use Indian fabrics (mulmul) I usually use nonwoven interfacing to give additional weight. On the back, you can use casement fabric or canvas if you have one.
3. Quilting.
You can either sandwich two layers of batting with top and backing and quilt them together or you can quilt the top and back separately like in THIS mug rug. I personally prefer the latter because it turned out thicker which is perfect for potholders. You can quilt the top with denser quilting lines but I'd suggest using less dense quilting lines for the backing.
4. Binding
For square or rectangle potholders, I'd suggest using a jellyroll strip. A 2.5" wide is a good one, but if you use thicker batting, you might want to use a 3" wide binding. I normally used 1.5" wide binding for small quilts, but since we're going to use the potholders a lot, thicker binding is always better.
The same applied to bias binding. In this pumpkin potholder video, I use scraps of about 11" x 17" fabric to make 2.5" wide binding which yields around 1.65 meters of binding strips. Enough to make 2 potholders.
I wrote about making bias binding in THIS POST using a square of fabric. You can make bias binding from fat eighth or fat quarter like in THIS VIDEO
- Embroidery can be added but avoid beads and sequins
- The edges must be finished with binding or facing.
- There must be a loop for hanging the potholders.
- Must be made according to your partner's mood board. Sonalee wrote how to create a mood board on her blog HERE.
In the videos below, I shared 2 projects that I made using fabric crumbs. Not really make a dent in my scrap bins but I am using only scraps here. So I'm pretty happy!


 Hello,