I made this patchwork batik wallet a few months ago for my Kawandi guru. She wanted Rosie Wallet after seeing these patchwork wallets. After series of discussion, we decided to use Bali batik. So excited!
She wanted more space for cards, so I added more more slots from the original pattern and increase the height by 1 inch to accommodate it.


I did not use interfacing in this wallet since the fabric is thick enough but I used needle punch polyester batting and hand quilting it all around. The jewelry plyers really helps pulling the needle when hand quilting. I kind of liking it as I can stab a few stitches and pull it without any difficulties! But frankly, I really need to catch up with my weight training workout this year!
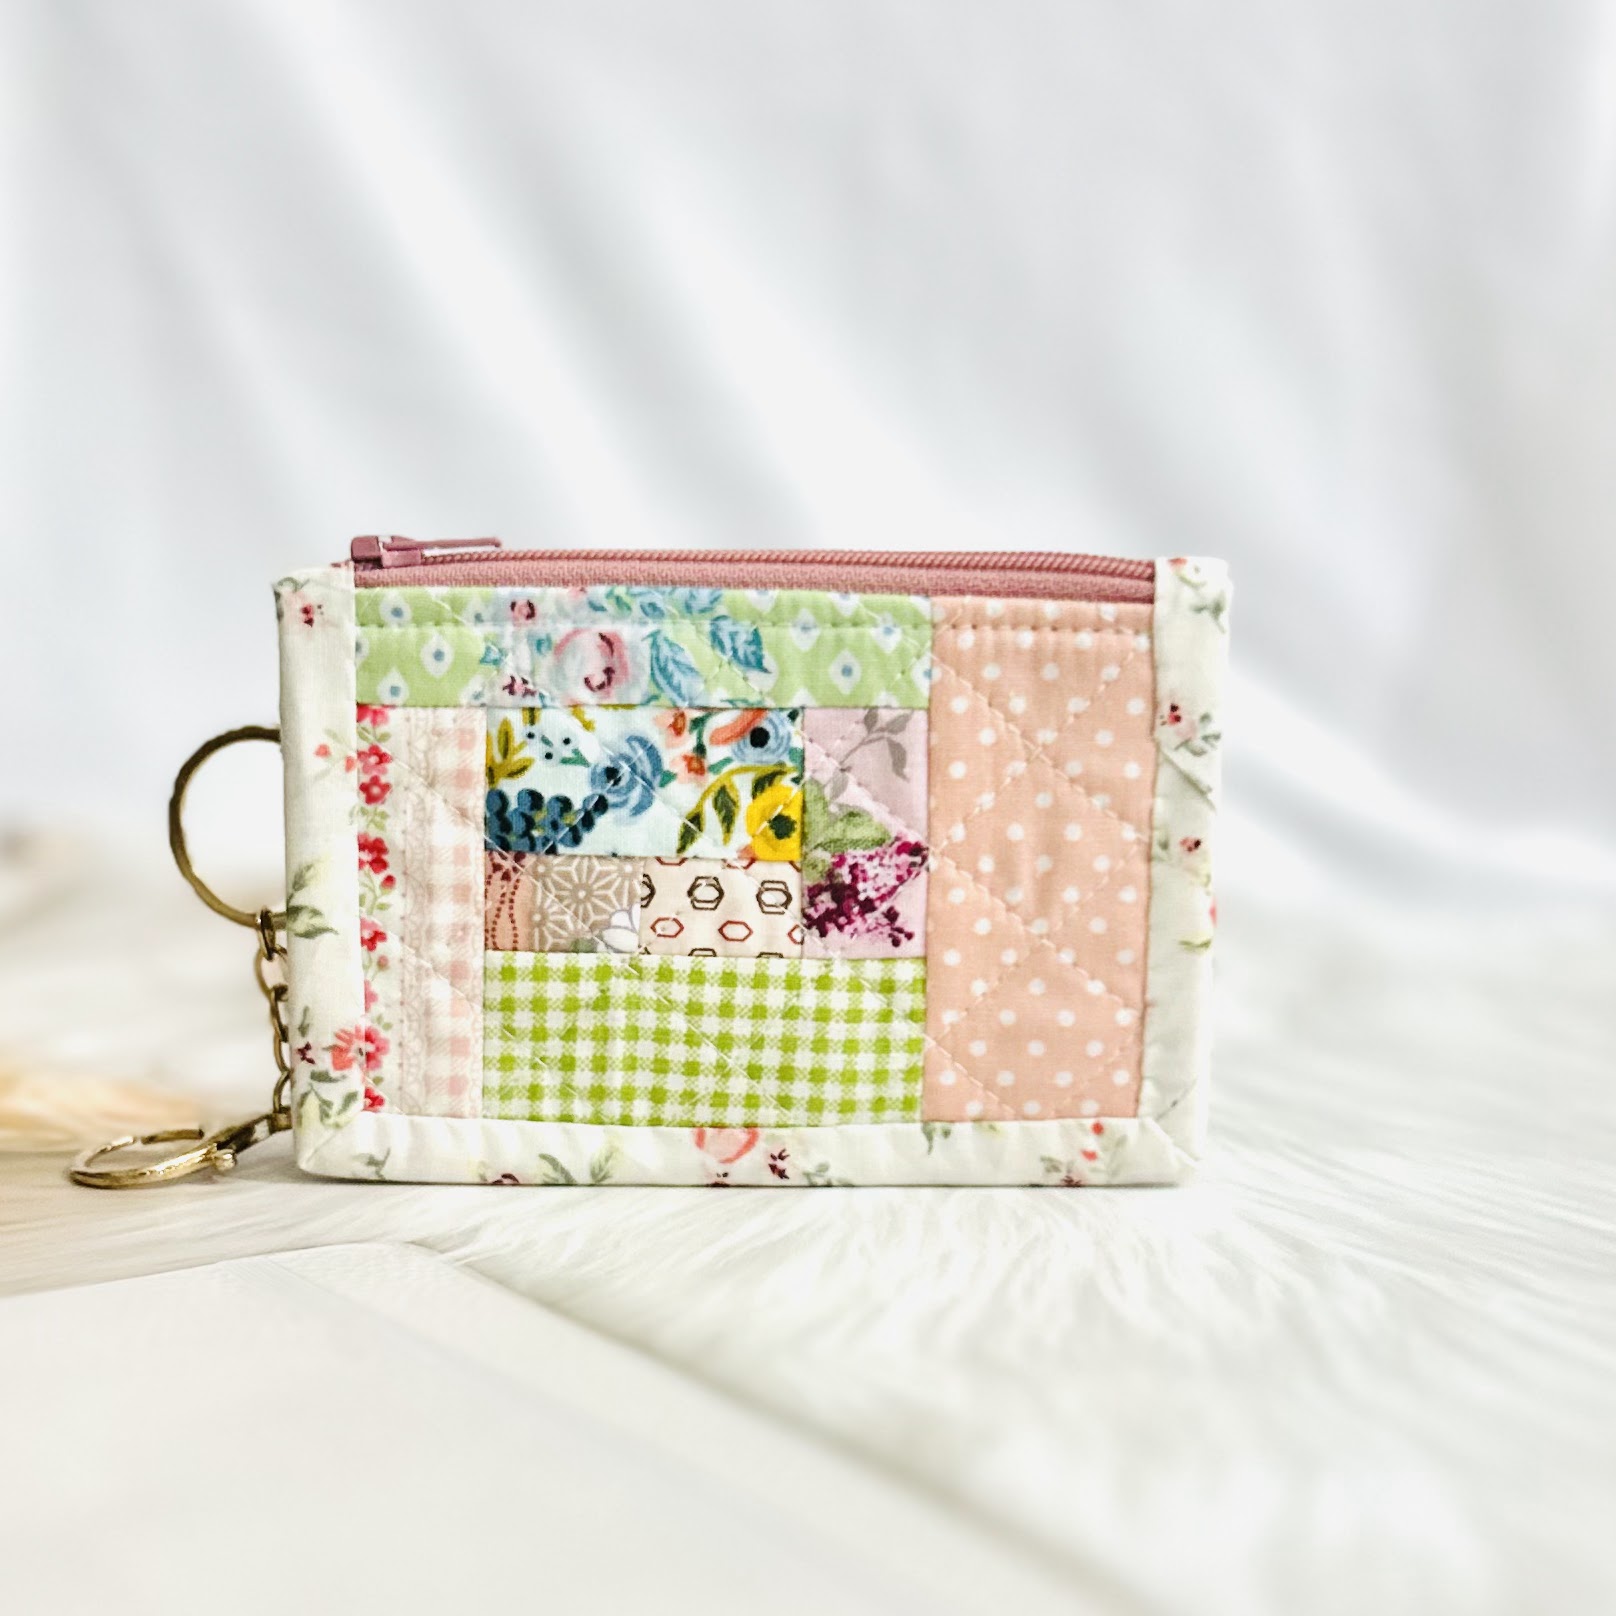
Rosie Wallet is beginner's wallet that is easy to put together. I have full step-by-step video tutorial HERE. I really enjoyed the process of making this wallet! Here's more photos of the finished wallet.
 |
| Interior: 6 card slots + 2 slip pockets + snap closure |
 |
| The finished wallet |
 |
| 2 in 1 zipper pocket |
CLICK HERE TO SEE MORE WALLET COLLECTION
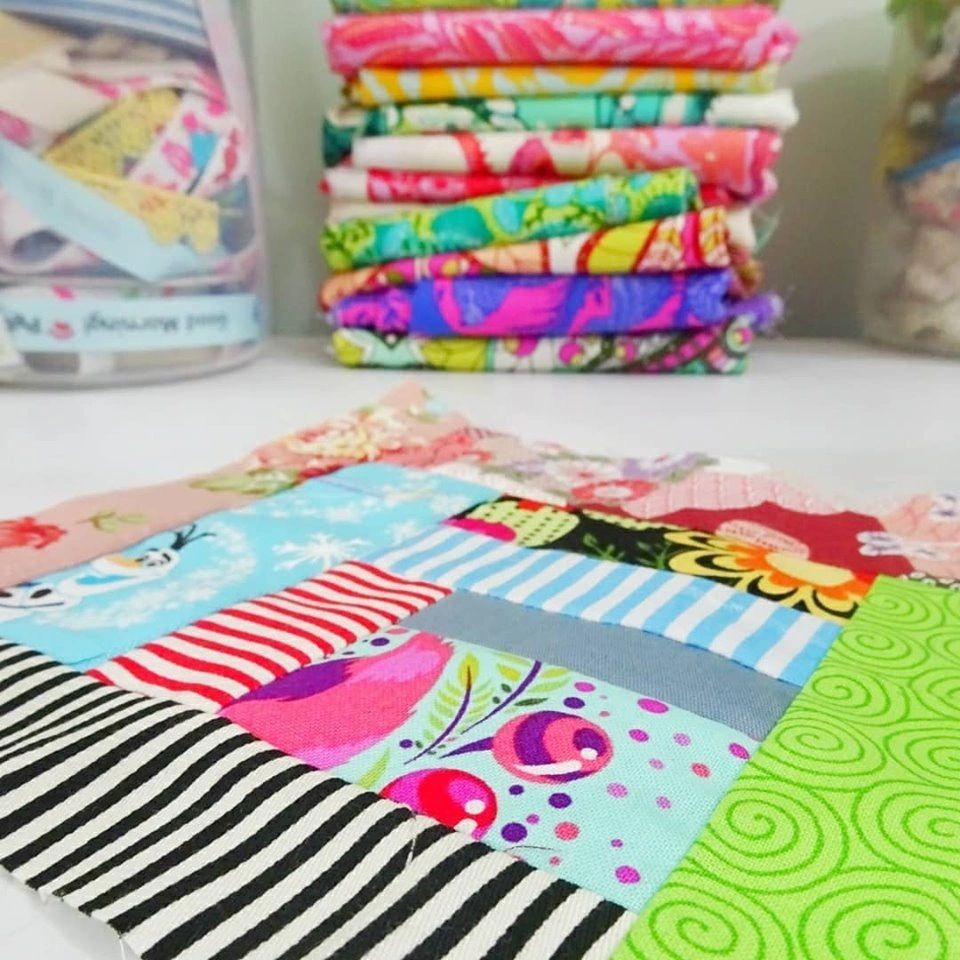
And here's the trial log cabin block. Let's see what I'll make, maybe a simple patchwork coin purse or another Rosie Wallet!

The wallet is already received with love :). I'm so grateful for the support of fellow crafters here in India. It's really a great honor for me to make something for other makers!
That's all for today. Thank you so much for stopping by!
Have a nice day,
Elvira