Powered by Blogger.
Showing posts with label coin purse. Show all posts

Patchwork Wallets with Keyring

patchwork quilted wallets

Hello,

Last week I had a quite productive week. After a long time, I made a small batch of patchwork wallets. This time I used the Rosie Wallet pattern. Since the wallet is pretty small (the finished size is 4" x 5"), I use skinny strips of fabric. I cut the fabrics between 1" to 1.5" wide. 


patchwork wallet

It started with a message on my Etsy shop that she wanted pink and green patchwork Rosie Wallets. She said she loves floral prints. So I started working on the order making the patchwork panels first. And of course, I cannot stop making just one wallet, right? 

Making patchwork wallets is always fun. From sorting out the scrap fabrics to choosing the best combination and binding. 
I happen to have pink floral scrap bundles that I bought from Indonesia. So from those, I choose a few for the card slots.


cardholder wallet


This time I used polycotton batting 180 gsm which is pretty sturdy so I did not use lightweight interfacing on the patchwork panels like the previous patchwork wallets.  If using low-loft cotton batting, I'd suggest using lightweight interfacing before quilting it. 

This time, I also did hand quilting in 2 wallets and in one wallet I did machine quilting. For the hand quilting I used pearl cotton thread no 8 and I really love how it turned out. 

Deciding which binding to use is also another fun part. My go-to choice for binding is either polka dots or stripes. But this time, I decided to try floral binding too and I think it's turned out pretty great. 


hand quilted wallet
Patchwork Polka Dots Wallet


card wallet with keyring
Cardholder Wallet


card wallet with keyring
Card Holder Wallet


floral patchwork wallet


Rosie wallet is a versatile wallet. I carry it often as it fits perfectly in my small crossbody bag. It can hold quite a few cards (6-10 cards) and the 2-in-1 zipper pocket is handy to keep small changes or items. As we mostly use mobile payment, for me personally carrying a small wallet is very convenient. 

I plan to make more patchwork wallets in the future. I need to seriously use my overwhelming scraps and of course my stash! I have a few ideas in my head, so hopefully I'll be able to share another Scrapbuster video tutorial soon!. 


Thank you for stopping by today!

Have a nice day,

Elvira


VIDEO TUTORIAL - making scrappy mini pouch


Hello,
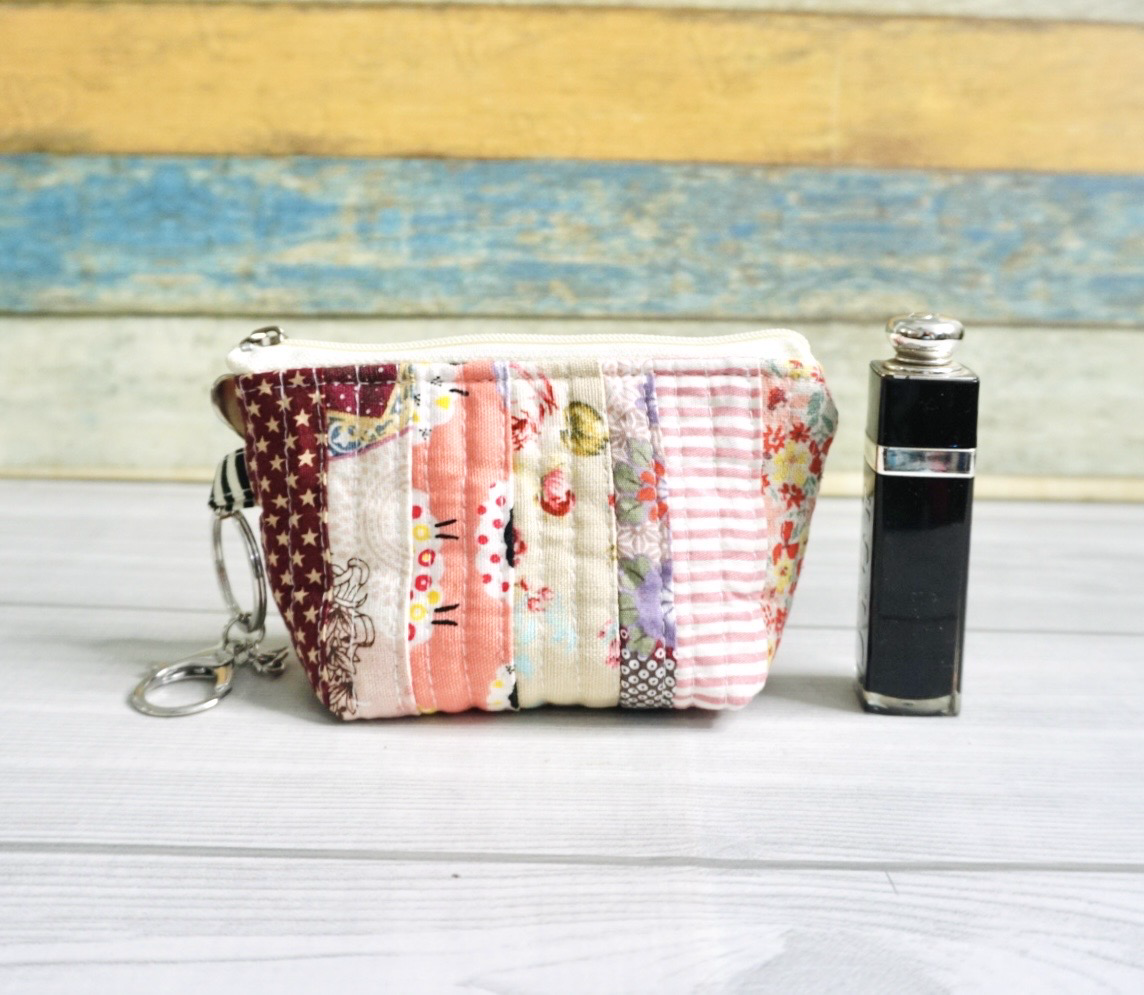
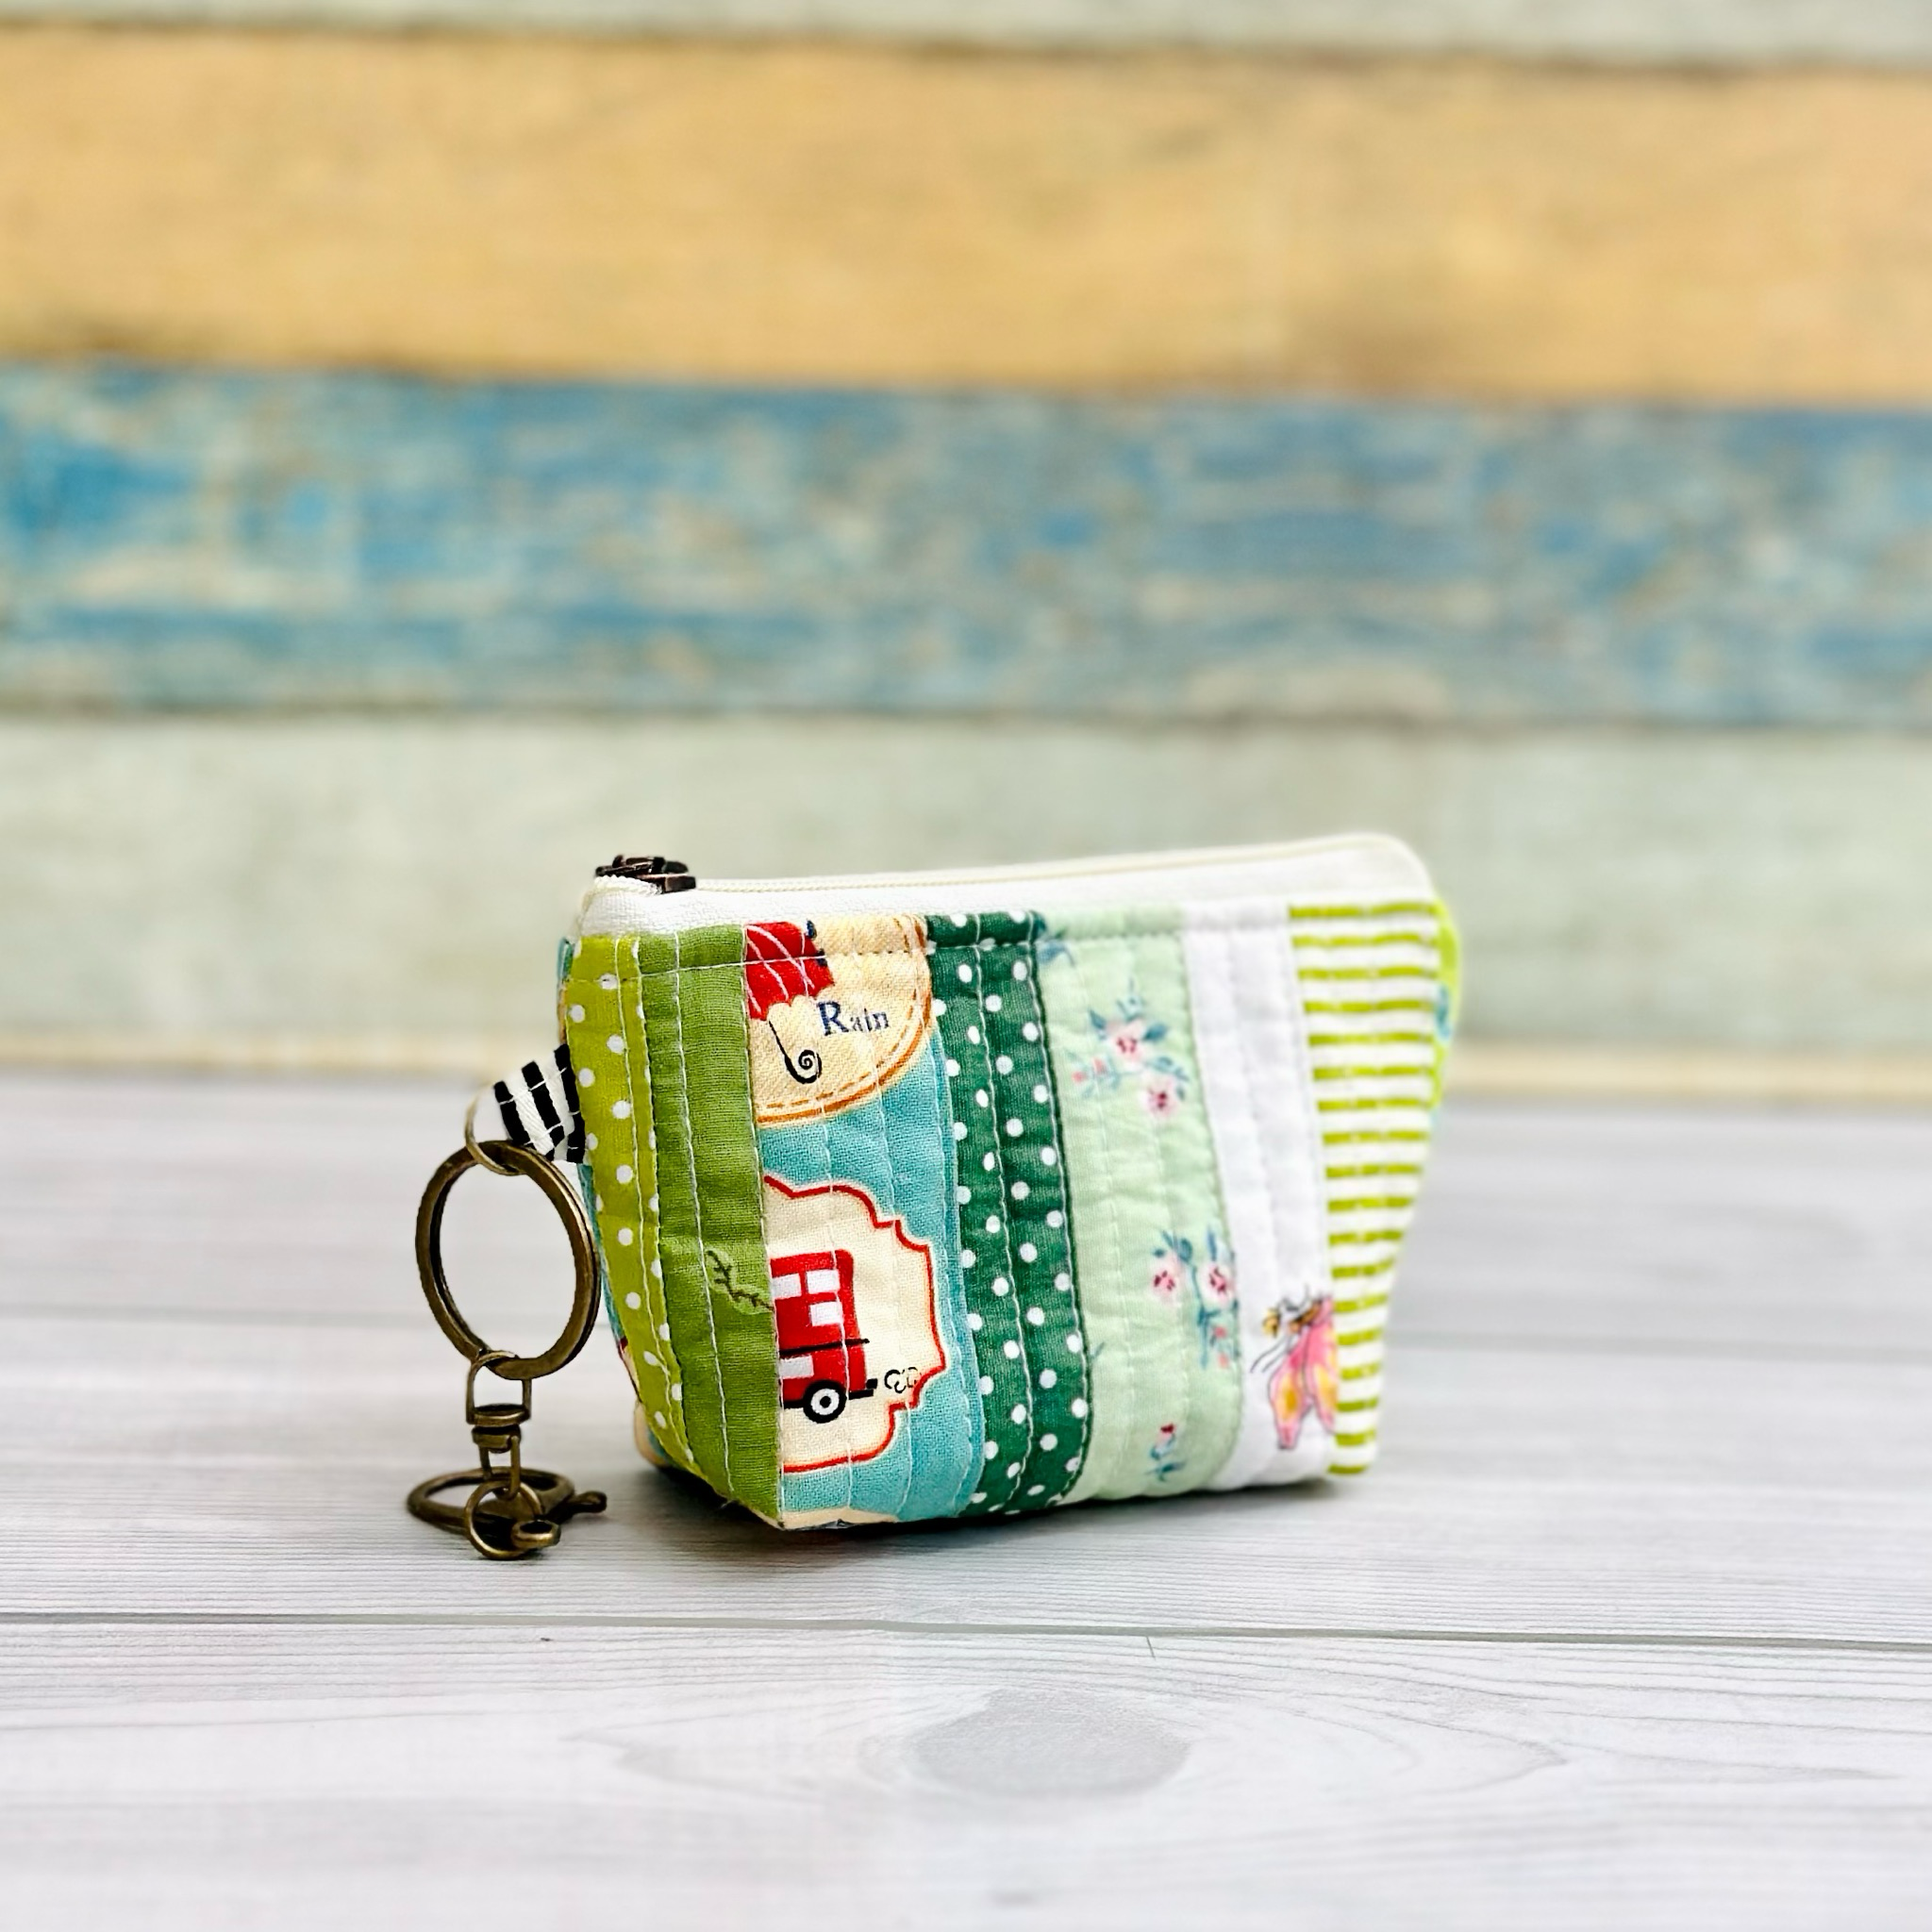
Working with scraps is always satisfying. I made these mini pouches using scrap from my wallets and other bigger projects. These mini pouches are really quick and easy to make. They also make a great gift for your family and friends. 

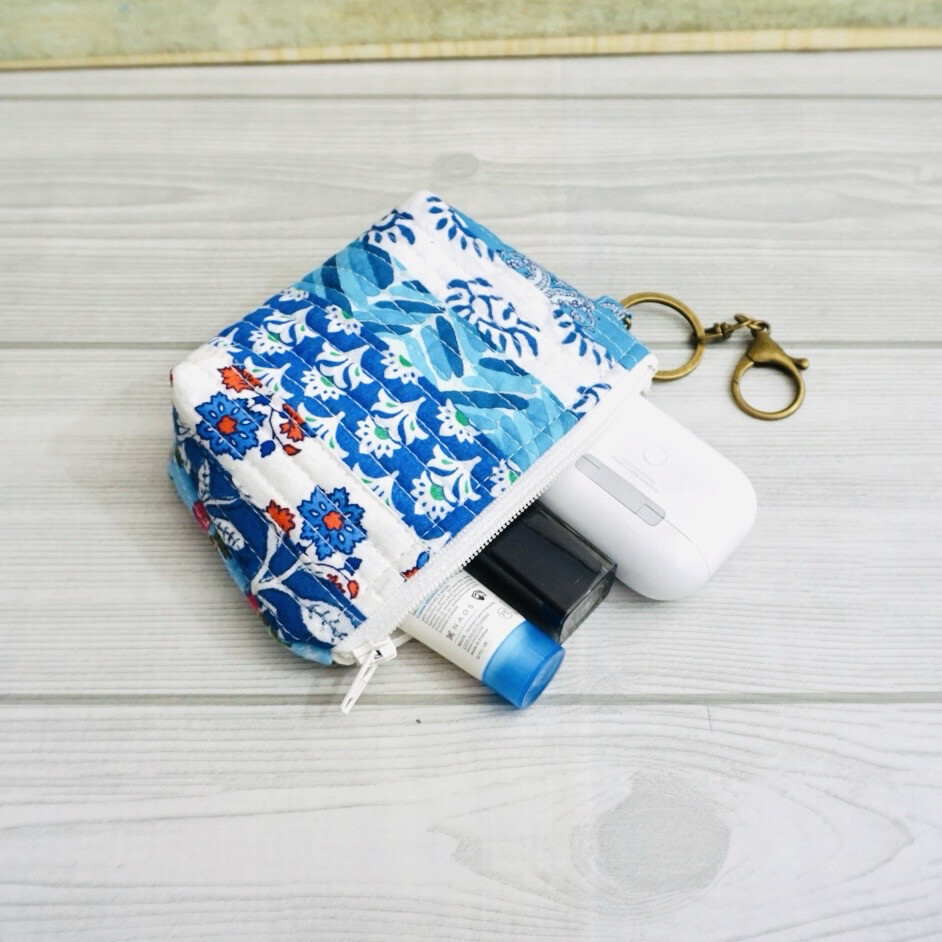
Blue Patchwork Pouch


The finished size is about 5" x 3.5" (13 x 8.5 cm). Just perfect for carrying small items, like chapstick, lipstick, small change or even AirPods and a phone charger. 


Here's the material you need: 

Templates - 6" W x 4.5" H (15.5 W x 11.5 H CM)
The box corners - 1" x 1" (2.5 x 2.5 cm)
Fabric strips in various widths 1" ~ 1.5" wide (2.5 ~ 4 cm) X  5.5" long (14 cm ) 
(the strip should be enough to make 2 patchwork panels measure 7" x 5.5" (18 x 14 cm)
Lining Fabric ( cut 2)  : 6" W x 4.5" H (15.5 W x 11.5 H cm)
Lightweight interfacing ( cut 2) 7" x 5.5" (18 x 14 cm)
Scrap Batting ( cut 2) 
All-purpose zipper #3 - 6" long  (you can use scrap zipper) 
0.5" D-ring 
D-ring tab - 2" x 2" (5 x 5 cm)
Keyring (optional)


Pink Patchwork Pouch


Green Patchwork Pouch


If you have many favourite scraps, this could be just the perfect project. Quick turnaround and satisfying project to make. 
Do let me know in the comment if you have any questions, I'll be glad to help. 


Resources: 


Thank you for stopping by today!

Happy Sewing!

Elvira

Scrappy Wallet Video Tutorial

 
Scrappy Mini Purse

Hello,

Over the last month, I've been quite occupied. Although I intended to write blogs on a regular basis, I never got around to doing it. However, with my younger son's half-term exams completed and my elder one returning to college, I finally have some free time to write! 

Today, I just wanted to share with you that I recently made some really cute mini wallets from scraps and even created a tutorial on my YouTube channel! These wallets turned out great and I think they could make awesome gifts, especially with the holiday season coming up. 


I found that using narrow strips with a maximum width of about 1.5" worked best for me. Personally, the narrower the better! All the details on how to do this are provided in the video, but if you prefer to read rather than watch, there's a written tutorial available on my website.


When making scrappy patchwork, color combination is crucial. If overwhelmed by choices, it's best to stick to single-color shades or a maximum of two colors, such as pink and green.

small wallet with lanyard


mini wallets with wrist strap


I also created a wrist strap that matches! You can find the tutorial for making the wrist strap on my YouTube channel as well. It seems that mini wallets with short lanyards have become quite trendy these days. What about you? What's your favorite scrappy project to work on?


Thank you for stopping by today!

Happy Sewing,

Elvira


Linking up to these wonderful BLOGS


Snappy Pouches


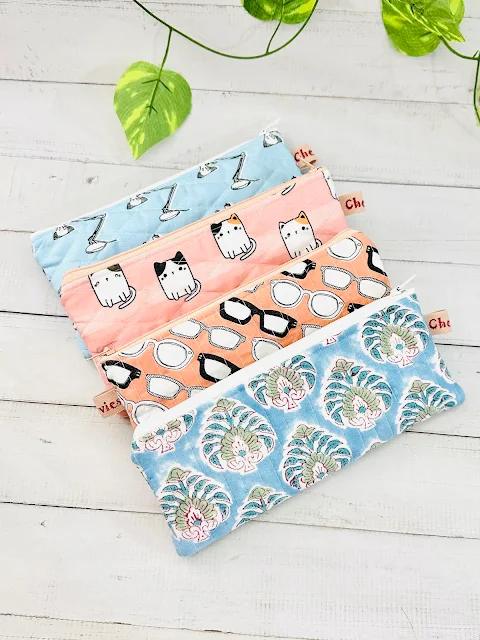
I need something to keep my wonder clips then I saw several tutorial about this snappy mini pouch. There are several technique to do it but I found this one the easiest.  (thank you Nancy-ssi for the tutorial)


I use my own measurements for this. Since it's pretty small, I decided to make several. It's always nice to have one handy for gifting, right? The blue cat  print is leftover from a passport wallet I did for a customer a few months ago. I thought I'd cut and added into my pre cut bin, but it was big enough to make this pouch :D

The blue and green is Indian fabrics. The leaf print blue is a handloom fabric, also leftover from passport holder and the patchwork print was a gift from a friend. 


The pouch is very cute and we can use it to keep many things, coins (the most popular), sewing kits , or like me to keep my wonder clips:)

I keep the other two for gift. 

It's always nice to learn something new, right?   Here's the video in case you want to make one too: 


Happy Sewing ^^

- Elvira -

This and that

Remember in my last post I made the test block for the quilt? No..no..I haven't started the quilt yet, instead, I made cushion cover for the swap in Desi Quilter's group. 


I love how it turned out
I really love line quilting, I tried different kind of decorative stitches but this is my favorite


I got a nice grey cotton fabric. It's a man's shirt fabric but hey, if the color match, I'm game, right? :D

 and use this polkadot and floral as backing. This was leftover from my tunic's fabric. 


*********

And few more finished this week :

Double zipper pouch for my son
he's been asking me to make one for him
so I thought, something that can hold his pencils, crayons, and whats-not that he always takes to school ^_^


and while I am at it, I just can't stash back the mickey fabrics. So, I made a mini tote with drawstring closure. It's padded and interfaced. I think it'll be good for my DSLR camera, or maybe use it as lunch bag, or errand bag or diaper bag? well, a girl can never have enough bags, totes, wallets....right?


and the remnants from the passport wallets, I made this cute little zipper pouch


and don't you love those little hearts? 
This definitely will become my favorite


I use fusible interface and thin batting for this wallet and love how it turned out.

So, what are you working on this week?

Until then,
Happy Sewing


Latest Fabrics

Latest Video