


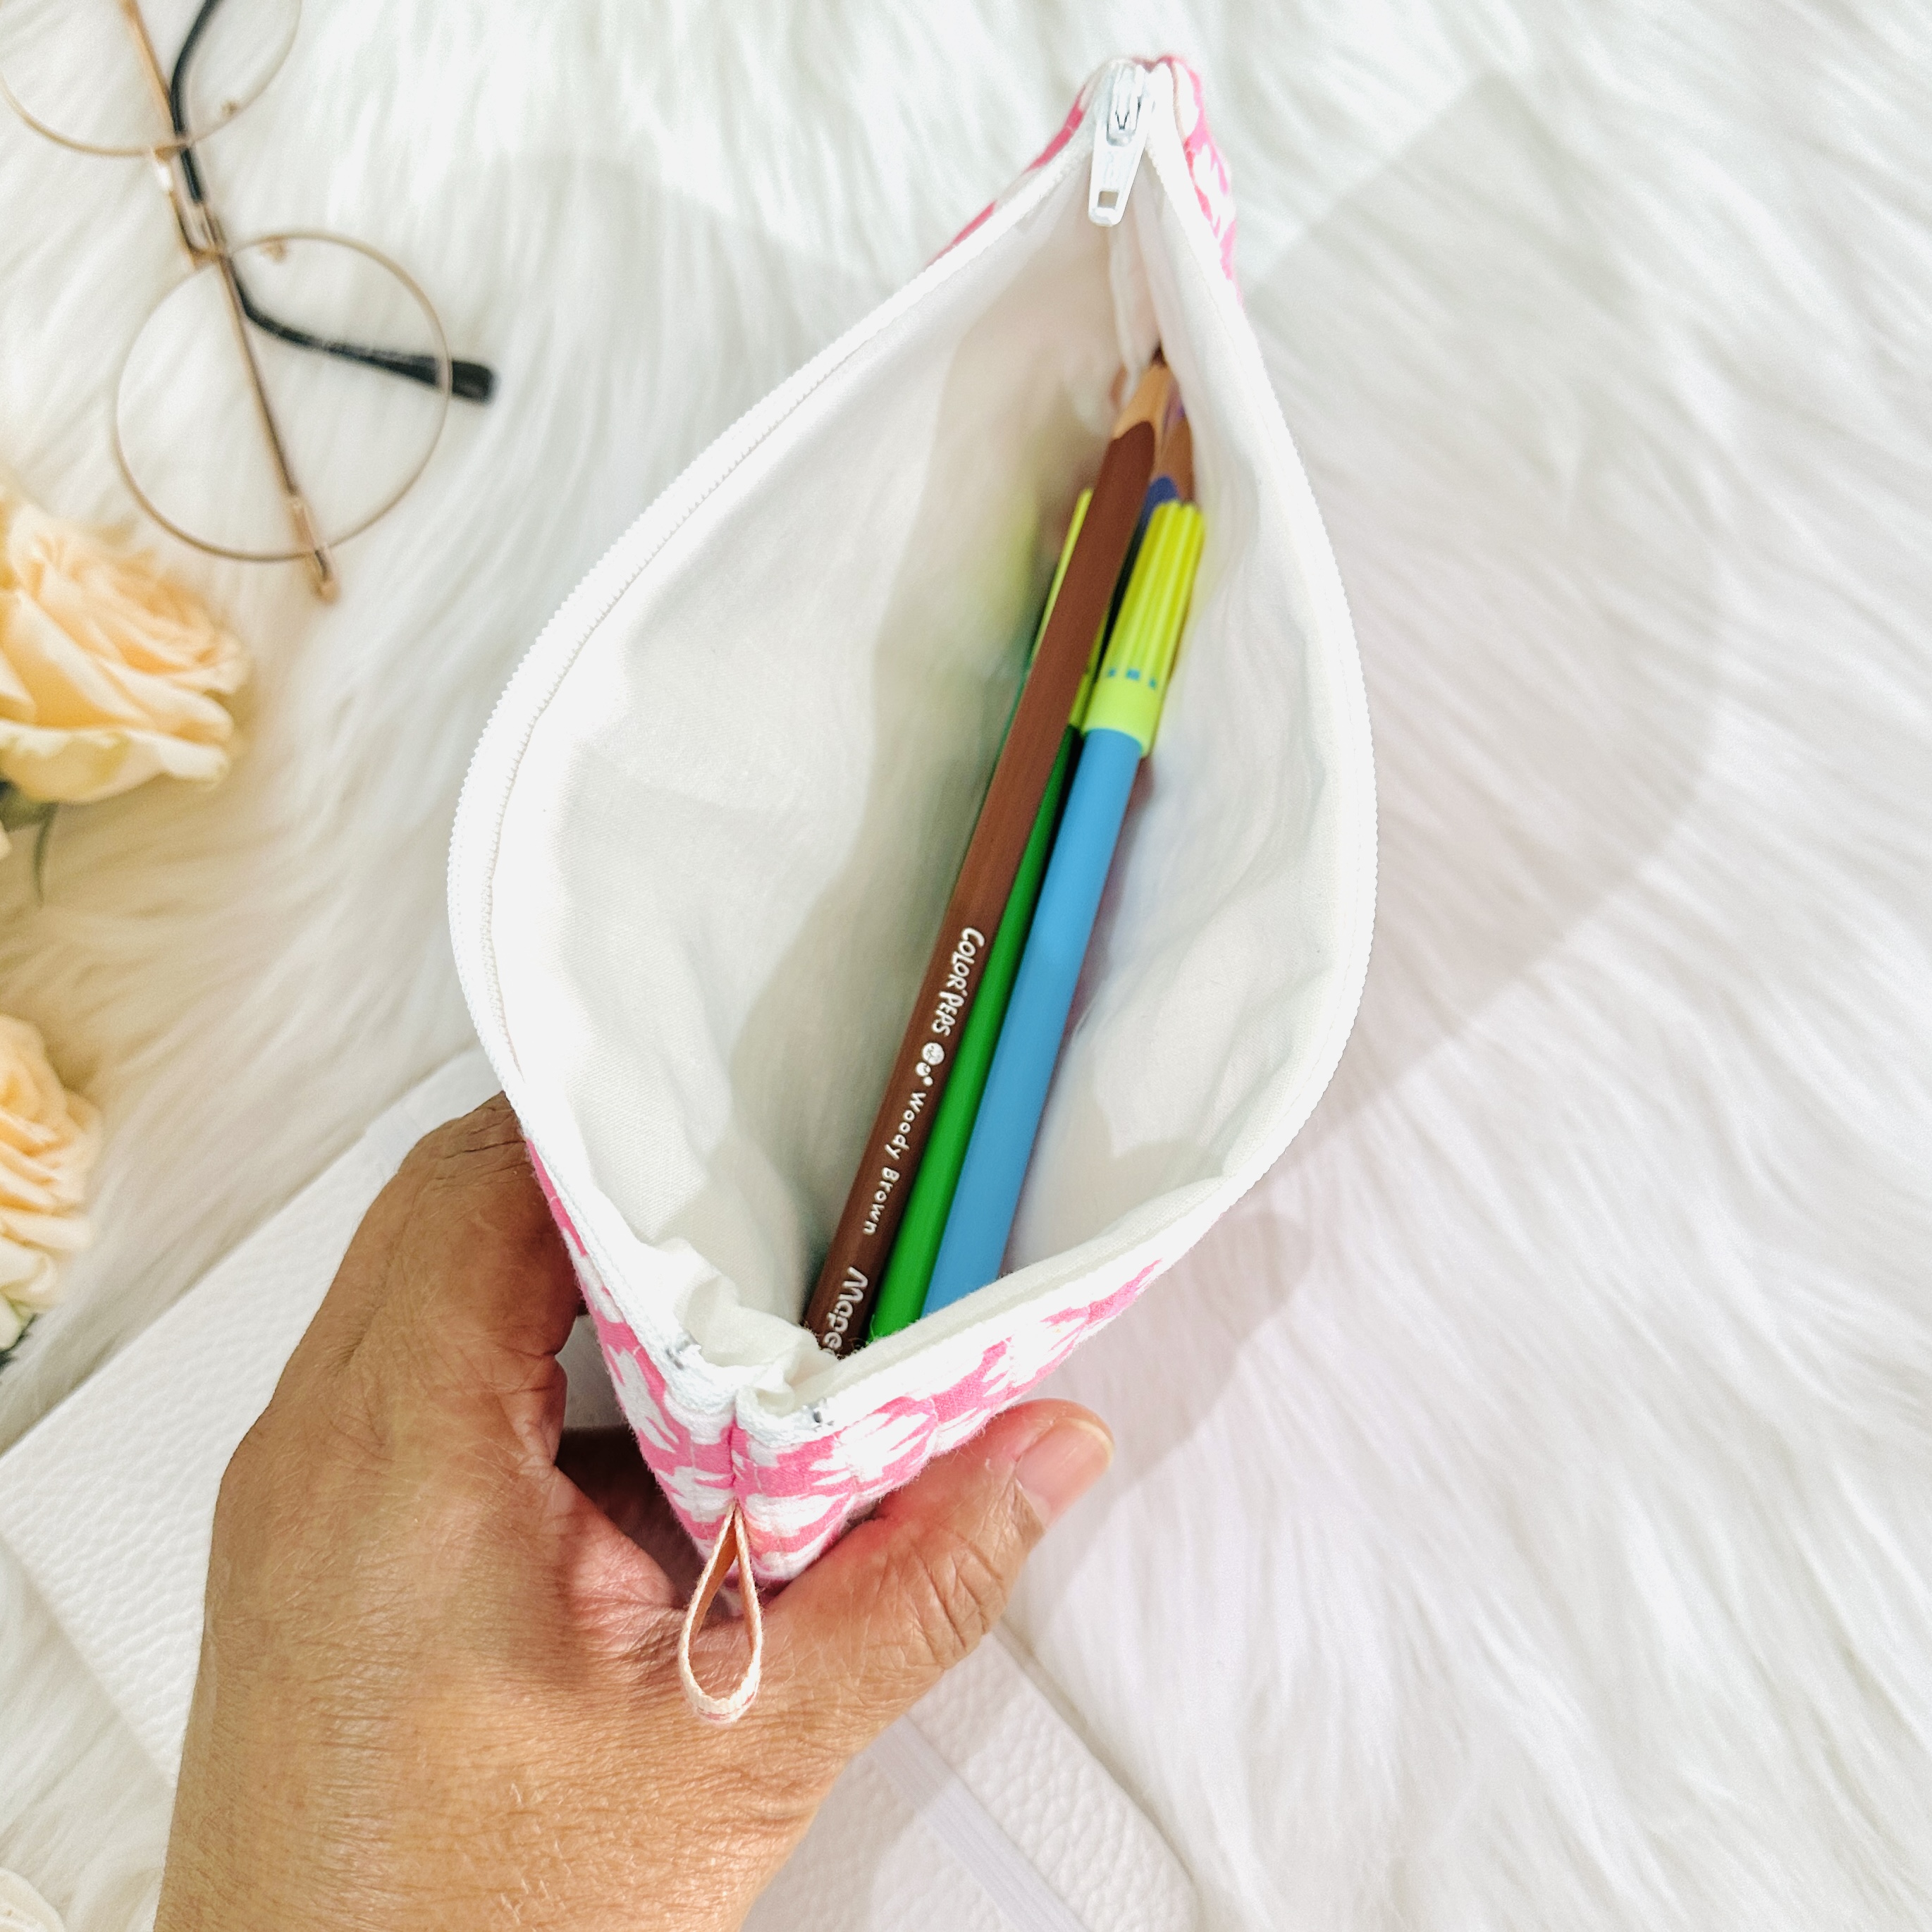
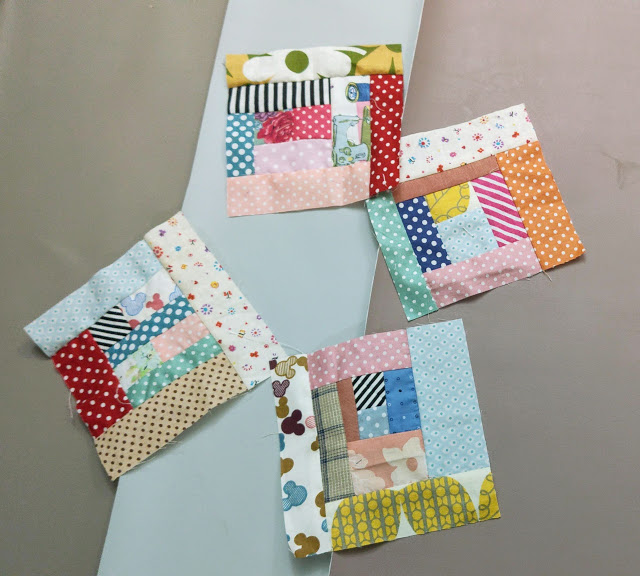
If you're looking for gift to make for the holiday season, you might like this Standing Pouch! You can use scrap fabrics or even orphan blocks to make this pouch.
I finally finished editing the video and now it's up on my Youtube Channel!
I upgraded my camera recently and I am still getting used to it. Even though it's not much difference from my previous camera but this is the first time I am filming the video. I forgot to use manual focus so there's a few de focus part in the video!
Any way, if you love turning fabric scraps into something beautiful and functional, the Lily Standing Pouch might just be your next favorite make. This compact quilted organizer stands upright for easy access, making it perfect for storing sewing notions, makeup, stationery, or travel essentials. And the best part?
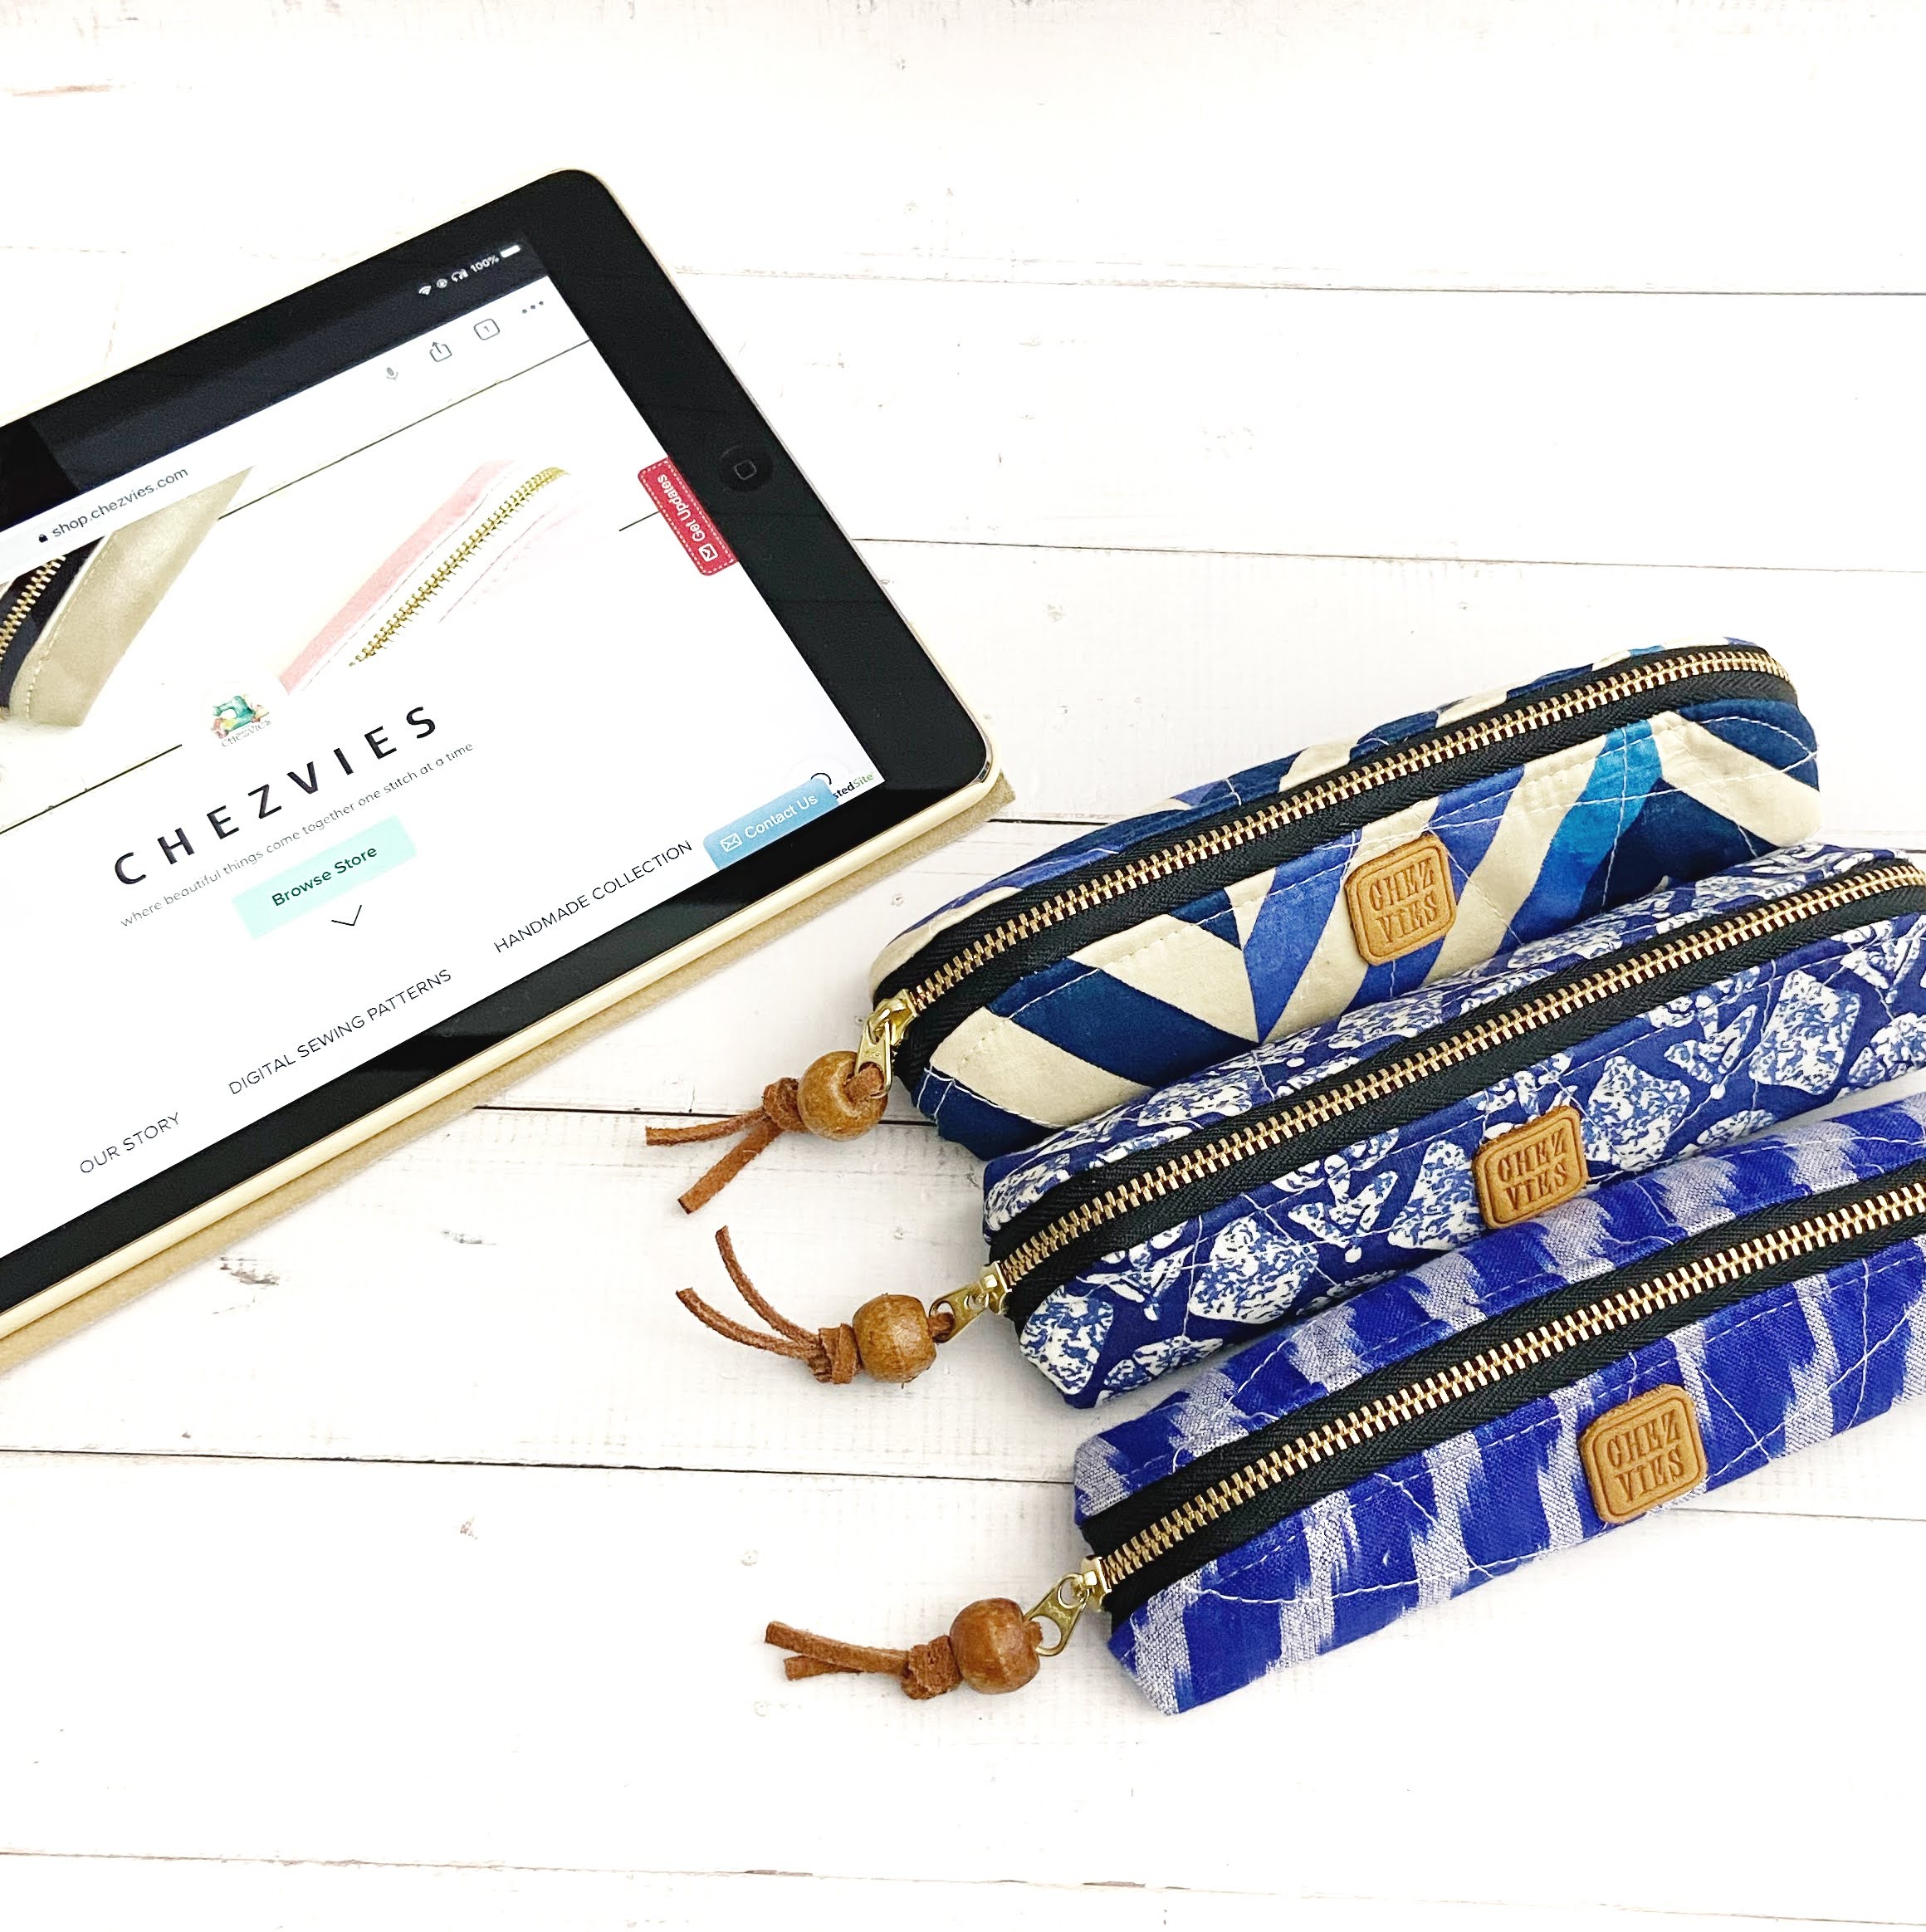
I provided the measurements in the video, but if you like more thorough step by step photos and instruction the PdF pattern is available for purchase at ETSY and my WEBSITE.
 |
| Sunbonnet Sue Standup Pouch |
 |
| Cute Penguin Standing Pouch |
The Lily Standing Pouch is more than just a project—it’s a celebration of slow-made values, creative reuse, and the joy of making something with your own two hands. The pattern is now on special price both on ETSY and WEBSITE until November 6th!
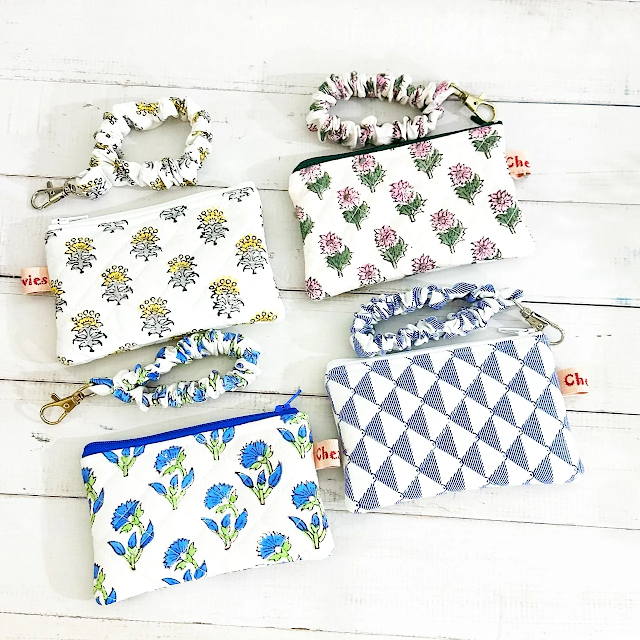
I made a few for orders in the last couple of months and received lovely feedback from my customers, this is one of them.

That's all for today. Thank you so much for stopping by and reading my blog!
Have a nice day,
Elvira


