 |
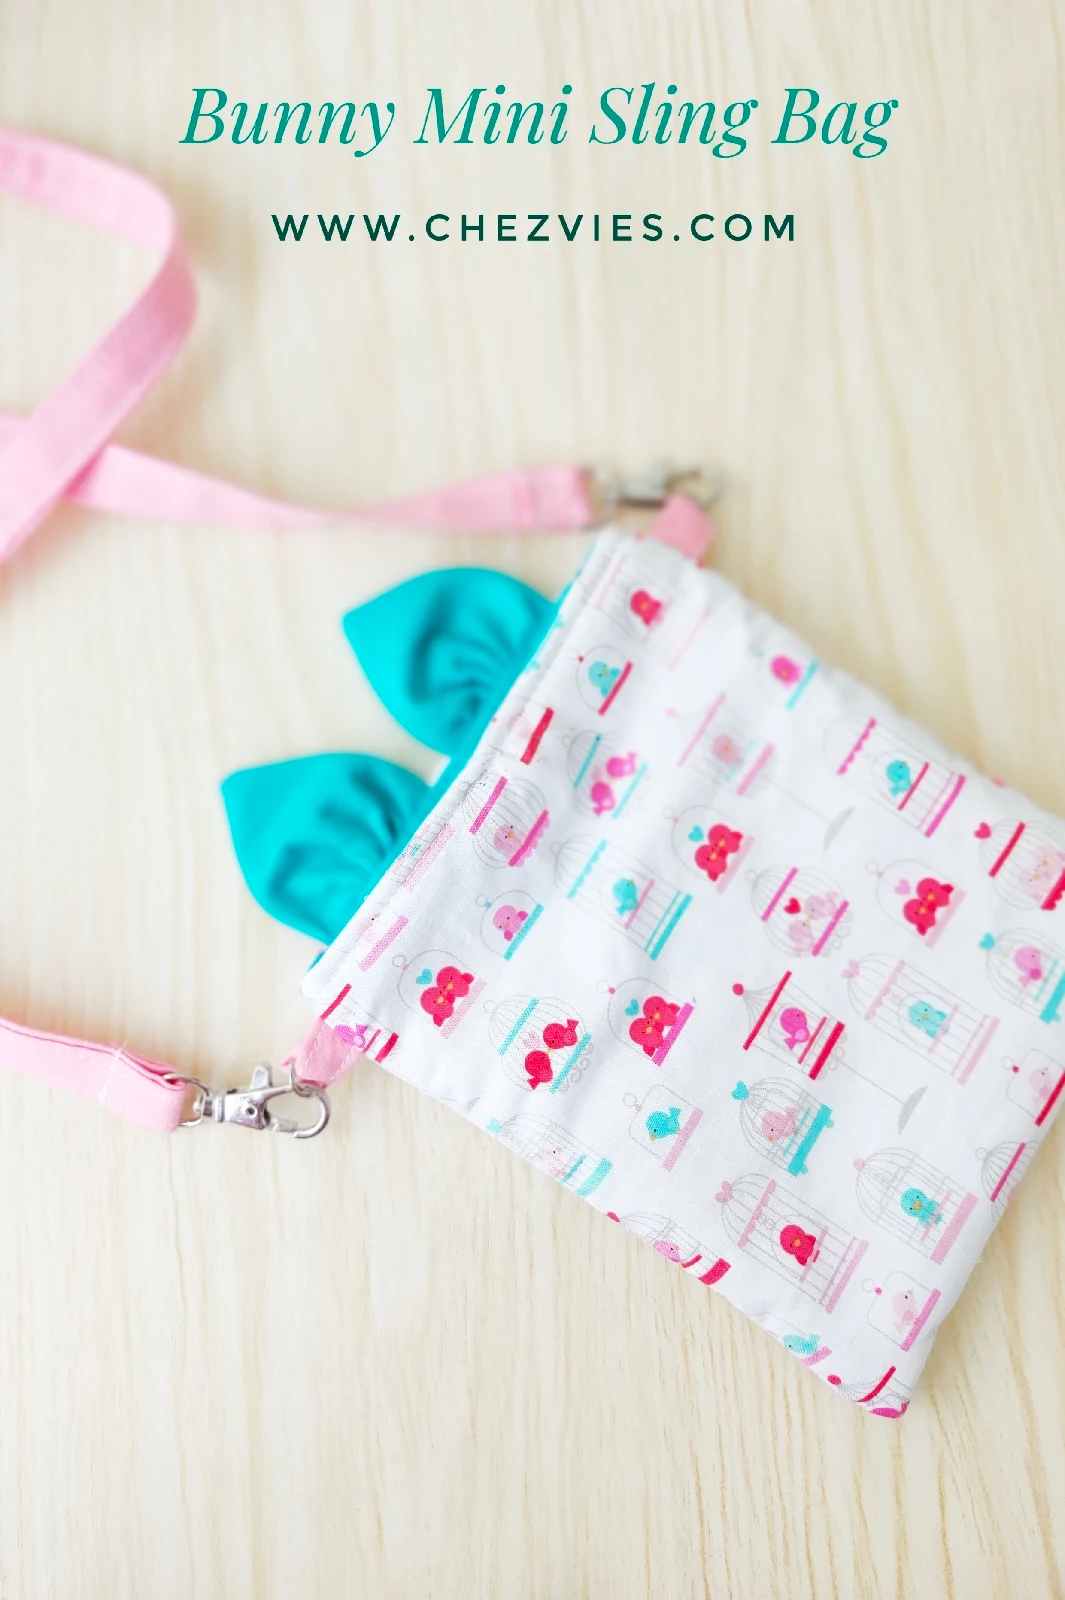
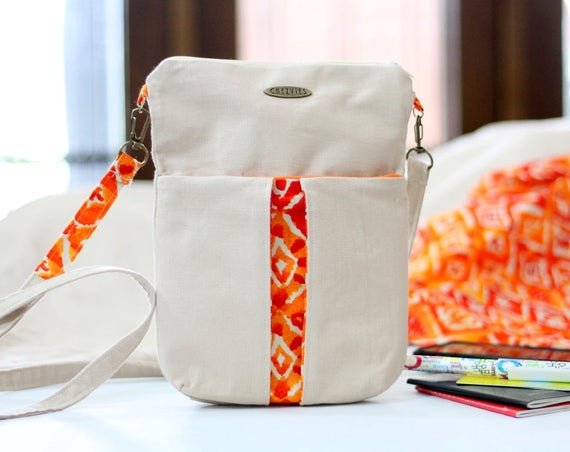
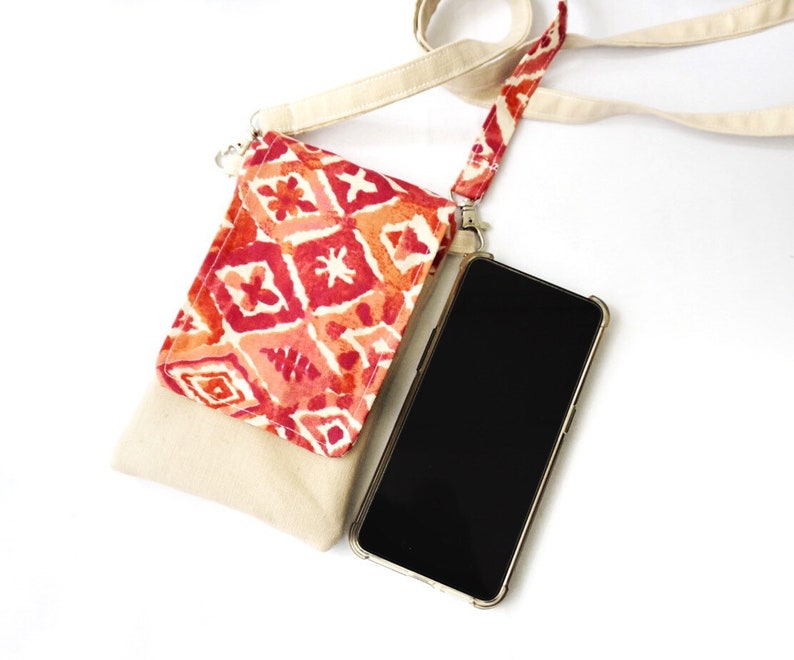
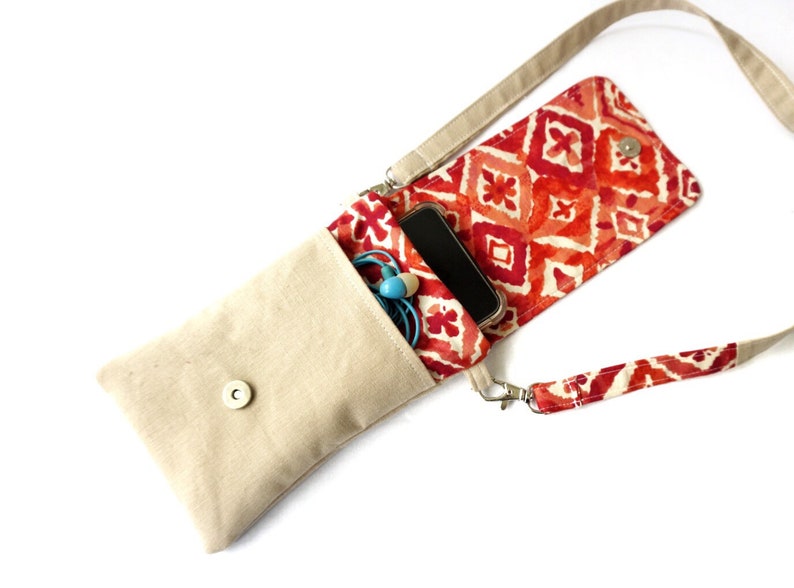
| Mobile Phone Bag |
Hello, finally the better version of the Mobile Phone Pouch Video Tutorial is now live on Youtube. Working on video is not easy and though the recording part is fun, the editing part is really hard for me. Or maybe I just need more practice:)
I made the video a few weeks ago, but only able to edit it recently. I hope you can learn something from the video.
The video was shot using my Sony WX500 which is quite convenient. If you see a slight movement in the video, that's because I put the stand on my sewing table. I should put it on another table next time. Well, we live and learn!

I've been mostly making face masks since March this year and I almost forgot how quickly this bag comes together. I really enjoyed sewing this bag that I have a few cut and ready to sew. (I still have to finish a few batches of face masks). Insha Allah after next week or so.
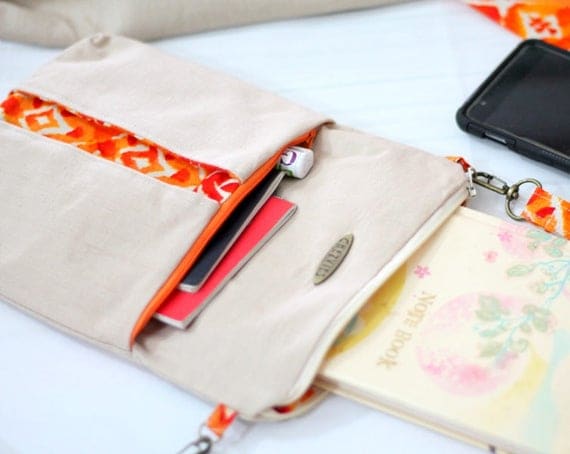
Pattern: Mobile Phone & Kindle Cover
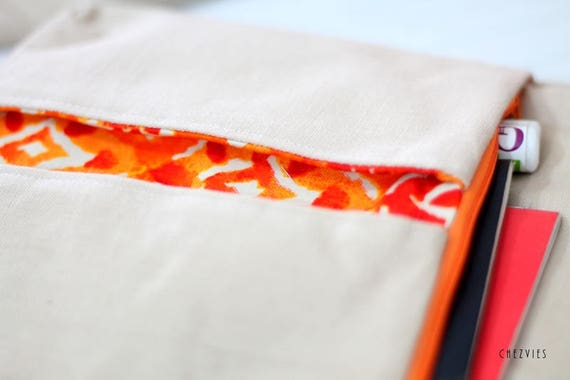
Fabric: Linen & Glace Cotton Fabric
Hardware: Magnetic Snap, Swivel Hooks.
Interfacing: All-Purpose Interfacing
Thank you for stopping by!
Stay Safe & Happy Sewing,
Elvira