Powered by Blogger.
Showing posts with label mini sling bag pattern. Show all posts

Mini Mobile Sling Bags


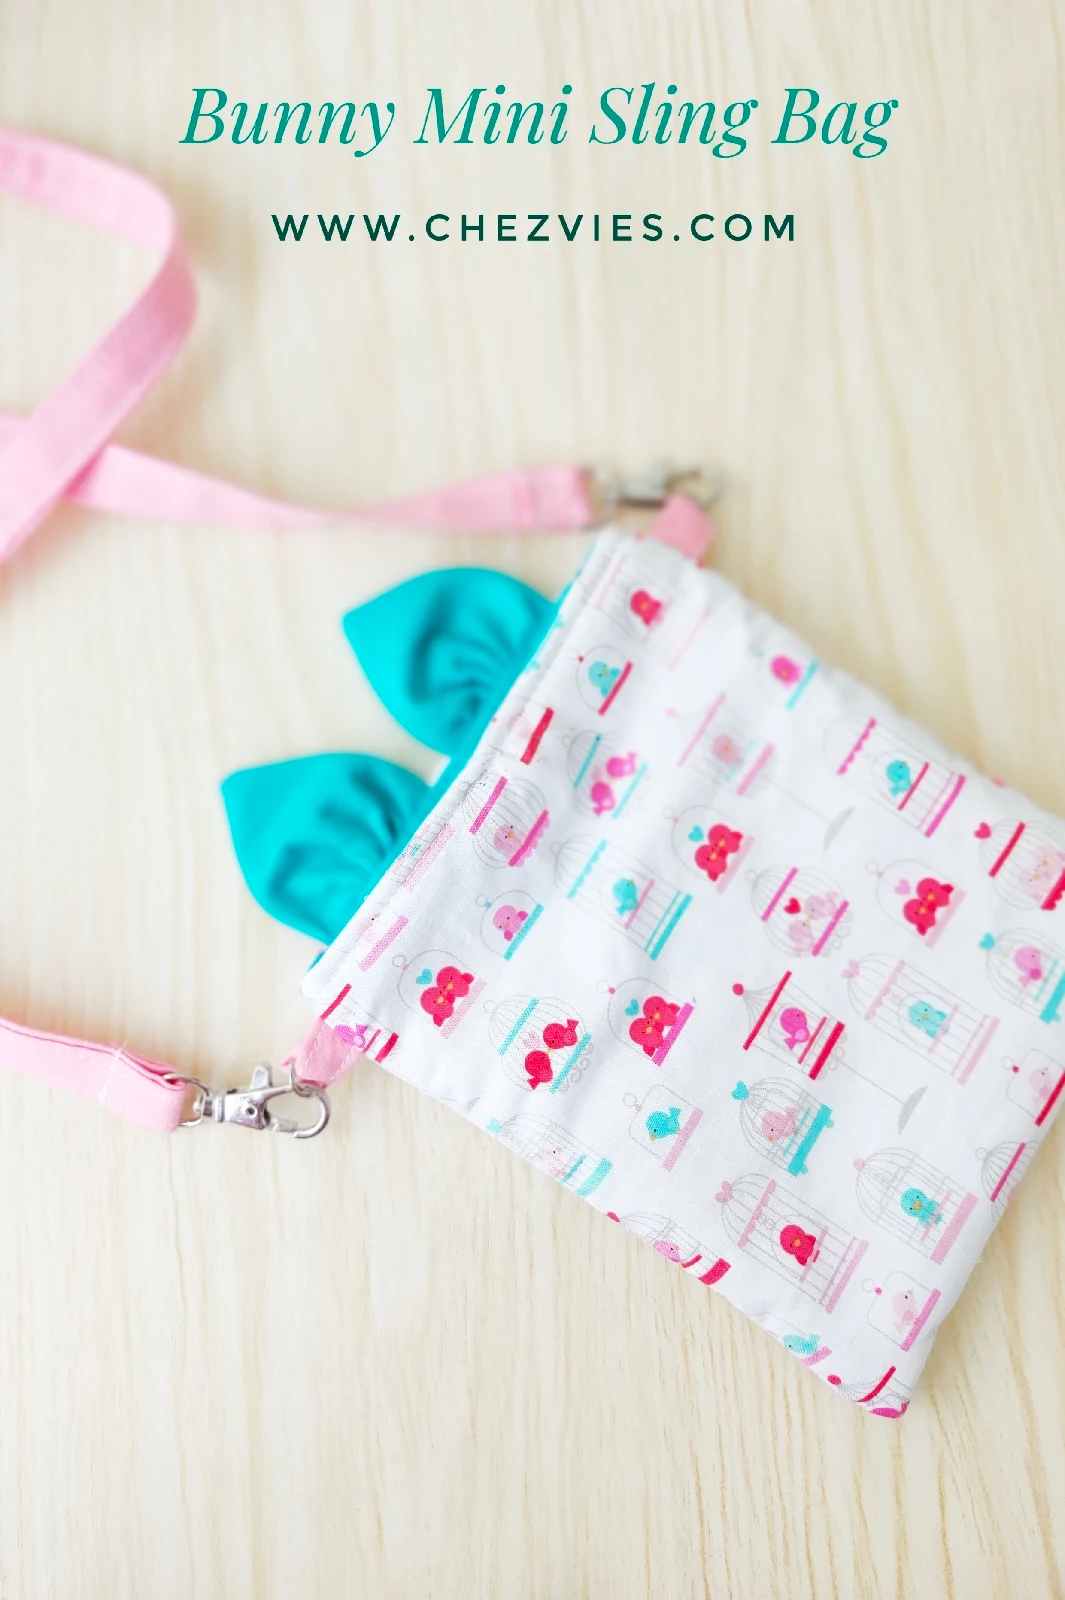
I've been working on a few mini mobile sling bags. This is one of my fave projects to make and gift.  I personally use it to keep my hard disc, to carry when I go for an errand, to keep my power bank, and even fit in my pocket camera (this is handy when I travel). 

One of my fellow Indian Etsy sellers asked me yesterday, how do I manage to do what I do? I really don't have a definite answer. I just enjoy what I am doing, sewing, embroidery,  quilting, making videos, tutorials, etc. But trust me, there's a lot of work before I posted an update on social media or blog. Like these Sling Bags, I started a few weeks ago. I am batching my work a lot and I have a box full of ongoing projects. Cutting, ironing, sewing, taking photos, editing and posting don't happen in one or two days. 


Sometimes, I don't get time to sew for a few days and when I am free at night I will not be in the mood to sew, that's when I pick up my hand sewing projects. 

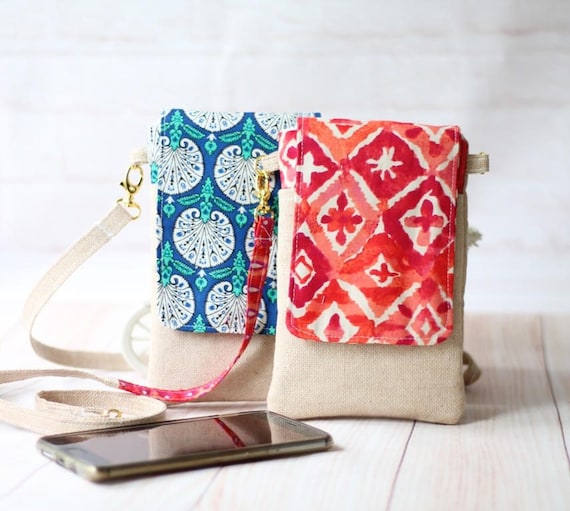
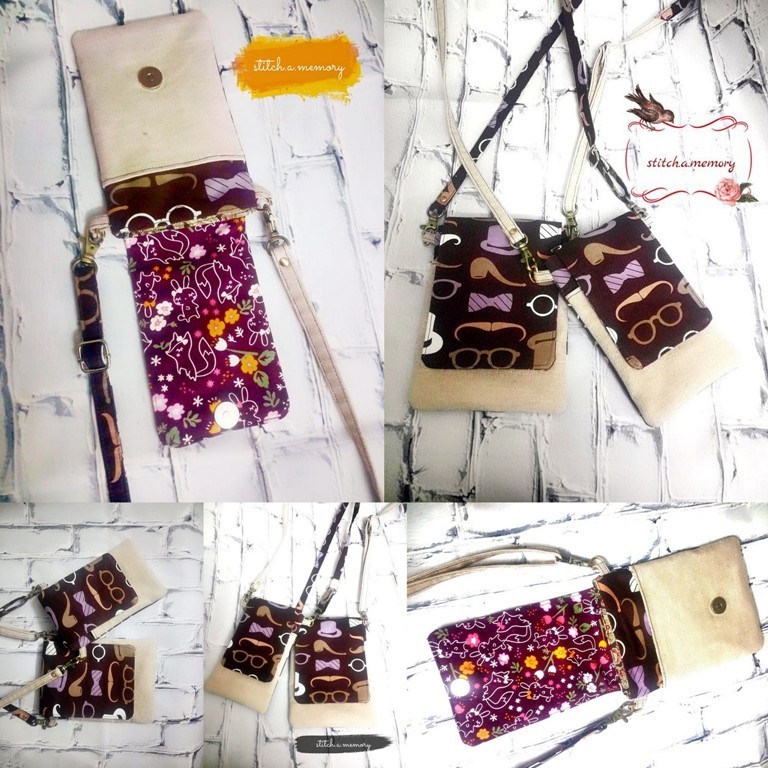
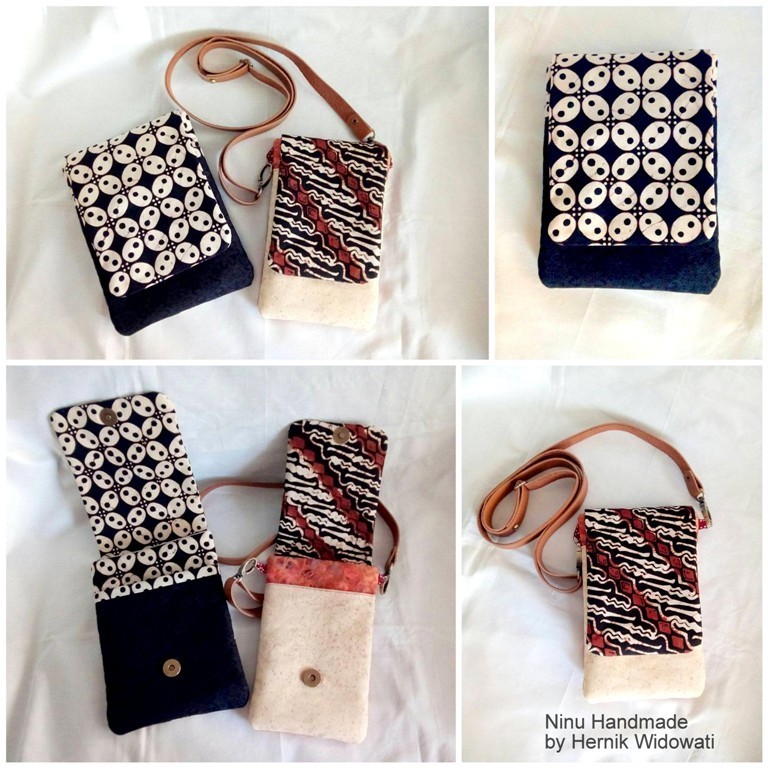
Anyway, here are a few mobile pouches cum sling bags that are available in my Etsy Shop as well as my Webshop. I ship internationally from my Webshop too. 

Green Paisley Phone Bag | ETSY | WEBSHOP

This time, I use some of my fave Indian fabrics and combined them with linen fabric. 


Brown Paisley | ETSY| WEBSHOP


This pink quotes sling bag is my current fave!  I got the fabric from my Japan trip Tokyo Quilt Festival 2 years ago and so glad I finally use it for this bag. 

Marie Curie Quote Bag | ETSY | WEBSHOP


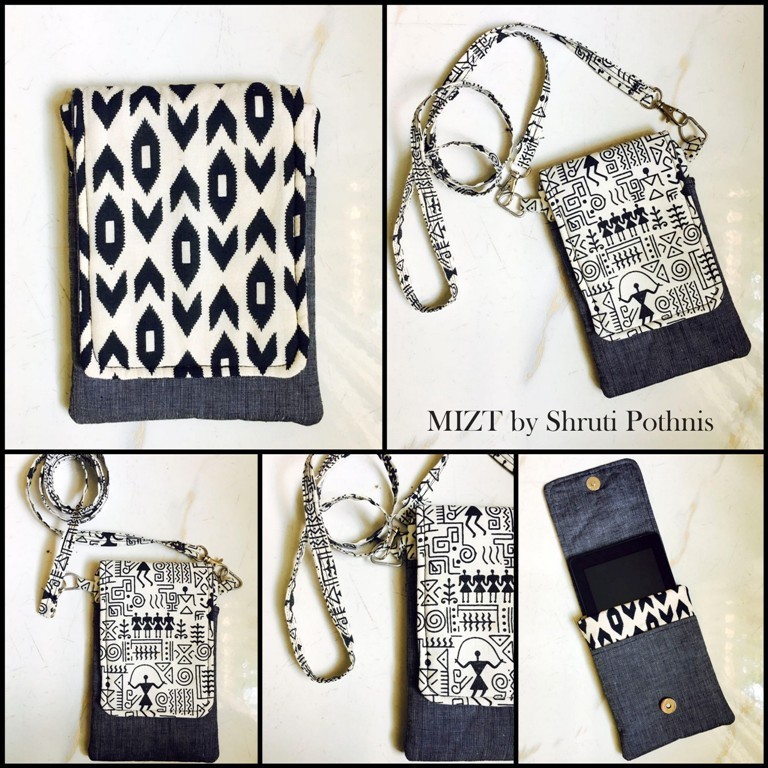
Blue Warli Phone Bag | ETSY | WEBSHOP

This is another fave from this batch of sling bags. Love the combination of floral print and stripe. The floral fabric is popular in my fabric shop. I have another combo in a similar print. 


The best thing about this sling bag is you can use it as a waist/hipster bag. I used to wear it as a waist bag a couple of years ago but now I prefer it as a  sling bag or just make a wristlet and carry it in my hand. 


 I am a bit tired today from making pre-cut batting. I really need to resume my exercise. I got a whole roll of 60 meters of cotton batting and since I don't have a place to keep the roll (it's 100 inches long), I decided to make 3 meters cut and if you're in India and looking for cotton batting, do check it out in the shop. Only have a few packs though. It's bleached cotton 150 GSM and 100 Inches Wide. 

Cotton Batting 


That's all for today. I hope you keep creatively busy and stay safe! Thank you for reading my blog!

Happy Sewing,

Elvira

Linking Up to These Wonderful Blogs


Bunny Mini Sling Bag for Toddler


Sewing for kids always brings happiness to me. So when my customer wanted a bag for her toddler, I said yes. She sent me a reference picture, a bag with bunny ears. Her daughter is only 2 years old so this bag is pretty small. I used the bigger size of the Mini Sling Bag pattern and trim the height a little bit. 

The picture below was the first set of ears that I did base on this bunny pencil case tutorial, but I was not happy. I found it too small. 


I remember I used to make flower brooch from fabrics, I thought that would be better for ears. I only need to cut the fabric larger. I cut 5" square fabric and cut them again to make 2 half square triangle. I used thin interfacing just to make the ears a little firm. Fold the triangle then sew the shorter side. Turn it inside out and hand stitch the straight side using running stitch and pull it tight and secure it. Tada! your fabric bunny ears are ready! 


Now place the ears on the bag exterior and make sure the ear's raw edges are placed at the edge. Baste stitch and you're ready to assemble the bag. 


Since I already sewed the sides seams of the bags, I decided to finish the bag using drop lining method. I little fiddly for a tiny bag but I managed :D.
I put the exterior bag in the lining, right side together, and clip it. I didn't trim the ears at this stage yet. 


Feed the bag under the needle and carefully sew using a 3/8" seam allowance. Once it's done, I trim the excess seam of the ears. 


Turn it inside out, topstitch the edge and voila! Bunny Mini Sling bag is ready to go! 


I really love how this turned out. I got this Riley Blake fabric for a long time and I'm so happy now I can use it. I hope this bag will bring happiness to her too! 

What do you think? What's your personal fave things to sew? Let me know in the comment below. 

Thank you for stopping by!

Take care & stay safe

- Elvira- 

****
Linking up to These Wonderful BLOGS

{TUTORIAL} Adding Zipper Pocket

Hello,

The last two days was euphoria for me. It's the first time I got published in an online media and that too on Ecwid Blog! I was contacted by them by email early this month and was so excited about it. You can read my Behind the Scene Story in Ecwid Blog. I hope I can inspire more mothers who decided to left 9 to 5 job and pursue her dreams.

adding zipper pocket tutorial

Now let's get down to the fun stuff. I got email from Patti, asking about how to add zipper pocket on the Phone Pouch. Thank you so much Patti!!
Adding zipper pouch is very easy. If you already got the pattern  here is what you have to do. (if you haven't,  you can get it at the end of this post)


After you cut all your Exterior, Lining and Interfacing pieces as per pattern instructions, cut 2 extra lining pieces of Main Panel.


1. Fuse the interfacing on to the wrong side of the back exterior piece. Mark 1.5" down on one of the short end and cut.

Mark down 1.5" 

Do the same with one of the lining piece.


2. Put the lining and exterior pieces right side together (see picture below) and sew with 1/4" seam allowance. Once done turn right side out and press the seams.

sew with 1/4" seam allowance

3. Take 8" zipper and place the lined exterior pieces you just made on both sides of the zipper. Refer to the picture for placement.


4. Top stitch close to the seam and repeat with another line of stitching, approximately 1/4" apart.


I used a leftover zipper and added a contrast color zipper pull. So fun!!

I hope you can see the double line stitching there. 
5. Now, take one piece of lining and place the zippered exterior panel on the lining. All right side up.


6.  Pull the zipper head to the middle and baste stitch all around. I love doing baste stitching instead of using pin or wonder clip. It's totally personal preference.


7. Trim the excess zipper and now your Main Exterior with Zipper pocket is ready.  


Once this part is done, you can proceed as per the pattern instructions. 

It's easy, isn't it? 

You might ask whether you should cut the main exterior piece - that you want to add zipper pocket - bigger? It's not necessary. The zipper will make up for the seam. But if you're not sure about the 1/4" seam allowance, you can cut the exterior piece and 1 lining slightly bigger. Maybe 1 inch bigger to be on the safe side. You can always trim it later.


While making this pouch, I also made the flap slightly rounder. YOu can do that too by drawing  a curvy lines like in the picture below. Use a bottle cap or  plate to draw the curve.

You can use this technique to add zipper pocket in any pouch or bag.


I hope you enjoy the tutorial. Let me know what you think about it and don't forget to share so others can learn too. Sharing is caring ^^.

Thank you for stopping by


Until then,

Happy Sewing

Like this tutorial? Subscribe to get more updates !


{NEW PATTERN} Smart Phone Sleeve & Kindle Cover

Hello,
I'm so excited to announce my new pattern! It's now available on special Price in  ETSY and CHEZVIES 

The phone pouch with a detachable strap is one of the popular items in my shop. I keep getting repeated orders since it's perfect for everyone.


Check out some of my generous Facebook and Instagram friends who's willing to test it for me. Thank you! xo 

Now let's see what these talented ladies have come up with!

Hanie of Arewhana  made this cute Phone Pouch and Kindle Cover. Red and blue never goes wrong. It's one of my fave color combos.


Sudesh Jangra of Stitch a Memory came up with this one too. Aren't they perfect as a gift for him? 


I love these classic Batik version by Hernik from Ninu Handmade  . She used a leather strap which made her pouch stand out more. Batik and Leather always perfect combo. 

Don't you love these cute Mickey Mouse pouch by Mini Nirmal of Totes N' Beyond


Divya from M'seams The Creative Stitches came up with pretty stars and beige combo. She said she takes the phone sleeve when she goes for her morning walk. Well, you can make one too!


Who doesn't love the classic black and white? More so if it has these unique prints! These beauties are from Shruti Pothnis, a dentist behind pretty bags at Miz T  Handmade .


And other unique Indian prints are used by Prabha Mathew of Quiltaholics.


This is a perfect pattern to use all those scraps you've been waiting to use. A great personalized gift to make or make for your next market stall or your Handmade Shop.

Why wait, grab the pattern now while it's still on Special Price. Valid thru This Weekends! No Code is needed.

Happy Sewing

-Elvira-


Latest Video