Powered by Blogger.
Showing posts with label DIY Sling Bag. Show all posts

Sewing Faux Leather Mini Crossbody Bag

India


Faux Leather Crossbody Bag

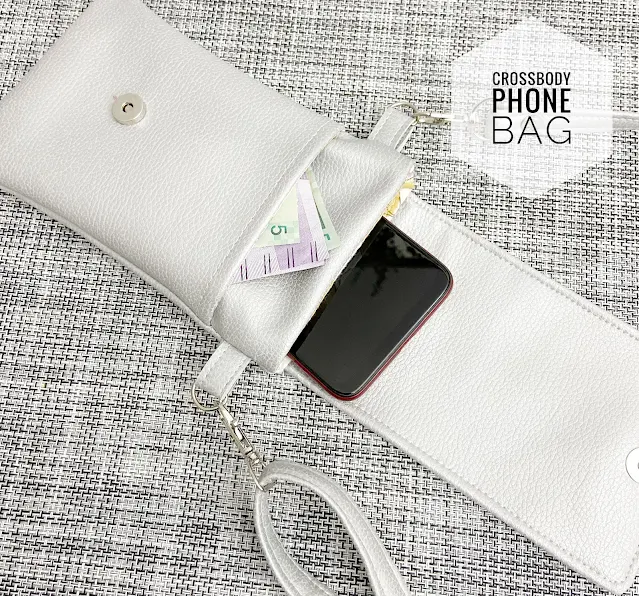
The most FAQ regarding the mini crossbody phone bag is "can I make it with Vinyl or Faux Leather?" Absolutely! So yesterday, I made one for myself and also recorded a short video as I sewed.


Sewing with faux leather is pretty fun, meaning I cut fewer materials and the result is always looking great! I used high-grade sofa leatherette that I bought from a local furnishing shop. It was pretty expensive but it's worth it! It's just the right thickness, pliable and a dream to stitch.

A few things to keep in mind when making this bag with Vinyl is to skip the interfacing and batting. So basically you cut fewer materials! Unless the vinyl is thin and soft, you might want to add lightweight interfacing for that.
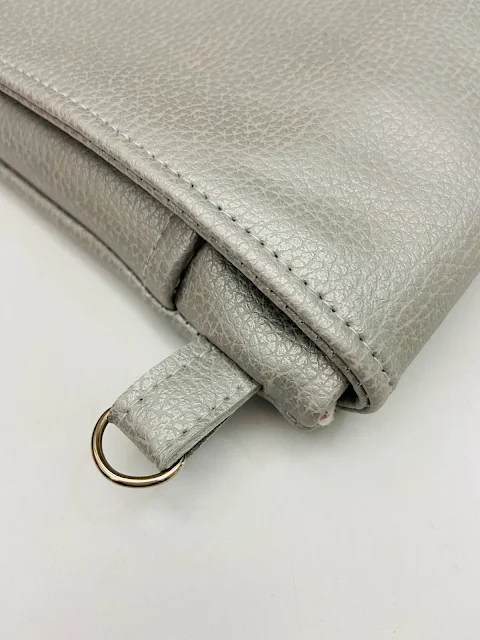
Another thing is to always double stitch the seam.


Vegan Leather Phone Bag
Faux Leather Bag

For the detachable long strap, I cut 2" wide x 58" Long faux leather. The finished strap is a little wider than 0.5" wide. 


As for the D-ring tab, I cut 2 of  0.5" W x 2" H faux leather. Put them on the wrong side together and just top stitch along the edges. I still have a lot to learn about sewing with faux leather. I have a couple projects in mind, but I still keep procrastinating a lot! 

Well, I hope these few tips will answer your doubts in case you want to sew the phone sling bag using faux leather. Do let me know if you have any questions, I will try my best to help you. 

Until next time, 

Happy Sewing! 

Elvira

===========


Bunny Mini Sling Bag for Toddler


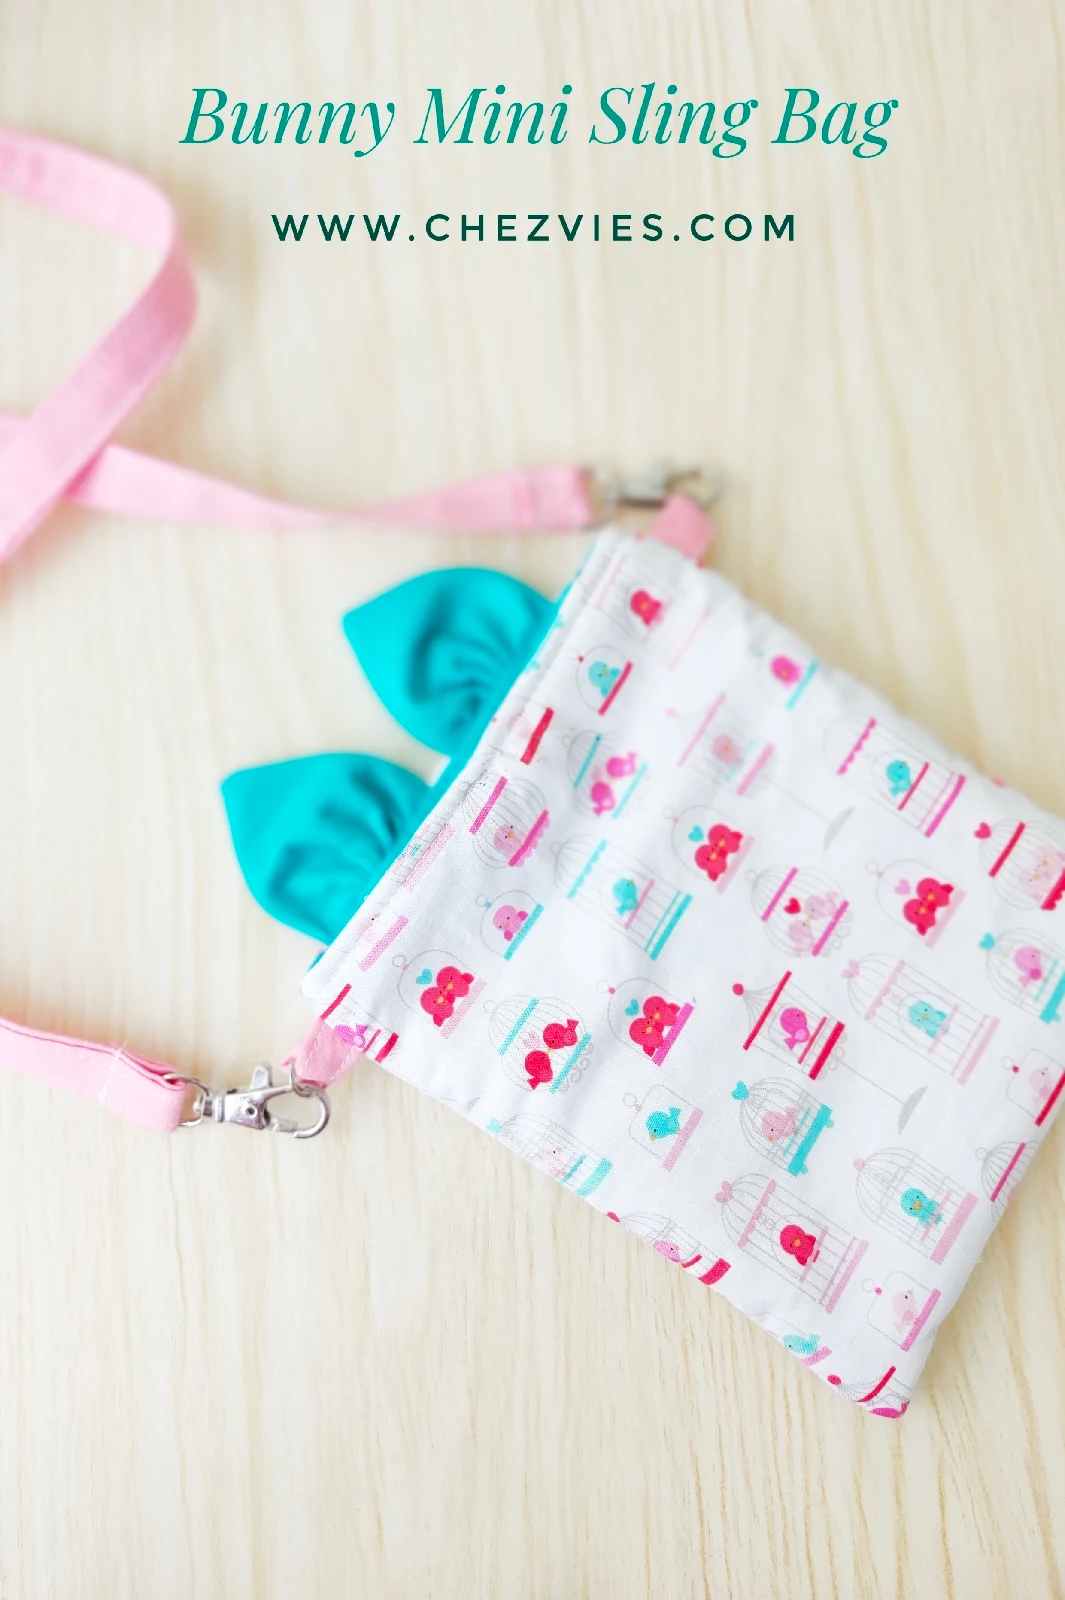
Sewing for kids always brings happiness to me. So when my customer wanted a bag for her toddler, I said yes. She sent me a reference picture, a bag with bunny ears. Her daughter is only 2 years old so this bag is pretty small. I used the bigger size of the Mini Sling Bag pattern and trim the height a little bit. 

The picture below was the first set of ears that I did base on this bunny pencil case tutorial, but I was not happy. I found it too small. 


I remember I used to make flower brooch from fabrics, I thought that would be better for ears. I only need to cut the fabric larger. I cut 5" square fabric and cut them again to make 2 half square triangle. I used thin interfacing just to make the ears a little firm. Fold the triangle then sew the shorter side. Turn it inside out and hand stitch the straight side using running stitch and pull it tight and secure it. Tada! your fabric bunny ears are ready! 


Now place the ears on the bag exterior and make sure the ear's raw edges are placed at the edge. Baste stitch and you're ready to assemble the bag. 


Since I already sewed the sides seams of the bags, I decided to finish the bag using drop lining method. I little fiddly for a tiny bag but I managed :D.
I put the exterior bag in the lining, right side together, and clip it. I didn't trim the ears at this stage yet. 


Feed the bag under the needle and carefully sew using a 3/8" seam allowance. Once it's done, I trim the excess seam of the ears. 


Turn it inside out, topstitch the edge and voila! Bunny Mini Sling bag is ready to go! 


I really love how this turned out. I got this Riley Blake fabric for a long time and I'm so happy now I can use it. I hope this bag will bring happiness to her too! 

What do you think? What's your personal fave things to sew? Let me know in the comment below. 

Thank you for stopping by!

Take care & stay safe

- Elvira- 

****
Linking up to These Wonderful BLOGS

Latest Fabrics

Latest Video