Powered by Blogger.
Showing posts with label Nuno Small Wallet. Show all posts

Last week recap

small zipper wallet


Last week has been pretty busy for me. I finished a few order, working on a new stuff and also working on my website. 


1. This Sunbonnet Sue wallet is now done and delivered to Tamil Nadu. It's been a while since I made Nuno wallet. I was looking at my Nuno wallet WIPS yesterday and I really need to start making more! 


Here's the behind the seams video!


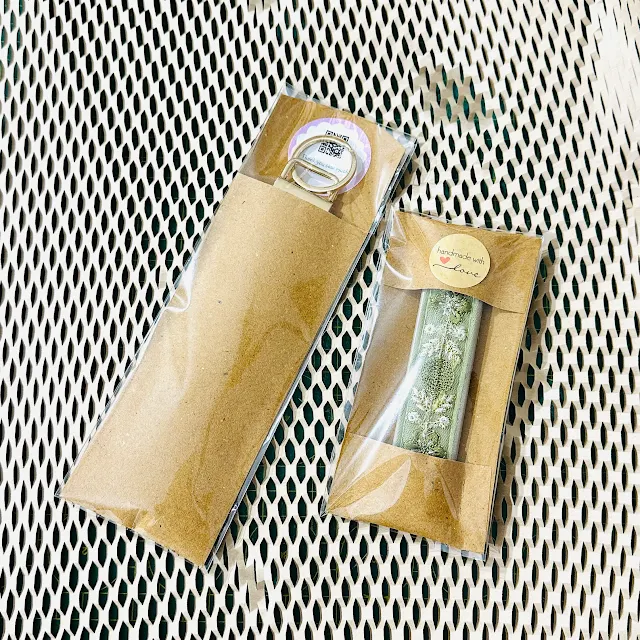
2. Trying out a couple more of DIY packaging for the keychains. I got the ideas from Instagram reels and Youtube Shorts. I think I like the one on the right with the part of the keychain exposed in the middle. What do you think?

faux leather keychains
Handmade Keychains


3. I finally bought Eco Tank inkjet printer and also bought HTV paper. Now I can make my own Iron on label and also do personalization for wallet. Here's the first one! I kinda like this result. 
I was thinking to buy Cricut but it's a bit too high for my budget right now. This Epson printer works perfectly for me for now. Can't wait to do more personalization! 

Personalised passport wallet
Personalized Family Passport Wallet


4. Sending out a few fabrics orders too! 

Hand woven shot cotton fabrics

Floral cotton fabrics
Floral Hand Block Print Fabrics

More block printed fabrics


5. A few random stuff!  

Don't throw the selvage, use it as ribbon substitute for hanging tag! I kind a love it :)


Trying out new Indonesian Caramel Cake recipe I saw on Instagram! It turned out well and hubby loved it! 


Had a meeting with Indonesian ambassador when she visited my city. She wanted to meet a few Indonesian who lives here (there are only 3 of us!!) and received lovely souvenirs from Indonesia! We had a lovely dinner and catching up on several news and issues. I am feeling very grateful. 


That's all for today, thank you so much for stopping by! 

Have a nice day,

Elvira

Mini Pouches, Fabrics and The Goats


Blue Floral Keychain Wallet


This week I am a bit relaxed. I did a lot of cleaning and organizing in the sewing room and finished a couple of wallet orders. Clean table makes me more inspired to sew. Actually I tried to clean up after making orders,  but when working on several orders and projects, it's just too bothersome to clean up everyday. I tried, but always failed. So now I stop trying haha. I will put the piles aside and will clean it up at least once a week. 


Once in a blue moon, my table is clean


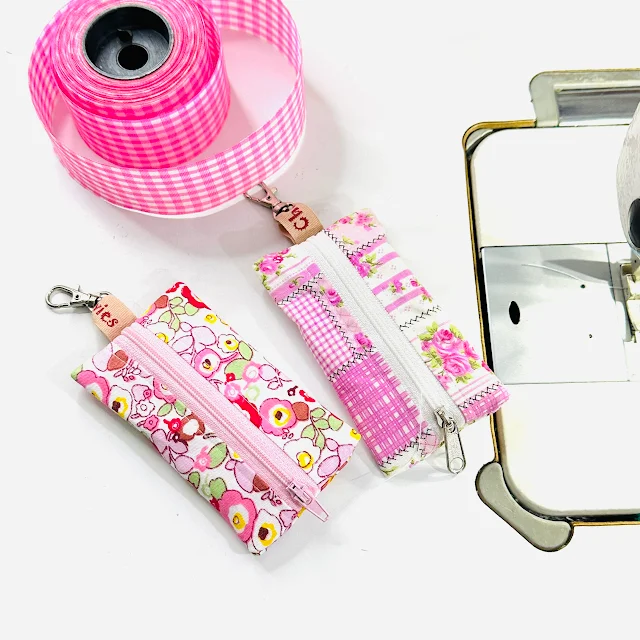
This week I made several Twinnie pouches, a few for orders and the rest to keep as ready to ship in my Etsy Shop. Even though it's quick to sew, but it's really helpful when I have a few wallets ready to ship. The pink patchwork pouch is one of the best sellers. I have one more set in the shop now. 


Mini wallet

Mini keychain wallet
Floral Keychain Pouches 

I also finished Nuno Wallet order in this lovely green floral. The fabric is from Rifle Paper co. Sometimes I posted a short video on my YouTube Channel when I am hand stitching the wallet binding and a few weeks ago someone asked why I hand sew it. Sewing the binding by machine makes me nervous actually and frankly, I prefer to hand sew the binding as it always turned out neater. 


Handmade zipper wallet
Green Floral Wallet


*****

This week I also take a couple of fabric photos  to be listed in the shop. I still have a few fabrics which I recently procured but have not got time to take photos and edit it. Nowadays I mostly take photos using my iPhone as it's easier for me to edit and upload it. Here are a few that I recently added in the shop. 
These fabrics are 100% cotton. Sometimes I kept aside a few prints that I love, and recently I got a few tops made. I'll take photos next time I am wearing them. 


Red Hand Block Print Fabric

Biscuit Beige Hand Block Print Cotton Fabric

Small Floral Print

Green Floral Cotton Fabric


I shipped a few orders too this week. When shipping out orders, I try to keep it as simple as possible to minimize the cost since most my orders are for foreign buyers. And I try to use more eco-friendly packaging and  use as minimal plastic as possible, but considering the weather and the distance, this is the best I can do right now. My recent favorite is using this honeycomb paper bubble wrap. 


my DIY Packaging for Keychain :)


Minimalist fabric packing - Pink Fabric 


My friend, Eva, also came to visit us this week with her two adorable daughters. The younger one especially loves animal and we took her to feed the goats some breads. The goats (Karan and Arjun) loves eating bread. In the end, she also gobbled up a slice of bread. She's just too cute. Many children scared of animals, but this little one was just rushing and eager to play with the goats and the cows. It was one fun afternoon. 


That's all for today. Thank you so much for stopping by, I hope you enjoy reading my blog. 

Have a nice day!

Elvira


More Patchwork Wallets

Red Patchwork Wallet


Hello,

For the past couple of weeks, I have been having fun making small wallets. I made more patchwork wallets too using scraps from other wallets like the one I shared in my previous post. I think I am keeping one of them for myself as I haven't changed my wallet in the past 3 years.

Last week I made 3 wallets in brown color. One was patchwork and the other two were from patchwork print fabric.


Patchwork Wallet
Nuno Small Wallets


Well, creating your own patchwork panel is more fun of course, because we can mix and match whatever we fancy. Someone asked me on Instagram how to mix and match colors for patchwork. I think the best is to follow your instinct. At the end of the day, the patchwork that you created is a reflection of who you are, an extension of yourself as a crafter.

For me, sometimes it takes me 5 minutes to come up with the combo that I like, sometimes it takes a few days and a few patchwork tops that I am not happy with (that will go to my orphan block bin).
Here is another patchwork wallet I made using Rosie Wallet patterns. When making a quilted wallet, we need to adjust the combination of interfacing that we use. I talked about it in this Video. It may take you a couple of trials and errors before you find the combo that you like. Everyone has personal choices. Just do what you like best!


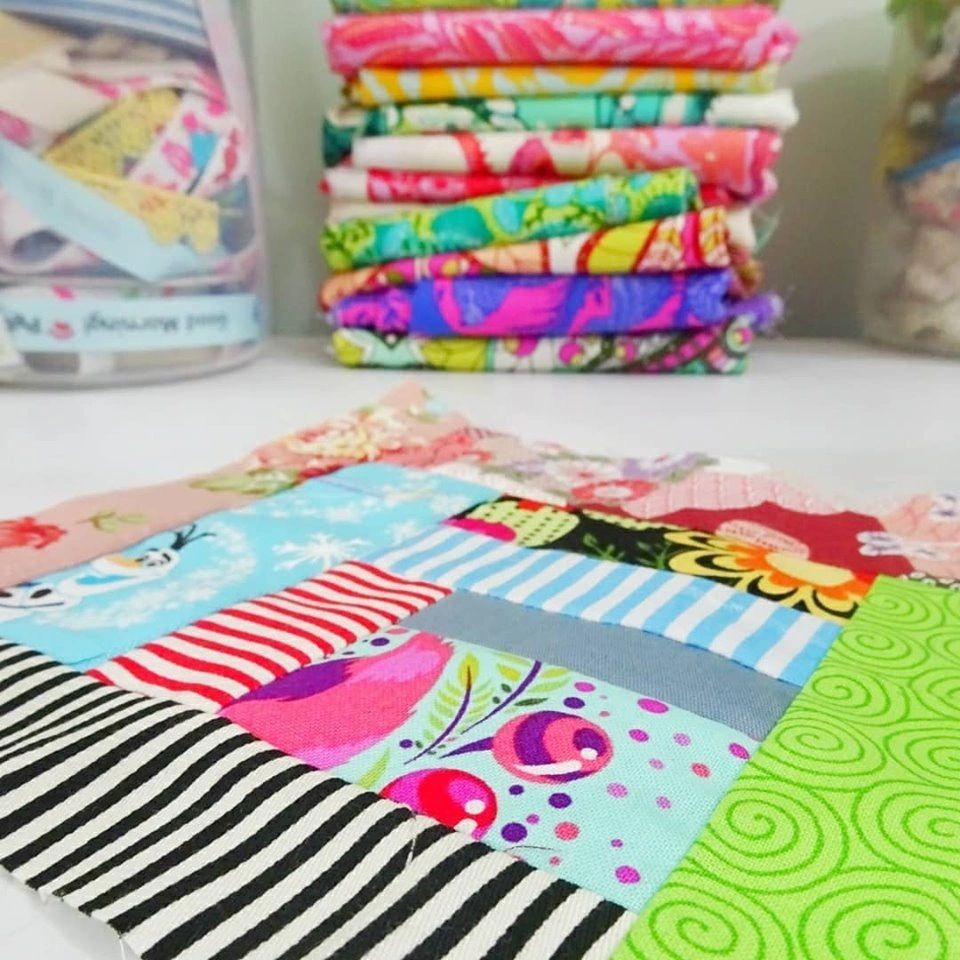
Making these patchwork wallets is addictive! Sometimes when I feel uninspired, I just dig into my scrap bin and make small patchwork panels. Many of them are still in my WIP bin. They are in various sizes. Now I have to find a suitable project for them.


That's all for today, have a nice day!

Happy Sewing!

Elvira


Pattern Update: Adding Zipper Coin Pocket on Nuno Wallet

Nuno Wallet with Zipper Pocket 

Hello, 

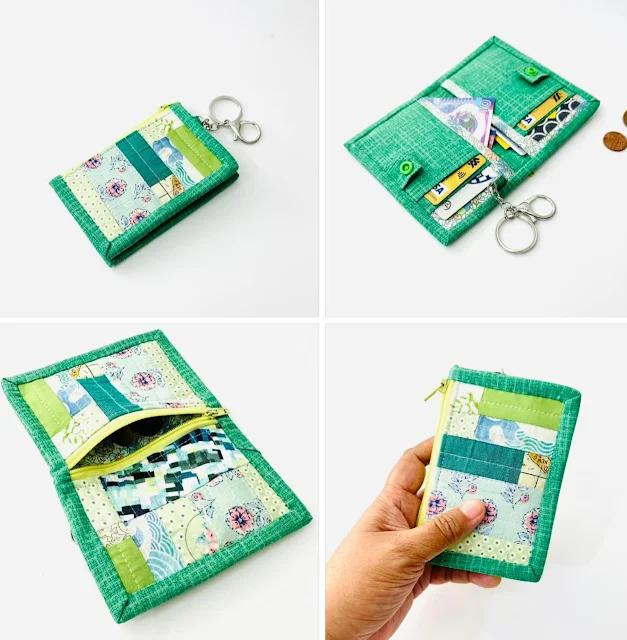
A few weeks ago I had a customer asking for a zipper pocket instead of a flap pocket for the Nuno Wallet. While making the order, I decided to take photos of the process and share it with you. In this additional tutorial, I will also share how to create Faux Binding.


So without further ado, let's start.


Additional Material and Cut:

- #3 All-purpose zipper 5" long

- Cut the divider panel lining piece 4.75" wide.

Please note that this is an additional tutorial for Nuno Wallet. The original pattern may not include this tutorial.


WATCH THE VIDEO


Let's go:

1. Use #3 or an all-purpose zipper around 5" long or longer. Fold the end of the zipper tape as shown in the picture below.


2. Place the zipper right side facing down on the right side of the fabric, 1.5" away from the center crease. Baste stitch with a seam allowance of 1/8" (3 mm).


3. Now bring the left part of the pocket fabric on top of the previously sewn zipper and top stitch with a seam allowance of 1/4" (6 mm). Don't forget to backstitch at the beginning and at the end.


4. Turn the wallet right side out, poke the corner, and finger-press the seam flat. Now, top stitch with a seam allowance of 1/8" (3 mm). Trim the excess zipper tape.


5. Fold the pocket 1.5" away from the left at the point where the zipper is and top stitch with a seam allowance of 1/8" (3 mm). Backstitch at the beginning and end.


6. From this point, follow the pattern by placing the pocket panel and the card slot panel on the divider piece. Then, Place the assembled panel on the divider lining piece. Baste stitch along the sides and bottom with a seam allowance of 1/8" (3 mm).


7. Fold the extended lining piece towards the wallet's raw edge and then fold it to encase the raw edge. Make sure it covers the previous stitching line. Pin in place.


8. Carefully topstitch close to the edge.


and that's it! It's pretty simple and easy, right? Sewing a wallet or bag with a zipper is not difficult. I personally like to baste the zipper first before doing the permanent stitch. That way it will come out neater.


VIDEO TUTORIAL:


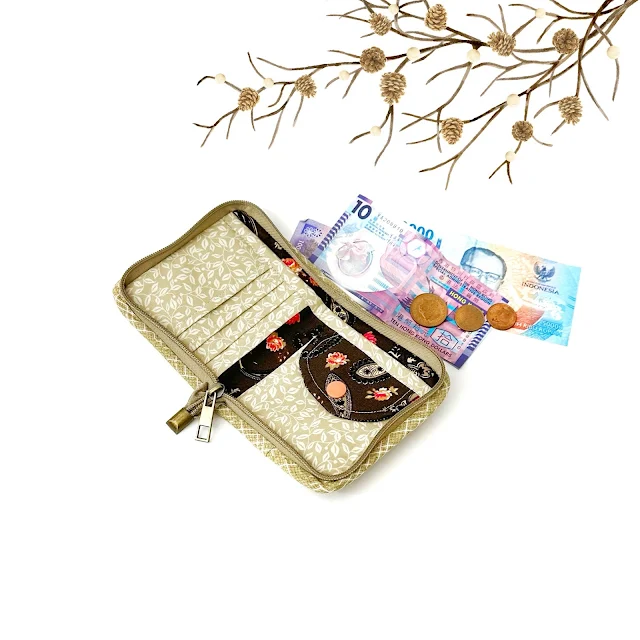
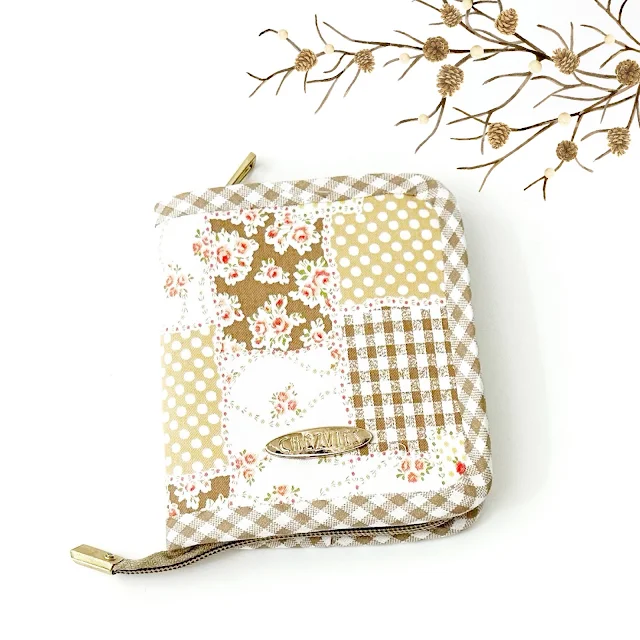
Small Bifold Wallet


Now you have an option for making The Nuno Wallet with a zipper pocket instead of a flap pocket. This Nuno small wallet is very compact and functional. With cashless payment becoming a trend everywhere now, many people carry fewer cards.

I hope you can learn a few things from the tutorial. Do let me know in the comment below if you have any questions.


Thank you for stopping by!

Happy Sewing

Elvira


Latest Fabrics

Latest Video