|
| Handmade Wallets for Men |
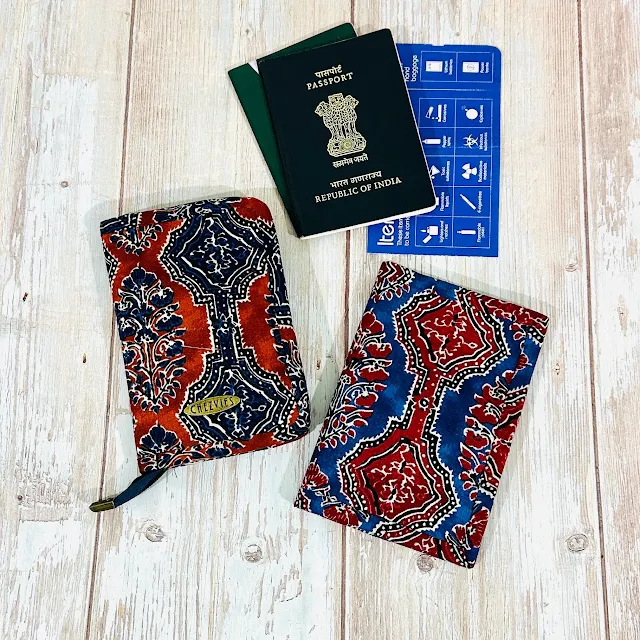
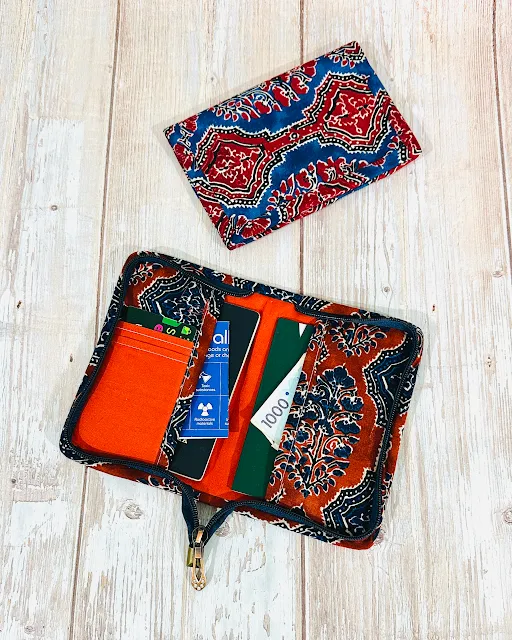
My FB friend sent me a message that she wanted 2 handmade wallets for her husband and son. After discussing fabric option, we agreed on the herringbone tweed and black jute fabrics. The wallet should be minimalist with only 4 card slots and one is without flap.
Working with tweed and jute is pretty tricky. I used all purpose interfacing for both wallets which turned out better than I expected. The fabrics are also fray a lot, so I usually cut it bigger than the actual intended size just to be on the safe side.
 |
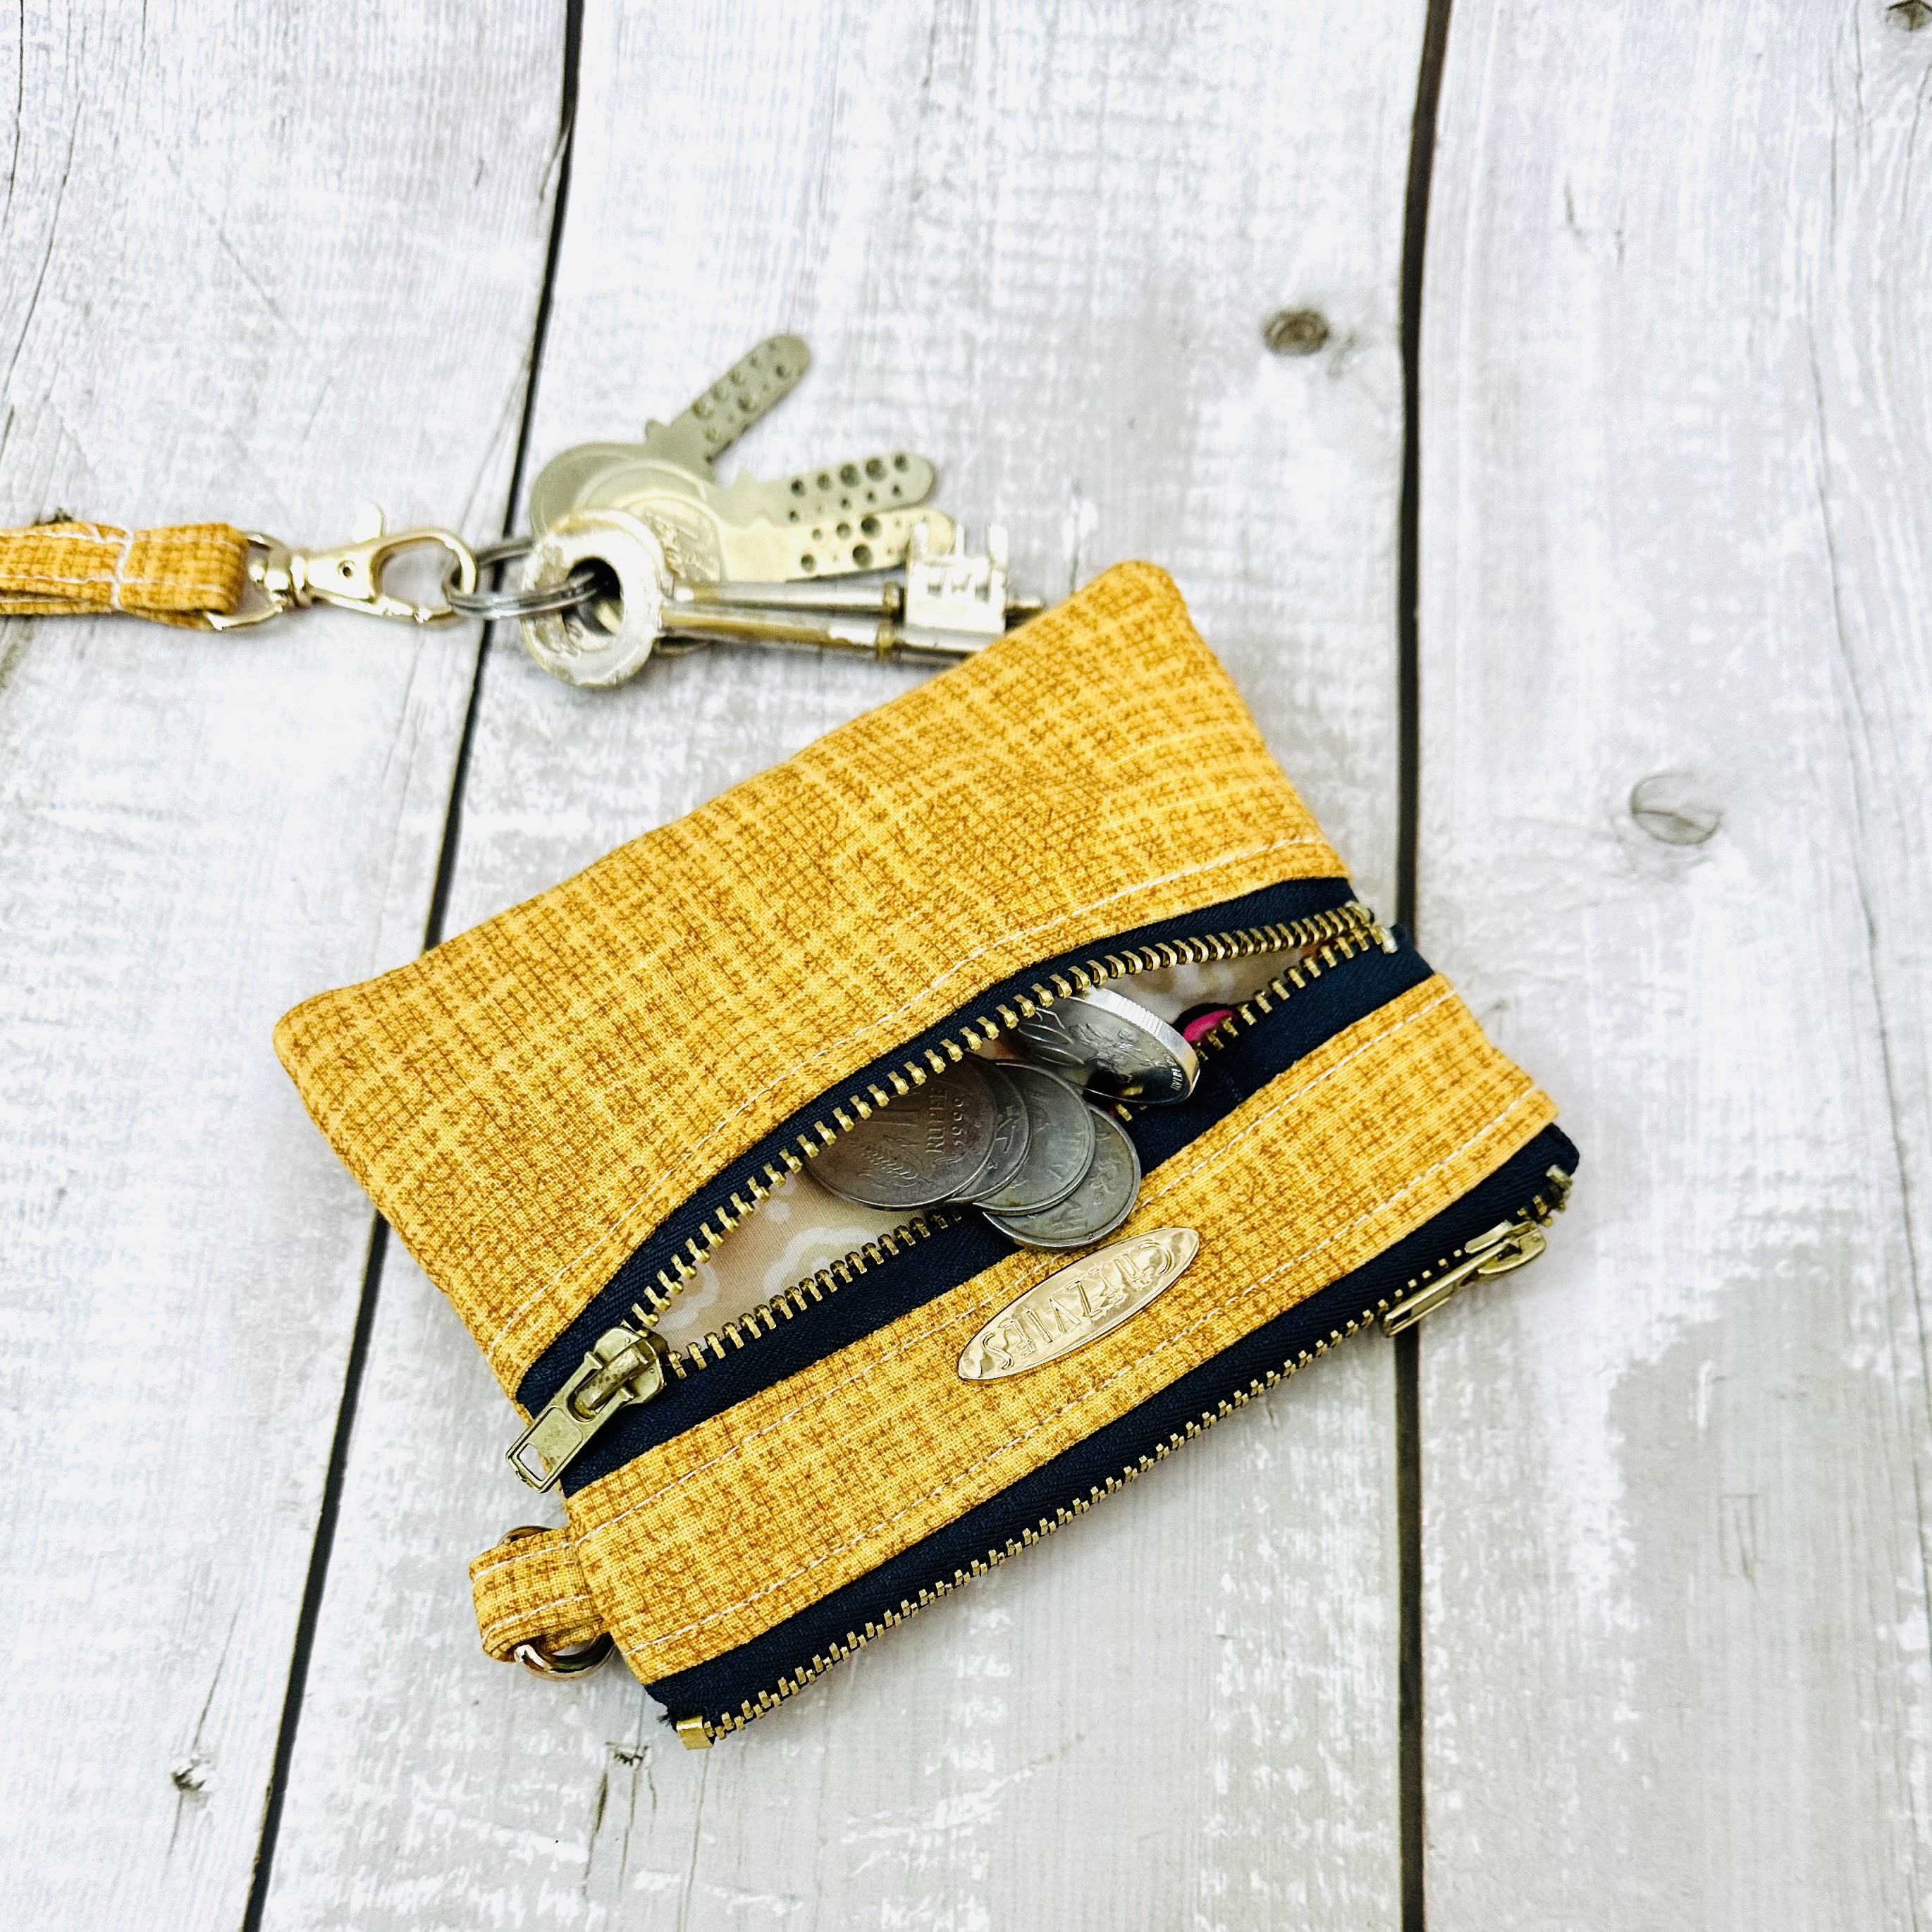
| Herringbone Tweed Wallet |

 |
| Black Jute Wallet |

After receiving her wallet, she messaged me on Whatsapp again and wanted 2 more of the same wallets but with divider for the bill compartment. Sometimes, the best ideas are from your customers!!

Behind The Scenes Video
With the second order she also wanted the mini backpacks! She wanted in pink floral and after she chose her fabrics, I got to work immediately as I have to finish the order before Monday as Tuesday I was leaving for Delhi to see off my boys!
The viola mini backpack is very easy and quick to make. And I love making these cute little backpacks!! I carried one myself to keep my air buds and chap stick, very practical and cute accessories for everyday.
 |
| Mini Backpack |

 |
| Cute and practical bag accessories |
 |
| You can fit in so many things in this tiny backpack |
Thank God all orders finished on time! Thank you so much Priya for your trust and support!!
Speaking about Etsy, there are so many changes recently from fee structures, algorithm to SEO. I am wondering if I should reopen international shipping from my Website as it will be more affordable. Sometimes, we have to pay fees which goes up to almost $10 for less than $30 orders. Please let me know what do you think? Would you likely to buy from a website or from Etsy?
Thank you so much for reading my blog.
Have a nice day!
Elvira