


 |
| Passport Wallet & Mini Keychain Backpack |
I have so much fun making this set of travel wallet and mini backpack! I have completed 2 sets now and have a few cuts and ready to sew. So stay tuned for more.
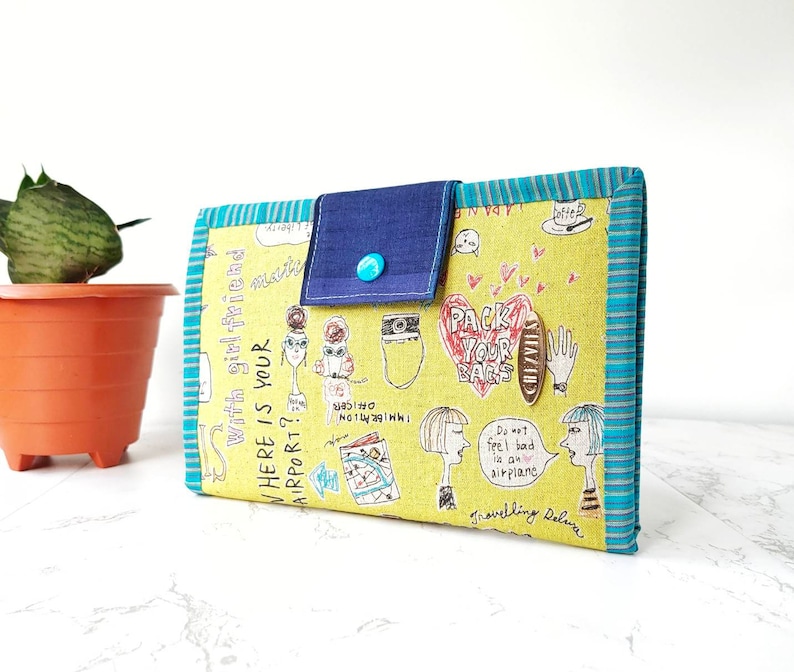
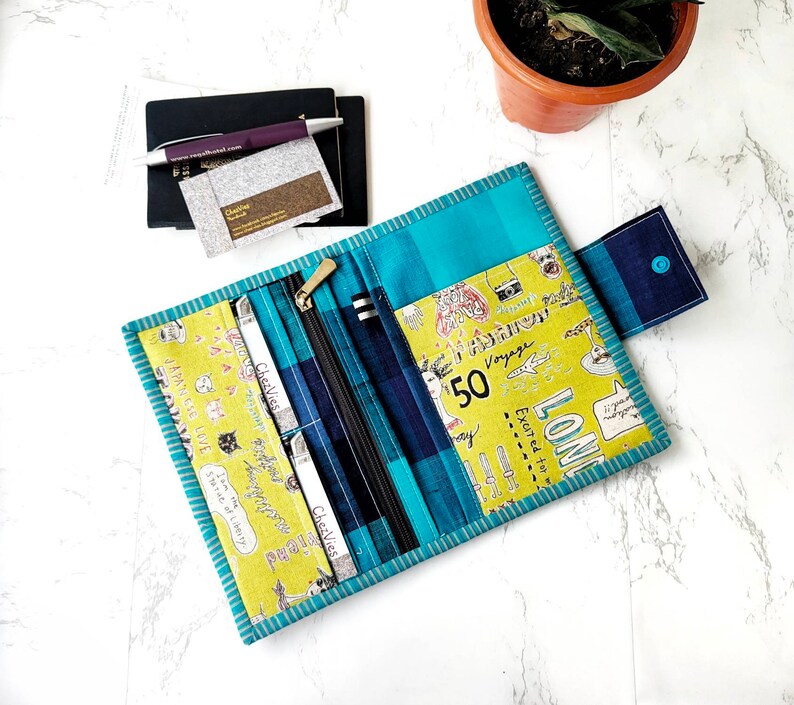
This orange crazy patchwork print fabric has been in my stash for a long time. I found it in my stash and I know instantly it's going to be great for Voyage wallet and the Viola mini backpack! Now I am thinking of making a big or medium bag in the same print! Hmm...let's see.

 |
| Orange Patchwork Passport Holder |
 |
| Mini Keychain Backpack - Orange Patchwork |
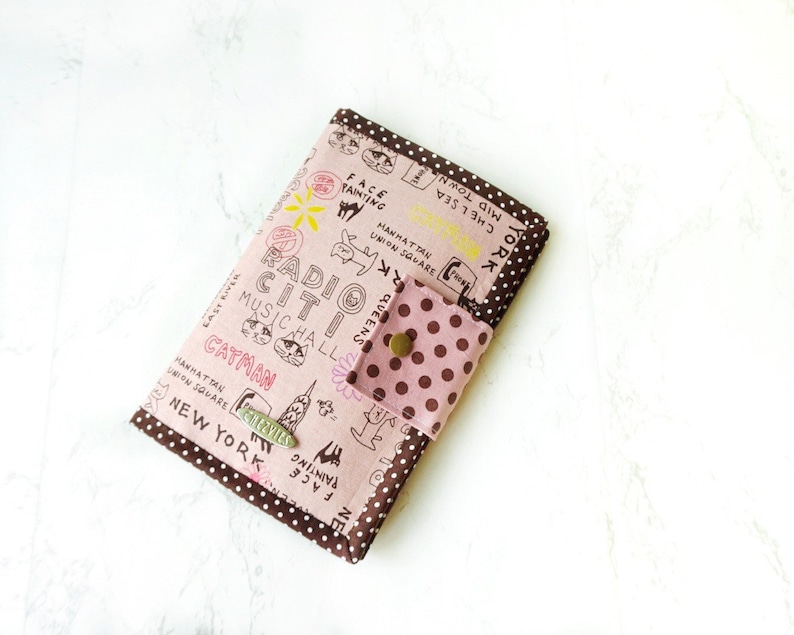
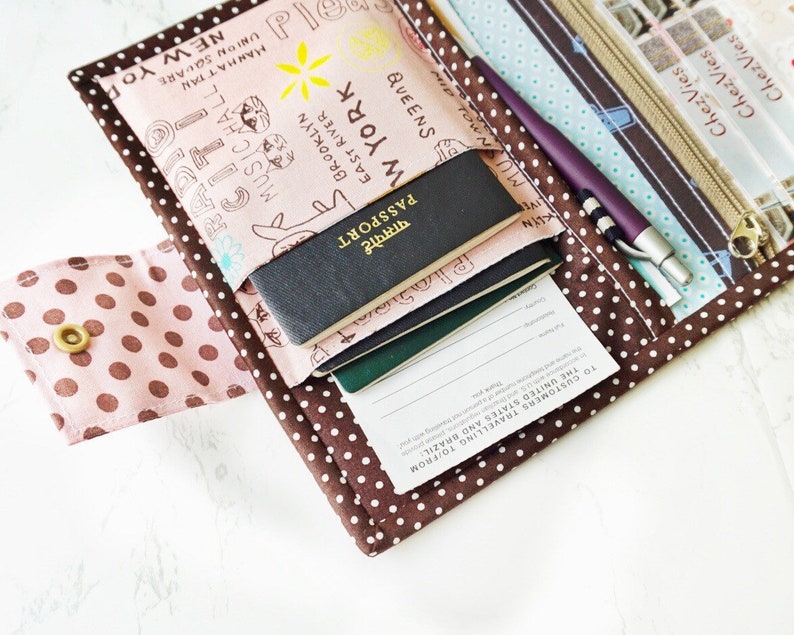
And the second set is this vintage print in black and grey! I made family passport wallet with the same fabric a few weeks ago and after making the small passport holder, I have a small piece leftover which is just enough to make the mini backpack! I did fussy cut for the backpack. I really love how this set turned out! Now I wish I have a trip planned haha!

 |
| Vintage Style Passport Holder |
 |
| Vintage Style Mini Keychain Backpack |
*****
In case you're looking for bag patterns, The Big Bag Bundle Sale from Sew Modern Bag is still going on till Midnight on the 18th. There are 21 bag, purse and wallet patterns for only $21 - That means only $1 each pattern.*
This is really a great deal if you want to learn making different kind of bags!
(*This post includes affiliate link)

Have a nice day!
Elvira


