Powered by Blogger.
Showing posts with label small placemat. Show all posts

More scrappy placemats

Scrappy Quilted Placemats
Small Table Mats


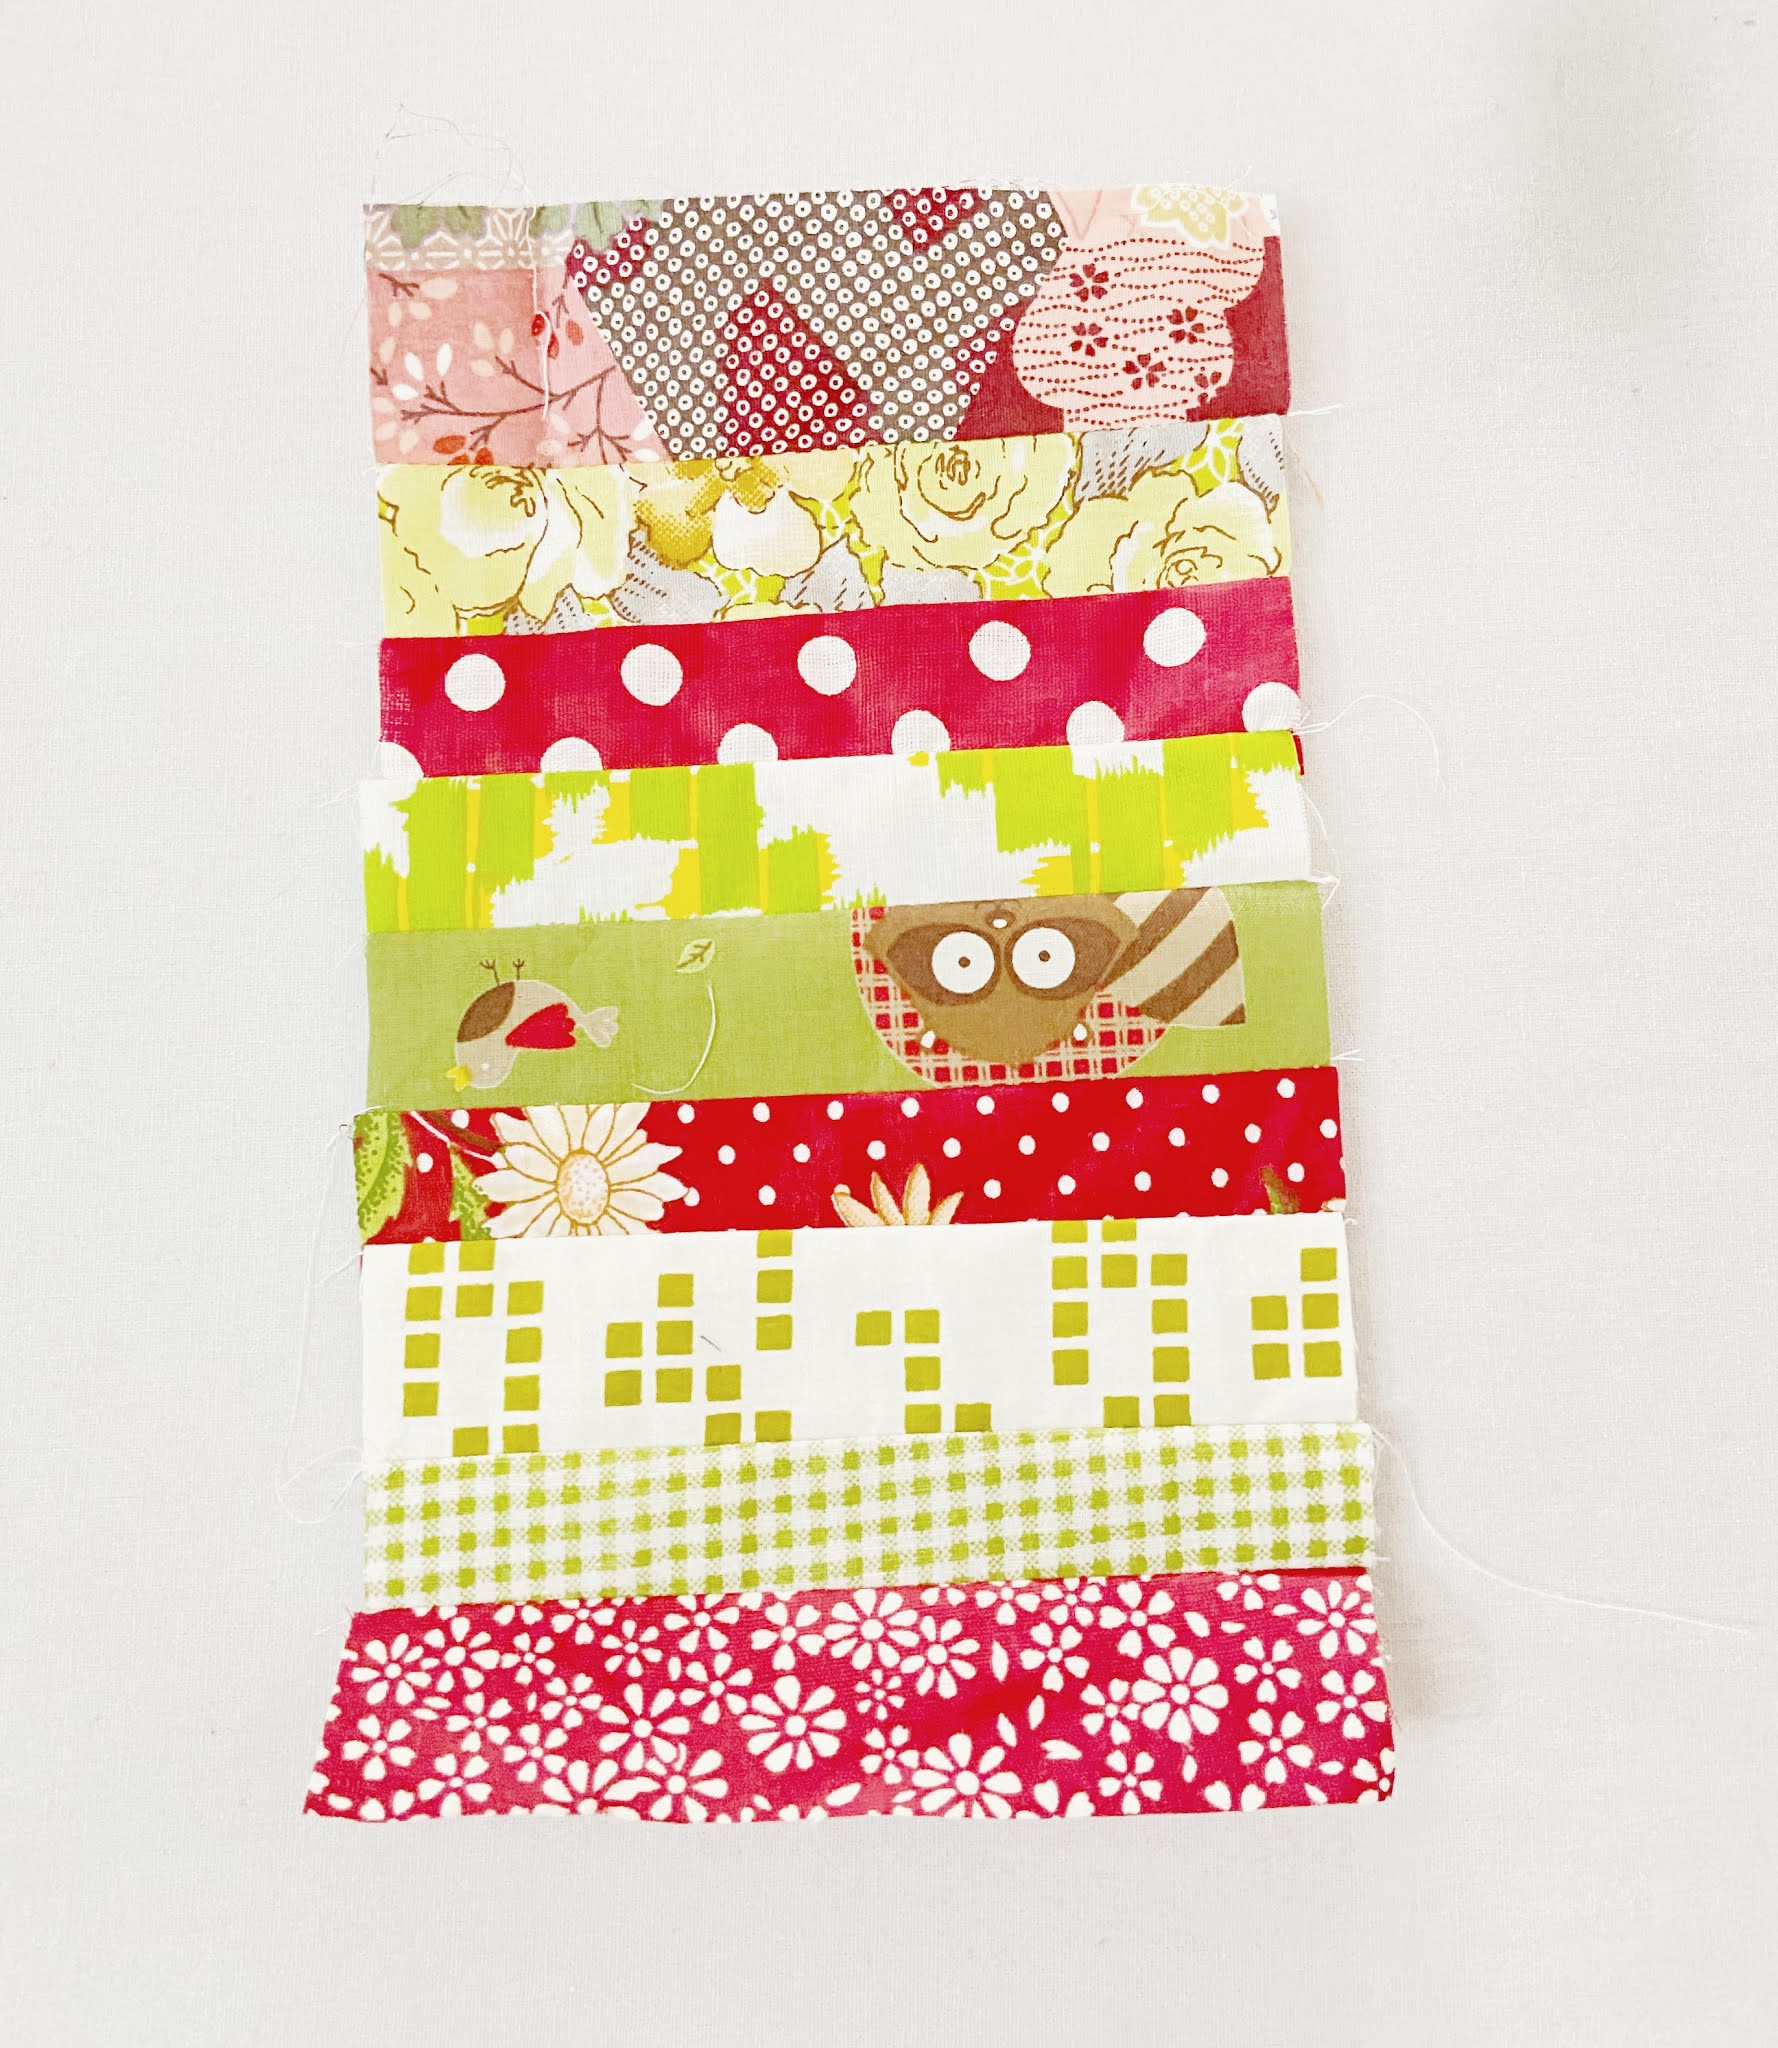
Last week I finished a few small placemats using scraps from my wallet and face mask making. It's fun to pull up scraps cut them into workable pieces. That totally my mood booster activity. Even though these placemats don't really make a dent into my ever-growing scraps, but I am happy to make them into something. I mean, we don't want to waste those pretty prints, right? 

For these medium-size placemats, I cut the patchwork pieces into 3.5" square. My fave is 2.5" but I kinda love this size too. I have a bunch of 3.5" squares cut and will make another set of placemats when  I have time. 


Scrappy Patchwork Mats


I'm using this yellow dot with golden print cotton fabric on the back and you can easily make these placemats a reversible one, right?  Hand sewn binding is always my personal favorite. For smaller quilts, I like to cut the binding at 1.5" wide, because I found 2.25" wide is too heavy for small quilts. Each placemats measures about 9.5" H x 12" W.


Handsewn quilt binding


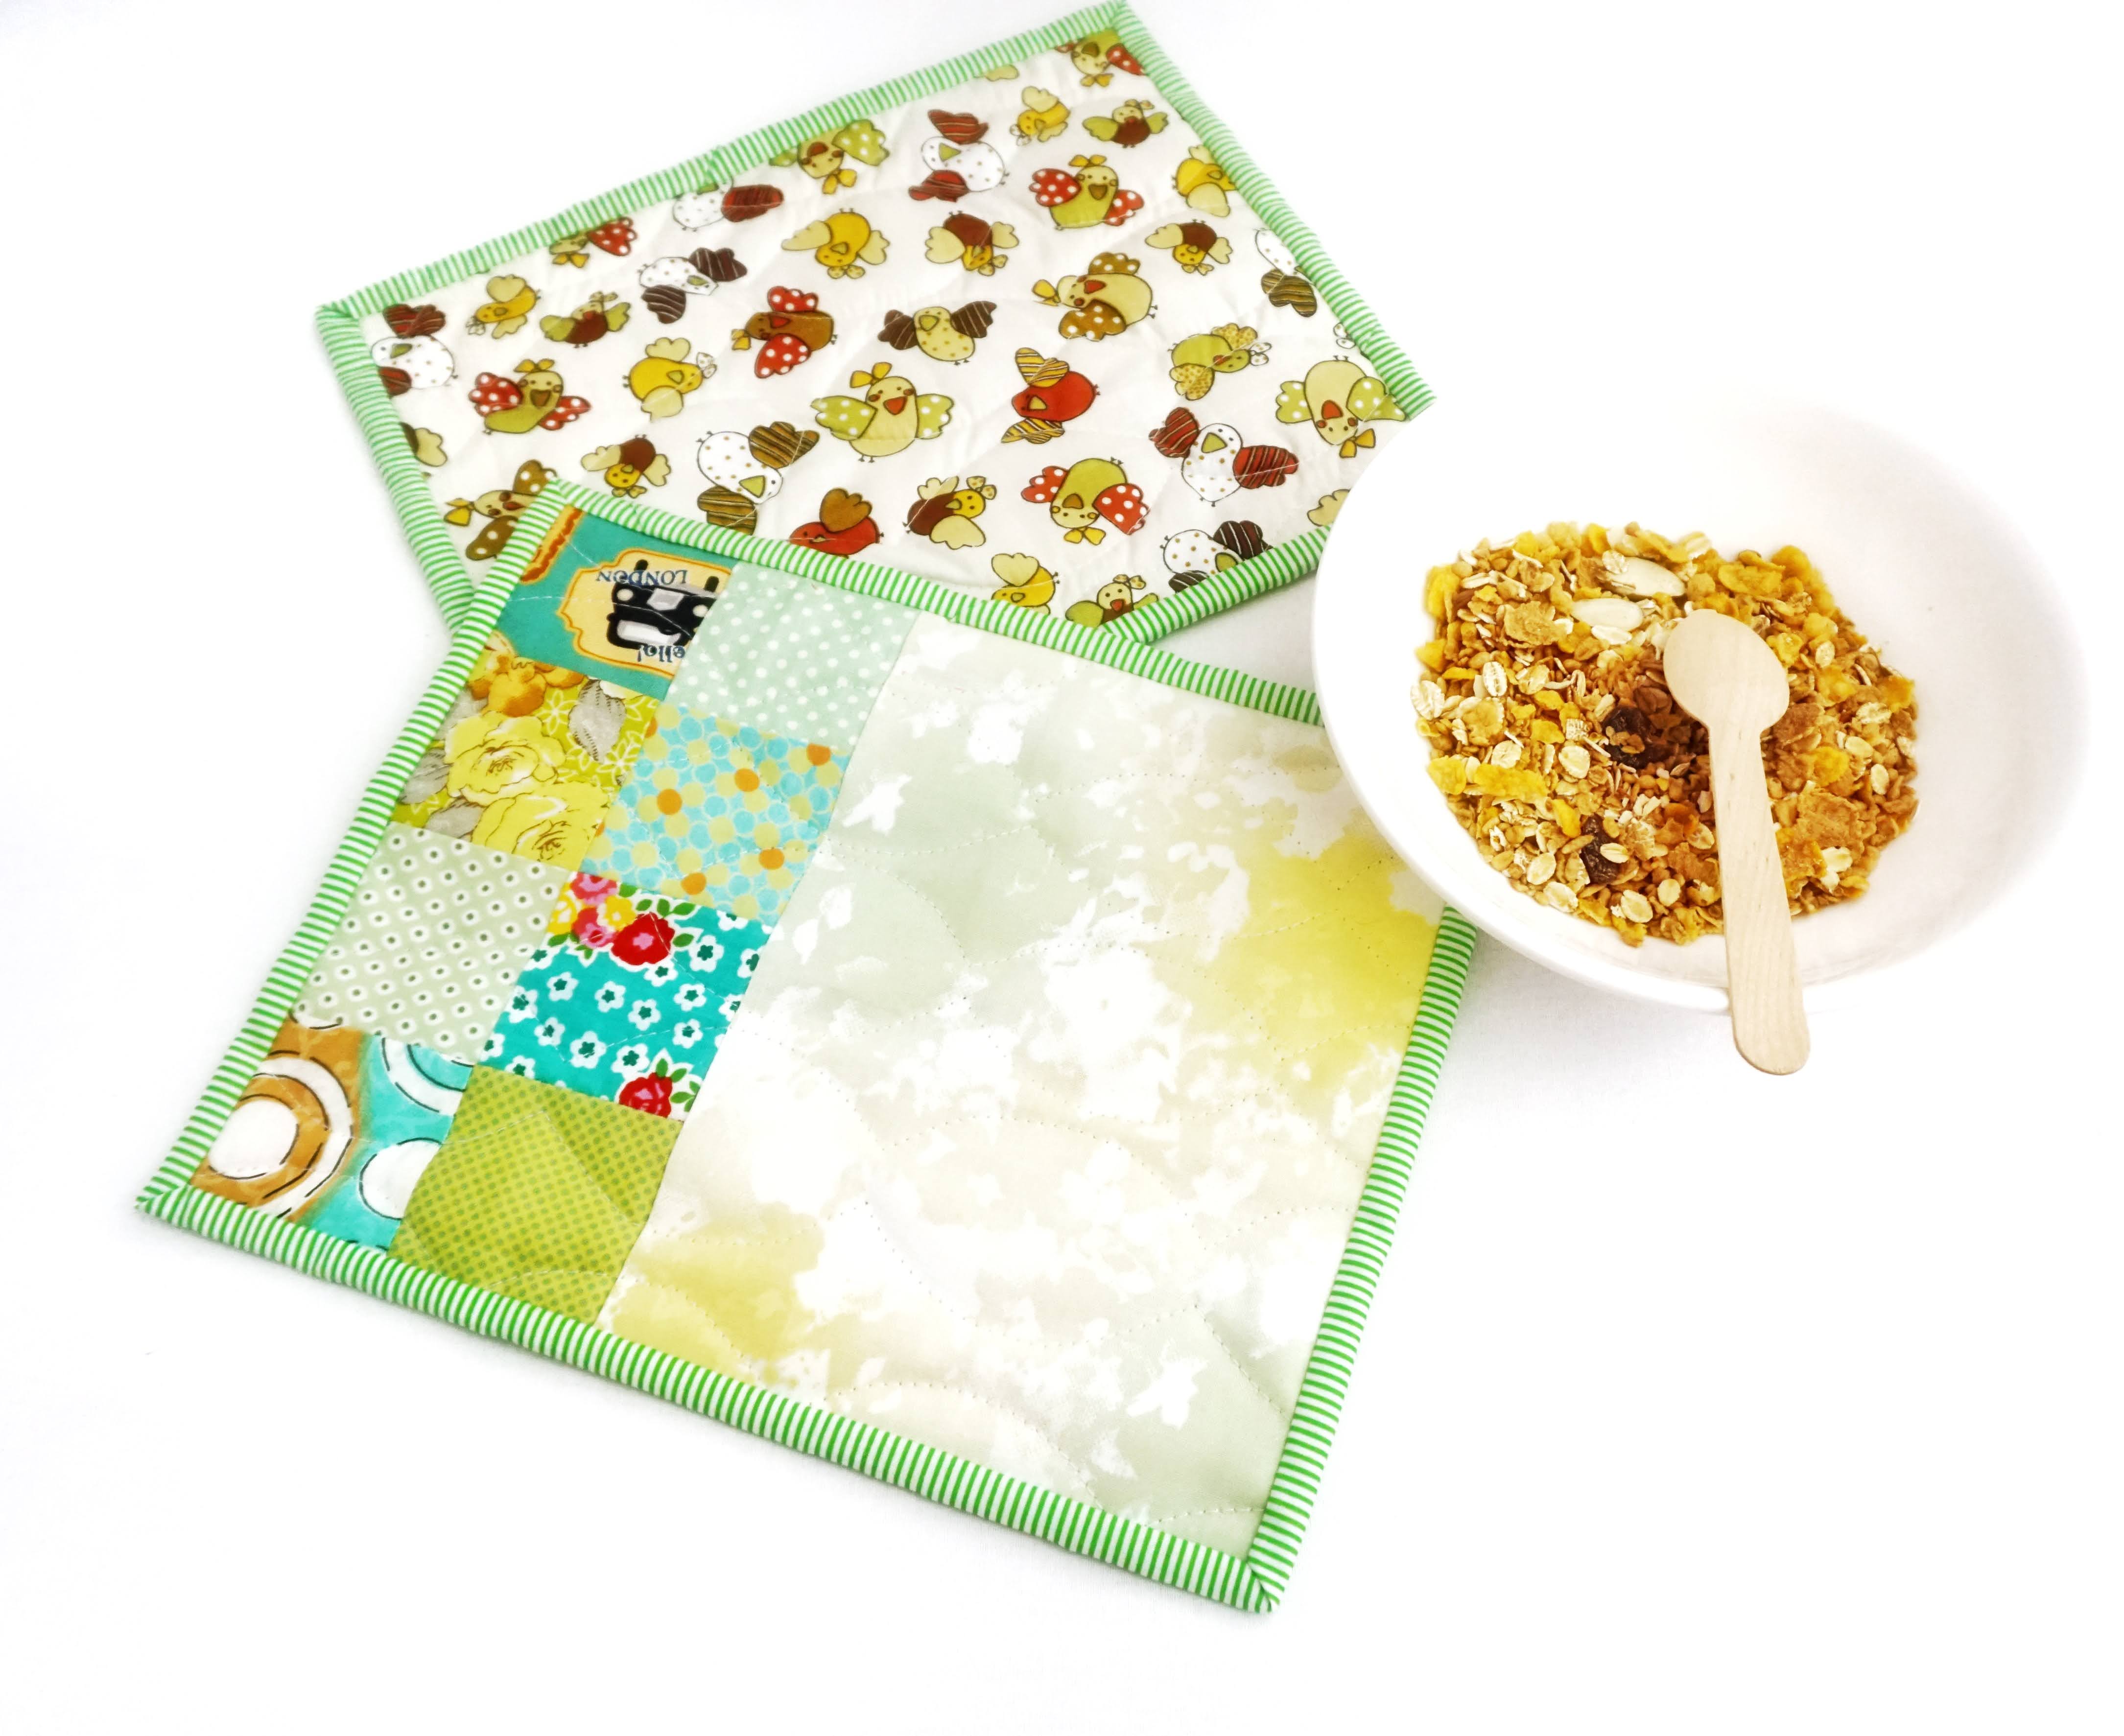
Another set I made was this green small placemat. I am still using the Camo Blenders fabric I got from the Squareinch last time. I posted the pink version of these placemats in my previous post.  On the back, I use a cute chicken print cotton fabric. Making small quilts like these are addictive. So stay tuned for more :)


Small Quilted Placemats
Green Small Placemats


These small mats size is 8" H x 10" H (20cm x 23 cm) and it's just a perfect size to place a bowl of ramyeon while watching my drama. Or for my son's cereal while he's on zoom class. 

I used my scallop ruler to draw the quilting lines and quilt them on my Jack machine. For the small quilts, this hack works well and I like the result. 
 

Quilted Mugrug


Small Quilted Placemats


Scrappy placemats
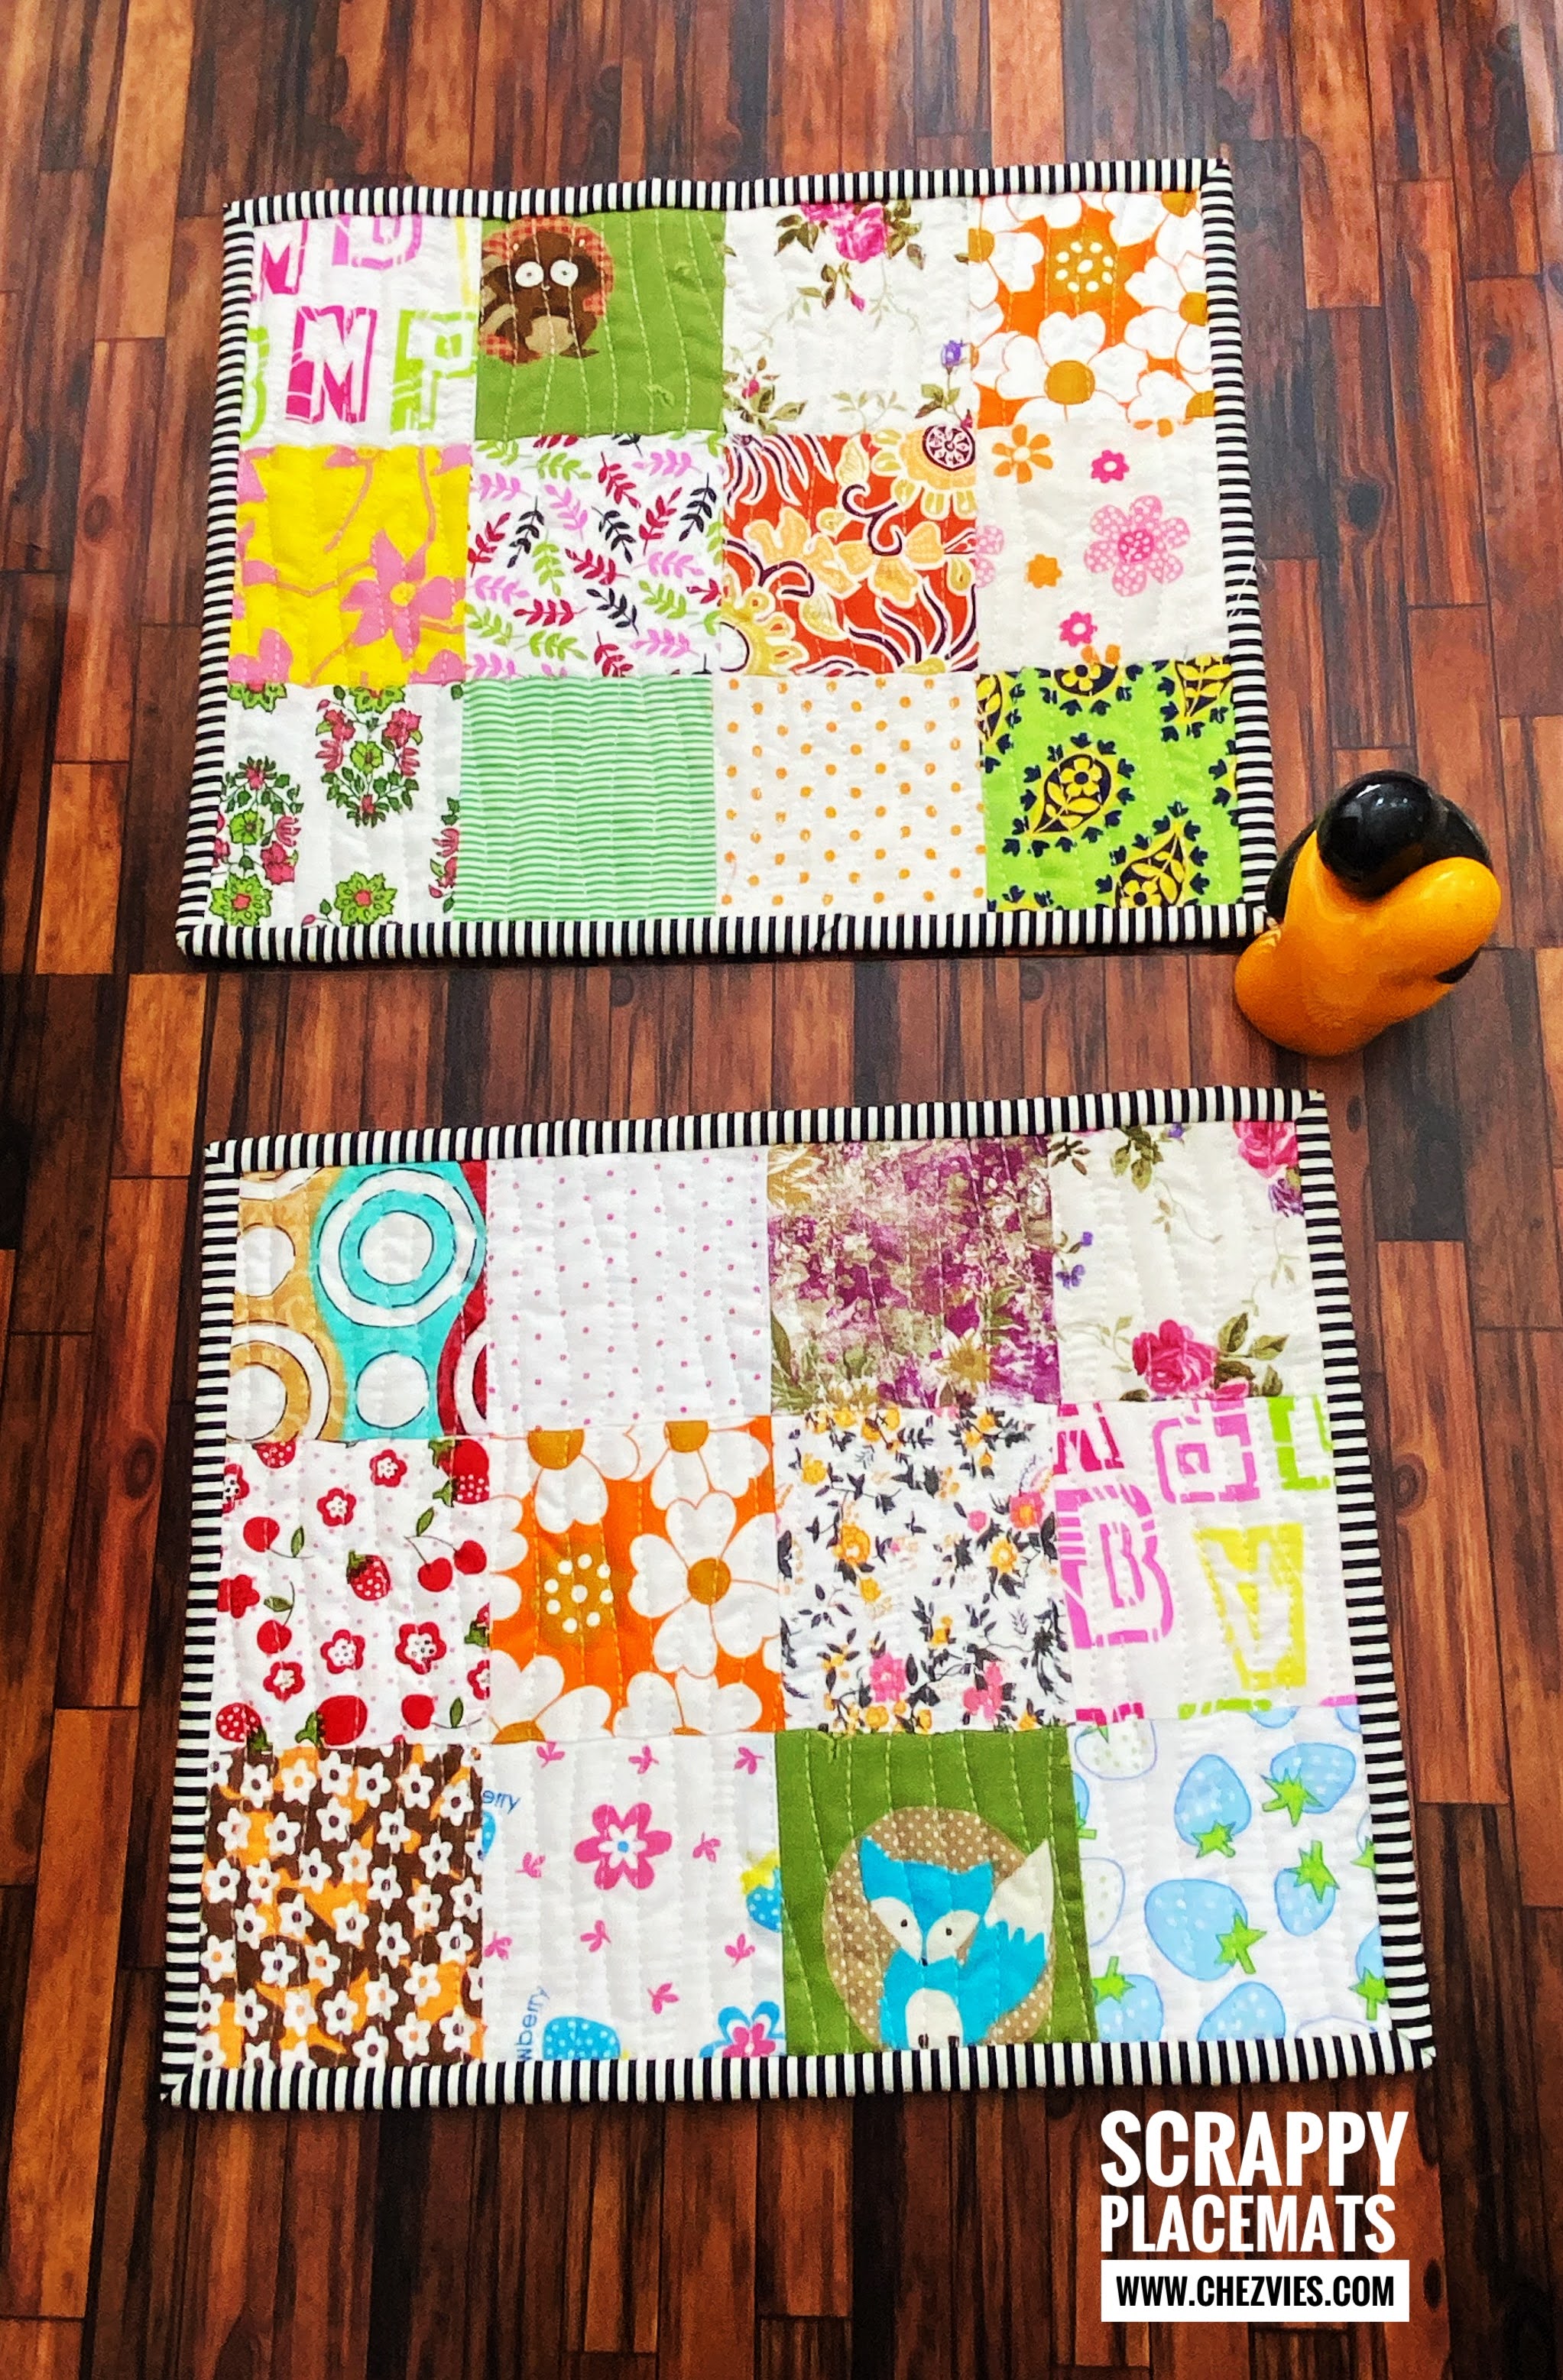
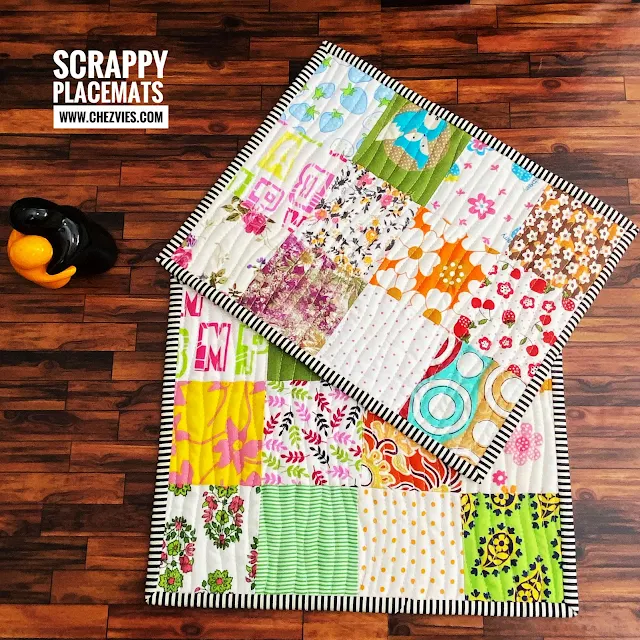
Scrappy Medium Placemats


Scrappy drawstring bag
Scrappy Drawstring Bag


I have a few scrappy tops done and waiting to be made into something. As you know, I love making simple things, something useful and giftable, just like the drawstring bag above. It's my fave bag to keep essentials like an extra facemask, wet tissue, and hand sanitizer while going out.

I hope I will have time to play with my scraps next week. What about you? What are your fave scrap projects to make?


Until next time,

have a nice day!

Elvira

*****


Scrappy Patchwork Mug Rug - Scrap Buster Project


Making patchwork mug rug is my fave scrap buster project. This time I made this super easy one using strips of fabrics from my scrap bin. It's fun and quick to make plus it's a perfect project to make if you're looking for a quick last-minute gift.

Without further ado, here's what you need: Assorted fabric 5" long fabric strips 1" to 1.5" wide Contrast or solid fabric 6" W x 8" H Backing Fabric 12" W x 10" H Batting 12" W x 10" H

Binding 1.5" Wide x Wof (40")

Let's get sewing!

1. I used narrow strips, less than 1.5" wide. They should be enough to make 8" long patchwork panel. Don't be afraid to mix and match. The narrower the better, IMO :).


2. Sew the strips together using 1/4" seam allowance. You can use those selvages scraps too. My panel here finished at 5" W x 9" H. Iron the patchwork panel flat. 


3. Now sew the patchwork panel and the solid panel right side together using 1/4" seam allowance. Now your top panel is almost ready.


4. Iron the top panel flat and trim it into 10" W x 8" H. The patchwork panel is about 4" wide after trimming.


5. Now sandwich the batting in between backing and top panel and quilt it as desired. This time I did a diagonal gridline quilting which you can watch in the video tutorial at the end of this post. 


6. Once the quilting is done, trim the quilt top into 10" W x 8" H and now it's ready for binding. Watch the video below on how to sew the binding. I cut the binding 1.5" wide for small quilts, so it won't be too bulky. 


If you want to finish the binding by machine, attach the binding on the backing first. I attached the binding on the front first because I prefer to finish the binding by hand for small quilts.


Now your scrappy mug rug is ready to use. Make a few for your family and friends! 

I hope you find the tutorial helpful! Don't forget to subscribe to my blog or YouTube channel for more tutorials. 


Thank you for stopping by, 

Take care & Happy Holidays

Elvira


Linking up to these wonderful BLOGS


Latest Video