Powered by Blogger.
Showing posts with label how to make mug rug. Show all posts

Hand quilted scrappy mug rug

Scrappy Mug rug
Making hand quilted mug rug video


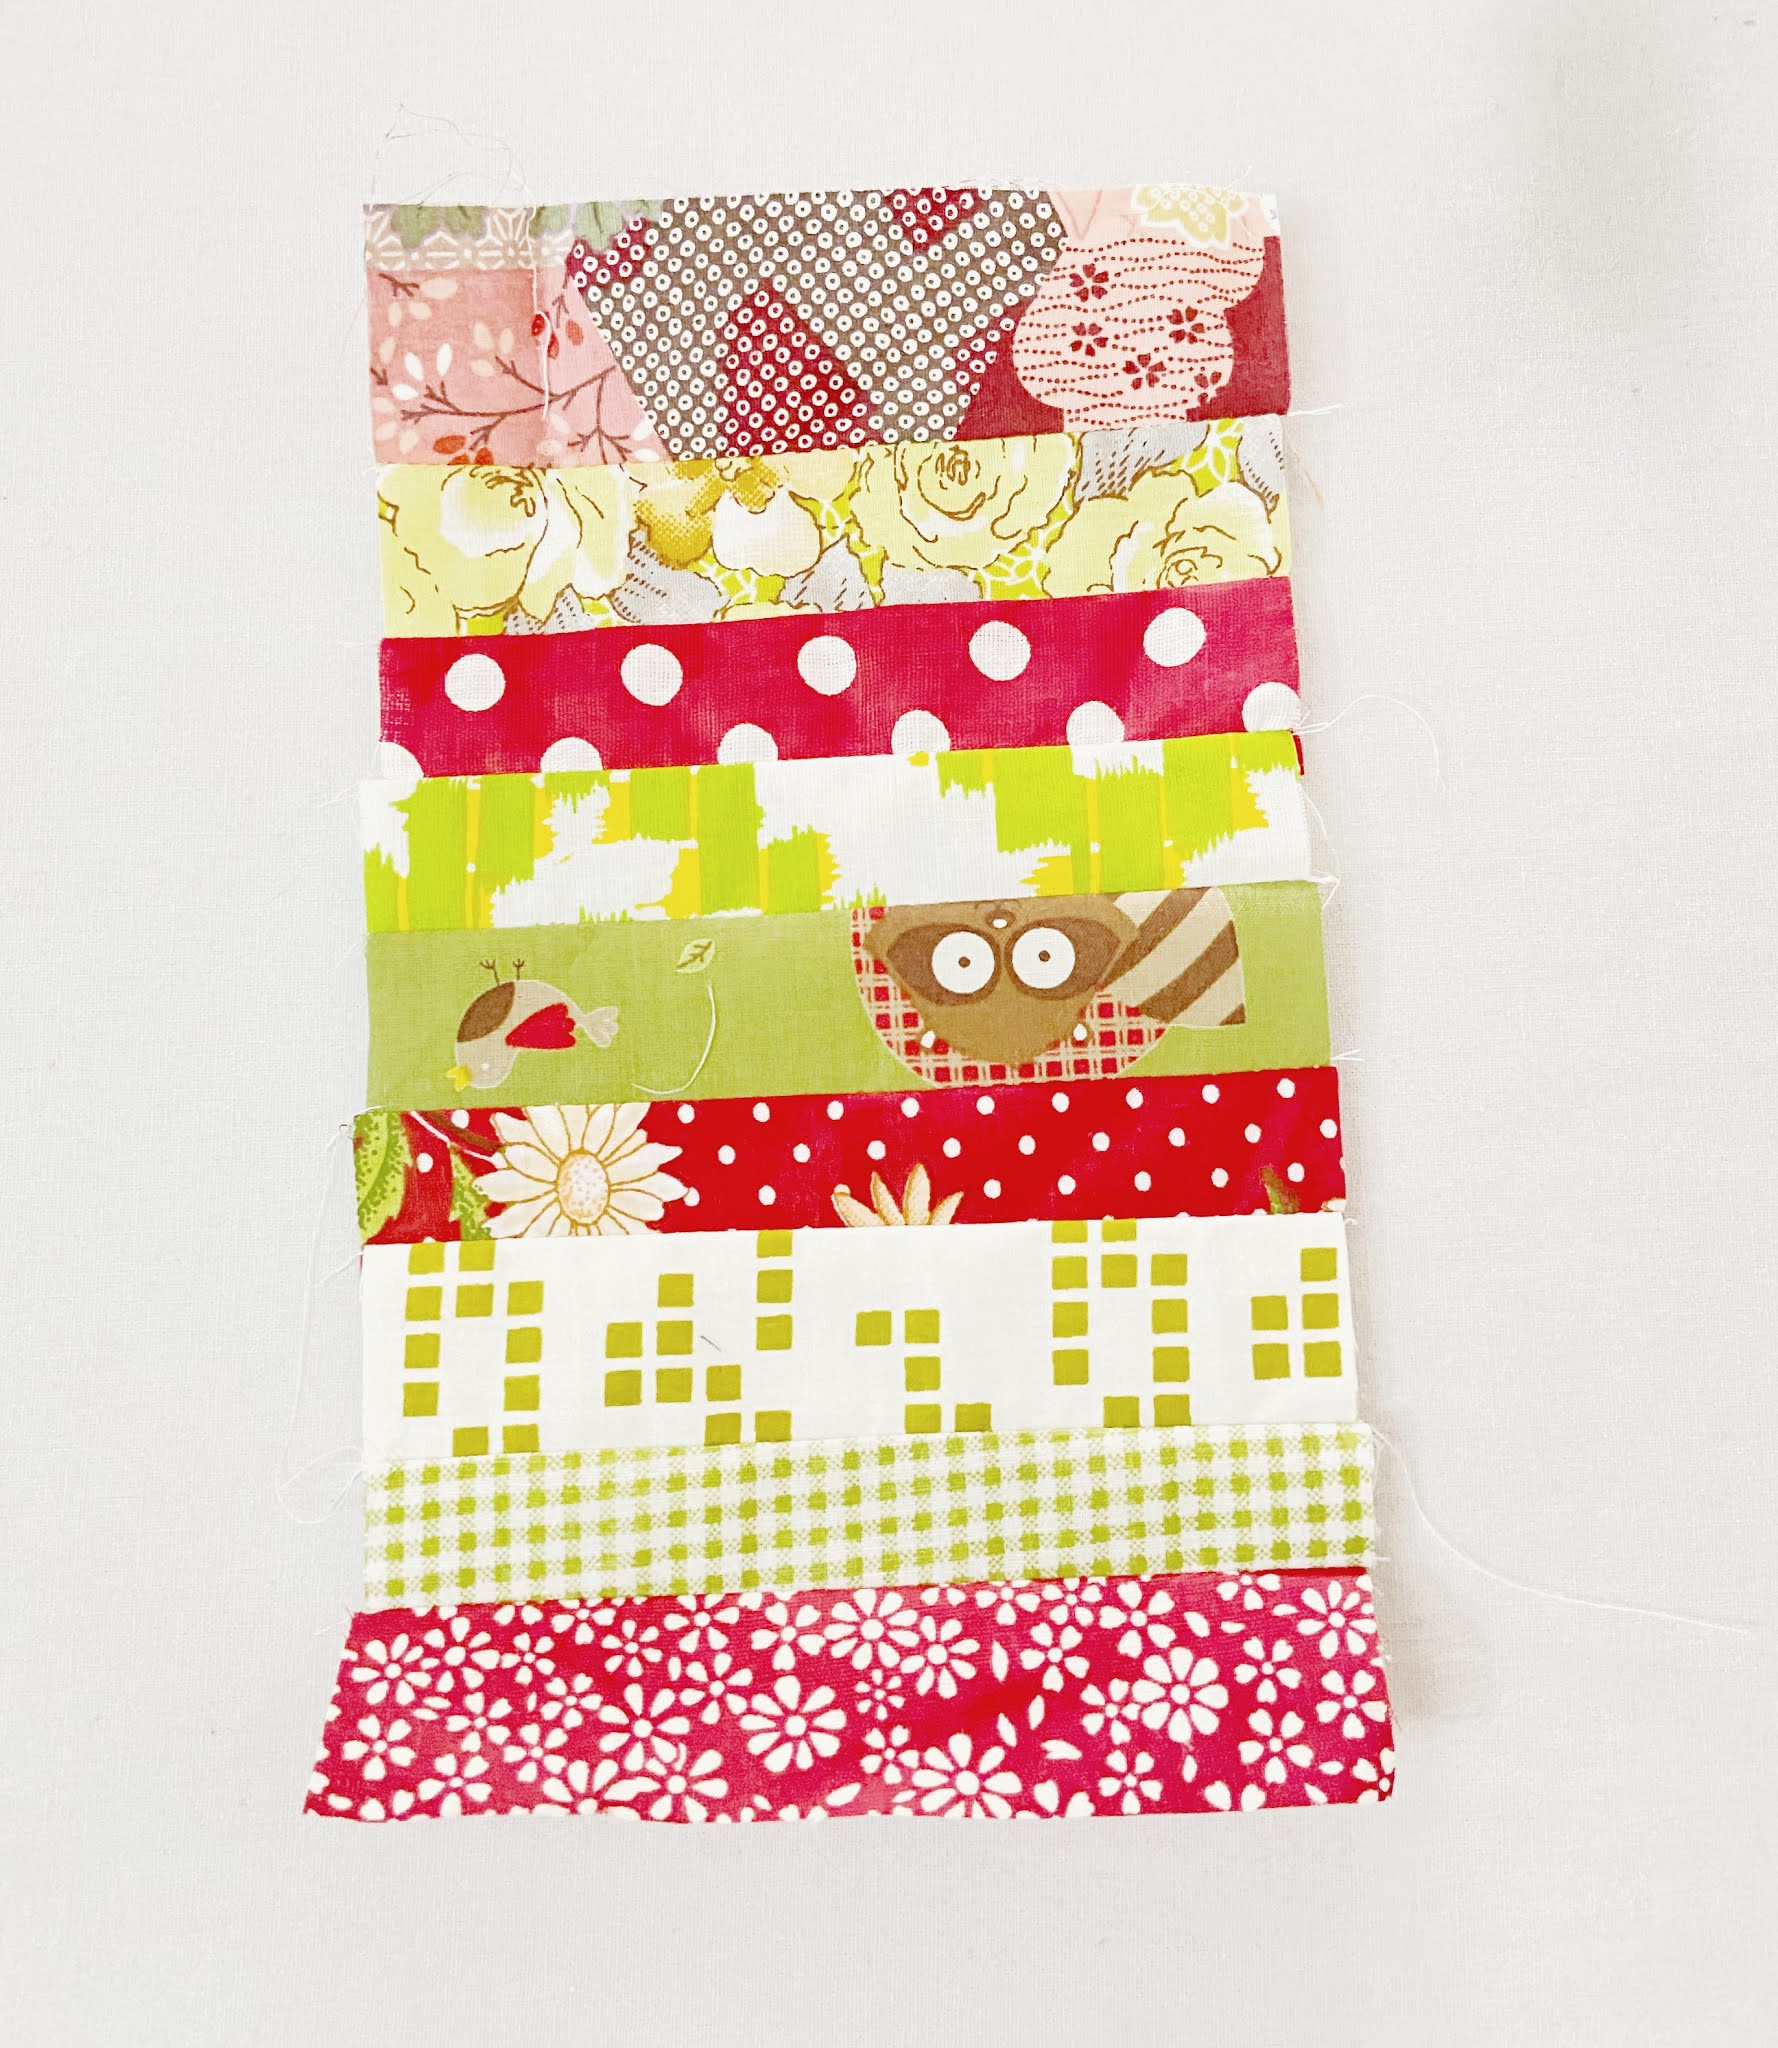
I made this teal mug rug a couple of weeks ago. Still use the green and teal scraps from my scrap buckets and I cut them into my fave square 2.5" x 2.5". The size is rather biggish - the finished size is 7.5" x 11.5". I think it will be great as a mug rug or mat for smaller tables, side tables, etc

This scrappy mug rug is very easy to make. All you need is assorted  2.5" scraps and you are good to go. And if you prefer you can always machine quilt it but I love to hand quilt it in the kawandi style. That is quilting from the outside edge first and moving inwards in a circular way. The effect on the reverse side (if using solid backing) is just beautiful. Plus with hand quilting, the quilt always turns out softer. 


 I made many small quilts that I quilted this way and here's one that I recently did. I keep a bunch of ready-to-quilt small items near my computer table and I can easily pick them up and quilt away as I am catching up on the Kdrama or Cdrama!  


For the scrappy mug rug, I used Indian mul mul fabrics for the patchwork and poplin cotton for the back. I added a thin fleece batting, sometimes I used cotton batting too. I made placemats in the same color hues earlier.


Kantha Mug Rug

Scrappy Mug Rug in Green Teal Color


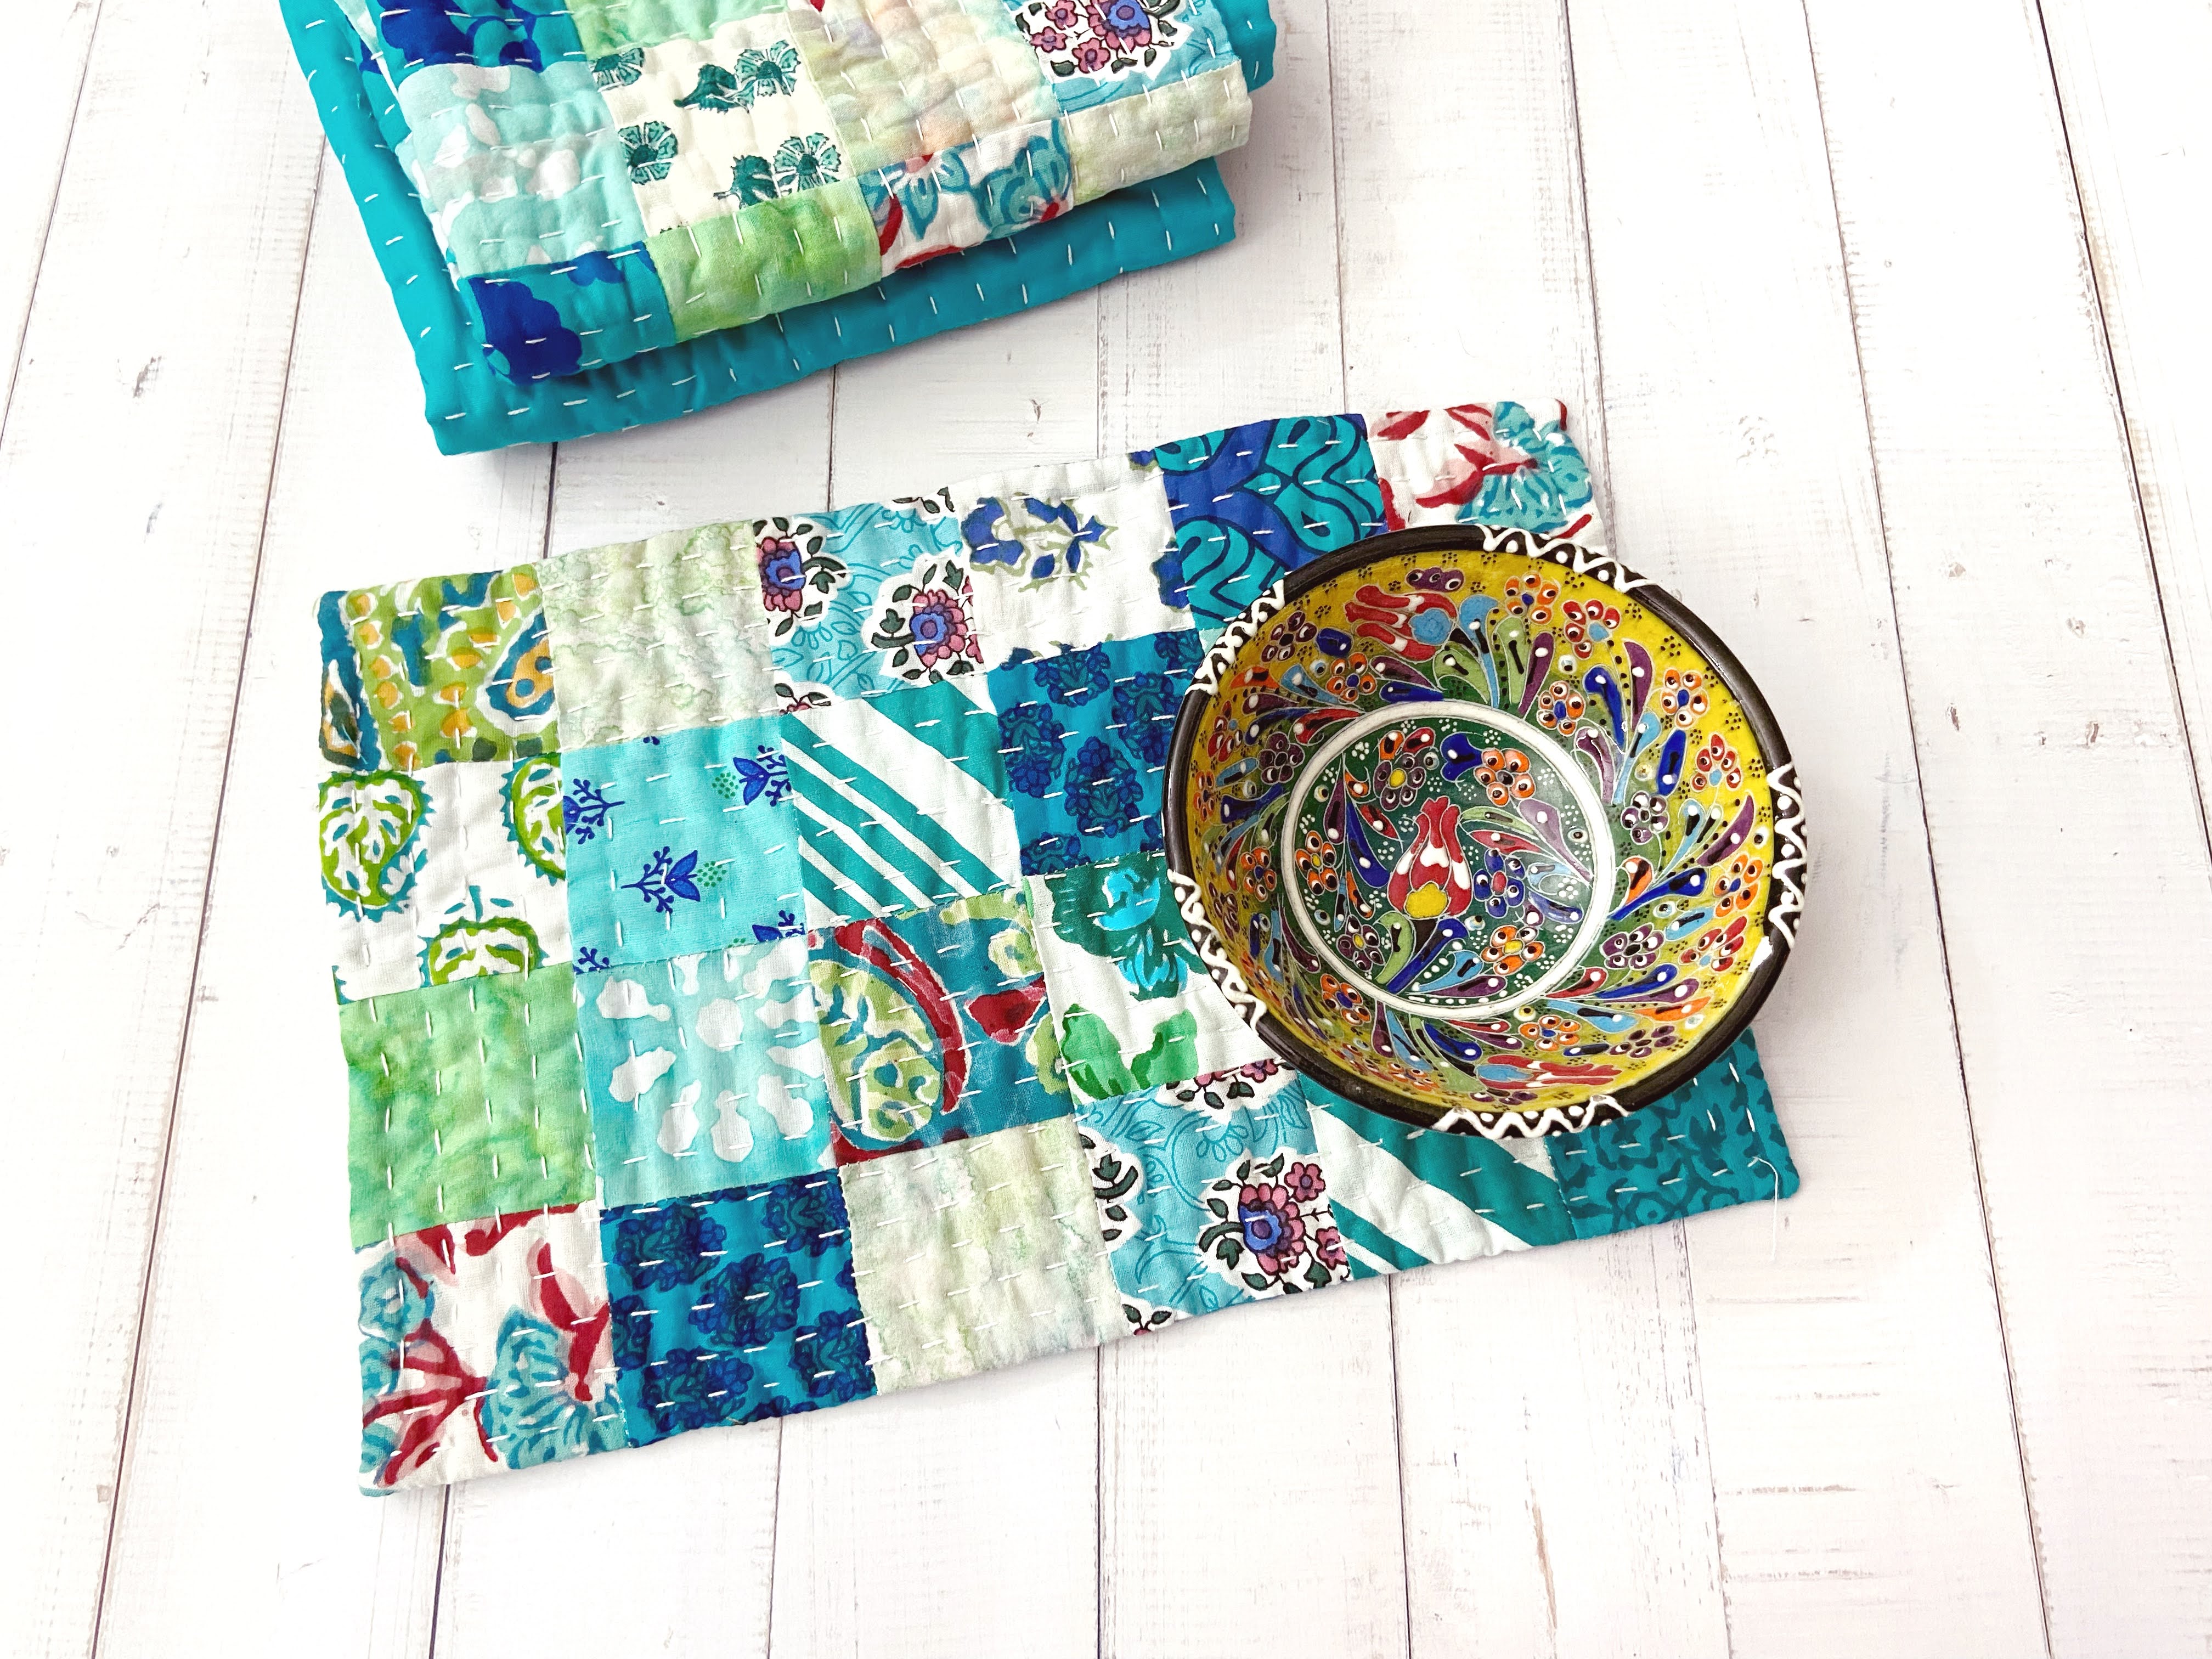
Don't you love the effect of this big stitch quilting style on the back? This can easily become a reversible mug rug! 

Big Stitch quilting


Scrappy Mug Rug


If you've been thinking to start learning about hand quilting, you may want to start with this kind of big stitch quilting and you don't have to start with a big quilt! I wrote and uploaded the video about what needle I used and the process in THIS POST


That's all for today, thank you for stopping by!

Happy Sewing!

Elvira

******


Scrappy Patchwork Mug Rug - Scrap Buster Project


Making patchwork mug rug is my fave scrap buster project. This time I made this super easy one using strips of fabrics from my scrap bin. It's fun and quick to make plus it's a perfect project to make if you're looking for a quick last-minute gift.

Without further ado, here's what you need: Assorted fabric 5" long fabric strips 1" to 1.5" wide Contrast or solid fabric 6" W x 8" H Backing Fabric 12" W x 10" H Batting 12" W x 10" H

Binding 1.5" Wide x Wof (40")

Let's get sewing!

1. I used narrow strips, less than 1.5" wide. They should be enough to make 8" long patchwork panel. Don't be afraid to mix and match. The narrower the better, IMO :).


2. Sew the strips together using 1/4" seam allowance. You can use those selvages scraps too. My panel here finished at 5" W x 9" H. Iron the patchwork panel flat. 


3. Now sew the patchwork panel and the solid panel right side together using 1/4" seam allowance. Now your top panel is almost ready.


4. Iron the top panel flat and trim it into 10" W x 8" H. The patchwork panel is about 4" wide after trimming.


5. Now sandwich the batting in between backing and top panel and quilt it as desired. This time I did a diagonal gridline quilting which you can watch in the video tutorial at the end of this post. 


6. Once the quilting is done, trim the quilt top into 10" W x 8" H and now it's ready for binding. Watch the video below on how to sew the binding. I cut the binding 1.5" wide for small quilts, so it won't be too bulky. 


If you want to finish the binding by machine, attach the binding on the backing first. I attached the binding on the front first because I prefer to finish the binding by hand for small quilts.


Now your scrappy mug rug is ready to use. Make a few for your family and friends! 

I hope you find the tutorial helpful! Don't forget to subscribe to my blog or YouTube channel for more tutorials. 


Thank you for stopping by, 

Take care & Happy Holidays

Elvira


Linking up to these wonderful BLOGS


Latest Video