
 |
| Kawandi Quilt |
Finally, I finished the Kawandi QAL! I said that I am not good at following QAL but this time I did it and I am pretty proud of myself. Even though the quilt is not big, but this is the first bigger quilt that I pieced and quilted by hand. The finished size is about 19" x 42".

If you're on Instagram, you can see all the progress I put up in my Instagram Stories. Especially when I do the motif. I really love the motif and upon seeing Brinda Ma'am's kawandi, I really want to learn more about making the motif.

I learn a lot of things while working on this Kawandi table runner.
1. Batting or no batting?
Well, if you following the Kawandi Quilt hashtag on Instagram, you can see the Kawandi are making a comeback in a big way this past year! Many that I saw are using batting and so I wanted to try. But the problem is I ended up with a bulky batting in the center as I am finishing it. I thought I should not have a problem as I've done many small quilts which I quilt the Kawandi Style, including this Batik quilt.

For this table runner, as it is done in the quilt as you go style, I found that the batting - or least the needle punched batting that I used, is stretched in the process. Which did not occur in the quilts that I made using pieced top. So, I carefully cut the batting and overlap it. This solves the problem!
So, my vote will be no batting! Also, working without batting like in the first Kawandi I did during the workshop is so much easier on my fingers. Also, it will be a perfect summer quilt!

2. Don't worry too much!
Brinda Ma'am keeps reminding us to let go. Let go of the urge to do perfectly matched colors, the even stitches, perfectly straight lines. The Kawandi is about embracing imperfections and being proud of them! In the end, your quilt will reflect your personality. Your mood while you're making the quilt, your state of mind. I did unpick lines of stitches in the beginning, as I go along, slowly I was able to accept that it is OK if the stitch length is not even, it is OK to reinforce the stitches even if it looks odd.
 |
| Imperfectly Perfect |
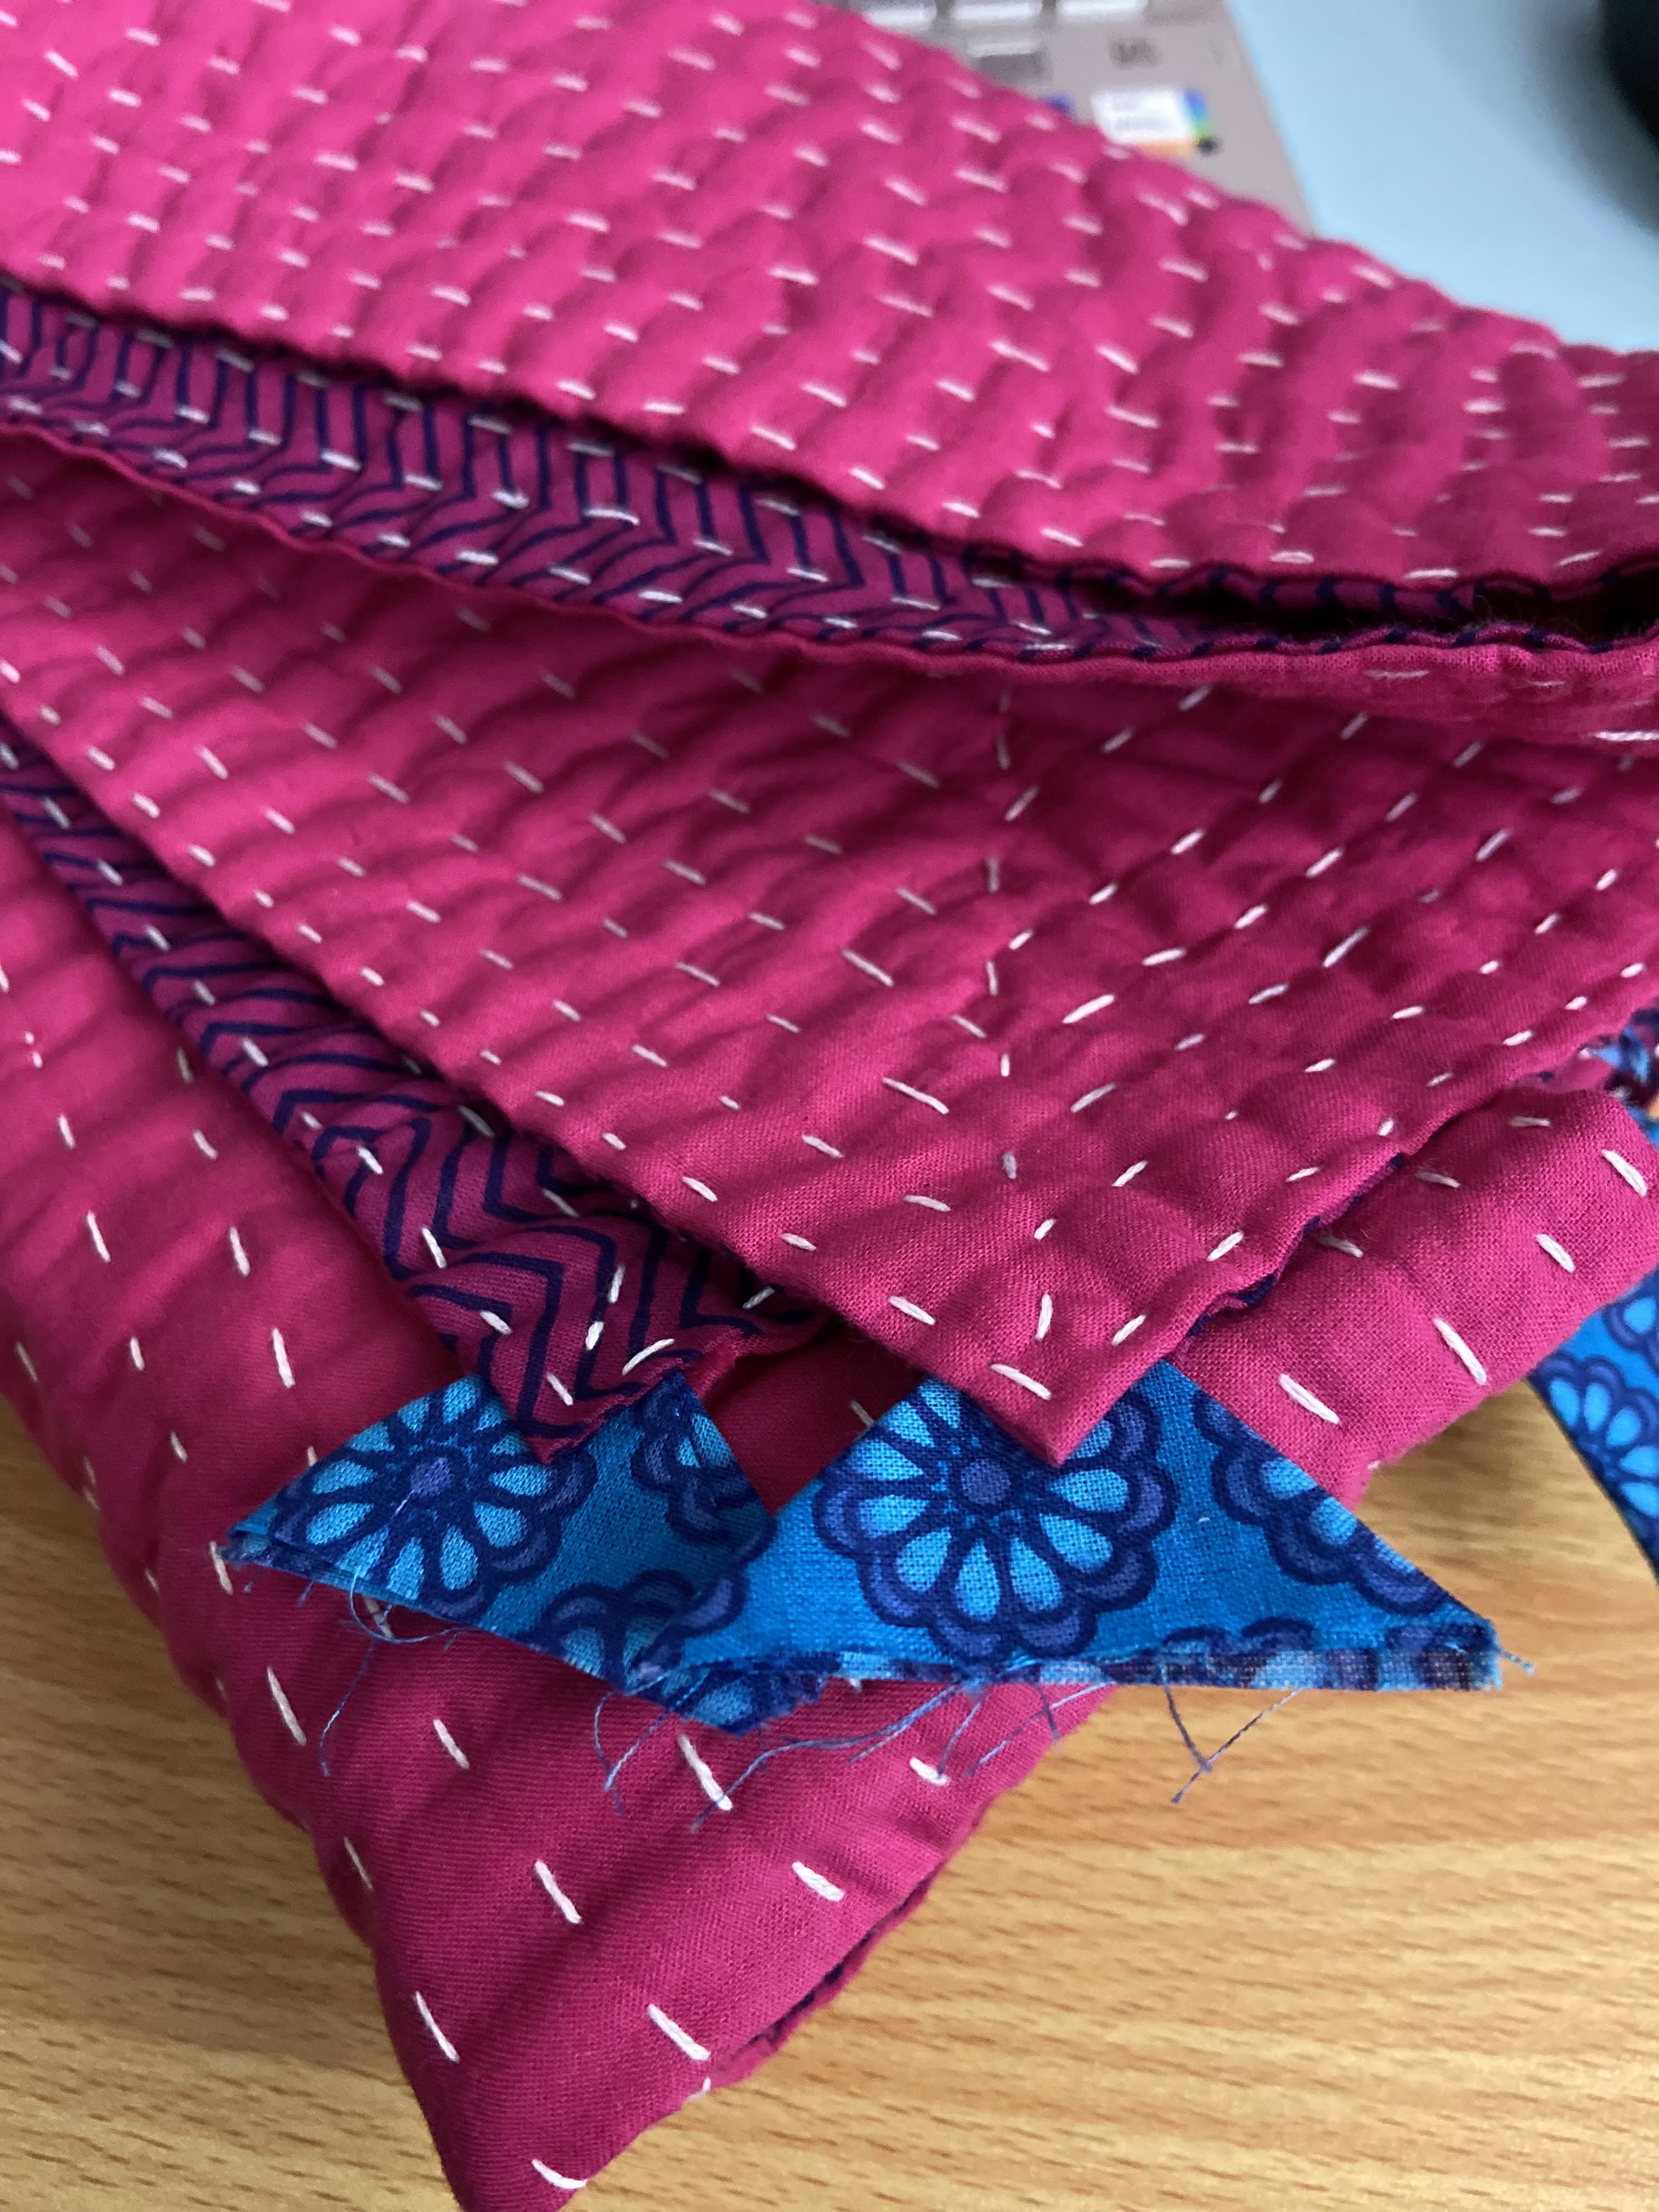
Learning Kawandi, first, we must unlearn all about quilt making, be it the color theory, the matching seam, the quarter-inch seam, etc. Don't worry, it will turn out unique and beautiful!
In this table runner, I mostly use leftover fabrics from making fabric bundles in the shop and also, a few pieces from my kurtas' sleeves. During summer, I usually cut off the sleeves of my quarter or long sleeve kurtas and keep the cut pieces.


I recorded a video as I was working on this quilt for my own record as well as a reference. In the video, you will see how I bury the tread in different ways. Do check out the video and let me know if you have any questions. If you want to learn to make Kawandi Quilt, you can contact Brinda Ma'am via her Facebook Page.
Now, I have one small Kawandi WIP and thinking of starting a bigger one, maybe a single-size quilt. It's going to be a long-term project. I really enjoy doing the hand quilting and wonder why took me so long to try it.
 |
| Featured on Handmade Monday! |
Thank you so much for stopping by.
Happy Quilting
Elvira
******
Linking up to these wonderful BLOGS

Your Kawandi table runner is gorgeous! Lovely quilting and all those colourful fabrics are fabulous together. I enjoyed watching your video. A single bed size quilt would be wonderful.
ReplyDeleteThank you so much, Kim! Yes, I think I can manage single size quilt :)
DeleteCongratulations on keeping up with the QAL! Your project turned out beautifully.
ReplyDeleteThank you so much!
DeleteBeautiful vibrant colours and lovely texture from your stitching!
ReplyDeleteThank you! The kawandi style quilting gives a lovely texture. That's one thing I love about it.
DeleteSuch a pretty quilt! So colourful and cheerful!
ReplyDeleteThank you, Angela!!
DeleteSo pretty!! Are those corner triangles sandwiched in between the front and the back of the piece?
ReplyDeleteKathleen -- kakingsbury at verizon dot net
Thank you Kathleen! Yes, the triangles are sandwiched in between.
DeleteI like this so much. I've been wanting to try this technique since my MIL got a quilt from her other son when he went to india! Leeanna
ReplyDeletethanks, Leeanna! Do try, it's so fun to break away from the "rules" ;-) I am making a small one for cushion cover :)
DeleteI love your little quilt. Thank you for sharing this post. I have wanted to try this technique for some time, and feel this could be the time. I shall follow your links and hope I get more information there.
ReplyDeleteThank you, Marly! Do try it, I am sure you will love it. Let me know if I can help you in anyway :)
DeleteThat is just beautiful!
ReplyDeleteThank you, Sandy!
DeleteThis is just beautiful Elvira, it'll be a feature at Handmade Monday when it goes live later today :-)
ReplyDeleteThank you so much, Julie!
DeleteWhat a beautiful piece of art, I love it all, colors, stitches, fabrics, it's a beauty! Well done!
ReplyDeleteThank you so much!!
Delete