Powered by Blogger.

A pink duffel


One of my online friend asked me to make a duffel bag for her DD. I love making bags and pouches but usually only on request or made them as a gift. 

This duffel bag had 2 pockets on both side  and since there was barely enough fabric, I used white thick cotton (I'm not sure what was that, it's jeans kind of material) and added a cute matching pink grosgrain ribbon. 


The zipper part was a bit tricky cos I don't like an exposed zipper in a bag. So I came up with zipper lining which worked out great in this duffel bag.


I used flannel as a batting and it's double layers of batting there. And deep pink polkadots make it more fun. 


 oh and I did FMQ too, it's a good way to practice FMQ ;) 

Until then...

Happy Sewing


Queen Bee - My Double Star Block Tutorial


I was the Queen Bee of January 2013 in my quilting group Desi Quilters. I was so excited and I already hearted this block I saw on Flickr, but could not find any tutorial about it. 

So, I sat down and drew my own based on the picture I saw on Flickr. 
I called it Double Star block. This is quite simple to make. 

First, here’s what you need:
1 - Background color  is BLACK
2-  Star colors: 2 CONTRAST COLOR and use ONLY SOLID

So, here we go :

THE CUTTING:
BLACK fabric:
-          Cut  4 ½ “ x 4 ½ “ -  4 pcs
-          Cut 4 ½ “ x 2 ½ “  - 8 pcs
-          Cut 2 ½” x 2 ½” – 4 pcs

SOLID  contrasting color:
-          Color  #1 : 2 ½” x 2 ½” – 7 pcs
-          Color #2 : 2 ½” x 2 ½ “ – 7 pcs

Finished block: 12" x 12" 


THE METHOD:
1.       Making flying  geese:

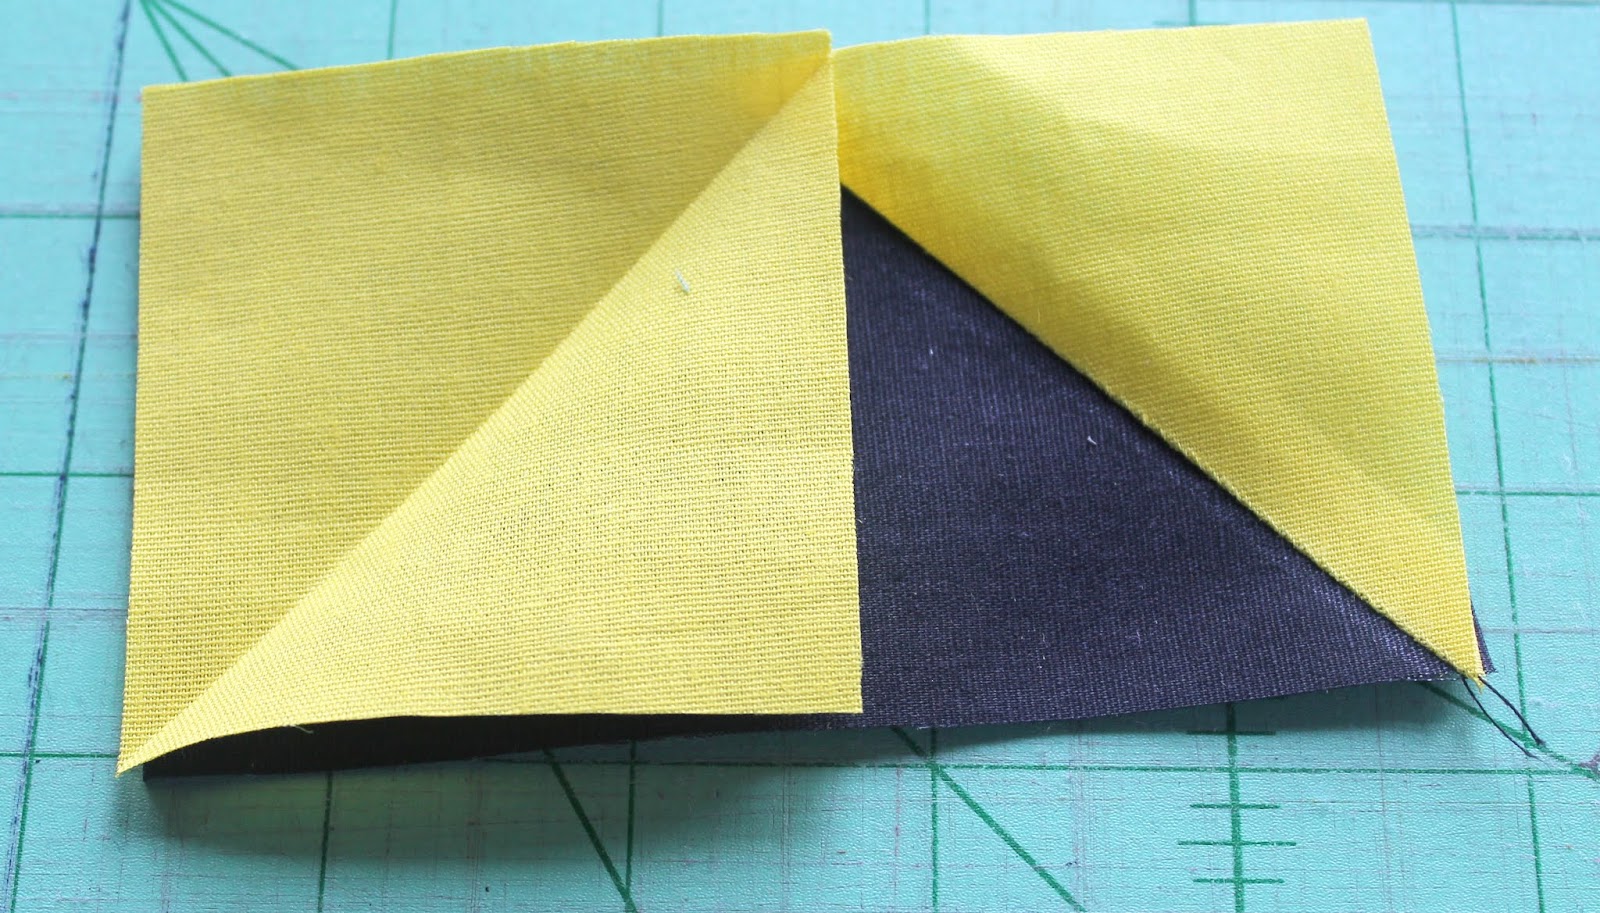
Take 4 BLACK 4 ½” squares and take 4 pcs of each 2 ½” squares of solid and make into 4 flying geese.


2.       Make the  1 ½ flying geese (umm that’s what I called this piece, btw)
PLEASE REFER to the picture of the complete block for the placement of the color squares in this piece. 
Like making the flying geese, place 2 SAME  color of 2 ½” squares  SOLID  on one side of the 4 ½” BLACK squares  and CONTRASTING color of 2 ½” squares  SOLID  on the other side.


3.       Once you’re done, don’t forget to  first IRON flat all the seam to the dark side. Then arrange all the pieces and accordingly stitch each row and then assemble the whole thing.


Tadddaaa…your double star block is ready. Easy peasy,  isn’t it? ^_^


Happy  Sewing ^_^

Latest Fabrics

Latest Video