Powered by Blogger.

{Tutorial} Another Wallet Mitered Binding

Hello,


Many friends asked me how I do my wallet binding. I love wallet with binding because it's stronger and it's one of a kind! You won't find the same wallet in the world. I guarantee that ^^

Handmade Family Passport Holder
Ok, so here's how:
(you can use cross cut or bias binding. The binding width is 1.5" ).

1. Start sewing the binding with 3/8" seam allowance. See the picture below, I folded the binding diagonally. 

This is the beginning of the binding

 Stop approx 3/8" from the corner, and turn the wallet diagonally and sew to the corner.


2. Now flip the binding strip to outward to the right 


3.  And flip it back again like shown in the picture below.  Make sure the fold at the top is lined up straight with the edge. 


4. Now sew the binding from the top with 3/8" seam allowance. Continue in the same manner until the end. 


At the end of the binding, overlap the binding strip like in the picture below


When you finish and fold the binding to the other side, you will have a neat mitered corner 


Nothing like a perfect ending, right? 


Now, finish your binding by hand. I love hand sewn binding. I tried several times to finish it with a machine but not very happy with the result.

This tutorial is an update version of my previous post. 

I hope you find this helpful. Let me know in the comment if you do or if you want more tutorial. 

Happy Sewing 


Something New

Hello again,

Few days ago, I was reading my past blog posts from way back in 2009 and 2010. I even read the comments and checked the profile of the commentator. Most of the bloggers are no longer writing. After the Facebook and Instagram, many people think writing a blog is too time-consuming. I was also caught up in the same trend. I mean, isn't it easier and more practical to just click photos and upload it to Facebook and Instagram, instead of writing all the details on the blog. The thing is, Facebook and Instagram is a fast moving, it's difficult to track what you have posted, even with the hashtag. Unlike a blog, where everything is properly documented. It's like a diary. We can always go back and read. Some cute moment, some ridiculous photos, and of course it warms my heart to read all those. Anyway enough of feeling nostalgic.

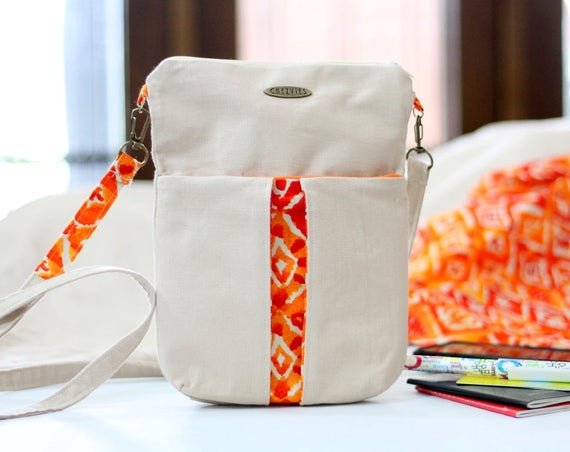
Yesteday, in between finishining my orders, I made this cute hipster cross body bag. It's been on my mind for several days, and it sort of bug me (you know what I mean?), so after cutting interfacings and fabrics for my Passport Holder orders, I draft the pattern and here it goes:

Originally, I wanted to make the pleat slightly closed, but I changed my mind. I love how the pleat turned out here.  It gives a patchwork look which was my initial intention.


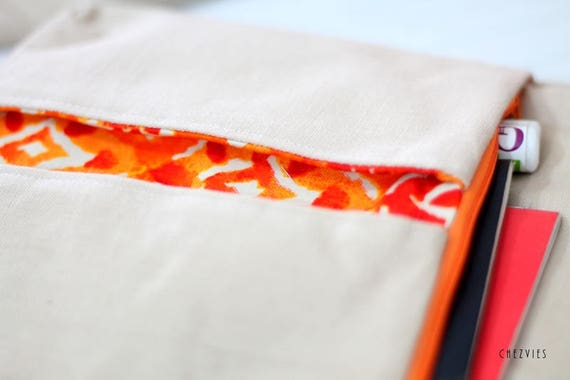
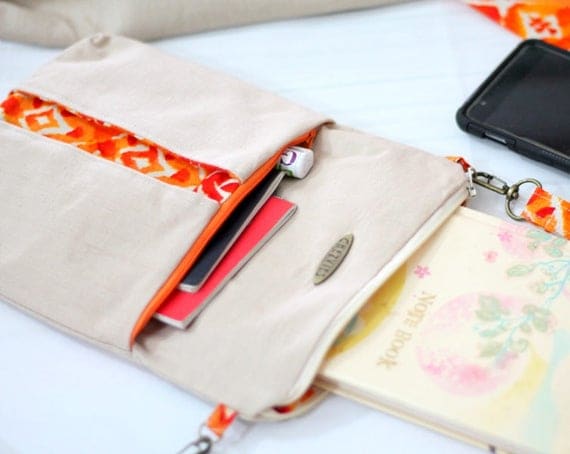
I also made the front exterior pocket with hidden/concealed zipper. From far it will look like a slip pocket when it's actually a zippered pocket. 


I was thinking to finish the top without a zipper, I guess that can always be an option later. I use beige linen for the solid and an orange diamond print fabric
Also, don't miss the patchwork removable strap! I love patchwork strap. 

Besides that, I finished another mini crossbody bag from my Phone sleeve pattern. I used the kindle size for this one which turned out pretty cool.


It's such a fast sewing and how scrap friendly this pattern is. The paisley fabric is just perfect, it's like waiting for the right project to come along. 


and of course the additional zippered pocket is always great option, right? Especially when you are traveling and want to keep all the small necessities with you without having to rummage the big backpack. 

That's all for today. I have to go and take the boys to their music classes today and I hope the weather holds.  

Until then,

Have a nice crafty weekends


This post is linking to Finish it up Friday 

Supplies Links : 


Latest Fabrics

Latest Video