


Hello,

I'm still in scrap buster mode. Now, let's make Reversible Trivets or coaster. It's really easy - mind numbing project. This is the kind of project that lifts up your spirit or gets your sewing mojo back.
Alright, here's what you need:
- Fabrics scraps of various sizes and colors.
- Batting scraps - I am using flannel in this tutorial.
First, you need to decide the size. I normally go with the whatever size of the batting scraps. In this project, the batting is roughly 6.5" x 7".
Now grab 2 small pieces of fabrics and put them RIGHT SIDE TOGETHER in the middle of your batting piece. Sew with 1/4" seam allowance. You can go with 1/2" or 3/8 seam allowance. It doesn't really matter.

Now flip them open and finger press. I trimmed the pink stripe fabric a little bit. For a small project, the narrower the fabric strip the better. At least for me.

Now take another strip of fabric and put them Right Side Together along with the longer side of the previous unit. Sew down with 1/4" seam allowance.

Flip it open and finger press.

Repeat the process until the batting area is covered. Once done, start quilting the panel. I love doing line quilting. You can quilt it in whatever design you like. Don't worry even if it's not straight. It's "your quilt, your rule" kind of project.

Once it's done, trim the panel to the desired size. In this tutorial, I trimmed the panel into 5.5" x 5.5" roughly. It doesn't have to be square.
Repeat the whole process with the other piece of batting and now you have 2 bright and beautiful quilted fabrics ready to make into something F U N.
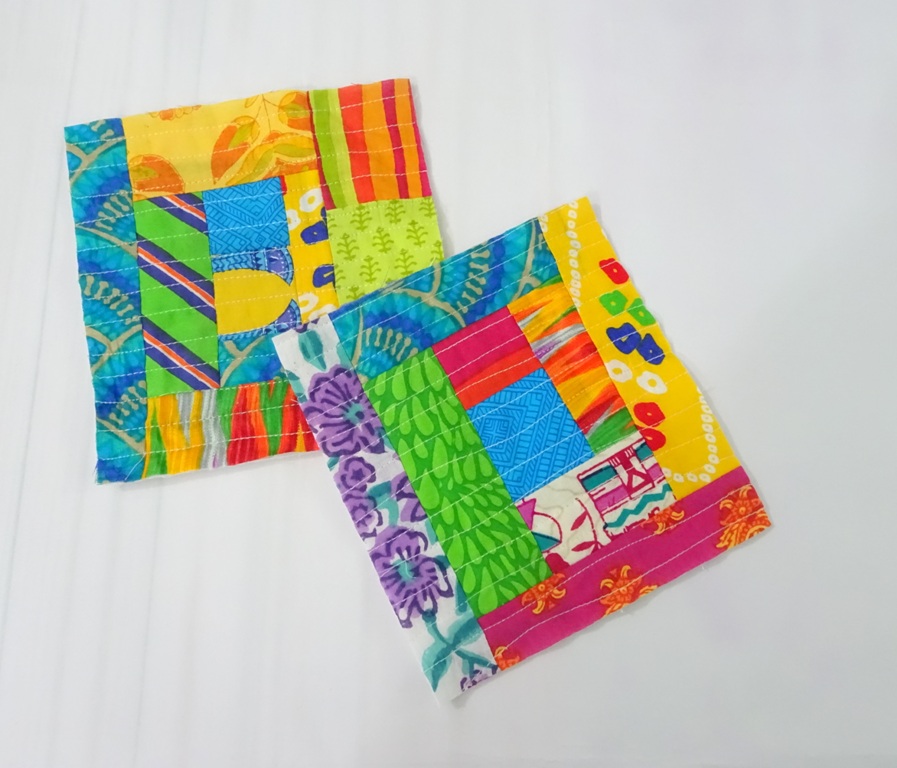
If you want to make a pot holder, you can add another piece of batting in between the two quilted panels.

for trivet or coaster, it's not necessary. Put the quilted panels right side together, and sew all around, leaving 2" gap for turning.

Trim the edges by cutting the corners diagonally. Be careful not to cut into the stitches.

Now turn the coaster inside out. Close the gap by hand sewing the opening or apply fabric glue.
Voile, your one of a kind coaster is done and you can admire it.

Actually, whenever I made something from those small scraps I feel like I saved the world. LOL. I wish I could sew clothes like Zero Waste Daniel .

Here is another one I did. This one was hand quilted and hand sewn the binding.
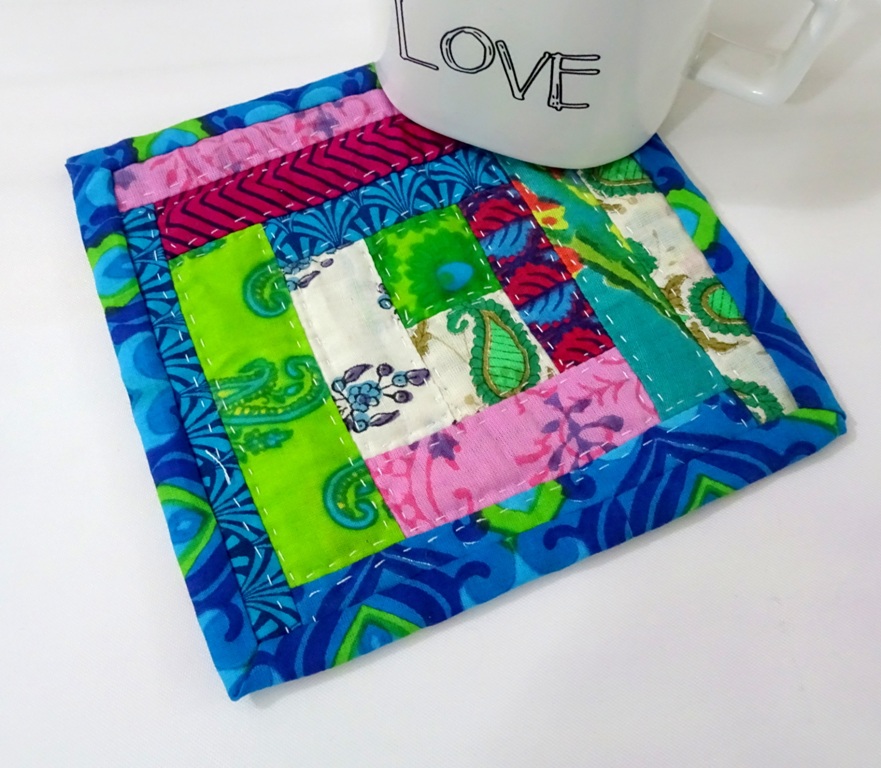
You can make many things with those tiny scraps.
Now go and make few from your scraps. Tag me on Facebook or Instagram if you made something from this tutorial.
And if you ever need fabric scraps, you are most welcome to join the CLUB or check the CHEZVIES SHOP.
Thank you for stopping by.
Until then,
Happy Sewing

**************************************
 |
| Indian Fabric Bundles |


