
Powered by Blogger.

The Chatai Fish Kantha

 Kantha framed work


After the Kantha Workshop last year, I bought  Inspiration Kantha by Anna Hergert on Amazon to learn more. The book is very good if you're looking for some in-depth knowledge about Kantha, which I also learned during the workshop. Anna also wrote very detail about what kind of fabrics and thread to use, etc. Well, reading the book is not enough, right. We must try and experience it to learn more.

Frankly, when people heard about Kantha, the most common response would be "ah it's only running stitch, right?" but believe me, this "only running stitch" business can be overwhelming or intimidating especially for beginners. I mean, you have this notion that "it's easy" but when you get down to work on your piece, you will start to feel anxious because your stitches are not even, too big, too small, too ugly, etc. Also, there's a question of where should I start, how to end the stitches neatly, and a lot of other things going on inside your head. Well, at least that's what I felt when I started working on this Chatai fish design. 

chatai fish kantha


When working on the fish, I tried to follow the book. The outline work was not tough but when I started the running stitches, I made a few detours. By the way, I am using 2 layers of cotton khadi which I got from the local market just before the pandemic. I tried my best to do smaller stitches but in the beginning, I did a lot of unpicking, because as I said, I feel the stitches are too big or the gap between the lines is too wide. It took me a while to get into the rhythm because I was doing this piece after I finished the placemats which have bigger stitches. 

chatai fish kantha
I love the texture of this khadi fabric


Now, doing the fill-up stitches, I was confused should I work from inside out or just working from the top row by row. It's pretty tricky. I decided to work from inside out by echoing the fish. I imagined the echo stitches are like the splash on the water as the fish swimming away. After a few lines, it's time to take the stitches in a different direction. 


I worked on a section here, one corner at a time started from the bottom. When filling up the top part, I decided to go row by row moving upward. You can see the stitches are going in different directions in the picture above. It showed how confused I was while working on this piece. I even browse Instagram and blogs/websites to learn more about Nakshi Kantha and stumbled upon Fairly Worn website . Valerie is working with an NGO in Bangladesh and Tripty Boutique. Check them out, they are simply stunning. 

The back


Well, I still have a long way to learn and I really really enjoyed doing the hand quilting /hand sewing and this ancient technique is really intriguing and interesting to learn. Yes, there is a lot of work that goes into one piece of (original) Kantha, fair trade or not. But as you start learning the art, you will start to appreciate it more. Kudos to Valerie who decided to work with the NGO in spite of everything. It takes courage to support those people, especially across many continents. 

I hope more people especially in India and Bangladesh will revive this art of Kantha to its former glory. Because Kantha is not just a running stitch! I hope one day I can travel to Bangladesh (which is actually pretty near to my state) to see more about Kantha. 
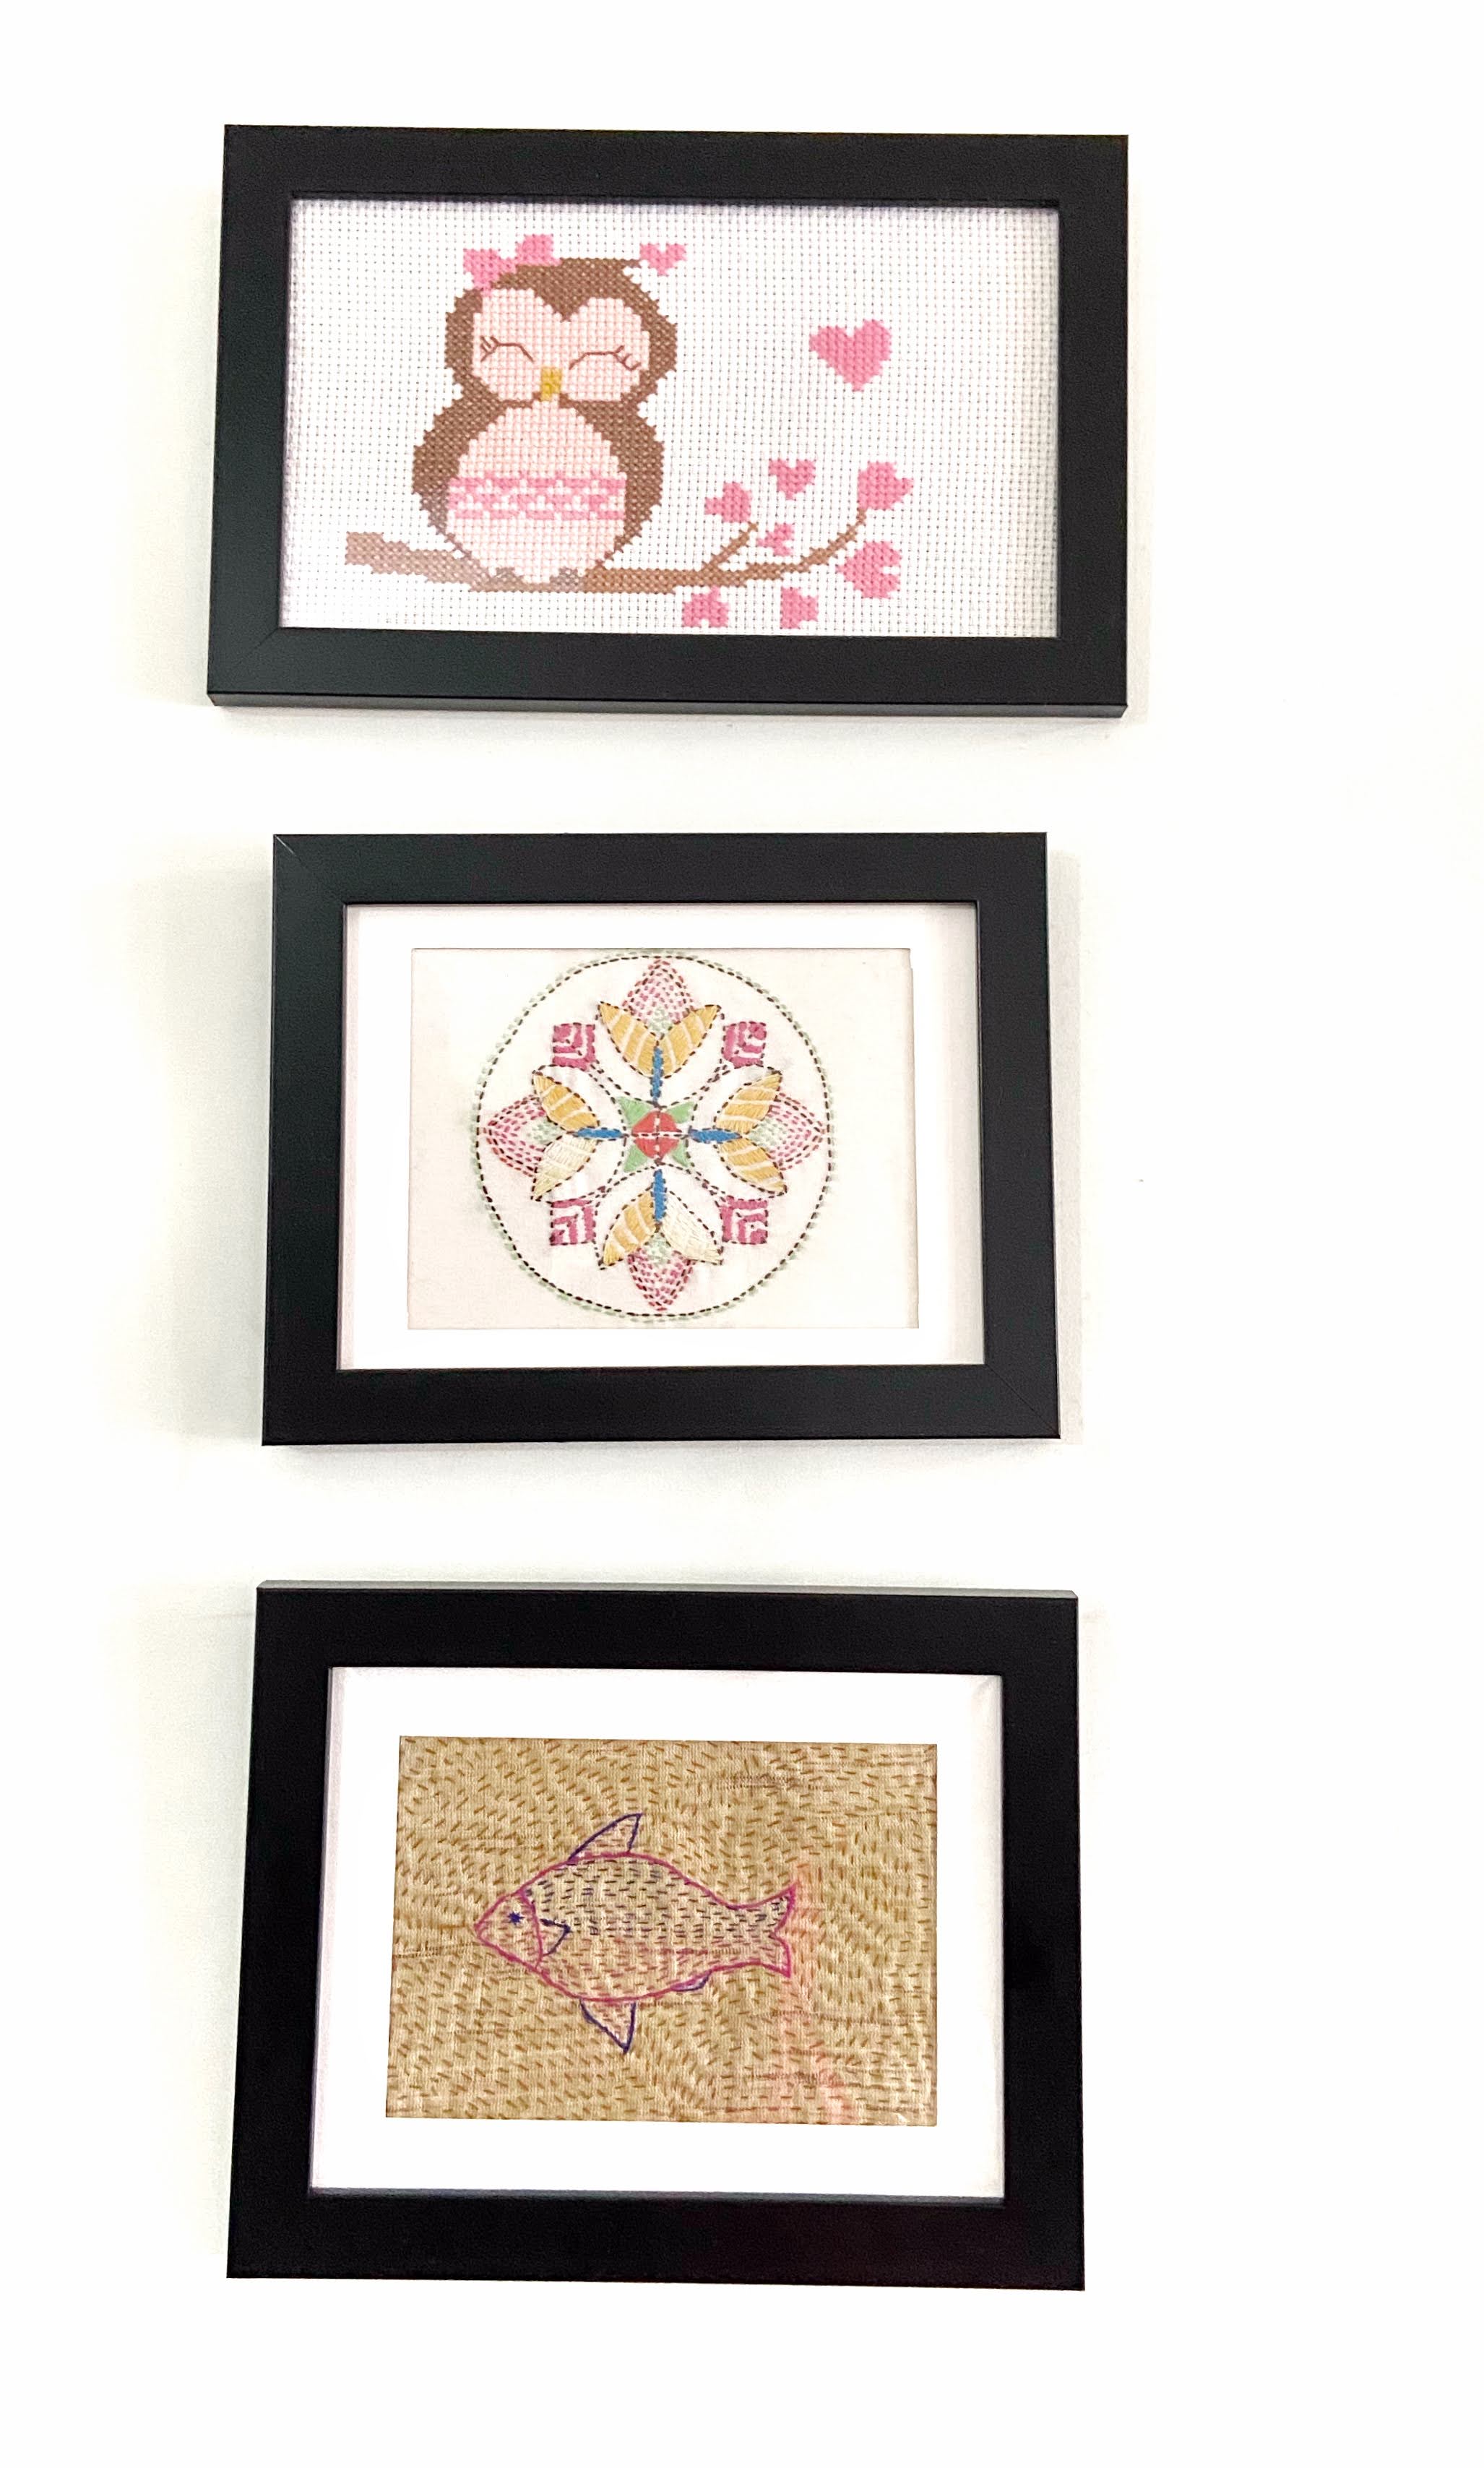
Kantha Wall Hanging


Now this Chatai Fish Kantha is done, framed, and put up on my wall. I still have a few hand quilting projects for my small quilt shop and have a few ideas for my next Kantha project! Stay tuned! 

Check out more of my Kantha Journey 

Until next time,

Happy Sewing,

Elvira

*****


VIDEO TUTORIAL - Potholders from Scraps

 Hello,


I have a mountain of scraps in buckets and bags all around the house. Somehow I just don't have the heart to throw them away. Whenever I see my fabric scraps I feel inspired and full of ideas, but then those ideas remain on my "bucket list". 

A few weeks ago, Tina and I discussed the next swap, after the successful swap we has last month in Desi Quilters. This time she has with the idea of exchanging Potholders and as usual, she came up with the most suitable name "pot of gratitude". This is to remind us to always be grateful during this Pandemic and by making a gift for our virtual friends who always be there to help in our crafting or quilting journey. 


Potholder Tutorial

So, let me talk about potholders that I usually make.


1. Batting

The first question that people ask is always about what kind of batting to use for potholders. Well, we don't have thermal batting for retail here in India. I usually use double or triple layers of cotton batting. A few years ago before cotton batting was easily accessible, I use a few layers of cotton flannel (like THIS coaster). If you have scrap batting, you can use it even if it's narrow strips you can layer them. 


mug rug tutorial


2. Fabrics. 

Store-bought potholders usually use thicker or canvas cotton. I normally use quilting cotton or poplin cotton. And if I use Indian fabrics (mulmul) I usually use nonwoven interfacing to give additional weight. On the back, you can use casement fabric or canvas if you have one.


crumbs quilt


3. Quilting.

You can either sandwich two layers of batting with top and backing and quilt them together or you can quilt the top and back separately like in THIS mug rug. I personally prefer the latter because it turned out thicker which is perfect for potholders. You can quilt the top with denser quilting lines but I'd suggest using less dense quilting lines for the backing. 

potholder tutorial

potholder tutorial


4. Binding

For square or rectangle potholders, I'd suggest using a jellyroll strip. A 2.5" wide is a good one, but if you use thicker batting, you might want to use a 3" wide binding. I normally used 1.5" wide binding for small quilts, but since we're going to use the potholders a lot, thicker binding is always better. 

The same applied to bias binding. In this pumpkin potholder video, I use scraps of about 11" x 17" fabric to make 2.5" wide binding which yields around 1.65 meters of binding strips. Enough to make 2 potholders. 

I wrote about making bias binding in THIS POST using a square of fabric. You can make bias binding from fat eighth or fat quarter like in THIS VIDEO


Bias binding tutorial
Bias Binding Tutorial


Alright, now about the POT OF GRATITUDE SWAP, here are the rules:

- It should be pieced or appliqued

- Should be quilted by hand or machine

- Embroidery can be added but avoid beads and sequins

- The edges must be finished with binding or facing.

- There must be a loop for hanging the potholders.  

- Must be made according to your partner's mood board. Sonalee wrote how to create a mood board on her blog HERE

In the videos below, I shared 2 projects that I made using fabric crumbs. Not really make a dent in my scrap bins but I am using only scraps here. So I'm pretty happy! 


scrappy potholder


Let's get down to work now


For the Crumbs Potholder, you need: 

- 5" long crumbs strips 0.75" or 1" Wide (1.5 to 2 cm)

- Lightweight Fusible Interfacing 8" x 8" (20 x 20 cm) - cut 1 (optional).
Not necessary if using quilting cotton

- Cotton Batting 9" x 9" (23 x 23 cm) - cut 2

- 1 strip Jellyroll or 2.5" x WOF (6.5 Cm x WOF)

- Potholder Loop 2.5" x 3" (6.5 x 7.5 cm) - cut 1


And here what you need to make the Pumpkin potholder:

- Download the Template HERE

- Skinny Strips 1" x 7.5" Long - 20 pieces or so

- Backing Fabric: 7.5" x 9" - Cut 1

- Cotton batting 7.5" x 9" - Cut 2

- Fabric for bias binding - I used 11" x 17" which yields around 65" (165 cm) of 2.5" wide bias

binding. Enough to make 2 potholders.


I hope you find the video helpful, especially for beginners. Please do let me know in the comment below if you have any questions. 


pumpkin potholder


Thank you for stopping by!

Happy Sewing

Elvira


Linking up to these wonderful BLOGS


Latest Fabrics

Latest Video