Powered by Blogger.

{Tutorial} DIY Printed Fabric Label


There are so many tutorial you find online how to make DIY fabric label. I have one DIY Label tutorial using fabric pen and now I am going to share how I do DIY printed fabric label. 

First of all, here in India I don't get freezer paper, so I used fusible interfacing which is called "pasting" by my local supplies shop. It's a thin woven interfacing which is used as backing for machine embroidery. There is one with glue on one side (hence it's fusible) and there's one without glue. I used the one with glue on one side. 

So what you need is :
~ a piece of fabric --- cut into A4 size 
~ a piece of fusible interfacing --- cut into A 4 size
~ transparent nail polish
~ Computer & printer (I used laser jet by the way) 

#1 - Design your label on your computer. I am not very savvy with computer program, so I use MS word and used a mailing label template to create my label :D 


#2. Fuse your fabric on to the fusible interface. Be careful with the setting. Set the iron on WOOL and press few second on one side before moving it around. Than way you will get a crisp papery fabric. I used linen in here. 


#3. If you're happy with your design, print it out onto the fused fabric. I suggest you run a little print test on paper or at the back of the fabric (the interface side)

and when you're done, cut and dab the edges with a little transparent nail polish to prevent it from fraying. Well, unless you have fray check, which I don't ^_^. 


It's easy, right? You can add your logos or if you have color printer that will be wonderful. 

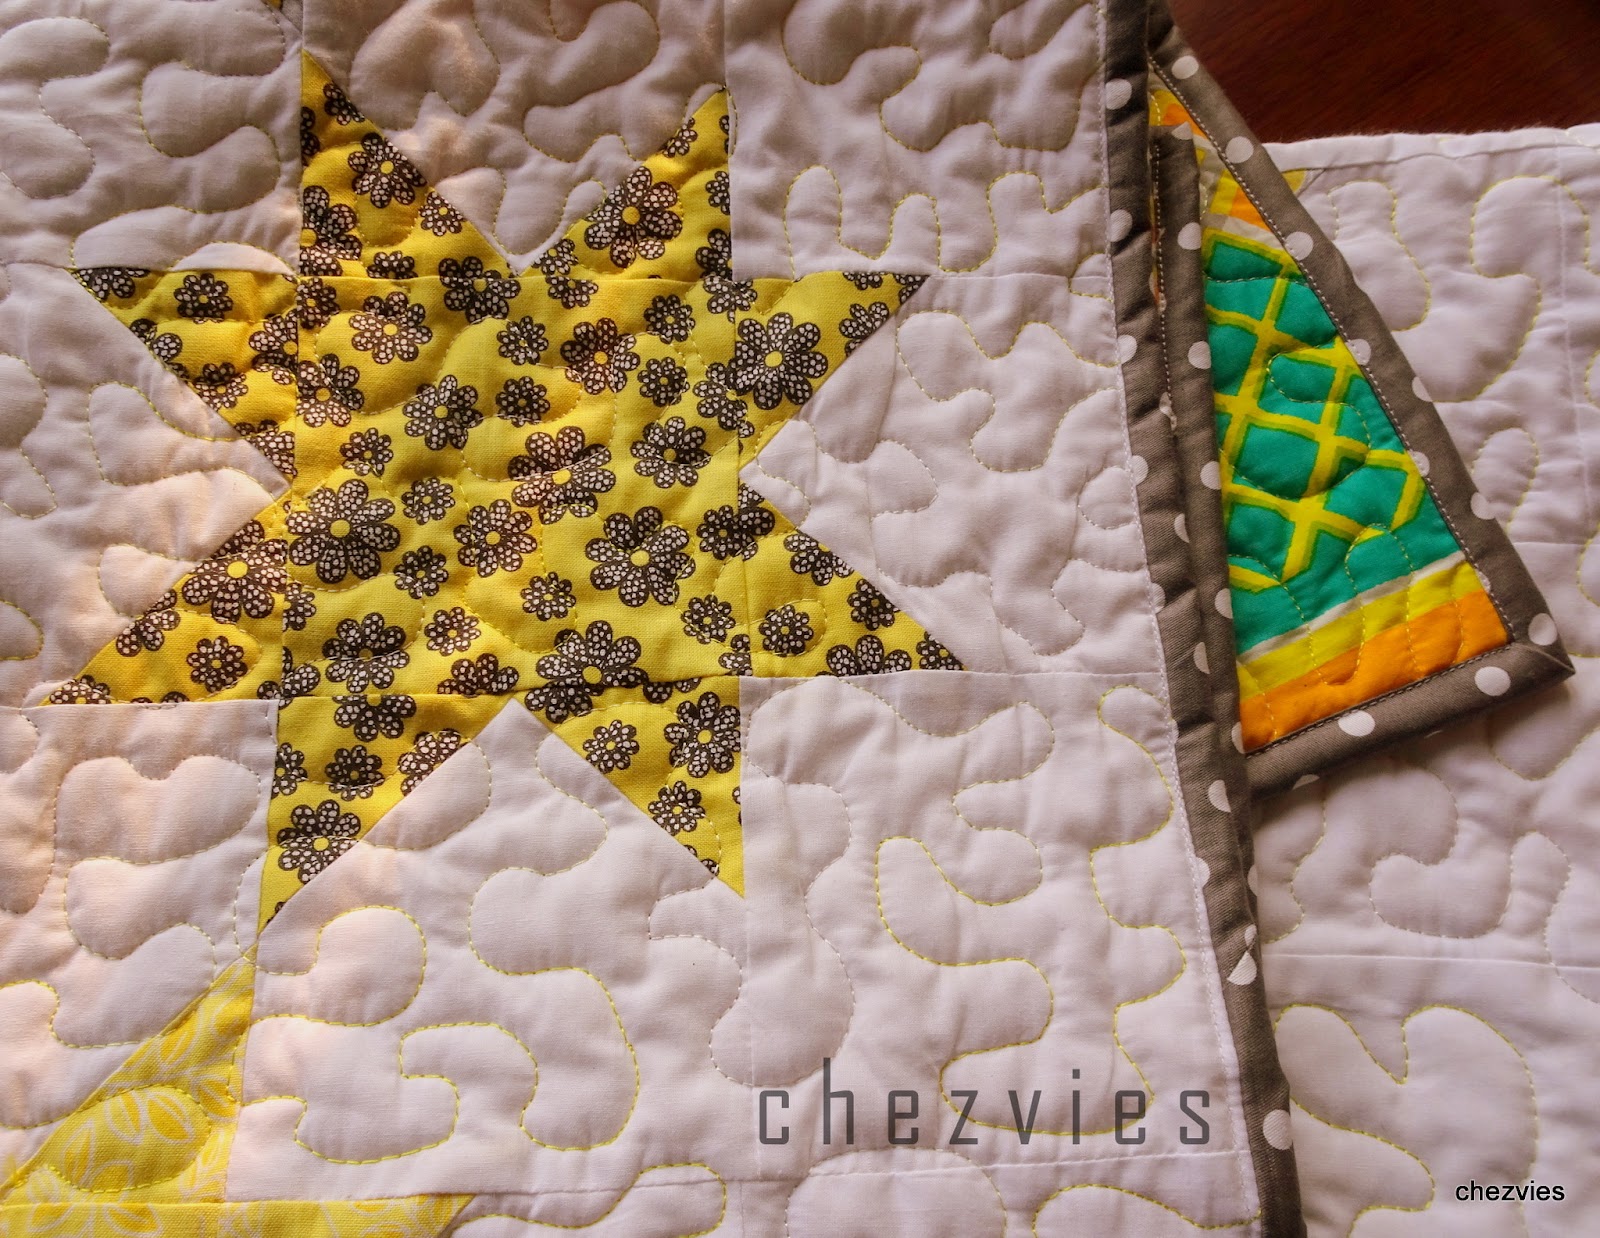
I made my quilt label the same way and I read somewhere (sorry forgot the blog), if you soak your printed label in white vinegar for 10-15 mins that will prevent the ink from fading. 

This label is for stuff which does not need frequent washing. 

And you can check HERE for more tutorial. 


Until then,

Happy Crafting 


Week 4 of January

I bought  this 200 blocks book last year and this is one block I bookmarked. 
I really love this one


I esp. love the tiny star in the middle.


Let see how I will progress here. This is going to be my "one block at a time" project. Like maybe 3 or 4 blocks in a month or maybe less. 

********************************

Aaaand I finally finished the TOP of this quilt. Started last year but somehow never got around to join the blocks.
too much of distraction 0_0


it will be finish at 40" x 50" 

I am still thinking what to put at the back, maybe a grey chevron will look good. 


and another quilt is basted. Plan to do the quilting next week after finish my custom orders


***************************
and my son is growing =_= 
how time flies!! 
He is taller than me now
listening to rock music
and best part is  now we can sing Bryan Adams and GnR songs together
though I am still trying to convert him to Bon Jovi <3 


*************************

Another thing I did was I started doing  machine embroidery. 

I have few orders where customers want their wallet personalized and  I thought might as well I make a good use of my machine :D

I am still trying to figure out how to make it work with rayon thread. This husqvarna viking Topaz 20 seems to hate rayon thread :( . I am asking in few of my quilting groups and hopefully one or two tricks will help me ^^. 


The bigger patches are  for custom quilt I am making for our high school reunion next summer. Yeah yeah...I am adding another WIP in my list. I haven't decided on the design as yet, but I think it's going to be a traditional blocks. 


 **************************

and I am also playing with leftover jelly rolls cos I want to try one poly batting sent by one supplier. I am not quite happy with the batting tho. I am still looking for a better one. 


so that's my story of the week. 
What's your story?

Until then,

Happy Quilting


Oh My Star


I always love star blocks and when I saw Jera of Quilting in The Rain "Summer Mini Star" quilt I just went ahead and bought the pattern
one year ago...

and it's super easy to do


I've done it in a day...well if you count the hours that I am working on it ;-)

here is the detail of the FMQ, isn't that pretty??
Please don't mind if I can't stop being narcissistic here 
I've been trying FMQ in my HV Designer Topaz 20 which is I must admit it was rather bumpy journey. I read and watched a bunch of tutorials, fiddle with the settings, etc but it was not working as smooth as my  humble Usha Stitch Queen


and this one I did with Rayon thread in butter yellow color. It's so gorgeous in person. 
HV DT 20 in my opinion is good as embroidery machine or general sewing. But not for quilting. This is from my personal experiences. 


At the back, I decided to go with this yellow and green geometric print from my Etsy Fabric Shop. I wanted something bright.
And the binding is dark grey polkadots. 

For now, it's hanging prettily above my sewing machine. 
It's my inspiration as I can finish my first quilt of the year.

To tell you the truth, I was almost giving up on FMQ, until the other day. I was trying to tell my self that FMQ is not everyone's cup of tea.


well, if you get the right machine, then  why not?? It's easy it's fun. 
Sometimes something simple is all you need!


Until then,

Happy Quilting


The Queen is home

I've been looking for a 3rd machine. I want something semi automatic, something heavy duty. I read online about Janome HD1000 and visited Usha Janome shops in my town and they said it is not available in India. 

But I need a machine to sew my wallets and bags. 

My Bernette has been having some problem and in and out of service a couple of times but the problem persist. My Husqvarna Viking  DT 20 can handle it so far, but it is not tough enough to handle the load. Besides, if anything happen, there is no service support for Husqvarna Viking in my town or the nearest Metro (that is Calcutta), it's going to be a headache for me.  So, I was looking something less expensive which will serve my purpose.

First I went to the main dealer of Usha Janome in GS Road, the guy there was trying to sell me the high end machine, and refused to show me Usha Stitch Queen, the machine that I have in mind (besides the HD1000). I told him, I already have fancy one and I don't need another one. So I  went to the shop where I bought my first Janome when I came to India 14 years ago. 


I spoke to the old man and showed me 2 machine, Janome Empress and Usha Stitch Queen which basically the same, except Janome Empress only treadle and has a couple of decorative stitches, while Stitch Queen is equipped with electric pedal and only has straight and zig zag stitches (which is what I need). He insisted that I try sewing using the sample fabric that I had with me. He said "I will not sell you the machine if you are not happy with it and it doesn't serve your purpose". And I was sold. His honesty is a rare quality of a master salesman. Despite of having a small shop, he didn't try to sell me the more expensive machine. He also insisted that I meet the machine demonstrator to check if everything is ok and will send him to my house for thorough demo. 

And so I brought the Queen home ^_^


Top View ~ you can see the motor attached at the back, that is Janome motor. 


it's written : designed and specified by Janome 


and I got more than what I bargain for, that I can drop the feed dog down, that mean you can you FMQ, right? 
I mean, if you google about FMQ you will always find  the instruction goes like 1) drop the feed dog and 2) set the stitch length to 0 

et voila!!

My first trial


I was amazed. No loose stitch, no tension issues (literally!!!) and it just goes...smoothly..just like when you drive again after a long gap, after few minutes you will race in the highway


and I did finish this mug rug in one go...just as simple as 123...


And I recently found this tutorial by Lizzie Lenard on YouTube  on How to do FMQ if you have treadle machine. 


Isn't it inspiring? 


Until then,

Happy Sewing


Looking Back

Happy New Year!!

2015 was a good year. I traveled quite a lot and collecting more fabrics. I learned Jogakbo (Korean Patchwork) during my visit to South Korea, started trying hand quilting (still in WIP now) and also started making bigger bags (again).


The latest bag that I finished was Ikat Super Tote from Noodlehead pattern. It took me quite a long time to start. I love how the grey jute highlighted the ikkat fabric. The bag is perfect size for someone who love carrying lots of stuff like me. 


**************************

 here are some of the things that I've completed in 2015.

More photos can be seen HERE
or in my INSTAGRAM 

{ Bag and Pouches} 


{quilts}


{Passport wallets}


{iPhone sleeves}


Now, I'm ready with new adventures in 2016.


Happy 2016


Latest Video