I've collected quite a lot of scraps from sewing masks in the past 2 months. I can't wait to cut them out into usable pieces. My fave is 2.5" and 2" squares.
Few days ago I sorted out the purple scraps and I so wanted to make something scrappy. I mean after days of making masks I feel like doing something else just for fun.
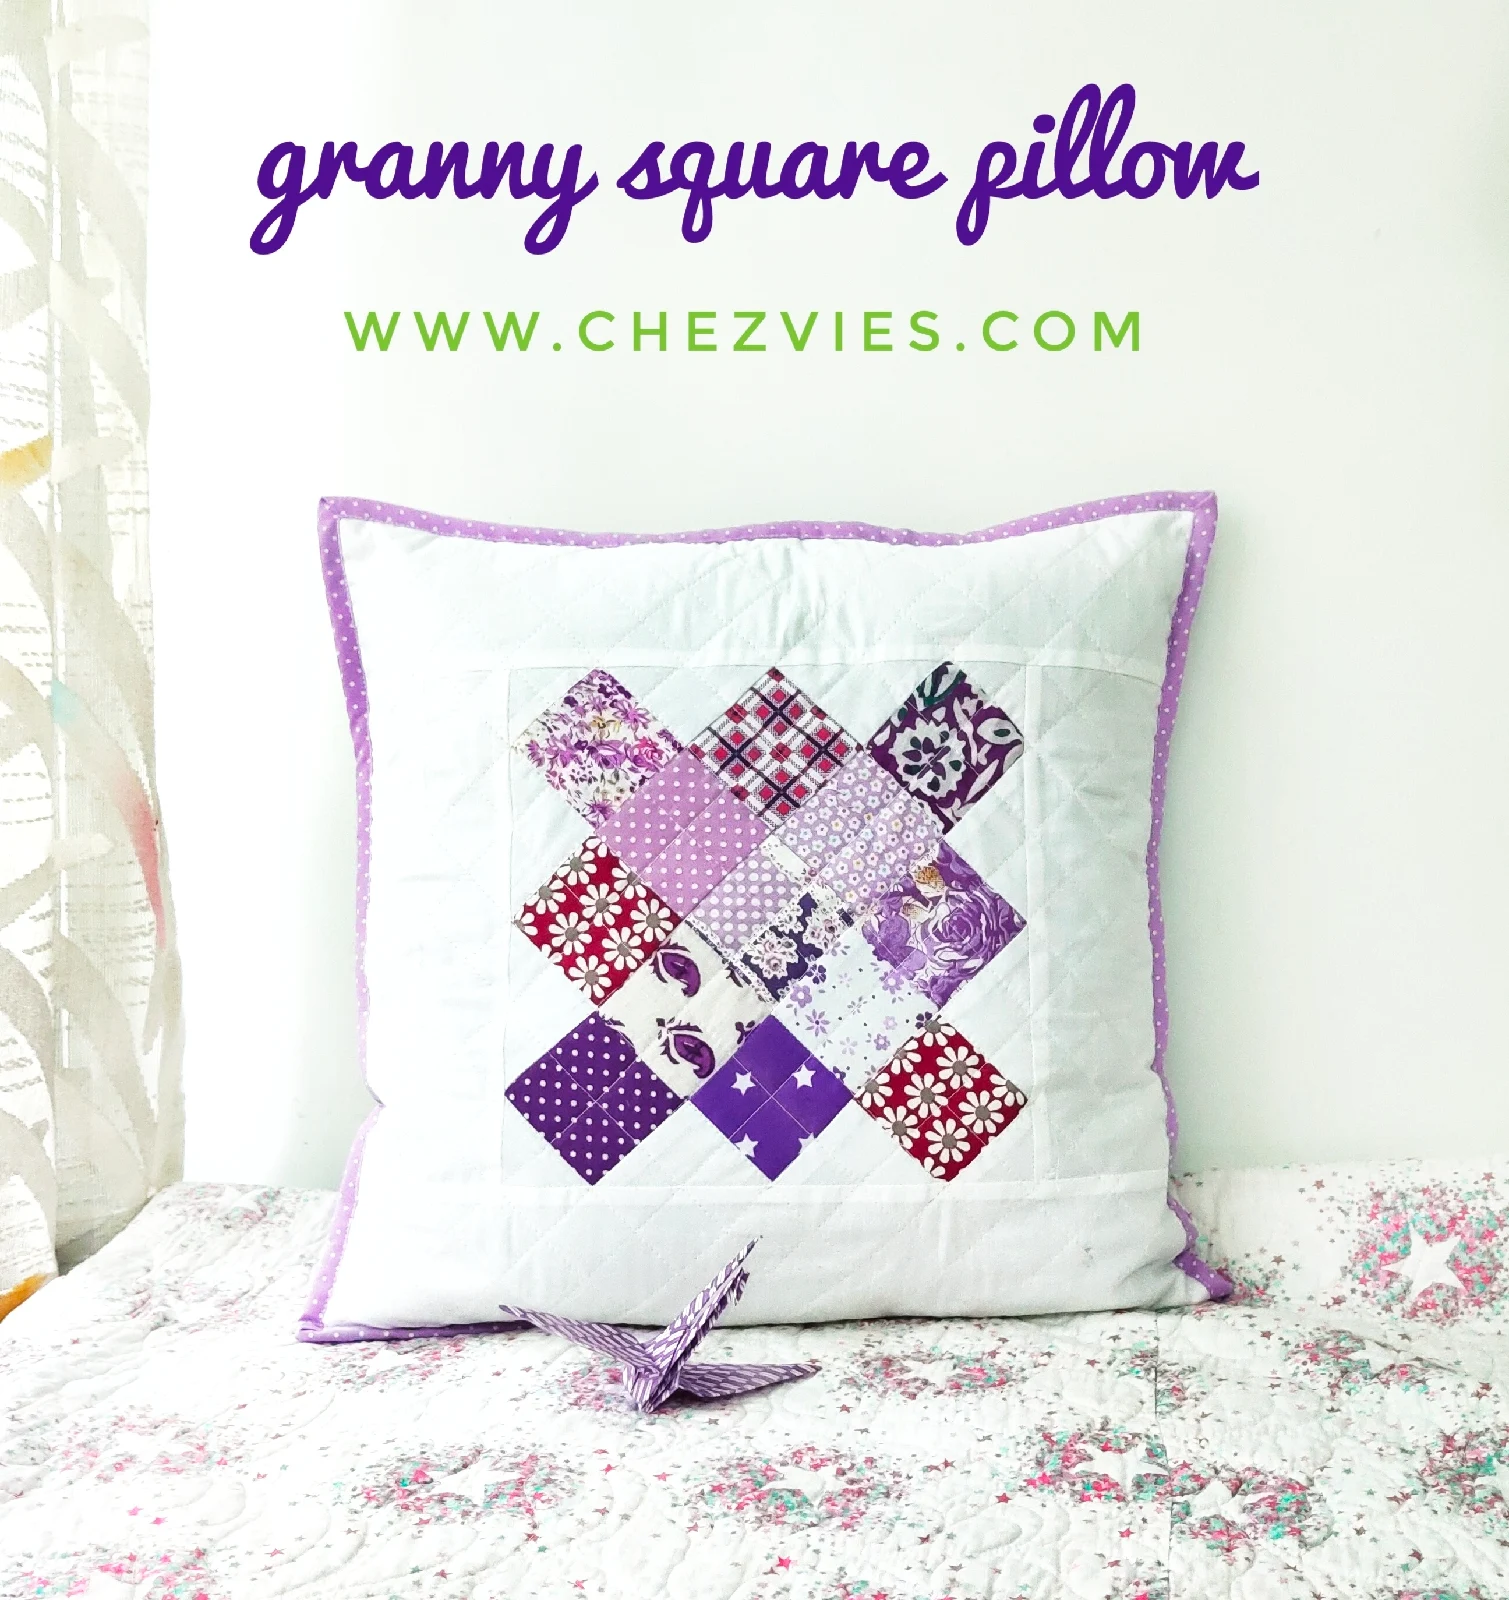
I started granny square projects few months ago and I cant wait to go back to working on it. Sometimes I just want to make something simple project that I can finish quickly. So I decided to make this scrappy granny square pillow cover.
In case you want to learn to make one, here's my step by step making granny square pillow cover.
What you need :
13 squares 2.5" x 2.5" - scrappy color (purple)
12 squares 2.5" x 2.5" - background fabric (white)
2 border fabrics 4" x 9"
2 border fabrics 4 "x 16"
1 backing fabric 16" x 13"
1 backing fabric 16" x 4"
1 batting 18" x 18"
16" all purpose zipper (I used 18" )
Cross cut single fold binding 2.5" x 65"
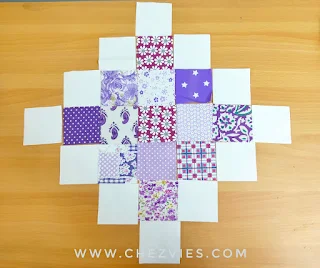
1. Arrange the scrappy color fabrics like in the picture below. Make sure to alternate dark and light color value. This is important later on ;)
3. Now we're going to start sewing them together from the second row using 1/4" seam allowance.
Once you're done, press the seam to the dark side, like in the picture below. Repeat with the subsequent rows.
4. Now we'll sew the rows together. Remember, we're still using 1/4" seam allowance here :). Once you're done sewing up all the rows, irom the block flat. I usually press the seam on the wrong side first to set it and then turn it to the right side and press it again.
5. Now, we will trim the pointy side leaving 1/4" seam allowance. The block should finish at around 9" x 9"
the block is ready and now we're ready to turn it into pillow cover!
6. Add the border fabric 4" x 9" on both sides of the granny square block. Sew using 1/4" seam allowance. Press the seam towards the border side and trim the excess if necessary.
7. Now add the 16" border fabrics on the top and bottom. I cut longer border fabric here because my fabric stretch a little. Sew using 1/4" seam allowance and press the seam towards the border fabrics. Trim pillow top piece to measure 16" x 16" square.
8. Place the pillow top piece on top of the batting, baste and quilted as desired. Trim the excess batting and keep the quilted pillow top aside as we will prepare the backing.
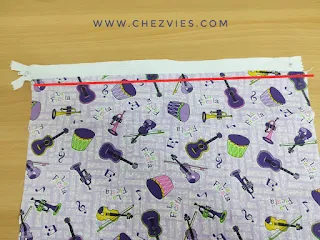
9. Now let's prepare the backing. With the bigger piece of backing fabric right side up, line the zipper tape on top of it, right side down and sew with 1/4" seam allowance.
10. Flip the zipper up, finger press the seam and top stitch using 1/8" seam allowance.
11. Place the smaller piece of backing fabric (right side down) and line it up with the unsewn zipper tape. Sew with 1/8" seam allowance. Then draw a line (yellow line) 0.75" from the top. Fold the fabric up on the yellow line and pin in place.
12. From the wrong side, sew down the zipper again 1/4" away from the zipper teeth.
13. Now it should look like this. I sewed the fold with 1/8" allowance. It's optional though. I did it because the fabric I used is a little lightweight. Trim the pillow backing to measure 16" x 16" square.
14. Put the pillow backing and the quilted pillow top WRONG SIDE together and sew around the perimeter using 1/4" seam allowance.
15. Attach the binding. Place the binding on the back of the pillow and pin or clip in place. Leaving approx. 2" from the top of the binding, start sewing using 1/4" seam allowance. Stop approx 0.25" from the edge, turn the pillow 45 degree angle and sew to the corner.
16. Flip the working binding outward and bring it down again to line up with the next straight edge, creating a crease at the top.
17. With the crease pressed down, sew binding using 1/4" seam allowance.
18. As you reach the end of the binding, overlap the binding approximately 1" and cut the excess. Insert the end of the binding in between the fold like in the picture below and finish sewing the binding.

Turn the binding to the front side of the pillow and finish it by hand or machine. I prefer to use machine for pillows because I have 2 teenage boys ^^.
I have 3 more blocks which I plan to make pillows. But first, I need to finish a couple of scrub hats and 3D Masks.
I hope you enjoy the tutorial! If you do, don't forget to subscribe or follow me by email.
Thank you for stopping by,
- Elvira -


