As promised here is the tutorial for the zip around wallet. This method is finished with binding. We are going to use bias binding here and you can check how to make bias binding in this Post.
What you need:
- Bias binding 1.75" wide
- #5 zipper - 24" long
- ZIpper Foot (Optional)
- ZIpper Foot (Optional)
Let's start :
1. Assembled the passport wallet as per the pattern instructions, minus the FLAP making part. Mark the centre top and bottom of the wallet with erasable pen. Then mark approx 3/8" to 1/2" on each side of the centre mark, like shown the in the picture below.
2. Prepare the zipper :
 |
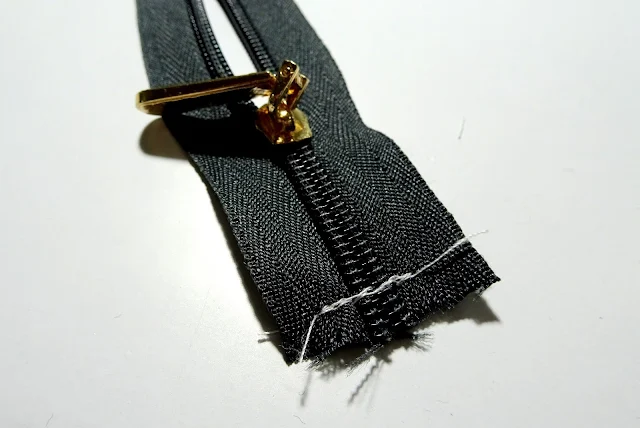
| On the open end, fold the zipper tape diagonally like the above picture |
 |
| Then fold it down and hold it with a clip or pin |
 |
| sew along the edge like the above picture. |
 |
| Sew across the close end of the zipper to prevent the zip puller from slipping off |
3. Attaching the zipper.
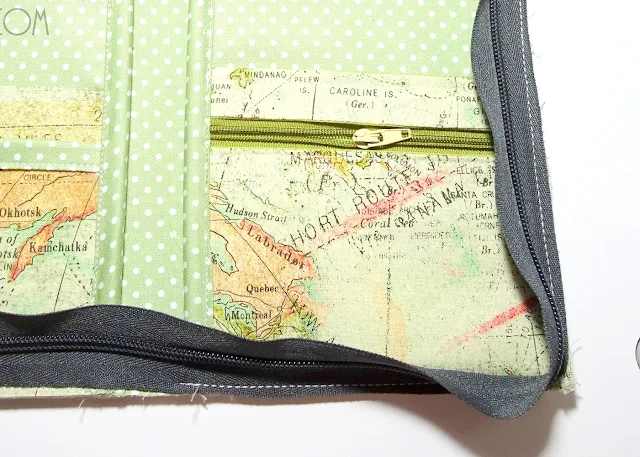
We will attach the zipper from the interior part of the wallet. Open the zipper and start at the top, align one folded end of the zipper , right side up, on the right side mark.
Using wonder clips, clip the zipper tape all around and start sewing from the top with 1/8" seam allowance and stop when you reach the right side mark at the bottom.
Go slow around the corners. Sew one stitch at a time as you maneuver the wallet.
Now close the zipper and draw a line on the zipper tape from where the stitch end, like in the picture below.
Now open the zipper again and place the marked zipper tape in line with the left side mark at the bottom. Clip all around and start sewing from the marked line all the way to the top of the wallet with 1/8" seam allowance and stop on the left side mark.
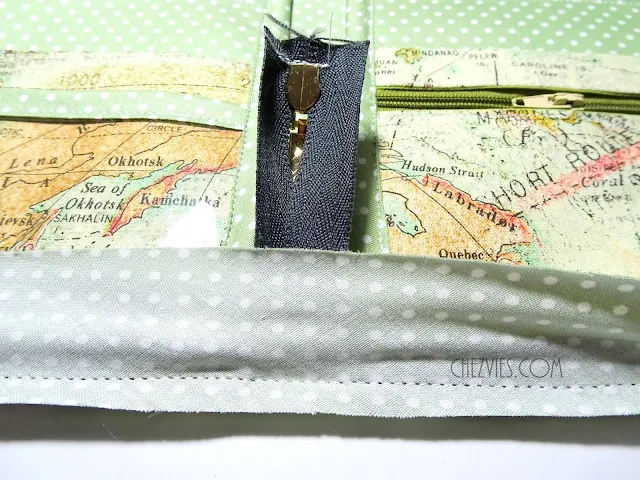
When finished, it will look like the pictures below:
4. Attaching the binding.
Fold end of the bias binding diagonally and place it on one side of the wallet, covering the zipper tape. Sew with scant 1/4" seam allowance.
Be careful while maneuvering around the corners. Remember to always push the zipper teeth away. Setting the machine speed lower will help.
when you reach the bottom, just pull the zipper tail inward and continue sewing.
 |
| Before turning the bias binding, slightly cut /round the corners and make small clips on the zipper and binding fabric in the corners. |
Now, put on your fave movie and start hand sew the binding :D
Last step, trim the zipper end by about 2" and encase the end of the zipper tape with a matching fabric.
et Voila!! Pat yourself on the back for completing your beautiful wallet with all around zipper!
I hope the tutorial is clear enough. I will try to make a video tutorial when I make my next passport wallet! It was kind of difficult to take photos and video at the same time ^_^
here is the wallet in action on my YouTube Channel
Do tag me in Instagram if you make one based on this tutorial.
Thank you for your patience reading this long post :)
Happy Sewing!
- Elvira -


