Powered by Blogger.
Showing posts with label small bifold wallet pattern. Show all posts

Hello December


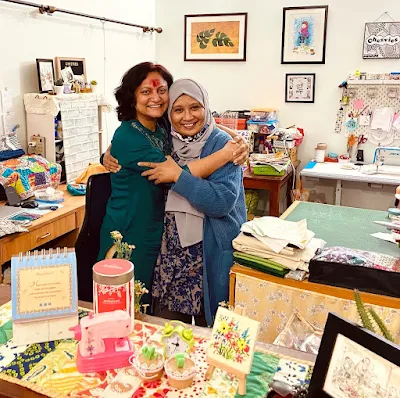
My December started with a lot of blessings. First, Tina Katwal came to my city and she visited me! I was so excited when she told me a few weeks ago. Finally, I get to meet the leader in our Desi Quilters (the biggest Quilt Guild in India). We've known each other for almost a decade on Facebook. She's an accomplished quilter and entrepreneur. Her studio, the Square Inch in Chennai is literally our go-to shop for anything related to quilting or sewing! Online and Offline. It was really an honor to meet her and hopefully, I can visit her in the near future. 


Desi Quilteds

We talked about quilts and more quilts and a lot of plans for the Desi Quilters activities. I really admire her passion to take Indian Quilter society to the next level, from managing the group to organizing the India Quilt Festival. The first Quilt Festival in India and also showcasing Indian Quilts in several cities in India. Kudos to her! Do check out her Facebook Page or visit her Website to see more. 


Thank you Tina for the beautiful gifts!


The second thing is I woke up to an email from Etsy that I'm a star seller for the month of December. Wow, I really did not expect this! There are a lot of opinions when Etsy first launch the star seller badge and honestly, I still have a mixed feeling about it. Especially as a handmade seller who creates the product from scratch by myself. It's really a nice surprise and a good feeling as the badge is a validation and recognition of your hard work and services. Thank you for all your supports! I would not be able to achieve it without your love and supports! 


Etsy Star Seller


Sewing wise, in the last couple of days, I finished quite a few wallets, for orders and stock. This family passport wallet in world map print is pretty popular and from these two wallets, only one is available now in the shop now. I still have a little bit of map print fabrics, but I think I'm going to make a new family passport wallet for myself. We need a new one anyway! 


Map print family travel wallet


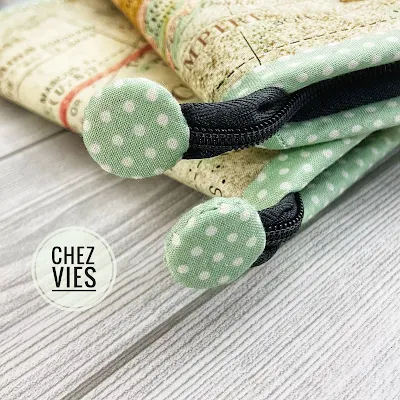
Don't you love these cute zipper ends?


I love this linen floral print wallet so much and I am using one myself. It's also available in Blue with the same beige combination. Nowadays I made more zipper closure wallets and I love it too. Especially I love using a single tape zipper.  You can check the tutorial HERE (for the family passport wallet) or HERE for the mall wallet.


Linen Wallet


Handmade fabric wallet
Lavender Wallet


Bifold Wallet


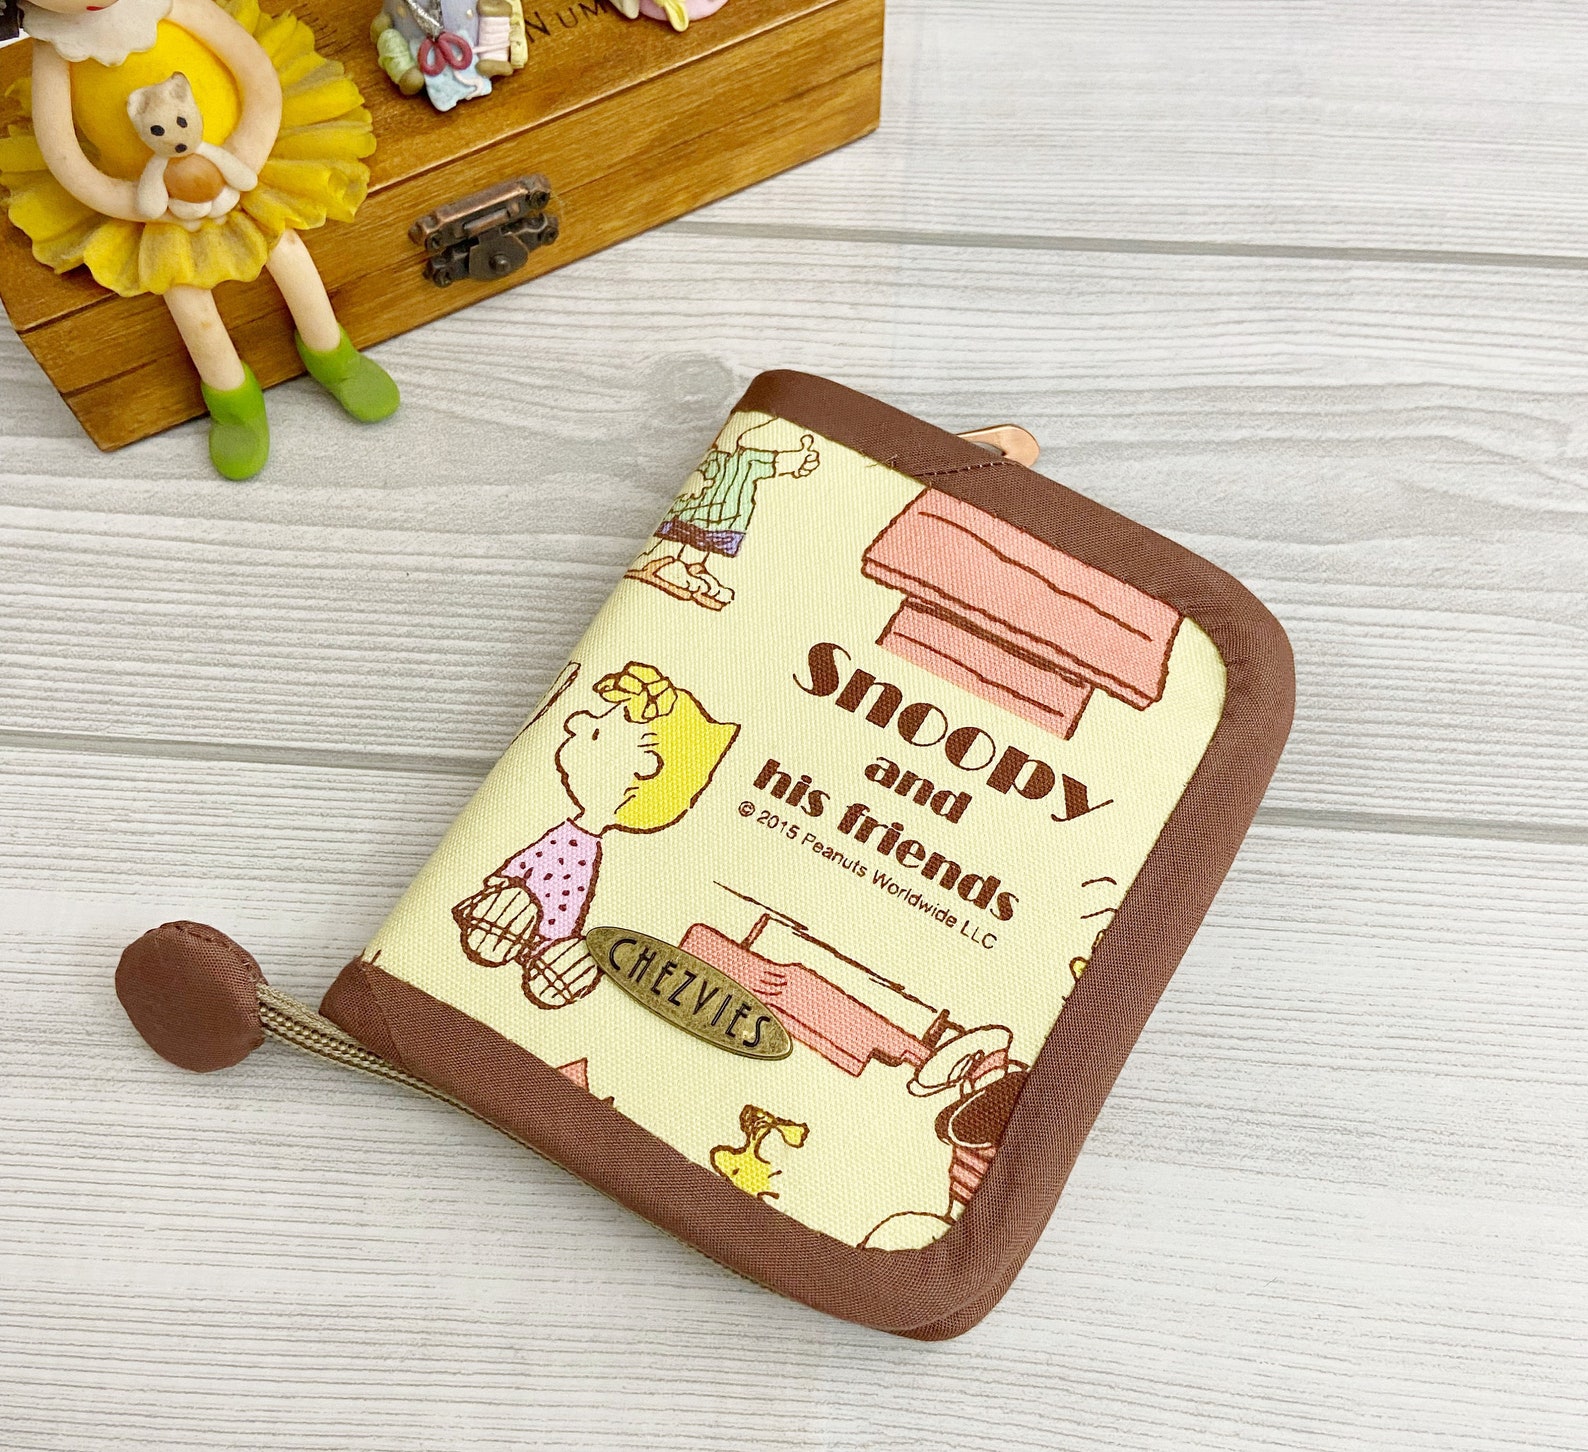
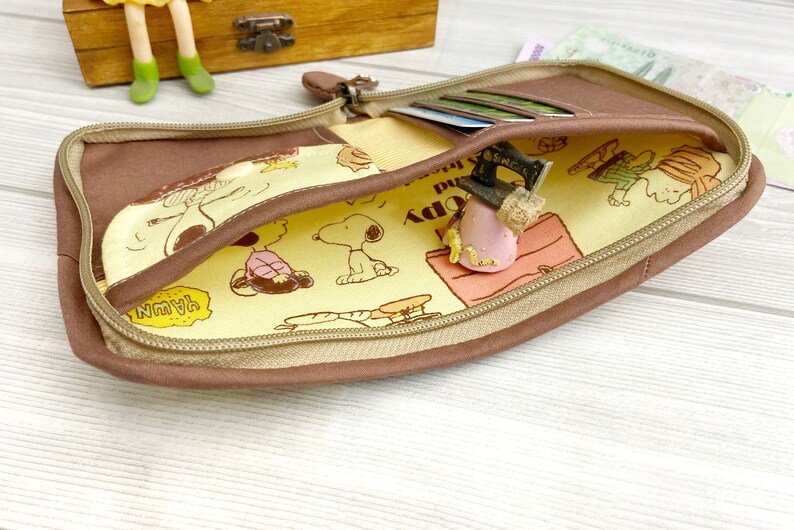
Snoopy Wallet
Snoopy Wallet


Snoopy wallet
Zip Around Wallet


I am still following the time blocking plan and frankly, it makes me more focused and relaxed, especially with a lot of things are going on right now. I still have a basket full of WIPS but I am working on it slowly, as time permits. With the combination of time blocking and batching, I am sure we can be more productive. 

The lake near my sons' school


Thank you for stopping by!

Happy Sewing,

Elvira


*****************


*****************


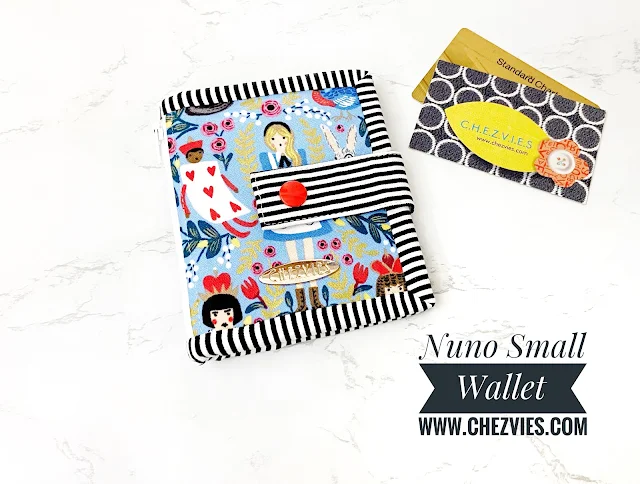
Adding 2 in1Zipper Pocket to Nuno Small Wallet


Nuno Small Wallet Pdf Pattern


I got a few questions about adding an exterior zipper pocket on a wallet after I posted several wallets I made with a zipper pocket on my Instagram. I really like this kind of pocket because you get 2 exterior pockets and looks so cute! And my customers loved them too. 

So, as promised here's a quick tutorial for you all. This is I added a zipper pocket on Nuno Small Wallet. This will work with any wallet, like this mini travel wallet I made last month. 


Nuno Bifold Wallet


Let's get started:

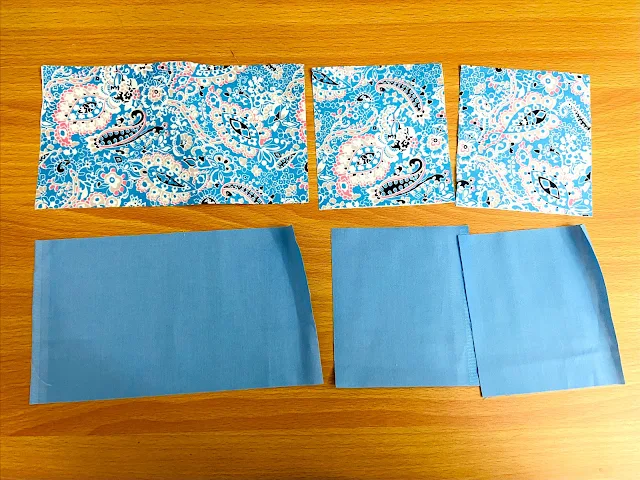
1. Cut 2 pieces of zipper pocket lining the same size as the wallet main body panel. Then cross-cut one of the wallet lining and the exterior body panel (cut the exterior after interfacing is applied).


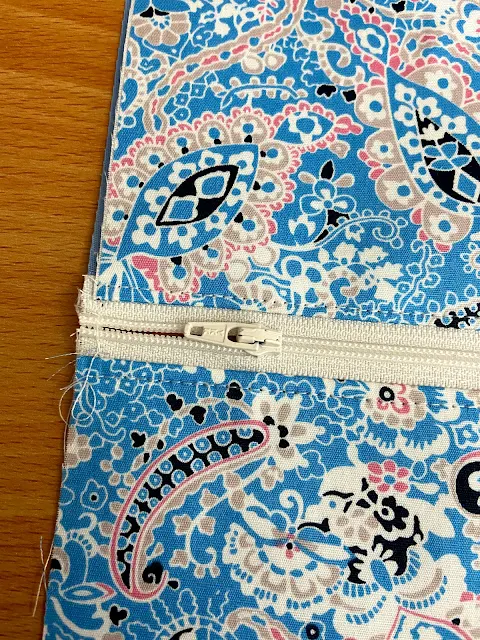
2. Sandwich the zipper between the exterior and the lining and sew in place using a scant 1/4" seam allowance


3. Pull the exterior and lining panels away from the zipper so that the wrong side is together and topstitch using 1/8" seam allowance. And since I am using a longer zipper here, I cut one end of the zipper at this stage. This way it's easier to line up the panels while sewing the other part of the pocket.


4. Now repeat step 3 with the other panels. 


5. Cut off the other end of the zipper after you pull the zip head in. Stitch on both ends of the zipper to prevent it from sliding off the zipper tape. 


This is how it looks on the reverse side. 


6. On the reverse side, place the remaining lining panel on top of it, right side together. Sew the short sides of the lining together (don't sew through the exterior panel) and then baste stitch the long sides too. The finished size of the exterior with the zipper panel should be the same size as the main body panel. This is where the seam allowance while attaching the zipper is important. The zipper tape I used is a little narrow, hence I used a scant 1/4" seam allowance. 


7. Now your exterior wallet with zipper pocket is ready. Proceed according to the pattern to finish the wallet. 


What do you think? It's super easy, right? I'm working on a video tutorial now and hopefully will be up on my Youtube Channel by end of this week. Wish me luck!


If you have any questions, you can write them on the comment below or you can reach me via Instagram or our Facebook Group. I'll be glad to help you. 

If you find the tutorial helpful, please share it with your friends and on your social media accounts. 

By the way, I will be changing the platform for delivering the blog into your email since Google has announced that they will discontinue Feedburner which I'm currently using. I'm still learning the rope of using the new platform, so please bear with me. I apologize in advance for any inconvenience. Thank you so much for always supporting me. 

Until next time,
Take care & stay safe!

Elvira


Latest Video