Powered by Blogger.
Showing posts with label bag interfacing. Show all posts

Bag Interfacing and new videos

The past few weeks passed very quickly! I have a couple of videos up on my YouTube channel and the most recent one is about bag interfacing for bag making in India. Yes, I am still getting a lot of questions regarding bag interfacing, and even though I have posted about it on the blog HERE and HERE, I thought a video will help, especially for those who just venture out into bag making in India. 


After watching the video, if you still have any questions, simply leave a comment on my YouTube channel and I will try my best to help you out. 


******

zipper tissue pouch


I also finally upload the video for the zippered tissue pouch and made a couple of small pouches for gifts. These pouches are very handy and useful. I always carry one in my bag to store lipstick and tissues, and also a few emergency medicines (I have allergies) and even sanitary napkins.  You can make these pouches using scrap fabrics and it really doesn't take much, plus they make pretty small gifts, especially now the festive season is coming. You can find the pattern HERE.


I hope you find the videos helpful. If you have any questions, simply leave a comment or two!

Thank you for stopping by!

Have a nice day 

Elvira


--------------------------------


--------------------------------


Wallet Interfacing Secret Guide


Zip Around Wallets


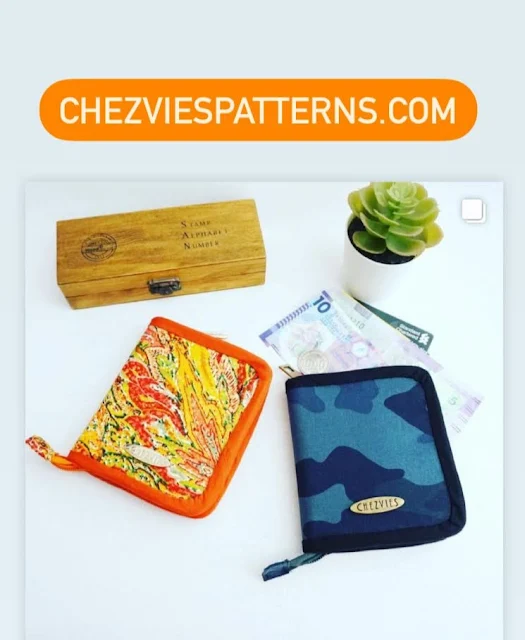
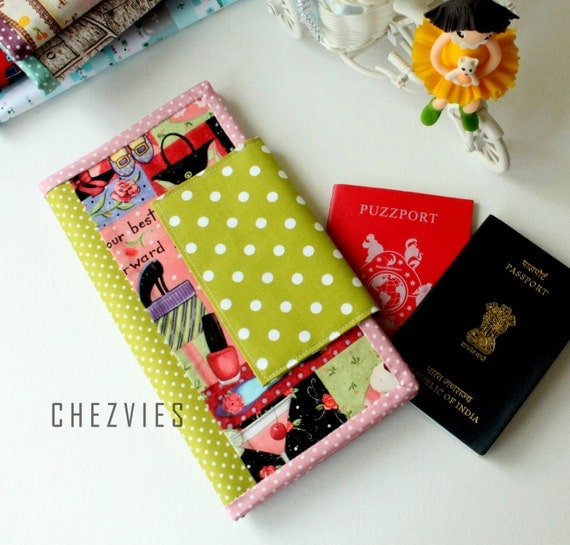
I've been making a lot of wallets these past few weeks, from family passport wallets to small bifold wallets. The picture above is the most recent ones. As I am sharing my works on Instagram, I'm getting a few messages asking about interfacing. If you're in India and new to bag-making, I know your struggle! You can read about interfacing for bag-making in India in THIS POST.

But I want to share a few things about wallet-making from my experience here.  As I work with different kind of fabrics with different weight, it is important to know which interfacing work best for each fabric. 

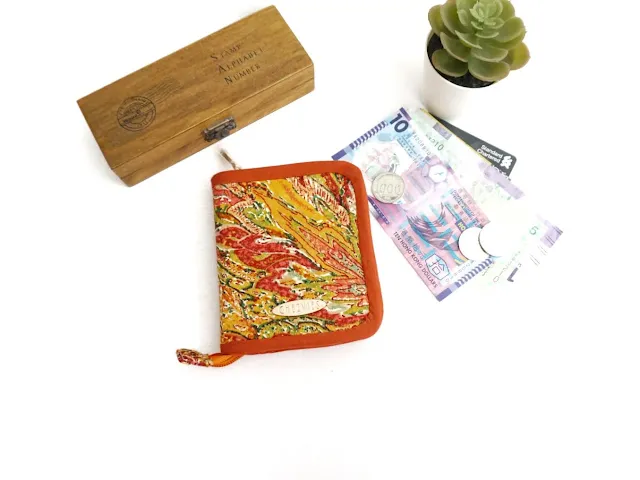
For the Orange Small Wallet, the fabric is lightweight Cotton Satin. Depends on the project, I used all-purpose interfacing when I make this mobile phone bag and this pouch. But for the wallet, even though in the pattern I suggested using all-purpose interfacing, but I used medium weight interfacing for the orange wallet. I made one using all-purpose interfacing but it turned out too floppy. 


Small Bifold Wallet
Download the Pattern


Handmade Fabric Wallet


For the Camo Family Passport Wallet, the fabric is twill cotton which is pretty thick. In the Pattern, I suggested using Heavy Weight Interfacing, but since the fabric is already thick, I used all-purpose interfacing for the main wallet and passport slots and using medium weight for the passport base. This will make the wallet sturdy and yet easy to sew on a domestic machine. And although I always prefer to hand-sewn the binding, for this Camo Travel Wallet, I sewed the binding by machine. 


Camo Family Travel Wallet
Download the Pattern


Camouflage Passport Holder
Camo Family Passport Holder


For the Blue Camo Wallet below, I use a combination of medium weight and all-purpose interfacing, to give a crisp look. 

Blue Camo Small Wallet
Blue Camo Wallet


Beside the interfacing combo, in India we also struggle to find the padding we use for our bags or wallet. Even though India is known for manufacturing all kinds of wadding/batting, but they are not available in retail and we don't even have a brand name! 
And living in the Northeast of India means even less access to all those bag-making and quilting luxury supplies :). We got to find an alternative that works best for us. 

Here's my secret sauce for wallet making: 

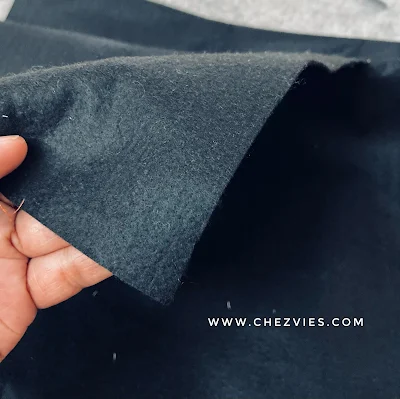
If I am using heavyweight interfacing, I used either flannel or low loft felt as padding/wadding. Felt and flannel are easier to find in the market or even online. The kind of felt that is used for soft toys will work or a little heavier that is used for car padding. Felt pretty expensive though, in the market here it was around INR 280 per meter (36" Wide), while flannel is much cheaper.

Felt for Wallet Making
Low Loft Felt


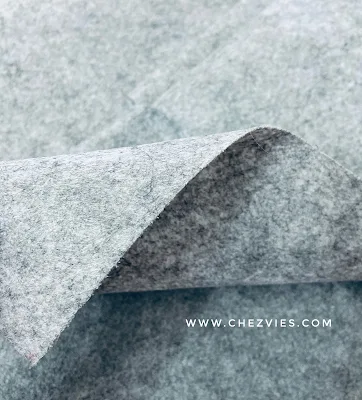
If I am using medium or all-purpose interfacing, I use a stiffer felt (170 GSM), like this one on Amazon


Stiff Felt for Wallet Making
Stiff Felt

I made the wallet below using a combination of all-purpose interfacing and stiff felt. I kind of like how the wallet turned out, like my most recent custom bifold wallet below. It's light and crisp. If you want a more padded wallet, you can always double-layer the felt. 


Fabric Bifold Wallet
Hexies Slim Wallet


Long bifold wallet
Download Wallet Pattern


As you keep making and experimenting with different types of fabrics, you will find your best combo and a finish that you like best. I like my wallets to be crisp but not stiff, that way you can fit in more stuff, unlike leather wallets which have limited expandable capacity. 

Resources:


I hope find this post useful. Do share with your bag/wallet maker friends if you do. Let's keep the world sewing :)


Have a lovely day!

Elvira

****** 


Interfacing Guide for Handmade Bag in India

Hello,

Today I want to share about interfacing. Not the famous brand interfacing because we don't have those branded interfacings here in India. I often receive a message asking what interfacing I used in my bags, pouches, and wallets.

Many of you probably already read interfacing guide by Sew Sweetness but since we - in India - don't have all those brands, we are back to square one, right?

I have been experimenting with many kinds and quality of interfacings. Which interfacing to use depends on what kind of project and what look that I want. Floppy, firm, sturdy, quilted, etc.

I recently purchased a roll of heavy woven interfacing and I am happy that I finally found it. It took me several trips to the wholesaler. He was kind enough to let me check through all kinds of interfacings without asking  "what are you making, ma'am?" which is pretty much the habit of an Indian (male) shopkeeper/salesperson. And it always pisses me off, cos what I am making is none of his business ^^.

Anyway, I found what works best for my projects.


I use this very frequently to make small projects like small pouches or pencil pouch, and also bags.  This will make cotton fabric feel like home decor weight fabric. Not as thick as canvas though. I used this to make the Phone Pouch and Kindle Cover, pencil pouch, and Tote bag.  With this interlining, adding batting to the pouch won't be a problem.


Result: Soft /floppy and wrinkle-free, which means you can smoothen it with a warm iron.


I discovered this recently. It's thicker than all-purpose interlining. It gives a good shape to the bag and pouches.

You can see the fabric print more prominent on the all purpose interlining
Medium = MCL 3001 Madura Coats India

I use this for a  pouch or any purse that I don't need to be padded or add batting, but more sturdy without being too stiff.  Sometimes I use this interfacing for wallet or passport wallet too, combined it with Heavy Interfacing.


Heidi Mini Foldover Bag


This is also woven but heavier. This will make your fabric feels like canvas.

MCL 1616 (Madura Coats India)

I use this for my family passport wallets and women's wallets. The result is a firm/sturdy but soft wallet. Since it's a cotton base, it makes the hand sewing less painful.

Quilting Family Passport  wallet, large passport holder, passport case, family travel wallet, family passport cover, 6 passport organizer

4. Buckram 

This is my alternative if I could not get the heavy interfacing for my wallet. This is the one with a papery feeling and it makes the fabric very stiff. I only use this for wallets. Since I don't have to do "birthing", it works out fine. You can read HERE to learn more about Buckram.


I remember I made a tote bag with buckram and it wrinkled beyond repair LOL. I used it for a shopping bag. (Update: I stopped using buckram for my bag and wallet projects) 

All the above are iron-on or fusible. Which means one side is glue coated. I normally spray the fabric with water and place the glue side on the wrong side of the fabric, and iron it on a cotton setting. For lighter interlining use a setting in between wool and cotton.

5. Lightweight Non-Woven Interfacing.

This transparent fusible interfacing is called "pasting" in India. I use this a lot for my wallet card slots, quilted pouches, and also applique. 


It's good to give just enough thickness especially for card slots, or the inner pocket of a bag. But you have to be extra careful because it will shrink and wrinkled if the iron is too hot. I use a wool setting while ironing this interfacing. If you're careful, you will get a nice and smooth result. 


Card slot from Trifold Women's Wallet


I always use this interfacing to make a quilted purse. With this interfacing, the quilted bag or purse will be soft but sturdy, even after washing 

I also use this for quilted pouches and bags, especially when I work with Indian Fabric.

You can easily buy this interfacing in a "button shop" in India. Sometimes, they sell it meterage, but I always buy in a full package. It's around INR 150 for a pack of 10 meters.


Quilted Zipper Pouch
Quilted Zipper Pouch 


UPDATE: There are many brands of interfacing in India, what I wrote here is the one I am using and that works best for me. 

Where to buy it?
I bought my interfacings from a local dealer in the market. You can get them online on Amazon India or other websites, but make sure to contact the seller first. Because there is no clear description in the listing that I saw in Amazon India, and the seller will casually write interfacing or interlining as buckram. 

That's all for today. Don't be scared to experiment. Make the best of what you can find locally. I hope this simple guide will be useful for you. 

Thank you for stopping by and read my blog. Don't hesitate to leave a comment or two.

Until then,

Elvira


Latest Video