Powered by Blogger.

NEW PATTERN - Passport Cover Pattern & Tester Photos Part 1

Hello,


I just released a new pattern! When I first posted the passport cover I made in Instagram, many of my fellow crafters asked if the pattern will be available. Well, I said, why not? It's a super quick pattern to sew and I'm sure it will be popular in your handmade markets or pop up stores. The pattern itself is highly adaptable. One of my tester, Maria, said it is perfect for an everyday wallet. 
The pattern is now on 20% off both in my ETSY SHOP and WEBSHOP.

I'd like to thank my amazing testers for their effort to help me perfect this pattern. There was a lot of discussion in the group and I learned that certain countries' passports are bigger. The pattern comes with full-size templates and measurements are given in Metric as well as US System. 


Without further ado, let's check out a few photos from the testers! Make sure you click the link to check more of their works.
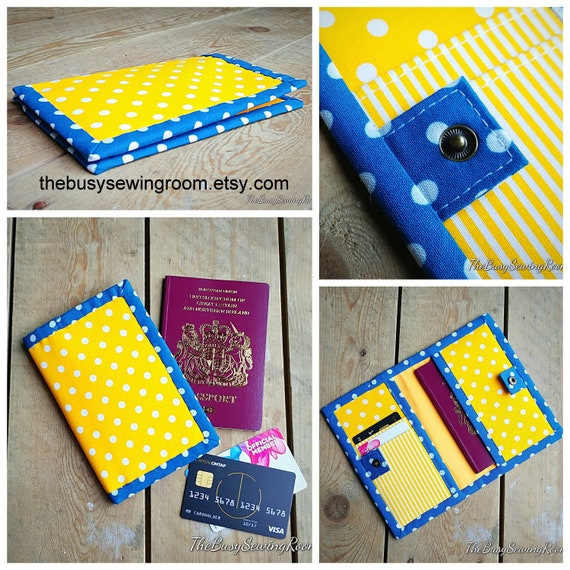
Ulrike's The Busy Sewing Room - FACEBOOK, INSTAGRAM, ETSY

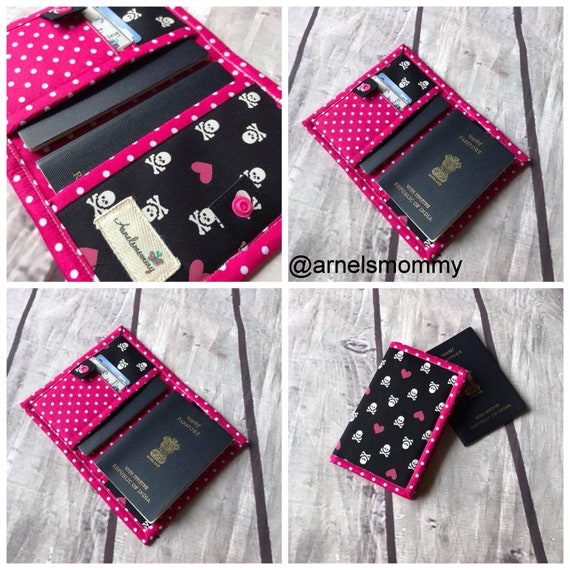
Shweta's ArnelsMommy : INSTAGRAM

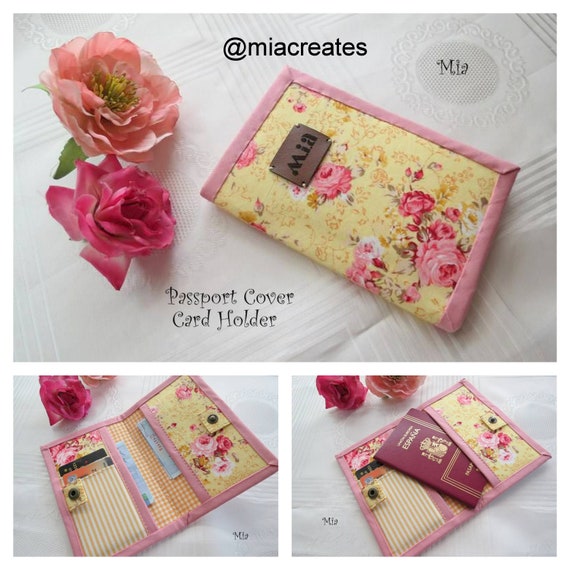
Mia Creates on INSTAGRAM
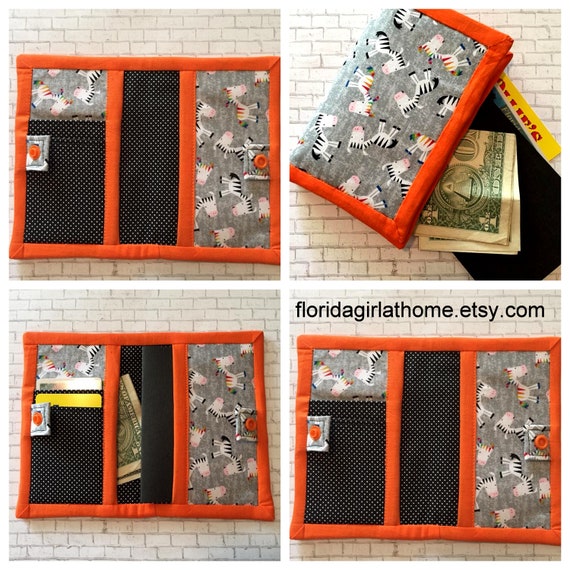
Allison's Florida Girl At Home  - INSTAGRAM

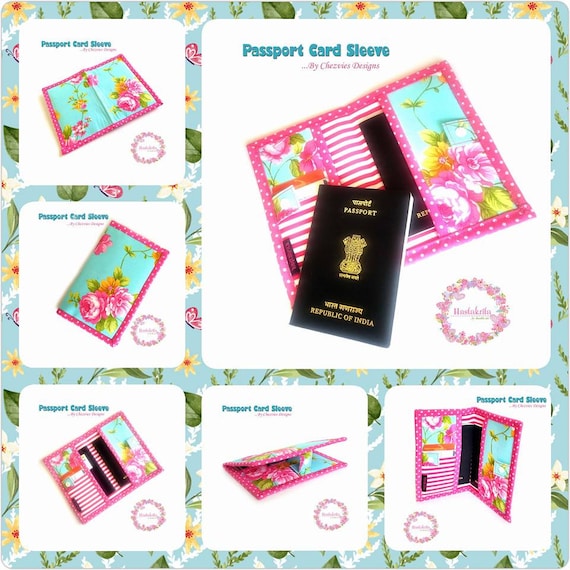
Shanti's Hastakrita on FACEBOOK

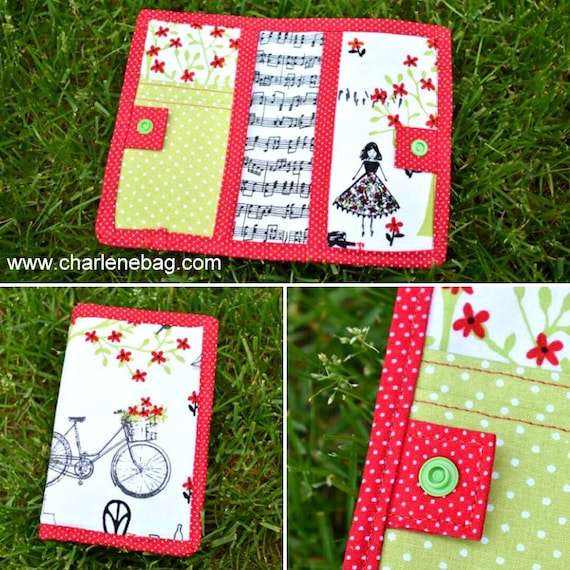
AnDrea's Charlene Bag - WEBSITE, FACEBOOK

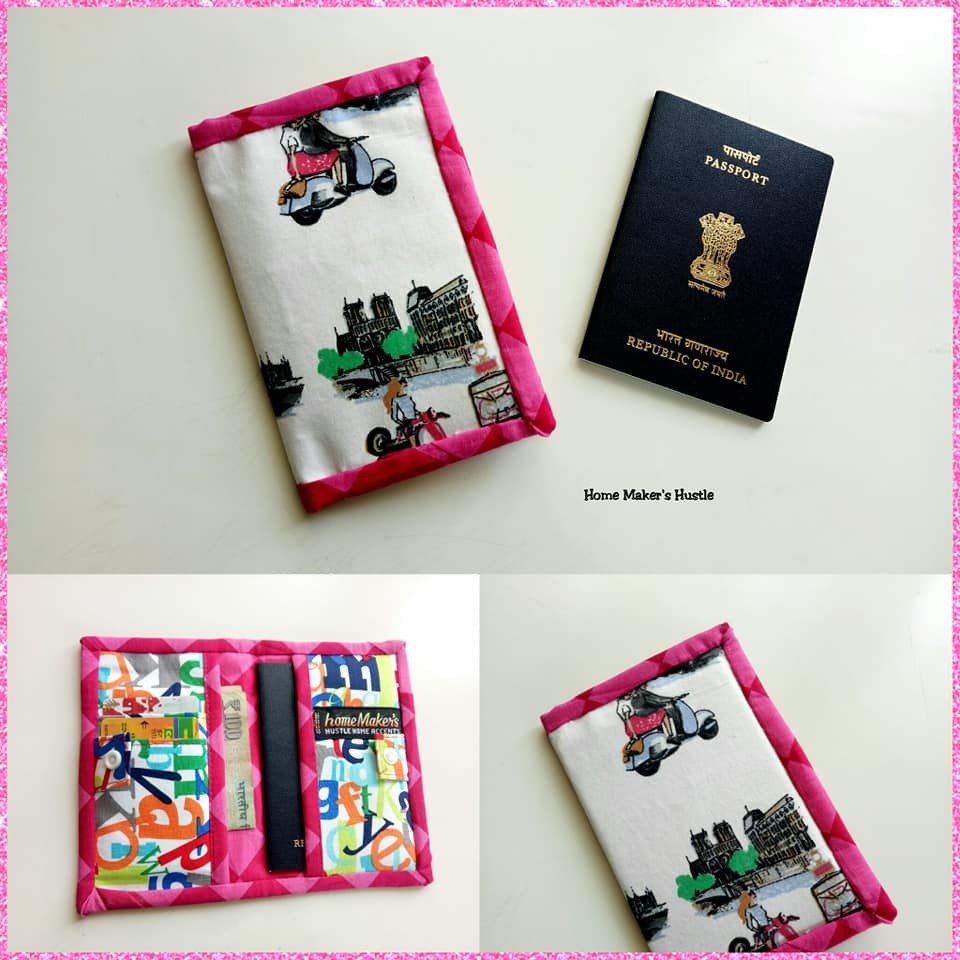
Raji's Home Maker's Hustle - FACEBOOK, INSTAGRAM

Aren't they beautiful? Some of the testers said it was the first time for them to try sewing the binding by hand and they loved it!! I included step by step photos how to create a neat mitered binding in the pattern and planning to add a video soon. As soon as I learn how to take a decent video, without embarrassing myself or my sons LOL. 

I will show you more photos tomorrow! Follow my blog by email so you won't miss the post or join the Facebook Group and mingle with the like-minded crafters. 

Until then,

Happy Sewing

- Elvira-


Alternative Card slot on Matryoshka Travel Wallet

Hello,

It's June already and I'm always looking forward for my summer break to Indonesia!
Did I mention that I am working on the pattern of this passport cover? It's now on the testing stage and I'm so grateful for my amazing testers who not only they're giving me their honest feedbacks and suggestions, but also they're also working hard making beautiful wallets,which I am sure will make you inspired!! I will be sharing their posts once the pattern is released next week! so stay tuned or subscribe to my blog so you won't miss the date!

In the meantime, I finished this matryoshka travel wallet. 


I tried a different flap this time and happy with the result. I also tried using a different combination for the card slot. If you already purchase the pattern, here what you can do: 

From the main card slot pattern, reduce the height (or the length) by 3". Then cut an exterior or contrast fabric 8"W x 4" H and sew it to the main Card slot panel with 1/4" seam allowance.

Once they are sewn together, mark the lines from the bottom to the top referring to the diagram given on the pattern. The first mark line should be on the stitching line (see diagram  above). 
Once done, continues as per the pattern's instructions and here how it will look like! 


Let me know what do you think in the comment below or your can join the discussion on my Facebook Pattern Group


I hope you like the tutorial. And if there's any tutorial you'd like to see in my blog, feel free to comment or email me :). 


Develop a passion for learning. If you do, you will never cease to grow. Anthony J. D'Angelo


Thank you for stopping by ~ Have a nice day!

Latest Fabrics

Latest Video