Powered by Blogger.
Showing posts with label single passport holder. Show all posts

Alternative Card slot on Matryoshka Travel Wallet

Hello,

It's June already and I'm always looking forward for my summer break to Indonesia!
Did I mention that I am working on the pattern of this passport cover? It's now on the testing stage and I'm so grateful for my amazing testers who not only they're giving me their honest feedbacks and suggestions, but also they're also working hard making beautiful wallets,which I am sure will make you inspired!! I will be sharing their posts once the pattern is released next week! so stay tuned or subscribe to my blog so you won't miss the date!

In the meantime, I finished this matryoshka travel wallet. 


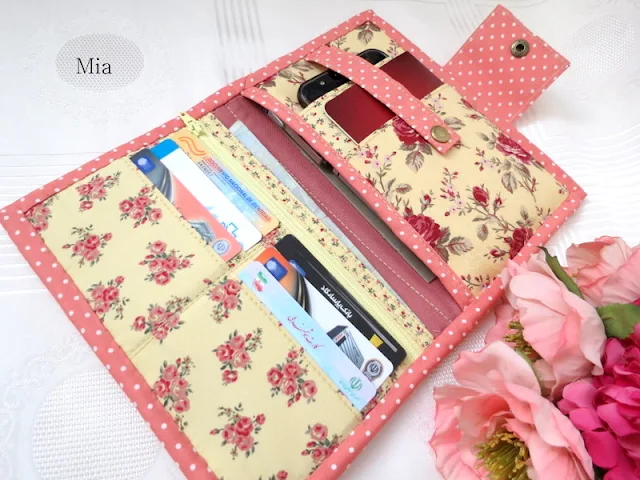
I tried a different flap this time and happy with the result. I also tried using a different combination for the card slot. If you already purchase the pattern, here what you can do: 

From the main card slot pattern, reduce the height (or the length) by 3". Then cut an exterior or contrast fabric 8"W x 4" H and sew it to the main Card slot panel with 1/4" seam allowance.

Once they are sewn together, mark the lines from the bottom to the top referring to the diagram given on the pattern. The first mark line should be on the stitching line (see diagram  above). 
Once done, continues as per the pattern's instructions and here how it will look like! 


Let me know what do you think in the comment below or your can join the discussion on my Facebook Pattern Group


I hope you like the tutorial. And if there's any tutorial you'd like to see in my blog, feel free to comment or email me :). 


Develop a passion for learning. If you do, you will never cease to grow. Anthony J. D'Angelo


Thank you for stopping by ~ Have a nice day!

NEW PATTERN!! Single Passport Wallet

Hello there,

Finally, after few months I completed the pattern and is now on Special Price in Etsy and Craftsy.

Single Passport Wallet
and if you're in India, you can check the pattern category on the top of this post or scroll down to shop directly.

Special thanks to Maria and Susan for helping me testing and proofreading the pattern. As English is not my first language, there's a lot to learn. At home, we speak English, Assamese, and Hindi. Also, I talk/chat with my family and friends in Bahasa Indonesia. So, at times, it's a bit confusing lol. 
But don't worry, I included a lot of photos and few diagrams to help you understand the pattern better, even if English is not your first language like me. 

Without further ado, let's admire what Maria and Susan have made:

I simply love this hexagon wallet that Maria made. She and her florals can be very contagious lol ..if you see me making more florals in the future, the credit goes to her! 


When she asked me if she could improvise a bit, I said "definitely!!" and look what a smart addition she made. She said the slot is perfect for her smartphone! Very clever Maria.  


here a closer look!. I am going to add this next! Thank you, Maria! 


And here is Susan's wallets. She made 2  wallets and look how neat they are! 


she suggested that attaching the flap a few inch away from the wallet's edge is better for hand sewing the binding. 


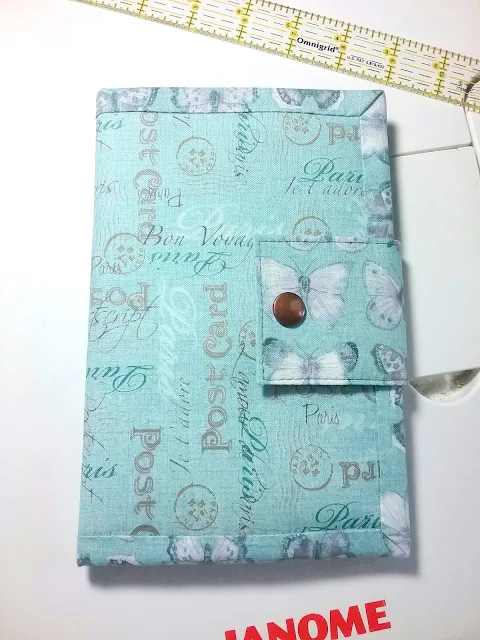
 This is her second wallet and I LOVE the fabric. It looks like leather. It's perfect for travel wallet, isn't it? 


and even prettier inside <3 


The second wallet, she attached the flap away from the edge. It's the same method I used in the Family Passport Wallet Pattern


So, based on Susan's suggestion, I added a bonus tutorial for the flap. And of course, you can always make improvisations, like maybe a wider flap with a hexagon applique like the one I did previously. 


So, grab the pattern now and start making and selling. Don't forget to tag me on Facebook or Instagram  or use hashtag #chezvies or #chezviespatterns if you want me to find you ^^.

Until then, 

Happy Sewing


Latest Fabrics

Latest Video