Powered by Blogger.

Women's Bifold Wallet - Floral Series

Hello,
Just pop in for a little shop updates! If you follow me in Instagram, you probably have seen my latest wallet collections. I've been making bifold wallets almost everyday in between working on Passport holder orders.

I'm currently finished 3 out of 6 wallets that I am planning to make. The floral fabrics are just too pretty to just sitting in my cupboard, right?


Here are the three wallets that I have completed:

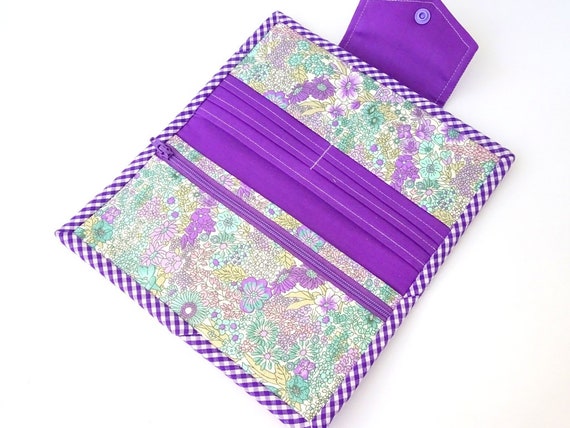
The purple floral wallet with gingham binding! Frankly, I am so in love with this one, esp the gingham bias binding. You can check my previous post for making Bias Binding. 
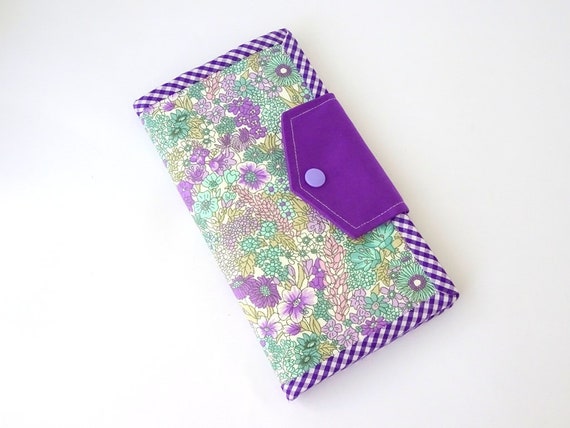
image 0
Purple Flower Bifold Wallet

And I have a matching zipper too!! 

The second one is this peach bifold wallet. The background color is so pretty, I was in two minds whether to use teal blue combination or peach, and decided to do the latter. 
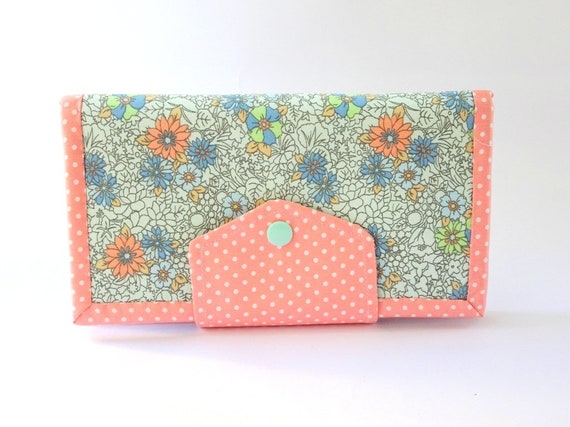
Maybe I will use teal blue or green combination next time!
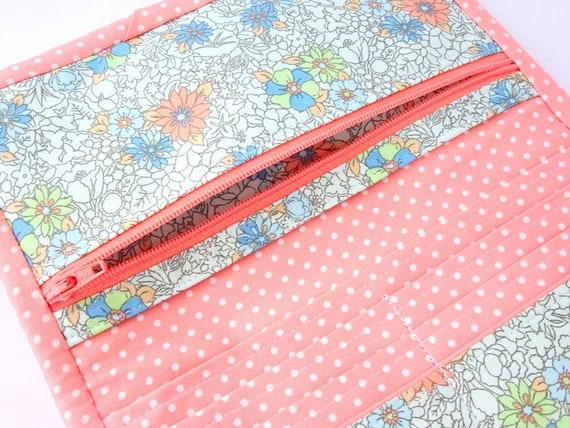

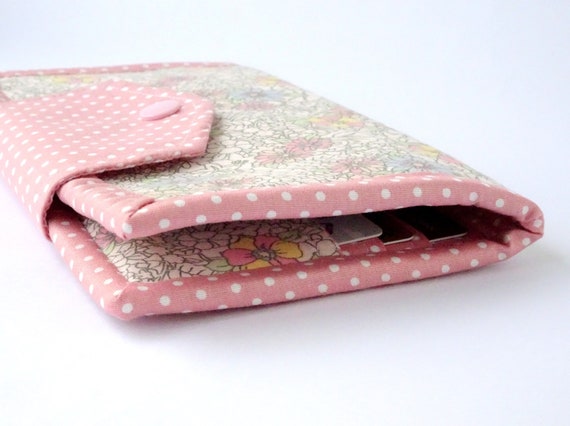
And here is the Floral Pink Wallet. The powder pink polkadot looks very lovely. I've been saving the fabric for the right project! And this women's wallet is just perfect!
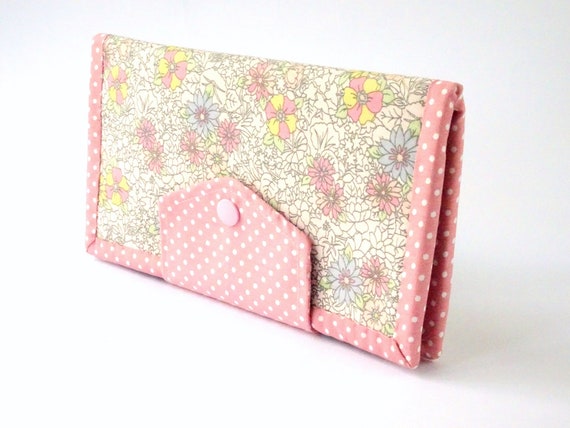
Floral Pink Wallet


These pretty wallets are slightly wider than the previous wallet, so that it can double up as travel wallet or phone wallet. 
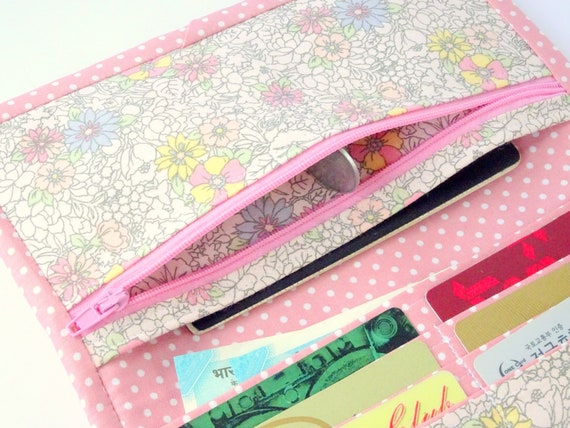


I used medium weight woven interfacing and a stiff poly batting which is a great combination. It's study yet soft to hold. These bifold wallets will be a great gift for your loved ones! 

They are now available in my ETSY SHOP and it's Free Worldwide Shipping. 

Thank you for stopping by!

have a nice day,

~ Elvira~


Mini Tutorial - How to make bias binding strip for wallets

Hello,


Today I will share a little tutorial on how to make your own bias binding. If you follow my blog, I love using binding for all my wallets. Though sometimes, I tried to make one without binding like this wallet. 

Bias binding strip is a narrow strip of fabric cut diagonally (on bias). There are many tutorials and video tutorials on how to make a continuous bias binding, but I prefer the good old slow method. The extra minutes of making this binding will be so worth it!

Ok, in this tutorial I used a square fabric 10" x 10" which is sufficient to make binding for single wallet. Bias binding effect is best if you use gingham or stripe fabrics.

First, make sure that your fabric's grain is straight. If not, do straighten your fabric first. This is very important!

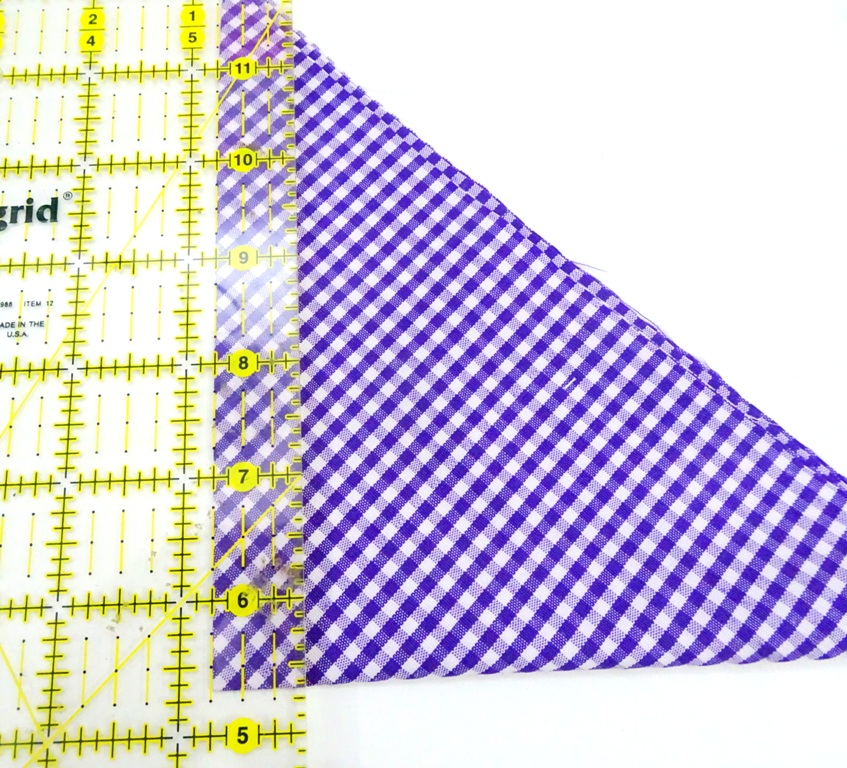
Now fold the fabric diagonally 


and then fold it again (upwards) to create a small triangle shape


 Then using the quilting ruler and rotary cutter, cut the first strip 0.75" wide. That will make a 1.5" Wide binding strip. 


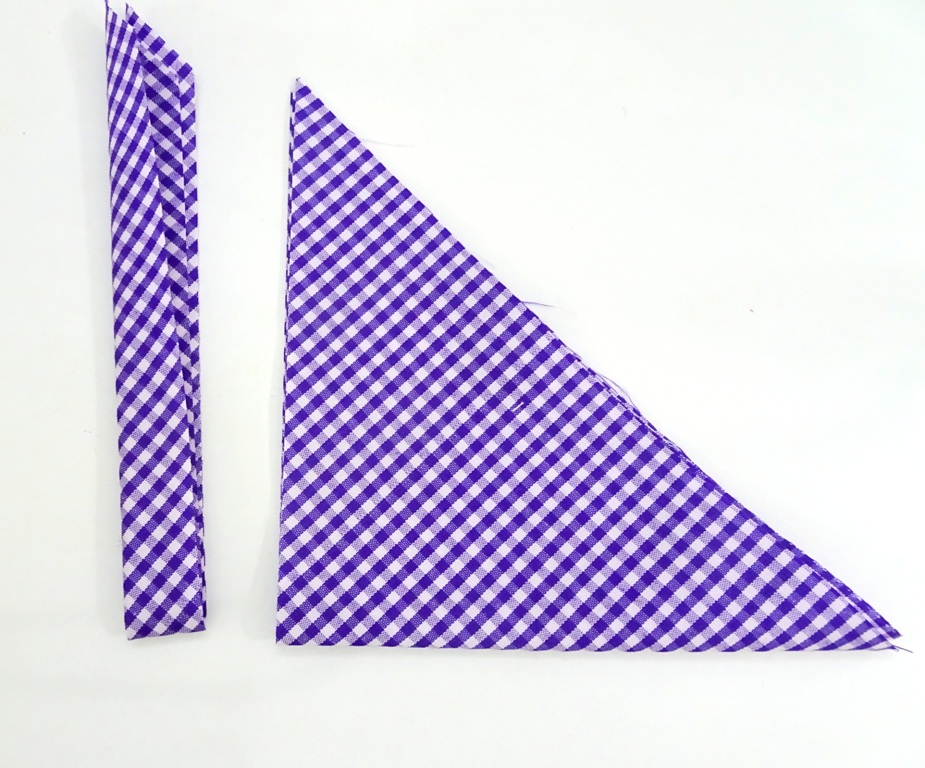
 Then cut the next strip 1.5" Wide. Continue cutting until there's small triangle left. I normally do not use the smallest strip but I keep the leftover triangles for scrap projects. 

Now, take the first strip that you cut and straighten the end of the binding strip.


Take the second strip, lay the triangle end on top of the straight one, RIGHT SIDE TOGETHER and overlap  by 1/4" . 

Sew diagonally with 1/4" seam allowance and trim. 


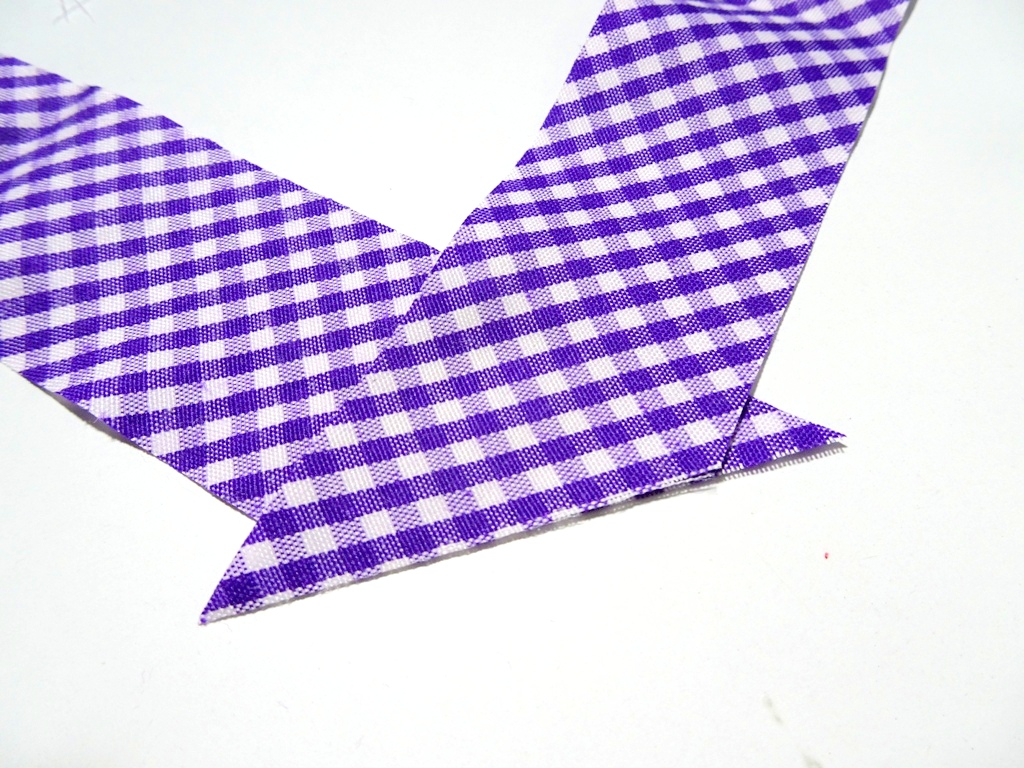
Take the next strip and lay the triangle like in the picture below (right side together) and overlap by 1/4" and sew with 1/4" seam allowance.


The strip will look like in the picture below and ready to be sewn into the wallet!


I really love how this gingham binding look on this Purple Flower wallet


See, it's super easy! It may seem like a lot of work, but this method will always yield a perfect bias strips! Don't be afraid, go ahead and try it and let me know how do you like it!


Have a lovely day!
Until then,

~ Elvira~

LINK UP:


Latest Fabrics

Latest Video