Powered by Blogger.
Showing posts with label women's wallet. Show all posts

Women's Bifold Wallet - Floral Series

Hello,
Just pop in for a little shop updates! If you follow me in Instagram, you probably have seen my latest wallet collections. I've been making bifold wallets almost everyday in between working on Passport holder orders.

I'm currently finished 3 out of 6 wallets that I am planning to make. The floral fabrics are just too pretty to just sitting in my cupboard, right?


Here are the three wallets that I have completed:

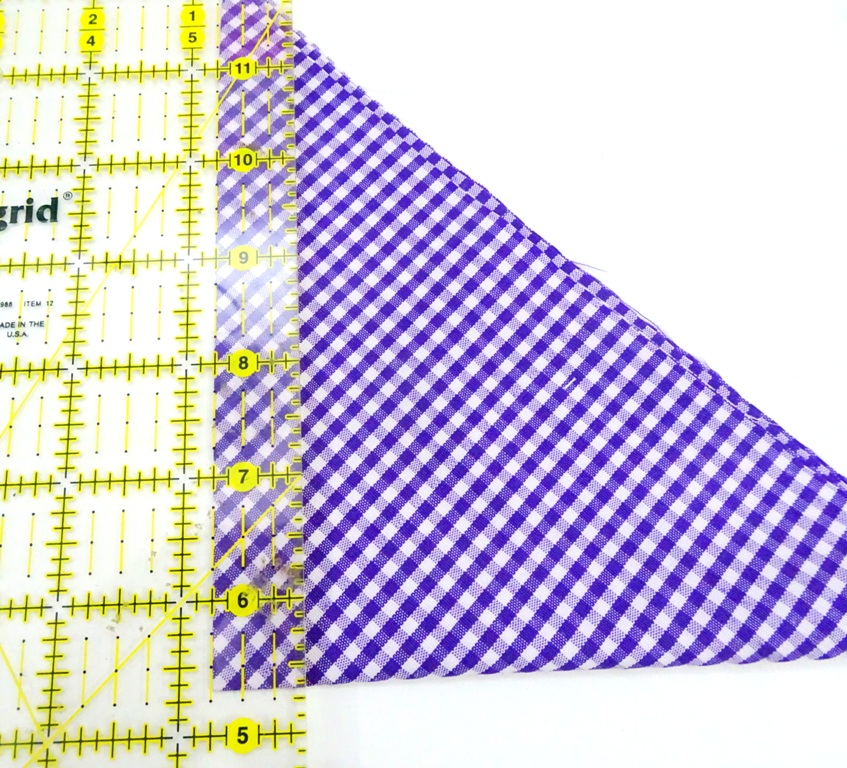
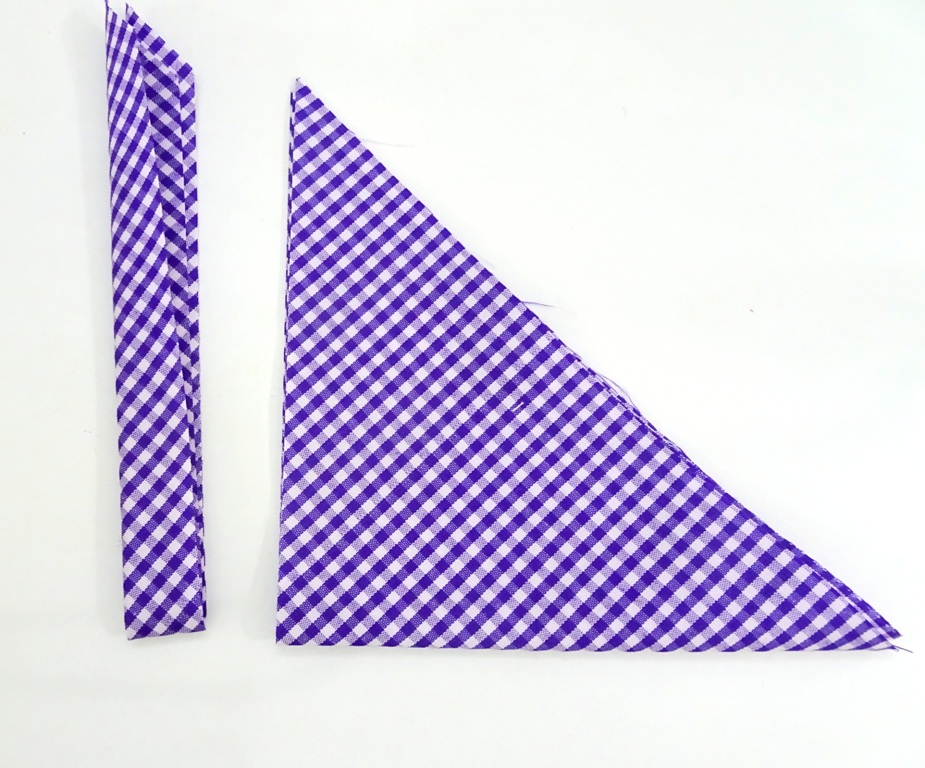
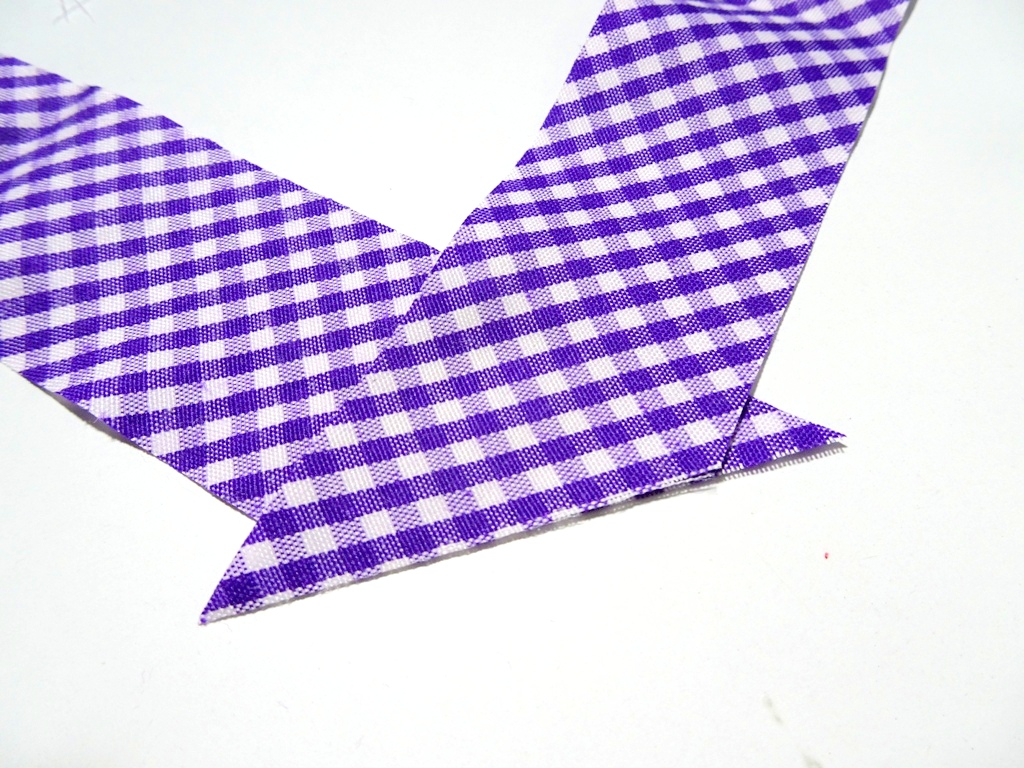
The purple floral wallet with gingham binding! Frankly, I am so in love with this one, esp the gingham bias binding. You can check my previous post for making Bias Binding. 

image 0
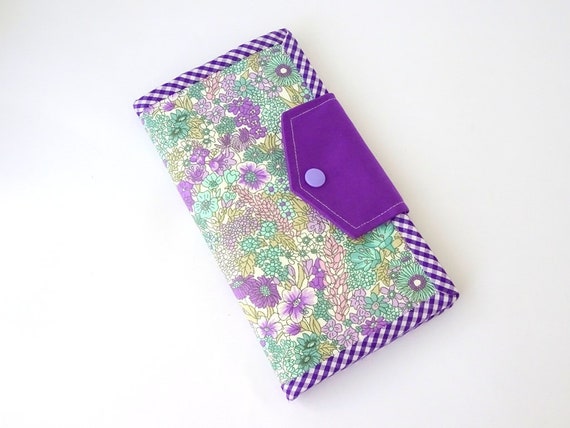
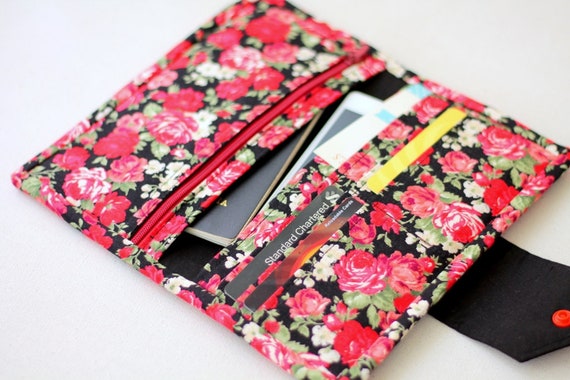
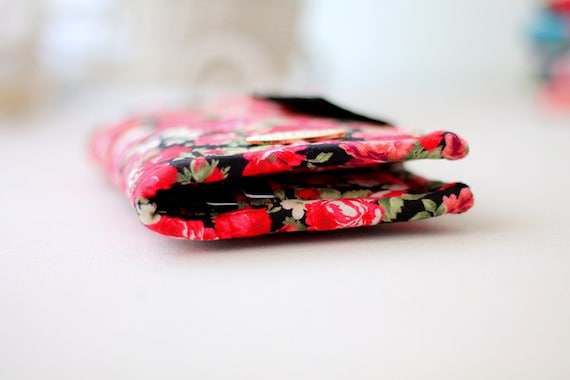
Purple Flower Bifold Wallet

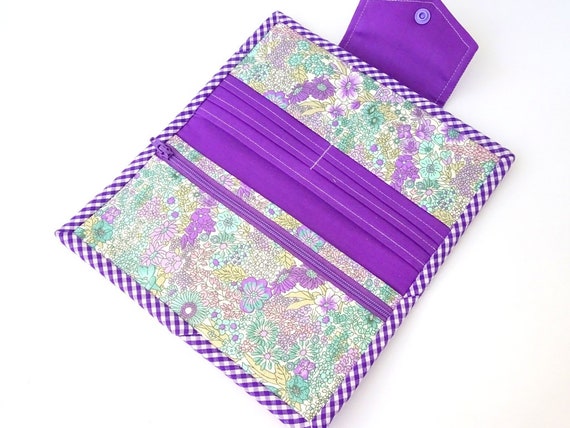
And I have a matching zipper too!! 

The second one is this peach bifold wallet. The background color is so pretty, I was in two minds whether to use teal blue combination or peach, and decided to do the latter. 

Maybe I will use teal blue or green combination next time!


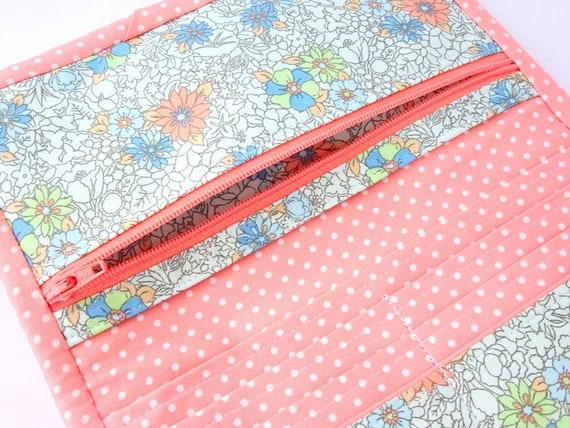
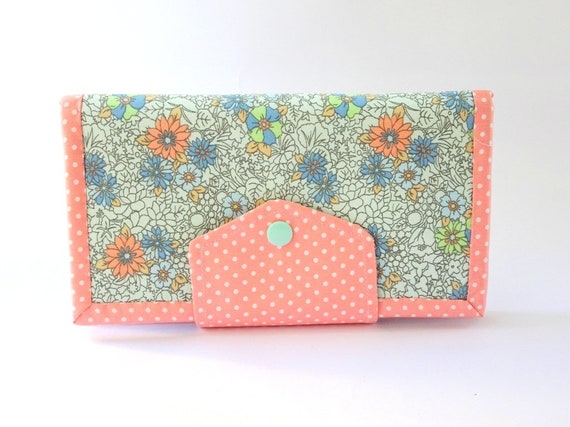
And here is the Floral Pink Wallet. The powder pink polkadot looks very lovely. I've been saving the fabric for the right project! And this women's wallet is just perfect!
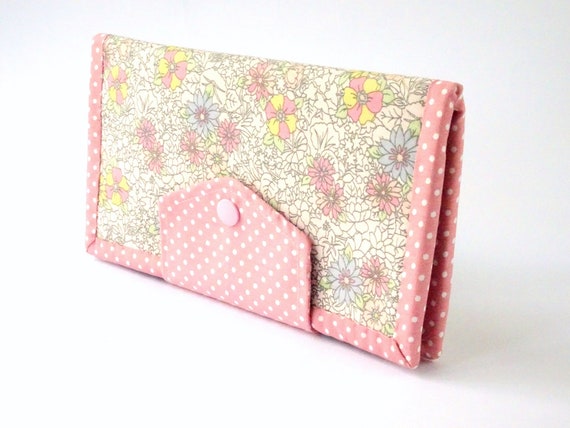
Floral Pink Wallet


These pretty wallets are slightly wider than the previous wallet, so that it can double up as travel wallet or phone wallet. 


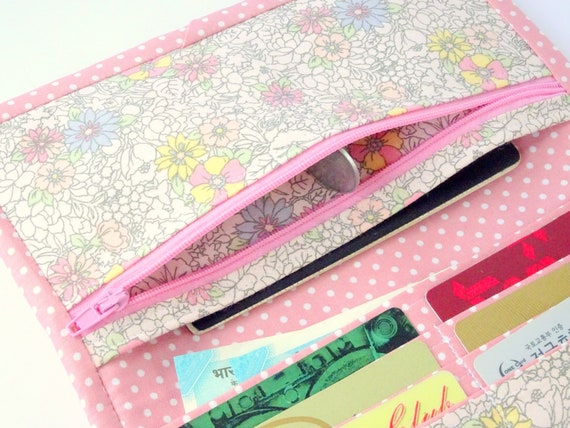
I used medium weight woven interfacing and a stiff poly batting which is a great combination. It's study yet soft to hold. These bifold wallets will be a great gift for your loved ones! 

They are now available in my ETSY SHOP and it's Free Worldwide Shipping. 

Thank you for stopping by!

have a nice day,

~ Elvira~


Mini Tutorial - How to make bias binding strip for wallets

Hello,


Today I will share a little tutorial on how to make your own bias binding. If you follow my blog, I love using binding for all my wallets. Though sometimes, I tried to make one without binding like this wallet. 

Bias binding strip is a narrow strip of fabric cut diagonally (on bias). There are many tutorials and video tutorials on how to make a continuous bias binding, but I prefer the good old slow method. The extra minutes of making this binding will be so worth it!

Ok, in this tutorial I used a square fabric 10" x 10" which is sufficient to make binding for single wallet. Bias binding effect is best if you use gingham or stripe fabrics.

First, make sure that your fabric's grain is straight. If not, do straighten your fabric first. This is very important!

Now fold the fabric diagonally 


and then fold it again (upwards) to create a small triangle shape


 Then using the quilting ruler and rotary cutter, cut the first strip 0.75" wide. That will make a 1.5" Wide binding strip. 


 Then cut the next strip 1.5" Wide. Continue cutting until there's small triangle left. I normally do not use the smallest strip but I keep the leftover triangles for scrap projects. 

Now, take the first strip that you cut and straighten the end of the binding strip.


Take the second strip, lay the triangle end on top of the straight one, RIGHT SIDE TOGETHER and overlap  by 1/4" . 

Sew diagonally with 1/4" seam allowance and trim. 


Take the next strip and lay the triangle like in the picture below (right side together) and overlap by 1/4" and sew with 1/4" seam allowance.


The strip will look like in the picture below and ready to be sewn into the wallet!


I really love how this gingham binding look on this Purple Flower wallet


See, it's super easy! It may seem like a lot of work, but this method will always yield a perfect bias strips! Don't be afraid, go ahead and try it and let me know how do you like it!


Have a lovely day!
Until then,

~ Elvira~

LINK UP:


Bifold Wallet and binding mini tutorial

Hello,

 Red Wallet


The sons are having their annual exam until next week. Wish us luck!! Since my MIL is away in Delhi, I tried a few baking recipes from youtube which surprisingly turned out well. 

Another great news from my sewing space is I decided to gift myself an industrial machine. I've been thinking for a long time and finally decided to get this one. I will write a review next week, Insha Allah, after it's assembled. 

Meanwhile, servicing my Singer HD, I whipped up 2 bifold wallets. It is slight upgrade from the previous one. I made slightly wider version so that it can double up as a phone wallet or to keep passports while traveling.


This red roses wallet was the second one I made. It was finished with binding, as usual. And frankly, it is my preferred method of finishing a wallet. 

The first one I made was a birthing style. If you're a bag maker, you'd know what it means? ^_^. It means, you sew the wallet panels right side together, leave a gap in certain part unstitched to turn the wallet right side out. 


Though it came out really nice,  my sons and SIL all voted for the binding one.I really love the peachy pink color though!


For this peach wallet, I used only woven interfacing without any padding. In the red roses wallet, I added fleece batting. 


Both wallets are the same size and even after filling it up with cards, phone and passport, it still close up pretty nicely. Love how slim it remained. I wish I could be too (after stuffing myself with homemade cakes and puddings! that too with extra cream! LOL)

Day before yesterday, Shweta from Arnel's mommy asked how to finish the corner of the binding. As with my other wallet patterns, I sewed the binding by machine on one side and hand sew the other side. Why hand sewing? Because I love a neat finish. So, here is a mini tutorial, how to sew when you reach the corner. 
But before cutting the binding strip, make sure that the fabric grains are straight. This is important to get a good finish!


1. When you reach the corner, fold the raw edge and pull out the edge so that you get that straight diagonal line. Finger press it. 

2. Fold it over, so that it covers the previous stitching line and clip in place. Trim the wallet raw edge if necessary. I usually trim as I go along.

3. Now continue slip stitch until you reach the corner intersection. 
  
4. Then slip stitch towards the wallet's corner

5. And stitch back towards the inner corner/intersection. 

6. Continue stitching !
I hope that helps! 
So, that's all for today. Keep experimenting, keep sewing! 


Have a blessed Friday!

Linky Party:
Finish it up Friday

Fishy Trifold Wallet

Hello,


My latest finish!! Just fresh out of the sewing machine. I love this fish print fabric I got from Indonesia last year (or was it 2 years ago?).  

Fishy fish Women's Wallet

The Japanese linen is really a dream to work with. They simply look beautiful. The pink and blue fishes among the monochrome one made this fabric more attractive. 


as if to say, "It's alright to be different"! 
Yes just be yourself!!


I decided to go with the blue because it matched perfectly with the blue handloom ikat!! 
You can even carry your phone or passport using this wallet. 
I was undecided with the binding then I decided to use the same fish fabric. You know what? I made the bias binding from 10" square and it was more than enough to bind one wallet!! I am so excited!  Because I often think that I need at least a fat quarter! 


The wallet is now available in ETSY SHOP. I still have a bit of the fabric, if you love fish or fishing and would like to make a passport holder instead, I can do that too!

And if you want to try to make the wallet, you can find the pattern at the right panel of this blog or you can get it  in ETSY or CRAFTSY
Go and make special mother's day gift for your Mom this year!

Thank you for stopping by. 

Until then,
Happy Sewing

Linky Party:

Coming Soon ~ Card Wallet Organizer Pattern

I'm so excited to announce that my second PdF Pattern is coming  real soon. Right now it's being tested by my fabulous Facebook Friends (I love facebook for that!!) 

The tester photos have been coming out really fabulous!! I love how everyone is using different kind of fabrics and each one is so fantastically pretty. (sneak peek photos soon!!)

I have made few wallets from this upcoming pattern few months ago (here and here)
 

Pattern making is a learning process for me. Even if I wrote several tutorials before, but selling pattern is totally different. There is a certain degree of  responsibility that I feel. Maybe it's just me, but I want those who buy my pattern will feel "yes, it's worth it".  From my First Pattern I learned  how to convey what's in my head  with less confusing sewing terms or less confusing photo angles. I tried my best to use a simple English that can be understood by non English speaker. 


This time around, I learned to make graphics (instead of photos) to use in the instructions and also added alternative designs (yay!!)


I've been trying out the pattern using different kind of interfacings too, I will elaborate more in my next blog post. 

I'm so excited about this pattern! I'm sure you will love it. 
Sign up for updates in the top right corner of this blog and get the first  updates of the release.

Until then,

Happy Sewing


Latest Video