


Hello,

Today I will share a little tutorial on how to make your own bias binding. If you follow my blog, I love using binding for all my wallets. Though sometimes, I tried to make one without binding like this wallet.
Bias binding strip is a narrow strip of fabric cut diagonally (on bias). There are many tutorials and video tutorials on how to make a continuous bias binding, but I prefer the good old slow method. The extra minutes of making this binding will be so worth it!
Ok, in this tutorial I used a square fabric 10" x 10" which is sufficient to make binding for single wallet. Bias binding effect is best if you use gingham or stripe fabrics.
First, make sure that your fabric's grain is straight. If not, do straighten your fabric first. This is very important!
Now fold the fabric diagonally

and then fold it again (upwards) to create a small triangle shape

Then using the quilting ruler and rotary cutter, cut the first strip 0.75" wide. That will make a 1.5" Wide binding strip.
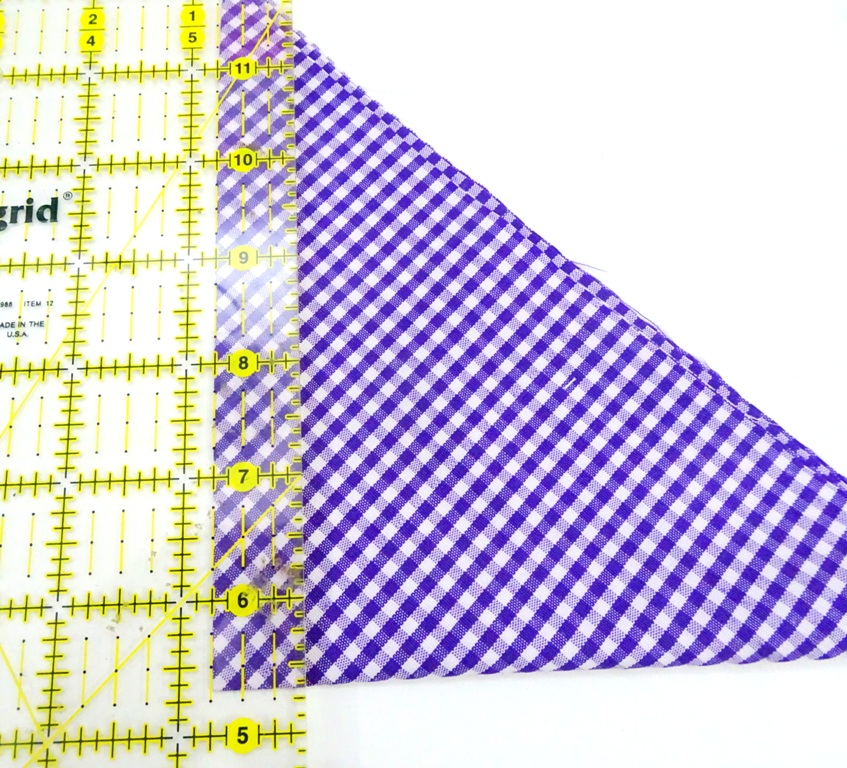
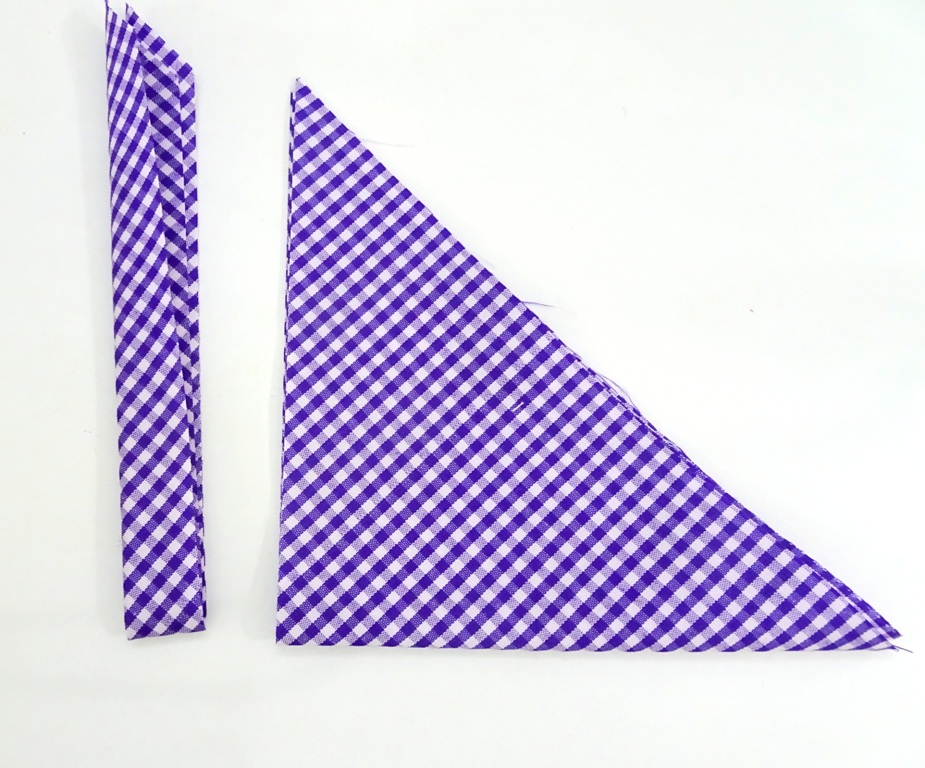
Then cut the next strip 1.5" Wide. Continue cutting until there's small triangle left. I normally do not use the smallest strip but I keep the leftover triangles for scrap projects.

Now, take the first strip that you cut and straighten the end of the binding strip.

Take the second strip, lay the triangle end on top of the straight one, RIGHT SIDE TOGETHER and overlap by 1/4" .

Sew diagonally with 1/4" seam allowance and trim.

Take the next strip and lay the triangle like in the picture below (right side together) and overlap by 1/4" and sew with 1/4" seam allowance.
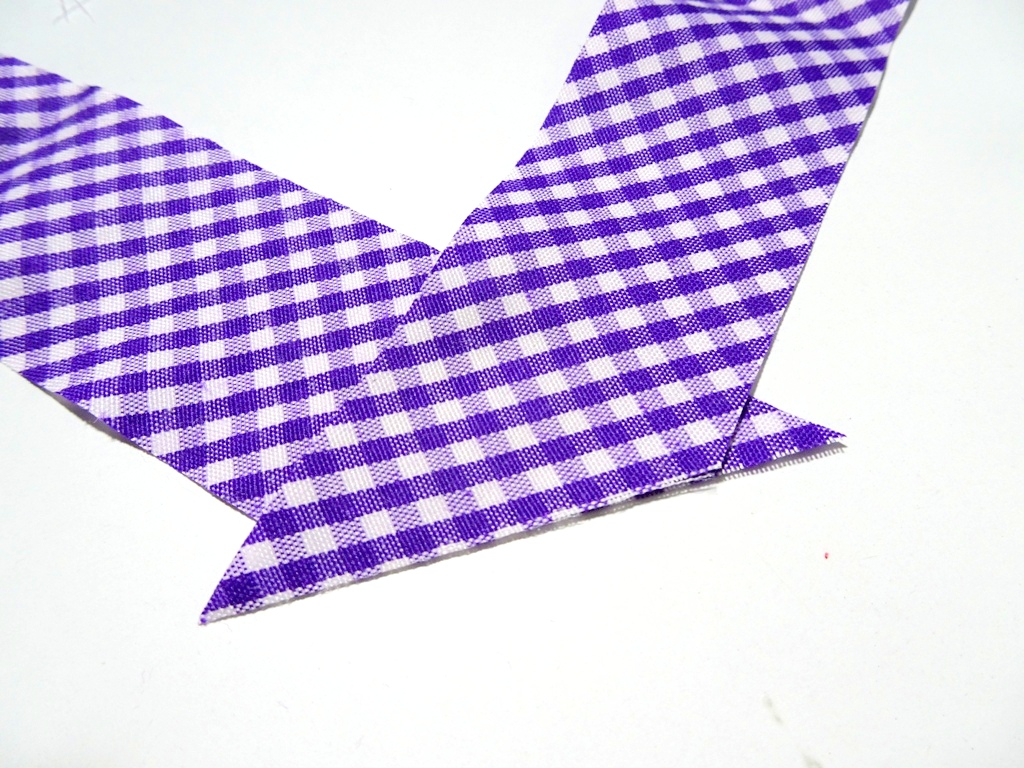
The strip will look like in the picture below and ready to be sewn into the wallet!

I really love how this gingham binding look on this Purple Flower wallet!

See, it's super easy! It may seem like a lot of work, but this method will always yield a perfect bias strips! Don't be afraid, go ahead and try it and let me know how do you like it!
You can check HERE for Tutorial on how to hand sew the binding.
Have a lovely day!
Until then,
~ Elvira~
LINK UP:


