Powered by Blogger.

Mini Zipper Pouches

Hello again,

Yesterday I spent my day cutting interfacing scraps and how! I used my regular rotary cutter and cutting 2-3 layers of woven interfacing at one go. I must admit, it took up a lot of energy!

I ordered an electric cutter online last week and they said they will deliver it by 2nd of November. But at night, DH brought my electric cutter and I was so excited. Today morning I tried cutting several more interfacing, fabrics, and lining fabric. I LOVED it! I can cut 9 -10 layers of regular cotton and around 6 layers of woven interfacing at one go!! Howzzaat! 

 And out of excitement, I made these cute mini pouches today. 
 Two of the pouches are zipper tissue pouches and one coin pouch. 
You can find the mini zipper tissue pouch pattern HERE or go the Pattern Category in my blog. It's always fun to make things with cute and pretty fabrics, right?

Mickey Mouse Tissue Zipper Pouch 

I guess I made the right decision by ordering the electric cutter. It makes "batching" work so much easier. For me, cutting interfacing is the most tedious job of purse/wallet making. 


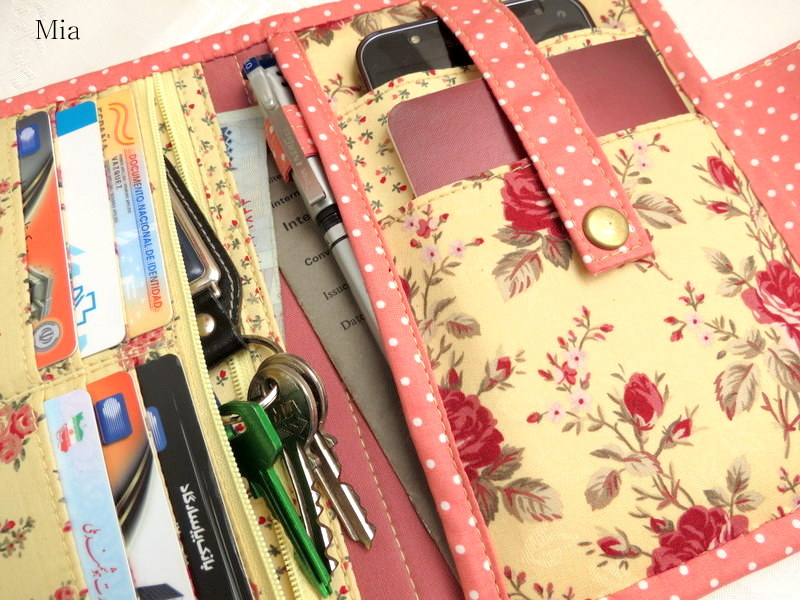
This pretty pink fabric was from my scrap bin. Last Friday I cleaned my scrap bins and threw out quite a bit, esp the smallest pieces, like the corner cuts of bags and big pouches I made earlier. I made this coin pouch using the same pattern, but without the tissue holder pieces. 

Floral Pink Card Holder

Sorting out scrap bins always feel like opening a treasure box. My DH always laughs at me, because I always end up keeping most of the scraps again, instead of throwing them out. But how can you throw a pretty fabric like this, right?


These are the Before and After Photo of my interfacing scraps. I sorted out the woven interfacing and still need to sort out the heavy interfacing ones. 

Scraps - Before
For now, I rolled them up according to the projects. Now I have enough interfacings to keep me busy for a couple of weeks. 

Scraps - After 

And here is the picture of my new toy.  

Image result for zipsnip cordless cutter amazon india
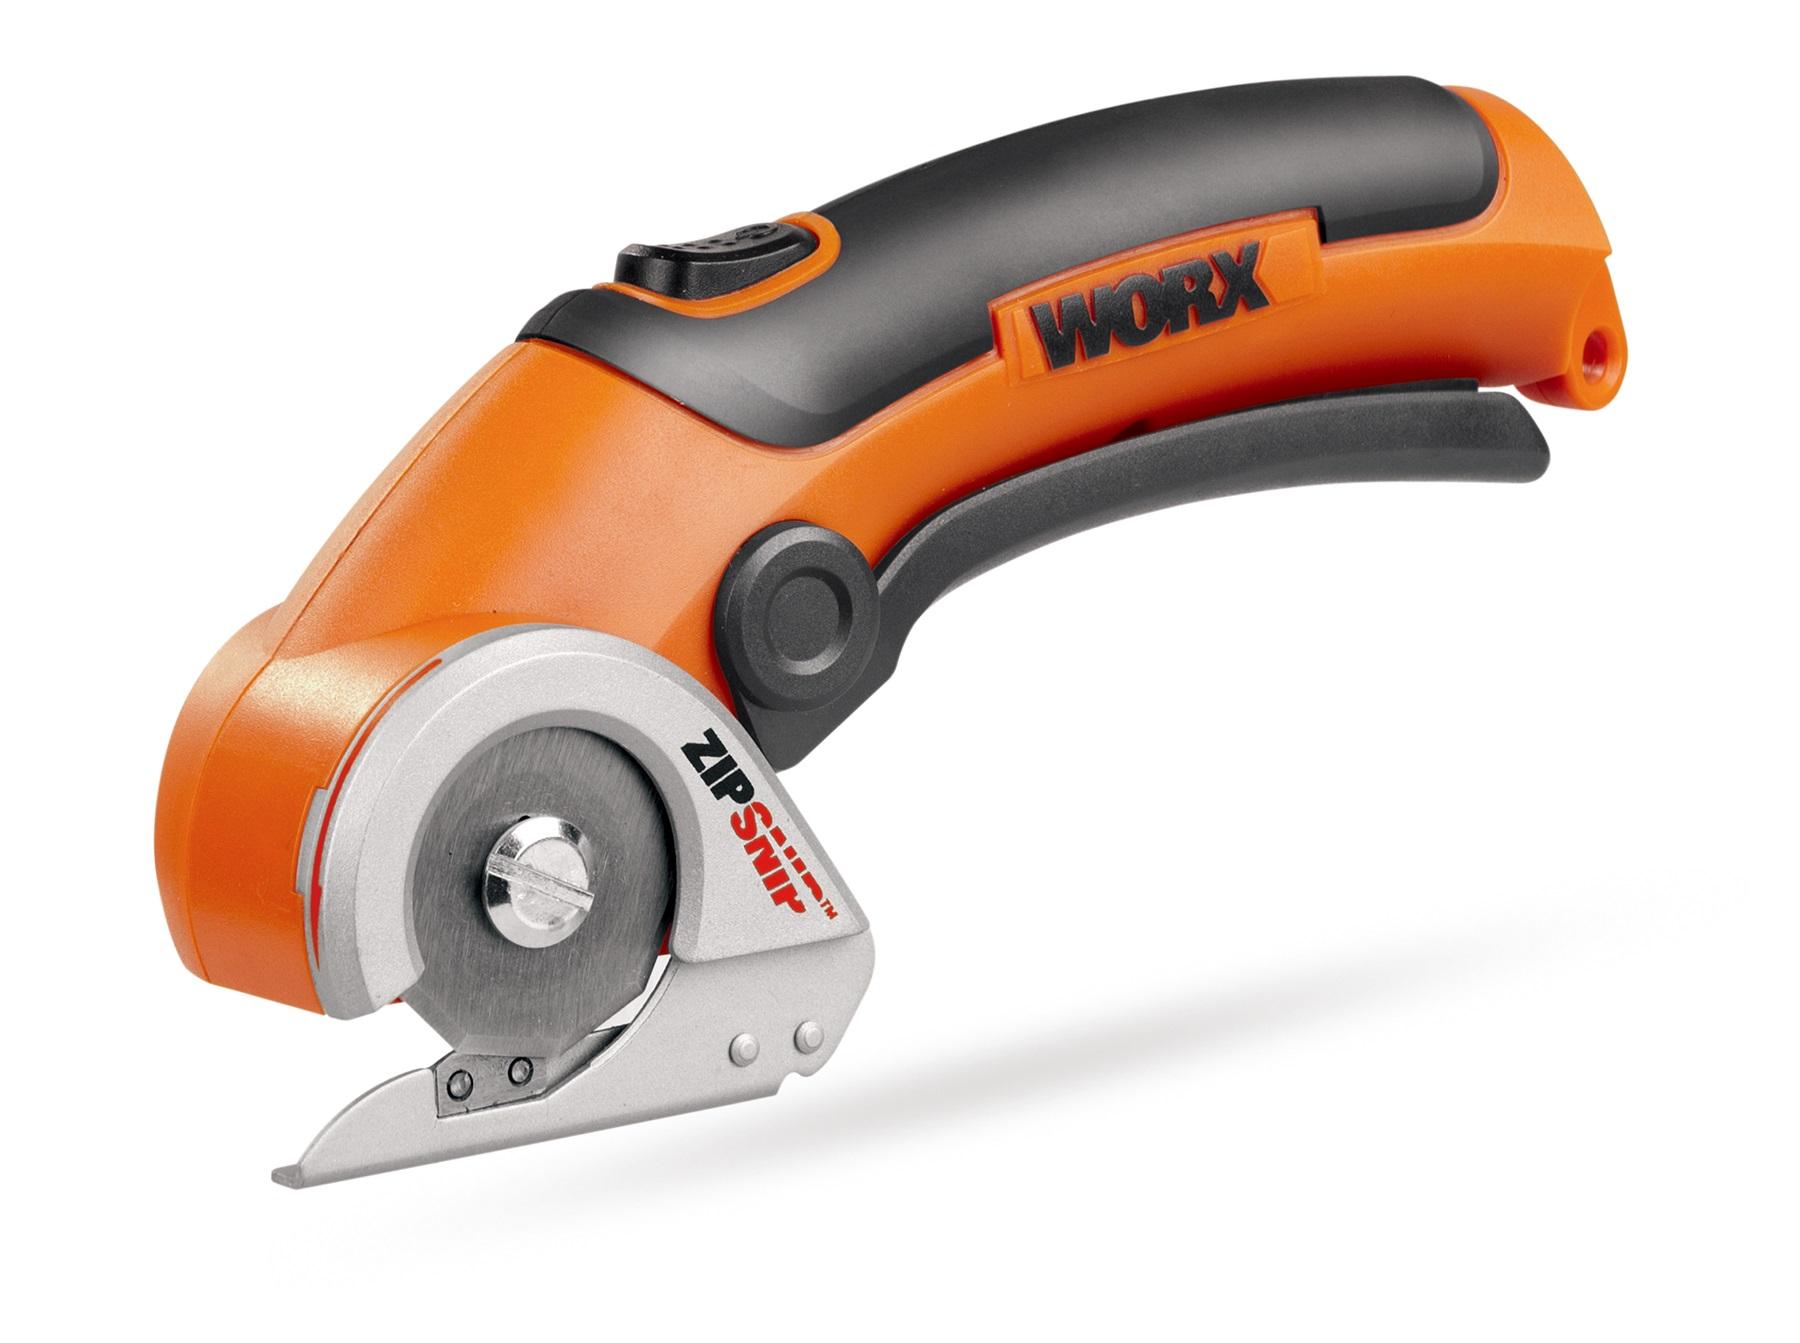
Photo is from google 

How do you do your "batching"? Do share in comments, I'd love to learn. I'm pretty bad with keeping things organized LOL. 

Until then,

Happy Sewing


and I'm featured in Handmade Monday! Yay!


Large Pouches

Hello again, 

Here is my report from my DIY Block Print experiment. Verdict: I LOVE IT! I am ordering more wooden blocks and can't wait to make more! 
Many asked me if the color stays after washing. I tried washing a small piece and the color stayed. The thing is you have to follow the manufacturer's instructions. I waited for 24 hrs before start ironing the fabric.  Yes, good things come to those who wait, Bon Jovi said so :D. 
So what did I make? 
I made one large pouch with the red floral one and I really love how it turned out. Even my boys loved it! The rest are all ready to sew but after I finish a couple of custom orders. 


This time I am using my metal zipper. I always feel wary to sew with metal zipper, but I think maybe I just lack practice. After a couple of pouches (scroll down for more photos), I can confidently sew metal zipper without breaking my needle. 
  

The above photo is to show the approximate dimension of the pouch. The phone is 6.5" phone and all those fit in nicely into the large pouch. 


Isn't that great, I mean we always need a pouch, small one, medium one, a large one, quilted, waterproof, cute, etc. I always picked up a few pouches whenever I travel as a gift and keepsake. And everyone loves it. More so if it's handmade, right? 
So, the past few days, I've been making few pouches using different of material and they all turned out unique and beautiful. I used heavy interfacings for these pouches and love the result. The pouch feels sturdy and you can carry it as a clutch, like when you go out for lunch or going for an errand. 

This pouch can easily fit an iPad mini or tablet, phone, Passport, coins, keys, or use as a Toiletry bag and other things that we need to carry.

The yellow pouch is made using kalamkari mud cloth fabric. I prewashed the fabric and really love the vintage look of it. 

This grey red pouch has 2 different colors, on one side the chevron is red and grey and only gray chevron on the other side. A Very unique, One of a kind pouch.

This chevron fabric is one of my faves. Sometimes I feel that fabric also has its own destiny. Just like this one. The Chevron Pouch has 2 different print on each side. 
Brown Large Pouch, Zipper Pouch, Traveler Bag, Travel Organizer, Ajrakh Block Print Clutch, boho style zipper pouch

The above brown Ajrakh pouch is another story. The fabric was a gift from my facebook friend, Madhu Mathur of Betukbandi, when I visited her in Jaipur.  She is one talented lady, I really admire her quilts and quilting innovations. Really inspiring. I am so happy to finally able to use it. I still have few more of the fabrics with different prints. Can't wait to use them!! 

Stay tuned for more pouches from my Indian Fabrics collection. Sometimes, you don't need a fancy pattern to turn your fabrics into a pretty pouch. Let the print speaks for itself! And making simple pouches can be a skill-building project for a beginner. I really recommend it. Don't be afraid to make mistake and experiment with new materials. 

Until then,

Happy Sewing


Block Print DIY

Hello,

Do you remember this song?

"Celebrate don't you wait, never hesitate
Celebrate while you still got time

Celebrate, yeah it's great, do it right away

Turn your back it's celebration time"


Well, today I decided I will try the block printing!! Afterall I got the wooden blocks and fevicryl fabric paints a few months ago. 
I saw this tutorial on youtube (it's in Hindi) and decided to try it. And I did! 


So, here's few things I learned:

1. First, soak the wooden blocks in a cooking oil. She suggested til ka tel a.k.a sesame oil. I used whatever  I have in the kitchen. she suggested to soak overnight, I soaked for about 3 hours or so. 


2.  While the wooden blocks are being soaked,  wash the fabric that you are going to use. I used linen, the lady in the video used mulmul or voile cotton. 
After the fabric dried up ironed it nicely. I used layers of newspaper and flannel fabric as a base and laid out my piece of fabric there.


3. Now, take one kitchen scrubber, the sponge one, and a small plate to mix the colors. Transfer the paints onto the sponge. Wipe the wooden block with a paper towel first then press it onto the sponge and start stamping. One at a time. 

And here is the result.
 I love this bicycle print. 

 The Ship and Bell, more or less the same size as the bicycles. 


and I love the red florals and bells here. 

Now, I have to wait for 24 hours before I can sew them into something pretty. A wallet, sling bag, or maybe a pouch

If you ask where do I get the wooden block from? I bought it from Amazon India. There are lots of sellers who sell them in a set of few pieces. I think I am going to buy one more set. It's kind of fun. I will let you know how it is after 24 hrs. Subscribe to my blog if you don't want to miss the post. 

Yes, it's a small achievement today that worth celebrating. 
It was not perfect but then that's the beauty of handmade, right?

Until then,

Happy Diwali!!


NEW PATTERN!! Single Passport Wallet

Hello there,

Finally, after few months I completed the pattern and is now on Special Price in Etsy and Craftsy.

Single Passport Wallet
and if you're in India, you can check the pattern category on the top of this post or scroll down to shop directly.

Special thanks to Maria and Susan for helping me testing and proofreading the pattern. As English is not my first language, there's a lot to learn. At home, we speak English, Assamese, and Hindi. Also, I talk/chat with my family and friends in Bahasa Indonesia. So, at times, it's a bit confusing lol. 
But don't worry, I included a lot of photos and few diagrams to help you understand the pattern better, even if English is not your first language like me. 

Without further ado, let's admire what Maria and Susan have made:

I simply love this hexagon wallet that Maria made. She and her florals can be very contagious lol ..if you see me making more florals in the future, the credit goes to her! 


When she asked me if she could improvise a bit, I said "definitely!!" and look what a smart addition she made. She said the slot is perfect for her smartphone! Very clever Maria.  


here a closer look!. I am going to add this next! Thank you, Maria! 


And here is Susan's wallets. She made 2  wallets and look how neat they are! 


she suggested that attaching the flap a few inch away from the wallet's edge is better for hand sewing the binding. 


 This is her second wallet and I LOVE the fabric. It looks like leather. It's perfect for travel wallet, isn't it? 


and even prettier inside <3 


The second wallet, she attached the flap away from the edge. It's the same method I used in the Family Passport Wallet Pattern


So, based on Susan's suggestion, I added a bonus tutorial for the flap. And of course, you can always make improvisations, like maybe a wider flap with a hexagon applique like the one I did previously. 


So, grab the pattern now and start making and selling. Don't forget to tag me on Facebook or Instagram  or use hashtag #chezvies or #chezviespatterns if you want me to find you ^^.

Until then, 

Happy Sewing


Latest Fabrics

Latest Video