Powered by Blogger.

Pattern Update - Relaunch Ohana Passport Wallet


Hello,

Finally, I finished editing the Family  Passport Wallet Pattern and decided to rename it to Ohana Passport Wallet. The original pattern was the first pattern I wrote and there is a lot of scope for improvement. As time goes by, the pattern evolved and when  I wrote the tutorial for adding zipper closure, this version became more in demand. 

In the new version,  the main tutorial is for a wallet with a zipper closure based on the previous tutorial, also single tape zipper closure can be seen on the Video. I added links to video tutorials and also blog posts for more references. 


Here is how the wallet looks with the flap closure: 


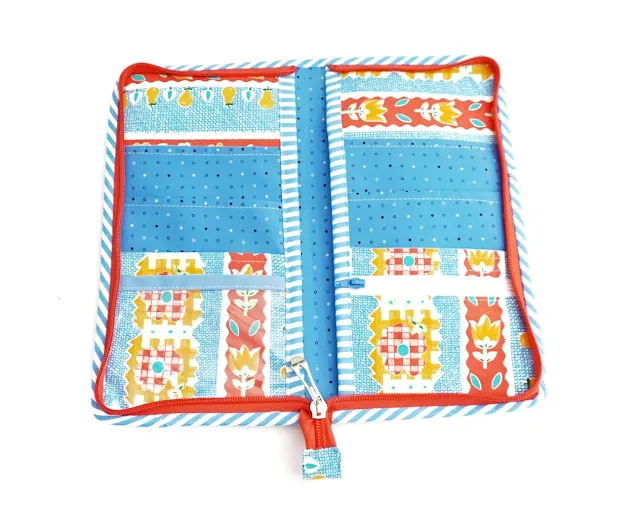
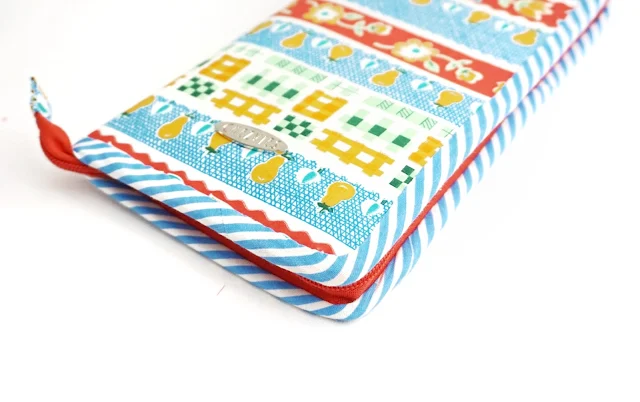
And here's the zipper around version:


Watch the video on how to sew the wallet from beginning to end. 


The Ohana Passport Wallet is also written in the new format, which I find easier to understand and I hope you agree :).  The pattern consists of 29 pages (including the templates), so it's pretty much compact but details. 


Family Passport Holder

Zip around passport wallet

Family Travel Wallet with Zipper


If you already bought the pattern and want to download the new version, please email me using the email you used when purchasing the pattern, and I will send you another link to download the pattern.

Thank you for stopping by!

Happy Sewing,

Elvira


VIDEO TUTORIAL - SAFARI TRAVEL WALLET


Travel Wallet DIY
Safari Travel Wallet Video

Hello, 

Finally, the video tutorial for the Safari Travel Wallet is up on my YouTube Channel. I hope the video can help to visualize how to make the wallet from the beginning. I am trying to get a better angle as I recorded the video and also try not to skip the process. The video is sped up  2 to 3 times from the original. If you want to watch it at a slower speed, you can do so by clicking the setting on your YouTube screen.  


The original pattern only has instructions for flap closure which is pretty easy, but as many customers like zip-around closure more, I decided to make the video for the zip-around version. If anyone wants to see the flap closure version, I will record one when I make my next wallet. Do let me know in the comment.


Travel Wallet DIY
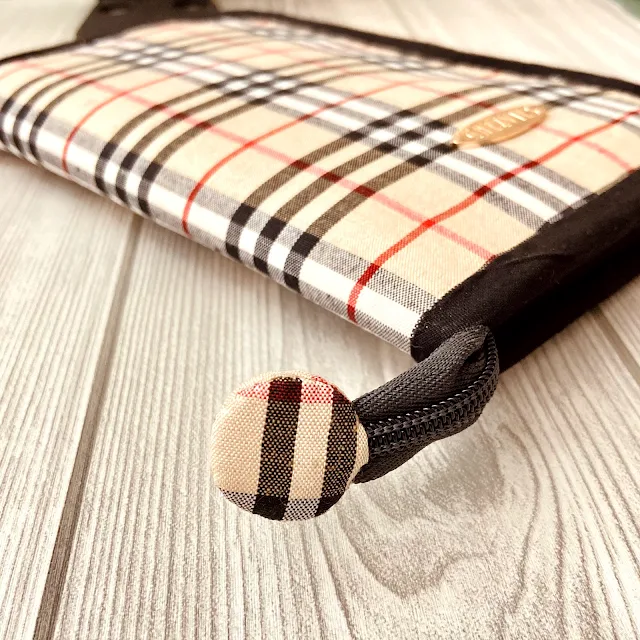
Cute Zipper End 


Zip Around Passport Holder
Zip Around Travel Wallet


I really enjoy recording the video and I really hope to share more sewing tutorials in the future. If you heard some funny noise in between the videos, that's because my son was watching a football match, or sometimes, someone came and asked something in the middle of the recording. Maybe I should put a sign like "recording in progress, do not disturb" LOL

I hope you find the video useful and you can understand the process of making the wallet. I'm looking forward to your feedback! 

Thank you for stopping by,

Elvira


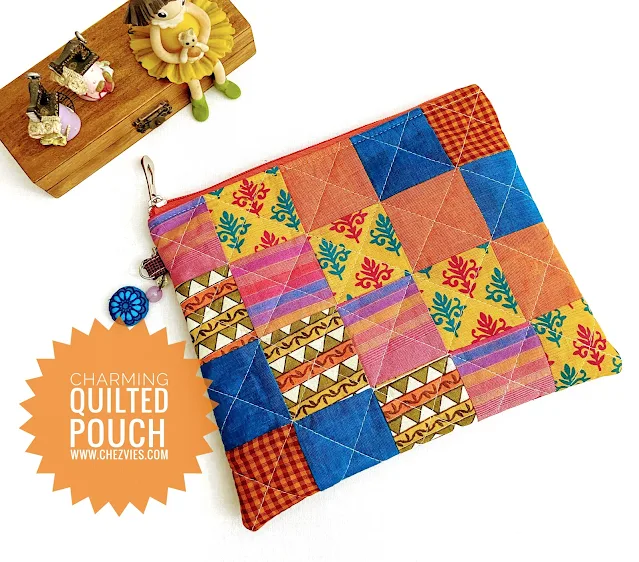
Let's make charming quilted pouch


patchwork bag tutorial
Charming Quilted Pouch (video tutorial)


When Tina Katwal asked me if I'd like to make a quilted pouch tutorial for our Desi Quilters group, I immediately said yes. I was thinking of making one with handloom fabrics as the 7th of this month was National Handloom Day! So it was like serendipity. 

So, I decided to make this pouch or bag using my fave precut - mini charms (2.5" x 25" pieces). To make this bag, you don't need much. 

Materials you need:
20 pieces mini charms of your choice
(40 pieces if you make a patchwork of both sides)
A few Fat Eighth or FQs for Back Panel and lining
Batting (fleece or cotton)
#5 Zipper at least 10" long
(you can use #3 zipper if you wish)
Non-Woven Lightweight Interfacing  
Finished Size 9.5" x 8" (approx)

This patchwork pouch tutorial is for the Love and Healing Swap in our Desi Quilters Group on Facebook. The pattern is for using mini charms but you can easily adapt it using any kind of block or orphan blocks that you have in your UFO baskets. The key is to make the patchwork piece the same size as the interfacing. 
The interfacing will give a perfect finish for the quilted pouch or bag, no matter what batting you're using. I made many patchwork quilted bags and I found this combo is the best. 


Working with handloom fabrics is pretty challenging. If you decided to make one using handloom fabrics, consider prewashing your fabric first. I normally don't ;). As handloom tends to shrink and become out of shame from frequent ironing. Spray starch also helps. 


National Handloom Day


I'm getting a little bit better with the new editing app. I also found a good angle to place my ring light while recording videos :)
Editing does take time but when the mood is good and the boys are happy with Domino's, I can get it done pretty quickly ^^


zipper charms


I hope you enjoy the video! Do let me know in the comment :)
Now, download the pattern below, and let's start sewing those scraps!


Happy Sewing,

Elvira


Video Tutorial : How to sew family passport holder

 Hello again, 


how to sew passport wallet
Video Part 1

Finally, I finished editing the videos for the Family Passport Wallet pattern. The supporting video tutorial comes in 2 parts. The first part is the making process of the passport slots


I made a few changes : 

1. The LINING for the zipper pocket, I use ONE piece of lining 5" W x 6.5" H. (in the original pattern it was 2 pieces of lining fabric). 

2. Passport Slot construction is different from what's written on the original pattern. This new way I found it better and faster to make. 

Let's jump to the video below: 


For Part 2, I am showing how to attach the zipper closure using a single tape zipper. It's the same way as the Nuno Small Wallet. For the zipper length, I use the #5 nylon zipper approximately 44-45 inches long. This is my new fave in attaching a nylon zipper. 


I hope the video will give you a clear understanding of the pattern. I will update the pattern when time permits. Do let me know what you think in the comment below.


Thank you for reading my blog.

Happy Sewing!

Elvira


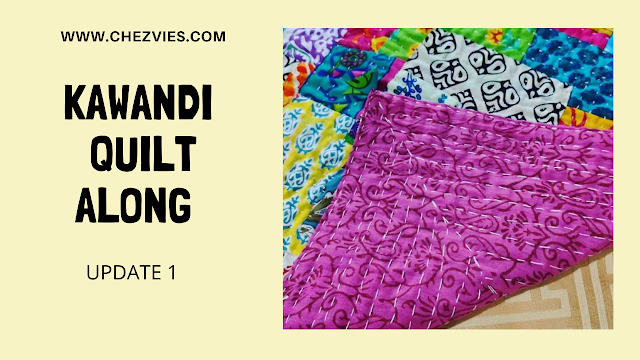
Starting Kawandi QAL


Kawandi QAL
Kawandi QAL


Hello and happy Monday! 
I mentioned in my previous post about the plan for Kawandi QAL. It was started a few months ago by Brinda Ma'am and we have a Whatsapp group to share our progress. 
 Well, I finally get my quilt prepped up and started making the border. I have a few mulmul fabrics in half-meter cuts and decided to use one of them for this. It's going to be a big-ish table runner. 
I thought of making a lap size quilt but I don't have the confidence to finish it. At least this one will be doable for now. We have to finish it by end of the year. Well, I have a long list of Historical Chinese dramas to company me LOL. 


Kawandi Quilt progress


To motivate me, I make a progress video and will update as I make more progress. I'm very bad at following QAL or SAL, so I hope by making a progress video I can push myself to finish it. 


Hand sewing side effect :)


Kawandi Quilt Making


And why not making two kawandi ? Yup, I'm easily distracted like that. I was searching for scraps and found leftover strips from the Jellyroll Quilt I made earlier. I thought why not started another one? I am making one without border as I plan to turn it into maybe a tote bag? My mind keeps changing as I am quilting it. 

What about you? What are you working on this week? 


Happy Sewing,

Elvira 


Linking Up to these wonderful BLOGS

Latest Fabrics

Latest Video