Powered by Blogger.
Showing posts with label lanyard tutorial. Show all posts

Tutorial : How to Make Easy Fabric Key Fob


I got a bunch of key fobs that I ordered from Aliexpress before the Pandemic. I'm lucky that I got all my hardware before the lockdown started in March. 

Personally, I love using a swivel hook for a wristlet, like the one I shared HERE but this key fob looks fancier, isn't it? 

This is a beginner-friendly project for you who just started a sewing journey. It's super easy! If you're in India, you might want to refer to THIS POST about bag interfacing in India. 

Materials needed: 
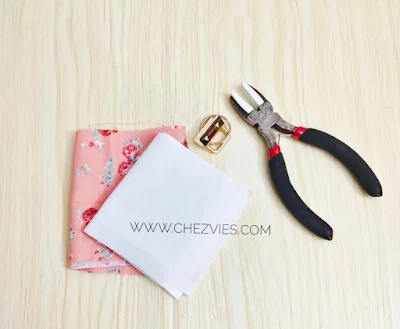
1. Main Fabric of your choice (preferably cotton) - 3.75" W x 11" H" 
2. All Purpose Interfacing - 3.75" W x 11" H
3. 1" wide key fob
4. Plier (I have one with attached cushioning, if you don't have one just use a flat plier and cover the key fob with batting or fabric scraps so it won't scratch the hardware).

Fabric Key Fob Tutorial

Let's start!

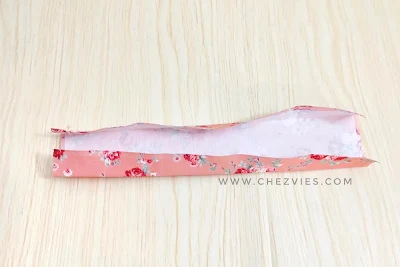
1. Fuse the interfacing on the wrong side of the fabric, and fold the long edges towards the center. Then fold it again to make a scant 1" wide strip. Use wonder clips to hold it in place. 


2. Topstitch using scant 1/8" seam allowance on both long edges, then sew a few lines 1/8" apart. The dense stitching will make the wristlet sturdier. 


3. Notch the raw edges using pinking scissors or simply using normal scissors. This will stop the fabric from fraying. (you can also apply clear nail polish on the raw edges).


4. Bring the short ends together and sew in place. 


5. Fit the key fob and mark where the prongs are. Make a hole in the marks you just made. This way you won't break the prongs. Trust me, I broke a couple of them :D. 
 

6. Carefully replace the kef fob and use the plier press it nicely and make sure it won't come off when you pull it. 


et voila! Your key fobs are ready. This will make a great gift for your family and friends!


If you like to use a swivel hook, you can follow my previous tutorial. In this key fob tutorial, I am using all-purpose interfacing which gives the wristlet enough structure. 
But if you're using a swivel hook, you can use medium weight interfacing or a combination of all-purpose interfacing and batting. If it's too thick for your sewing machine, you can always use rivets.  Don't be afraid to experiment to see which one you like better. 

If you find this tutorial useful, please share it because sharing is caring :). 


Thank you for reading my blog.

Stay safe & happy sewing!

Elvira


{Mini Tutorial} - Passport Wallet Lanyard

I just released my first PdF Pattern in Etsy "The family passport Wallet". I made my first Family Passport Wallet 2013 and it was an instant hit in my Etsy shop. The wallet has been going through a lot of redesign. It's my friend Namrata of Bagstock who encouraged me to write the pattern. 


and yes, I was nervous and excited. I will post here in my blog if there is any changes or updates or what improvisation you can do with the pattern. 

And this first post is about the lanyard. I did not include the lanyard tutorial in my pattern as nowadays many people prefer to use leather strap which is really cute and can give a vintage-y look about your wallet. I did few for my etsy customers and they loved it. 

But personally I still like making fabric lanyard for my handmade wallet. So, here's how : 

What you need {this is Lanyard for Passport Wallet}

2.5" x 16" fabric strip
1.5" x 15" woven interfacing
3/4" swivel hook

Let's get started 

 Iron the woven interfacing on the wrong side of the fabric strip. 


I have this 1.5" woven interfacing strips which I simply LOVE. It's my favorite for making bag handles/strap. There is a 3/4" one too. 


Fold the side seam and iron nicely


insert the strip into 3/4" swivel hook


now, fold the strip so the short ends meet and sew with 1/2" seam allowance(like in the picture)


make sure you put it correctly / not twisted ^_^  


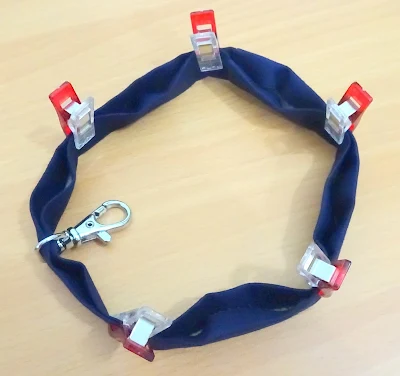
Now, fold and clip and sew along the both edges with 1/8" seam allowance


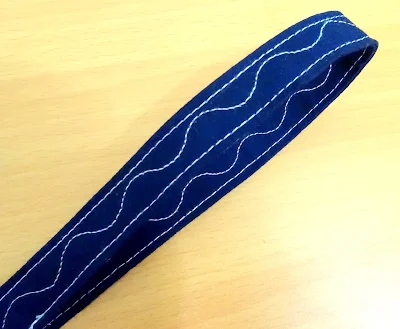
and you can use your decorative stitch too. That will make your strap unique. I love using different kind of decorative stitch but this serpentine is my favorite. 


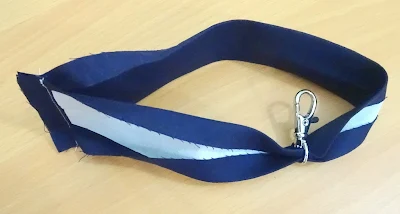
Now, finish your lanyard by sewing 1/2" under the hook. 


Voila! You have a pretty handmade lanyard to go with your passport wallet.


The Family Passport Wallet Pdf Pattern is available here :


Thank you for stopping by today

Happy Sewing


A little tutorial : how to make less stressful lanyard

While making lanyard for custom order today, I remember those days when I started sewing again. When WiFi  was not yet heard and modem connection was very slow and making those funny crackling noise ^_^ 

Yes, I learned most of my sewing tricks and tips from bloggers who generously share their step by step pics. I am a visual reader {is that the correct term?}. So, I need tutorial with lots of pics in it. 

Anyway, here's a little tip how to make lanyard less stressful ;)

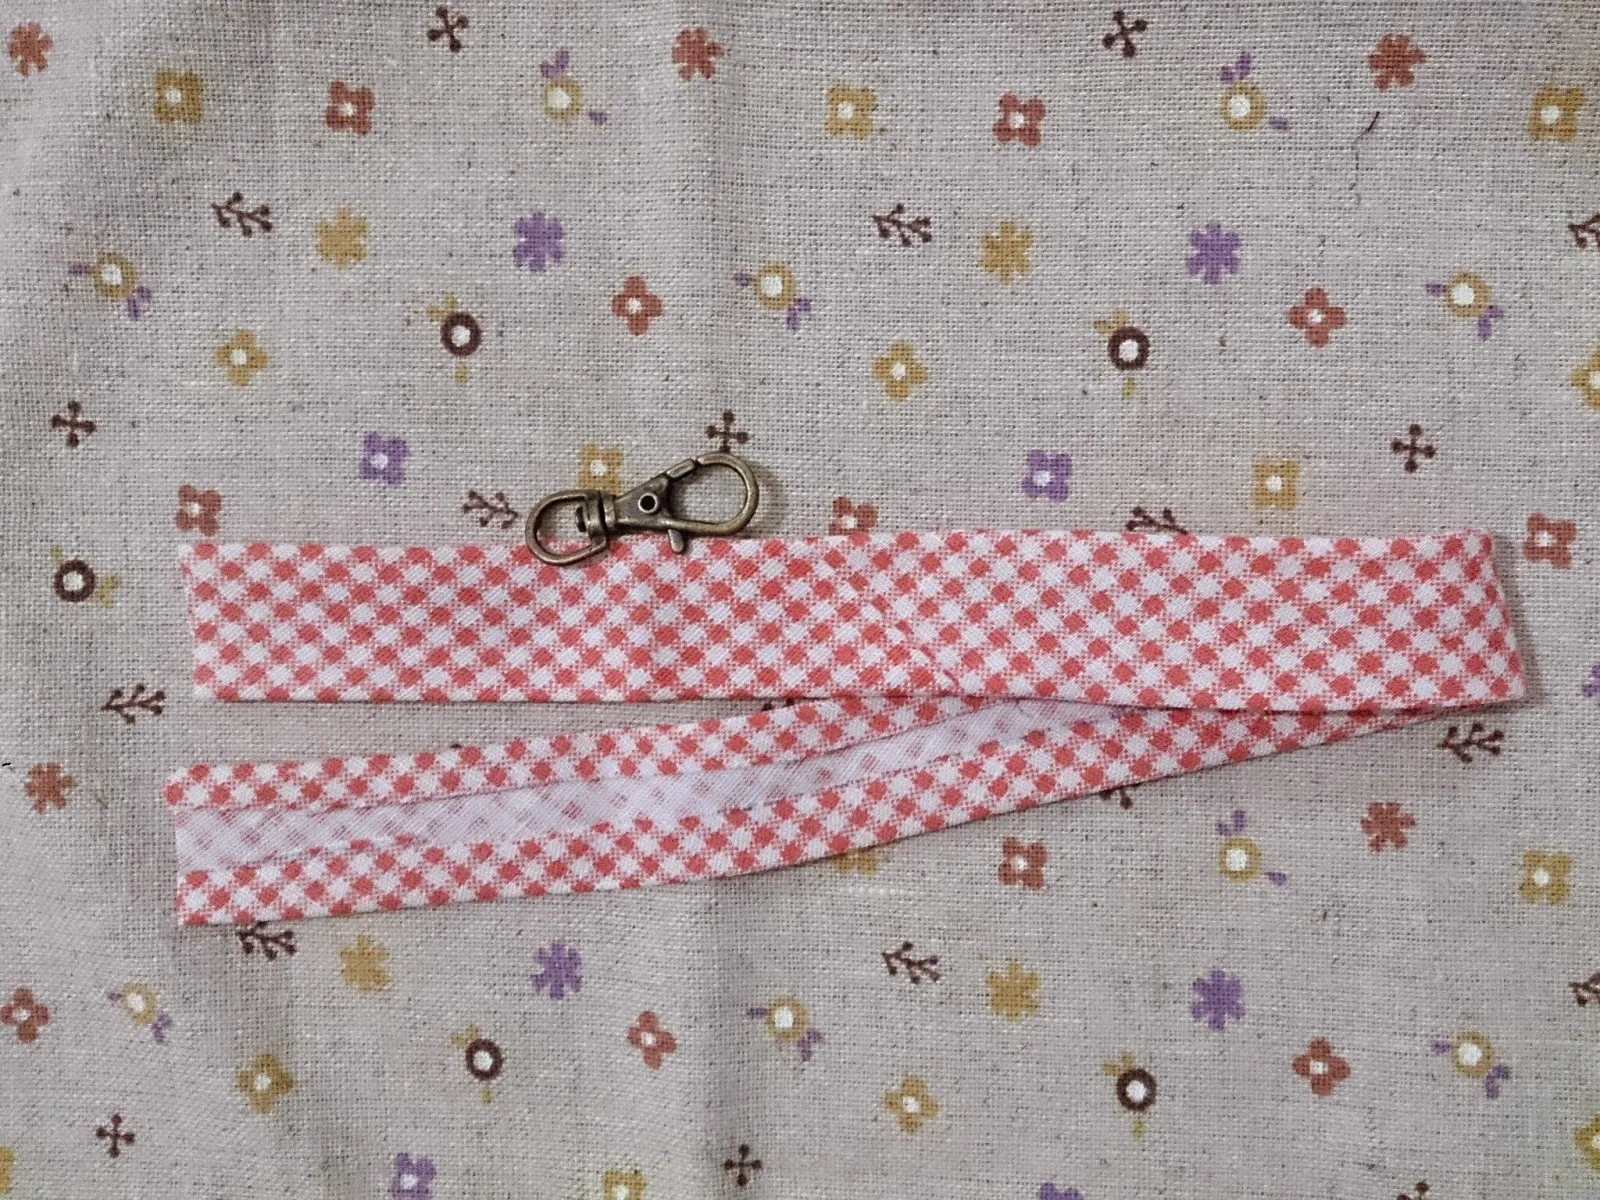
First you need your DOUBLE FOLD bias tape or any binding tape and the hook. I like using bias though.

{bias tape tutorial video in my previous post)


and then, insert the tape into the hook


now, put the end of the tape, right side facing and sew 1/4" 
open the seam and press it flat 
make sure you put it correctly, or else you'll end up with twisted lanyard {I did once :D }


Now fold the bias tape and start sewing closely to the edge


Now you're almost done
you just have to double stitch around 1/2" under the hook


Voila! you get a pretty lanyard with no stress ^_*


Oops, looks like someone is looking for me. Ha!!


I hope the little trick will help you
Now, time to relax with my fave drama

Until then

Take care and happy sewing


Latest Video