Powered by Blogger.
Showing posts with label scrappy quilt. Show all posts

Scrappy 9 Patch Pillow

Hello,


I mentioned in my previous post about the #100dayproject that is going on in Instagram. I decided to play along and sewing up my scraps, UFOs, and PHDs. 
It feels so rewarding when I able to complete something that has been in my UFOs box. Like these Pillows I made last week. 

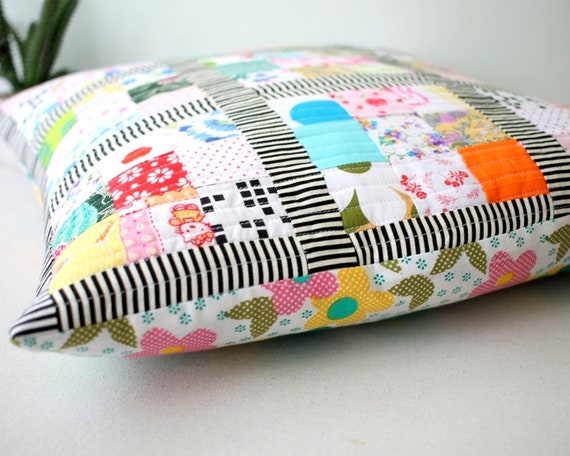
This week, quilty wise I finished this modern 16 x 16 inches scrappy 9 patch cushion cover. 

Scrappy Patchwork Pillow
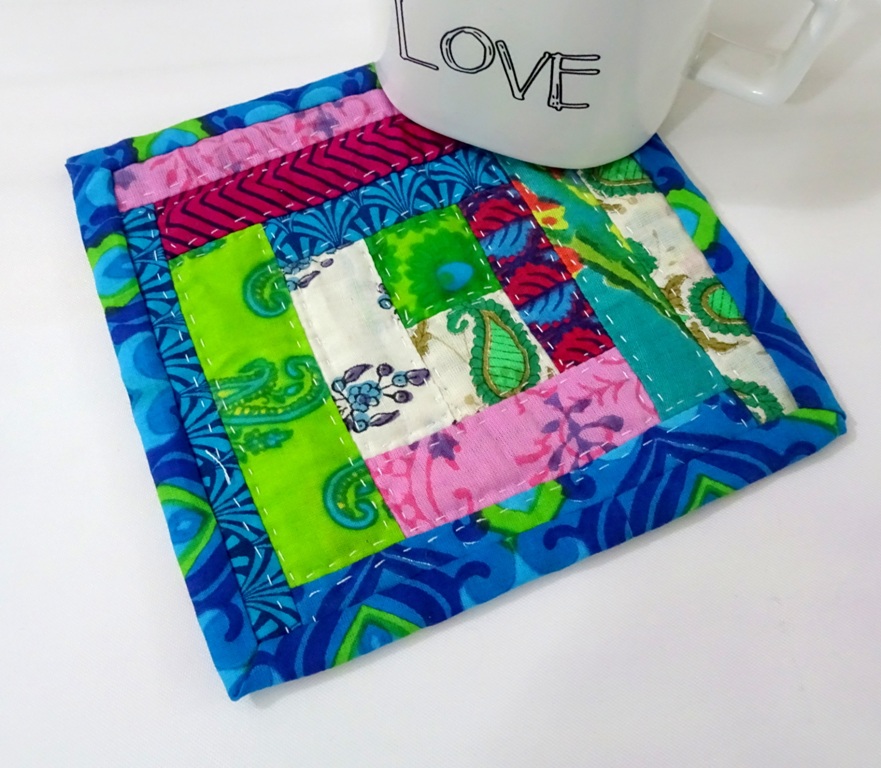
I have a small jar of 2" squares which I collected for quite sometimes. I made a couple of 9 patch blocks from them. Some of them, I turned it into mug rugs for a swap.  And a few coasters which I gave them away. 

So last week, I decided to make a dent to my 2" jar and started piecing them into 9 patches, while watching my kdramas. Luckily there are so many good korean dramas to keep me company. 

Work in Progress

This patchwork top is totally made of scraps, right down to the black and white stripe borders, which came from my wallet binding scraps. I add sashing to the 9 patched and added long border. I really love this black and white stripe. I will need to get a few yards next time when I go to Indonesia. I used it alot for wallet. When nothing else work, black and white stripe always the solution!


I am using fleece batting for this pillow which I got from Tina of the Square Inch. Quilting it using straight line quilting on my jack sewing machine while watching Love in the Moonlight drama. I know, it's an old one (2016 drama) and I don't usually enjoy period drama, but Park Bo-Gum and Kim Yoo-jung are just too cute together. 


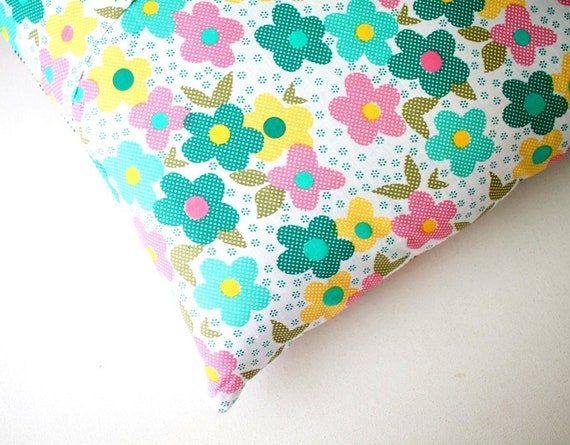
The back of the cushion cover is a colorful floral cotton fabric. I'm glad I saved up the last piece of this fabric, it matched perfectly. 

Envelope Closure

This pillow will make a cute decorative pillow in the living room or a baby room. I added this cushion in my Etsy Shop and also in my Indian WebShop. There are still many scraps I need to sew and I am so excited to sew smaller projects like this. 

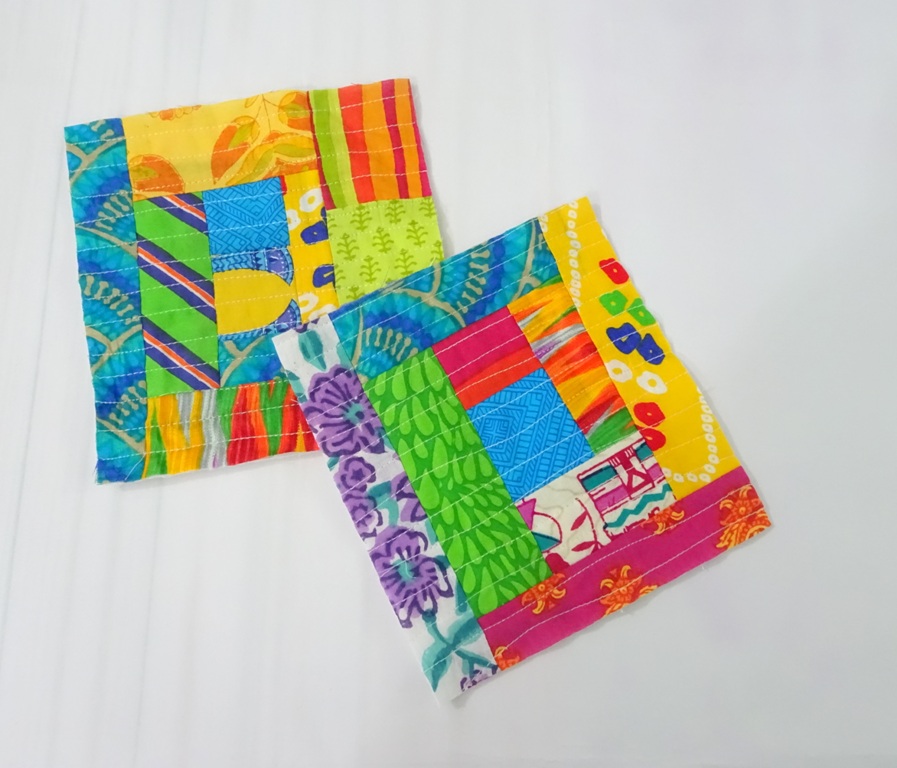
Meanwhile, I made a small progress with the scrappy log cabin. I finished 3 color blocks so far. I hope I will be able to add one or two color blocks this weekends. 


Until next time,

Happy Sewing

Linky Party: 

Tutorial Reversible Quilted Trivet or Coaster

Hello,


I'm still in scrap buster mode. Now, let's make Reversible Trivets or coaster. It's really easy - mind numbing project. This is the kind of project that lifts up your spirit or gets your sewing mojo back.

Alright, here's what you need:
- Fabrics scraps of various sizes and colors. 
- Batting scraps - I am using flannel in this tutorial. 

First, you need to decide the size. I normally go with the whatever size of the batting scraps. In this project, the batting is roughly 6.5" x 7". 

Now grab 2 small pieces of fabrics and put them RIGHT SIDE TOGETHER in the middle of your batting piece. Sew with 1/4" seam allowance. You can go with 1/2" or 3/8 seam allowance. It doesn't really matter. 


Now flip them open and finger press. I trimmed the pink stripe fabric a little bit. For a small project, the narrower the fabric strip the better. At least for me.


Now take another strip of fabric and put them Right Side Together along with the longer side of the previous unit. Sew down with 1/4" seam allowance. 


Flip it open and finger press. 


Repeat the process until the batting area is covered. Once done, start quilting the panel. I love doing line quilting. You can quilt it in whatever design you like. Don't worry even if it's not straight. It's "your quilt, your rule" kind of project. 


Once it's done, trim the panel to the desired size. In this tutorial, I trimmed the panel into 5.5" x 5.5" roughly. It doesn't have to be square. 

Repeat the whole process with the other piece of batting and now you have 2 bright and beautiful quilted fabrics ready to make into something F U N. 


If you want to make a pot holder, you can add another piece of batting in between the two quilted panels. 


for trivet or coaster, it's not necessary. Put the quilted panels right side together, and sew all around, leaving 2" gap for turning. 


Trim the edges by cutting the corners diagonally. Be careful not to cut into the stitches. 


Now turn the coaster inside out. Close the gap by hand sewing the opening or apply fabric glue. 

Voile, your one of a kind coaster is done and you can admire it. 


Actually, whenever I made something from those small scraps I feel like I saved the world. LOL. I wish I could sew clothes like Zero Waste Daniel . 


Here is another one I did. This one was hand quilted and hand sewn the binding. 


You can make many things with those tiny scraps. 

Now go and make few from your scraps. Tag me on Facebook or Instagram if you made something from this tutorial.

And if you ever need fabric scraps, you are most welcome to join the CLUB or check the CHEZVIES SHOP

Thank you for stopping by.

Until then,

Happy Sewing

**************************************

Indian Fabric Bundles


Patchwork Pouch

Hello,

Never threw out even the smallest piece of your favorite fabrics! You can turn them into this pretty patchwork pouch


I was organizing my small scraps last Saturday and as a bonus, I decided to make this pouch. Actually I started out with card holder in mind. I even took out Suzuko Koseki book for guidance. 

I decided to do quilt as you go method since some of the scraps are quite tiny. And when the panel is ready, I was thinking, it will be better to make pouch! 
So here is the QAYG pouch with 2 different sides. One side is sober color and a bit brighter on the other side. 


I love zipper with binding, I made once and have not attempted again. So, this time I decided to do just that. Zipper with binding! and I love how it turned out.


I added faux leather tassle too. It's uber cute!! Each piece of fabrics in this pouch has a memory of it's own. Some of them are from the leftover binding, some are from the corner cuts of a bag, etc. It is  a special pouch! If you want to purchase the pouch, it's available HERE

I know I'll be making more, but there are so many other things I want to sew. My list keep growing. 

Thank you for stopping by!

Until then,

Happy Sewing


Black and White Pinwheel Lap Quilt

Remember this ONE? Finally I have done it. It takes rather long :)  As usual I'm using flannel  batting since I don't get a proper batting as yet in this corner of the world. Well, I believe in using what ever available at hands now. And to be frank, flannel batting is not bad at all, though it's a bit expensive -_-

Here it is sitting prettily on my swing :)

Black, white and red

It has scrappy backing and scrappy binding too. I thought of doing free motion quilting but I'm not confident enough to do it in a bigger quilt :D.

scrappy backing

More photos you can see them in my FLICKR.

Until then...Happy Quilting ^_^


Latest Video