Powered by Blogger.

Bunny Mini Sling Bag for Toddler


Sewing for kids always brings happiness to me. So when my customer wanted a bag for her toddler, I said yes. She sent me a reference picture, a bag with bunny ears. Her daughter is only 2 years old so this bag is pretty small. I used the bigger size of the Mini Sling Bag pattern and trim the height a little bit. 

The picture below was the first set of ears that I did base on this bunny pencil case tutorial, but I was not happy. I found it too small. 


I remember I used to make flower brooch from fabrics, I thought that would be better for ears. I only need to cut the fabric larger. I cut 5" square fabric and cut them again to make 2 half square triangle. I used thin interfacing just to make the ears a little firm. Fold the triangle then sew the shorter side. Turn it inside out and hand stitch the straight side using running stitch and pull it tight and secure it. Tada! your fabric bunny ears are ready! 


Now place the ears on the bag exterior and make sure the ear's raw edges are placed at the edge. Baste stitch and you're ready to assemble the bag. 


Since I already sewed the sides seams of the bags, I decided to finish the bag using drop lining method. I little fiddly for a tiny bag but I managed :D.
I put the exterior bag in the lining, right side together, and clip it. I didn't trim the ears at this stage yet. 


Feed the bag under the needle and carefully sew using a 3/8" seam allowance. Once it's done, I trim the excess seam of the ears. 


Turn it inside out, topstitch the edge and voila! Bunny Mini Sling bag is ready to go! 
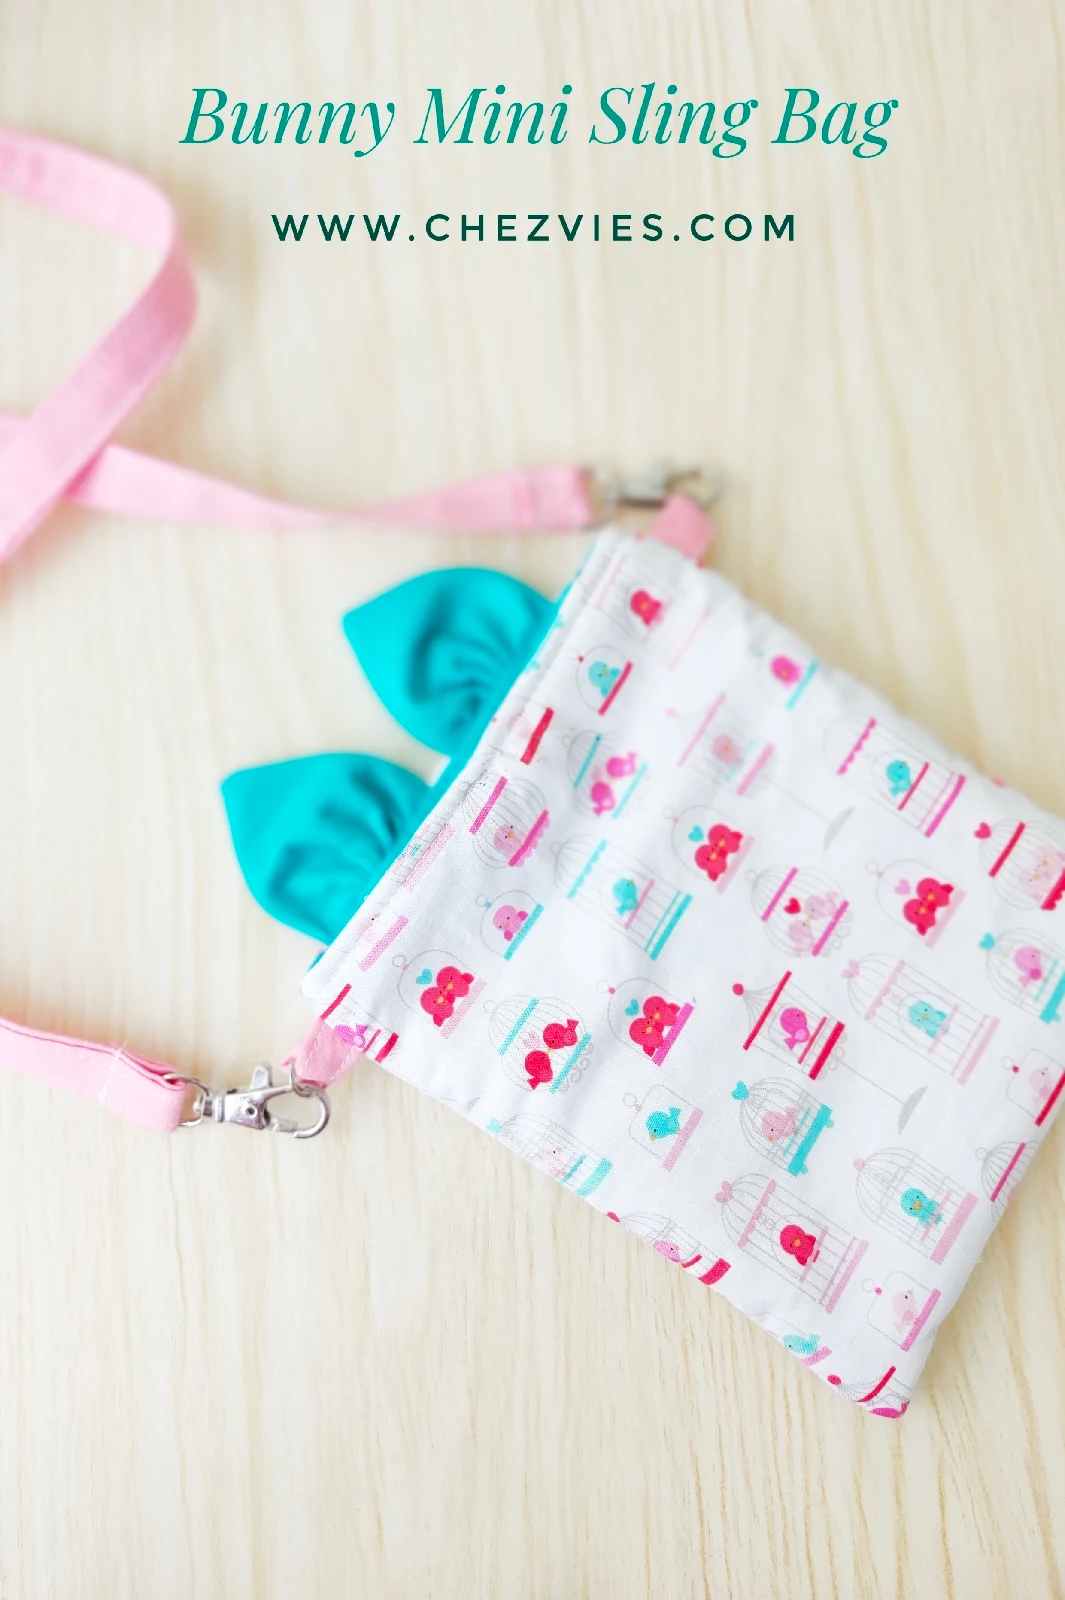

I really love how this turned out. I got this Riley Blake fabric for a long time and I'm so happy now I can use it. I hope this bag will bring happiness to her too! 

What do you think? What's your personal fave things to sew? Let me know in the comment below. 

Thank you for stopping by!

Take care & stay safe

- Elvira- 

****
Linking up to These Wonderful BLOGS

Alternative Filter Pocket for 3D Fitted Face Mask

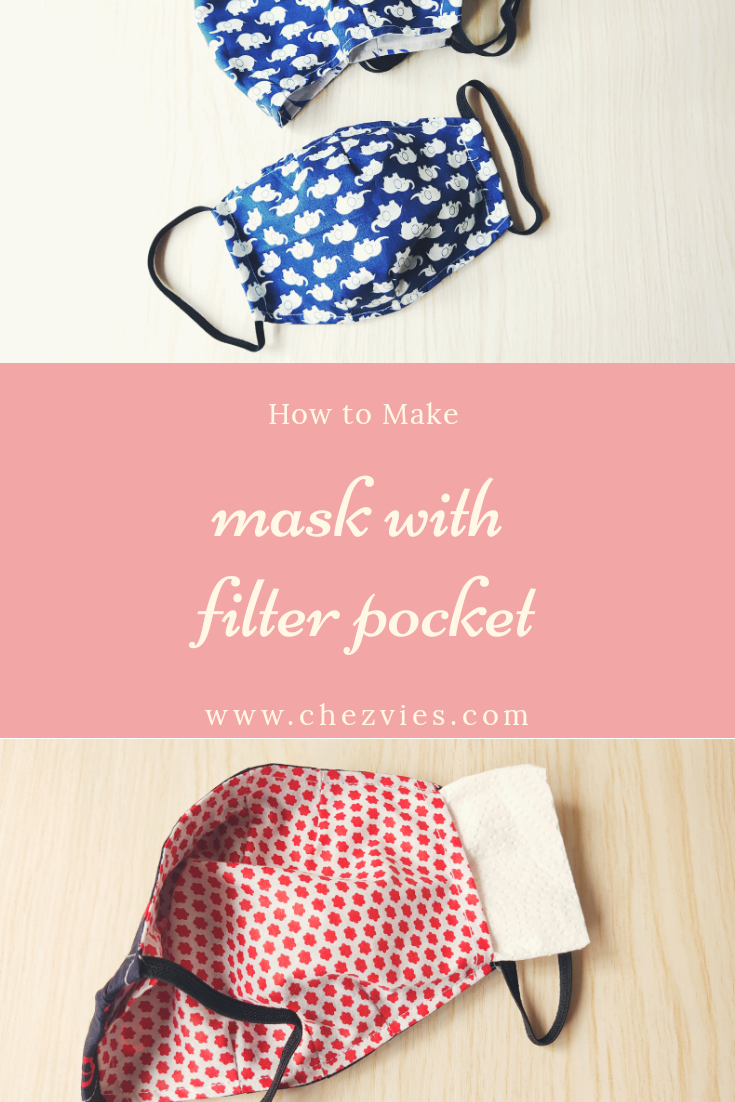
Face Mask with Filter Pocket

Everyone has their own preference and that's including masks. Some people prefer a surgical pleated mask, some prefer box pleated masks, some people prefer 3 D mask without filter pocket (including yours truly). As I wrote in my previous post, in a homemade mask the most important is as long as it dense enough. 

As I progress making more 3D masks, I improvised the pocket construction for the 3D Fitted Mask. Instead of cutting 2 lining fabrics like in the pattern, I cut one piece of lining and reduce the sides to create a pocket. The advantage of this pocket is you need less time to sew them together. 

So here's how to do it:

  1. Cut the short sides of the lining fabric by 0.75". I usually fold it in half, mark it using an erasable pen and cut it on the line. 

2. Fold the raw edge by scant 1/4" and fold it again by 1/4" and topstitch the short edges. The mask lining will look like in the picture below. 


3. Sew the lining and exterior panels together as per the pattern and turn the mask right side out.  Now, with the lining facing up, press the seam of the exterior panel nicely and topstitch all along the top and bottom seams only. 


4. Fold the short edge of the exterior panel towards the wrong side by scant 1/4 inch.


5. Fold it again by 1/2" and pin/clip in place.


6. Now the tricky part (don't worry, you can do it!). As you feed the fabric under the needle, pull the lining fabric gently so that it's away from the fold that you're going to stitch. Put the needle down, backstitch a couple of stitches and sew to the end. As you reach the end, gently pull the lining fabric again, away from the end of the fold. Finish sewing with a couple of backstitches. 


7. Tada! now your mask with filter pocket is ready. Insert elastic or fabric ties as you prefer.


Here I used a kitchen paper towel and folded it a couple of times. Insert the paper and you're ready to head out. 


3D Fitted Face Mask in ETSY

What do you think? which type of mask and filter pocket do you prefer? Let me know in the comment below. 

Thank you so much for stopping by.

Take care & stay safe!

- Elvira


Latest Fabrics

Latest Video