Powered by Blogger.

Scrappy Patchwork Mug Rug - Scrap Buster Project


Making patchwork mug rug is my fave scrap buster project. This time I made this super easy one using strips of fabrics from my scrap bin. It's fun and quick to make plus it's a perfect project to make if you're looking for a quick last-minute gift.

Without further ado, here's what you need: Assorted fabric 5" long fabric strips 1" to 1.5" wide Contrast or solid fabric 6" W x 8" H Backing Fabric 12" W x 10" H Batting 12" W x 10" H

Binding 1.5" Wide x Wof (40")

Let's get sewing!

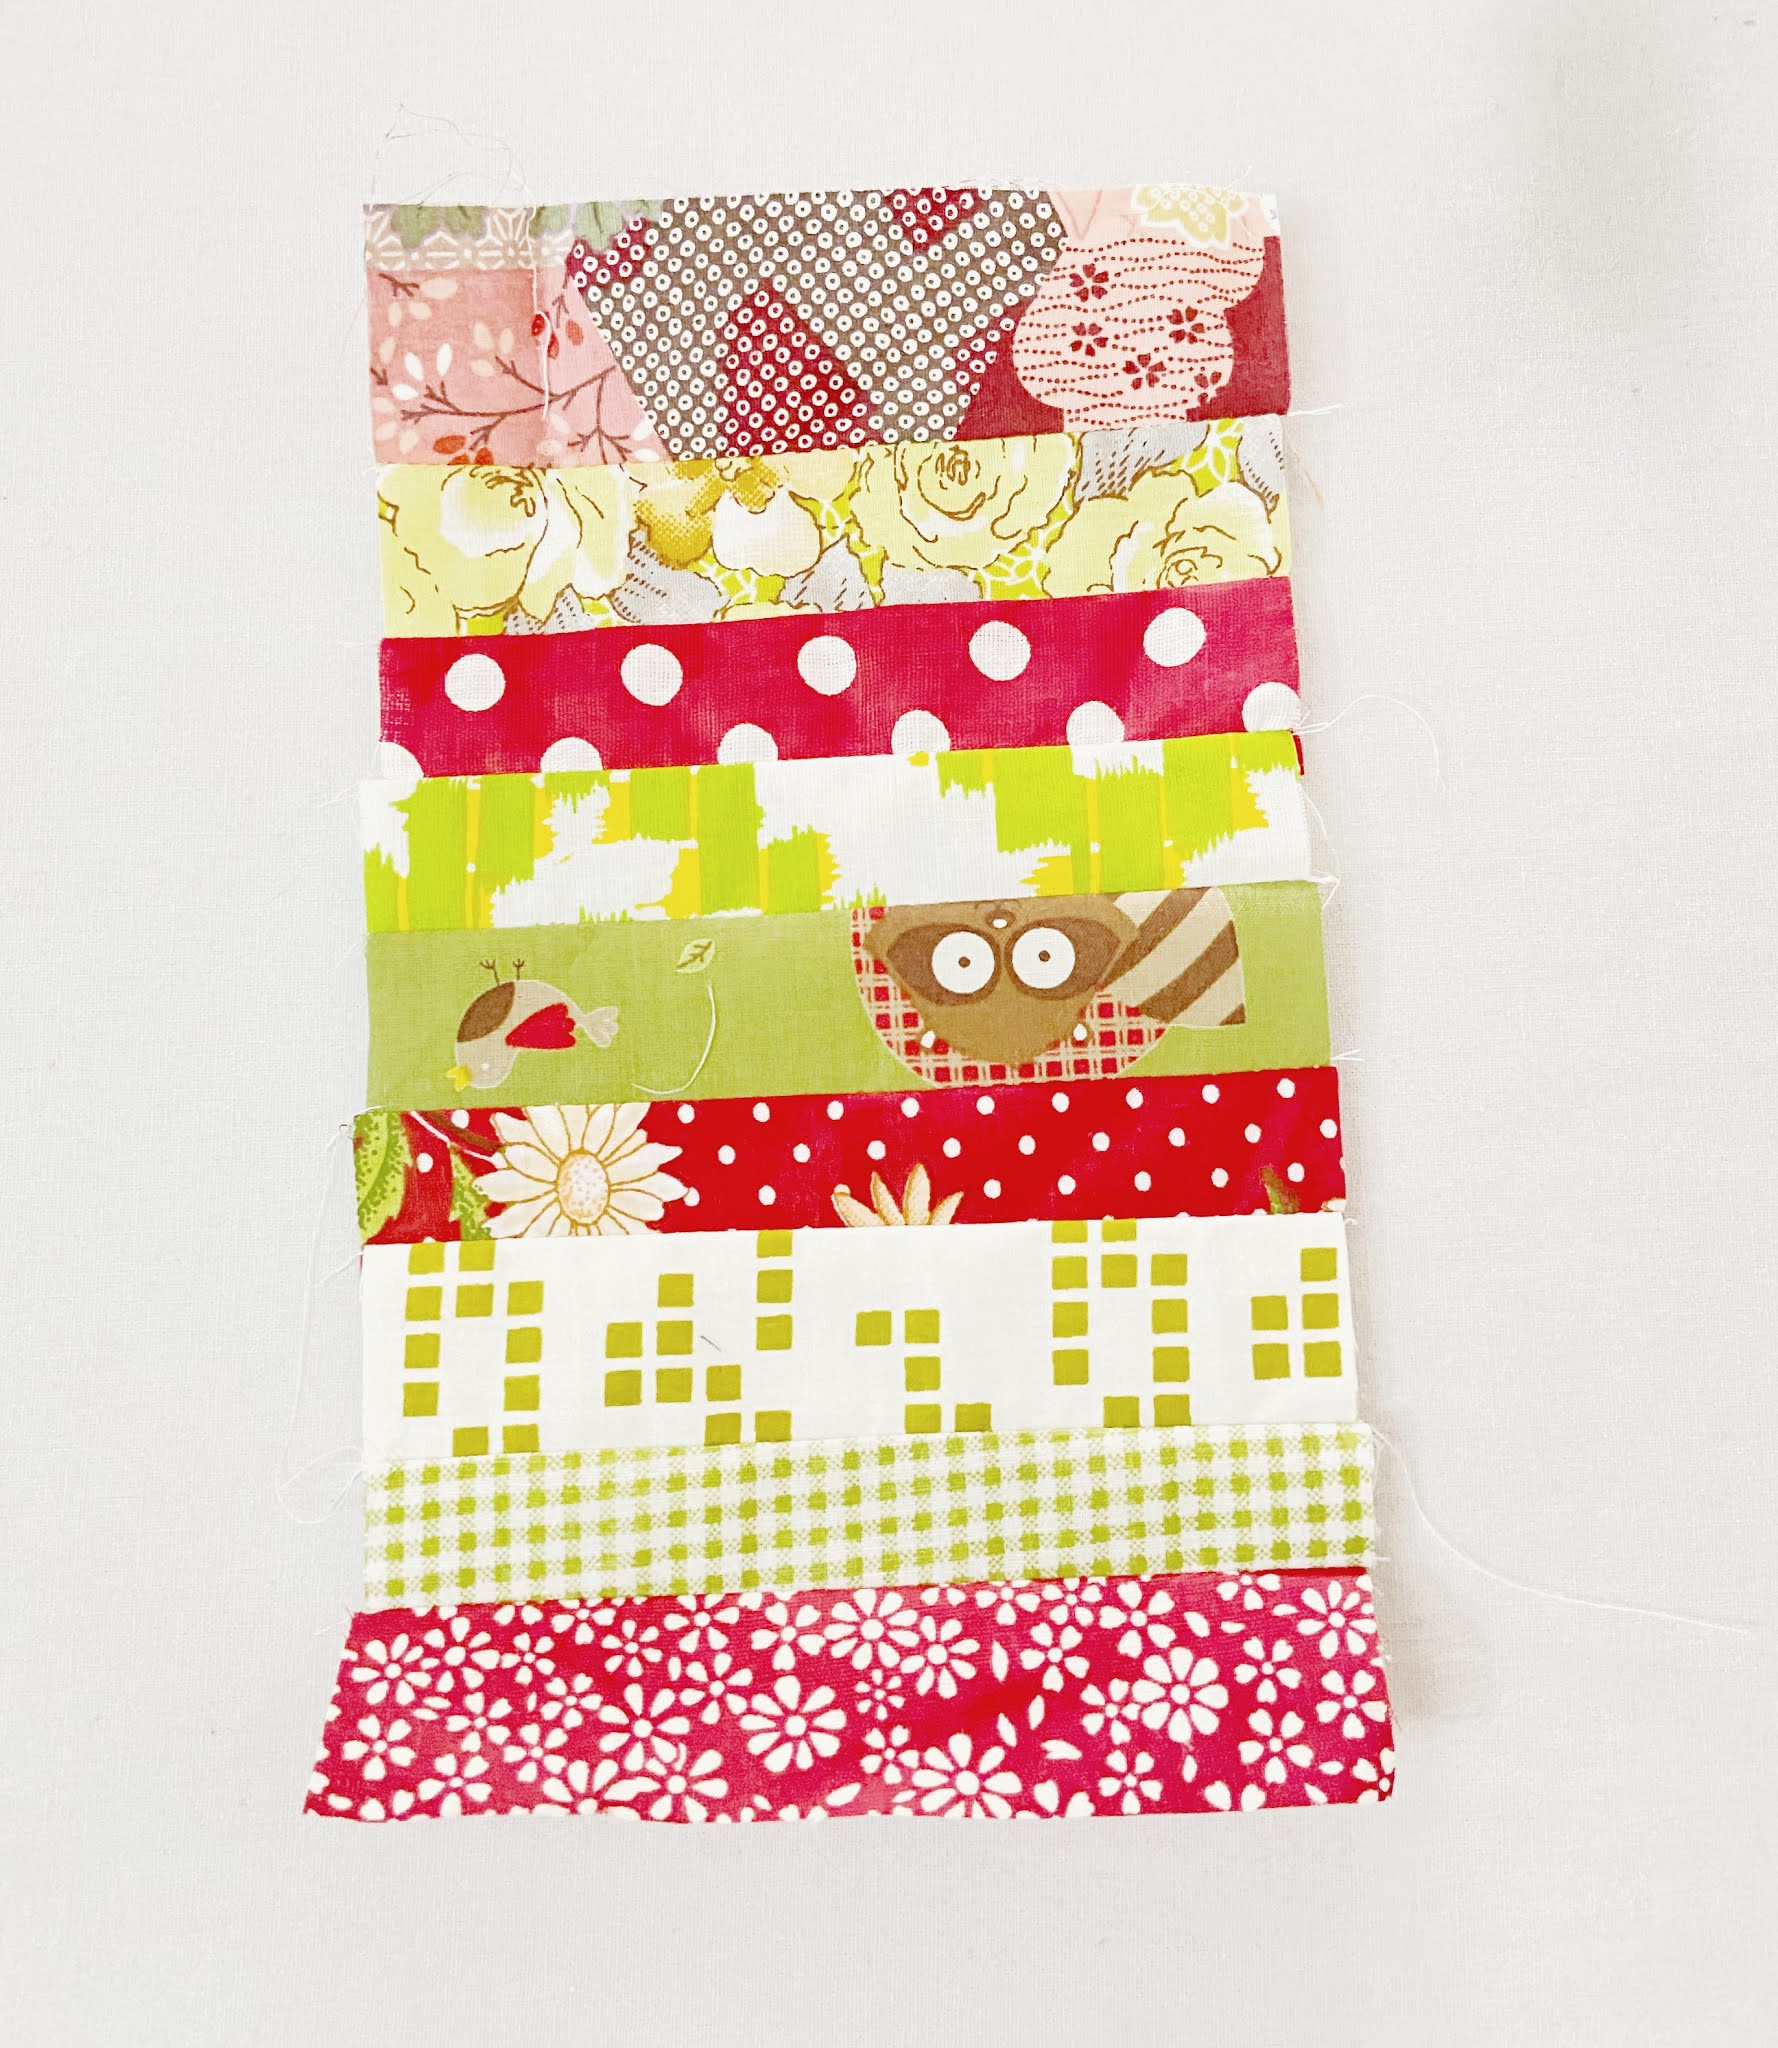
1. I used narrow strips, less than 1.5" wide. They should be enough to make 8" long patchwork panel. Don't be afraid to mix and match. The narrower the better, IMO :).


2. Sew the strips together using 1/4" seam allowance. You can use those selvages scraps too. My panel here finished at 5" W x 9" H. Iron the patchwork panel flat. 


3. Now sew the patchwork panel and the solid panel right side together using 1/4" seam allowance. Now your top panel is almost ready.


4. Iron the top panel flat and trim it into 10" W x 8" H. The patchwork panel is about 4" wide after trimming.


5. Now sandwich the batting in between backing and top panel and quilt it as desired. This time I did a diagonal gridline quilting which you can watch in the video tutorial at the end of this post. 


6. Once the quilting is done, trim the quilt top into 10" W x 8" H and now it's ready for binding. Watch the video below on how to sew the binding. I cut the binding 1.5" wide for small quilts, so it won't be too bulky. 


If you want to finish the binding by machine, attach the binding on the backing first. I attached the binding on the front first because I prefer to finish the binding by hand for small quilts.


Now your scrappy mug rug is ready to use. Make a few for your family and friends! 

I hope you find the tutorial helpful! Don't forget to subscribe to my blog or YouTube channel for more tutorials. 


Thank you for stopping by, 

Take care & Happy Holidays

Elvira


Linking up to these wonderful BLOGS


Tutorial: Let's make flat zipper pouch


Everyone loves handmade gifts and this gifting season let's make something for your loved ones. This flat pouch is my go-to project when I need a small gift to make. It's super easy to make. You can even make this from scrap fabrics and other supplies. 


What you need:

1. Exterior fabrics - 9" W x 6.5" H (cut 2)
2. Lining Fabrics - 9" W x 6.5" H (cut 2)
3. Pocket Fabrics - 5" W x 6.5" H (cut 1)
4. All Purpose Interfacing - 9" W x 6.5" H ( cut 2)
5. #5 Zipper - 9" Long and zipper pull
6. Cotton Batting  10" x 7.5" (Optional)
7. 3/8" D-ring and 3/8" wide fabric ribbon (Optional)
8. Fabric Zipper Tab  1.5" x 2" 

Fabrics & Interfacing:

Regarding fabric, in the video, I used lightweight Indian block print cotton fabric for the exterior and poplin cotton for the lining. Since poplin is thick-ish, I don't use interfacing for the lining as well as for the pocket. 
If you're using thicker fabric such as denim, you can change the interfacing to a lightweight one or omit the interfacing if it's stiff thick denim or canvas. Although I personally will still use lightweight non-woven interfacing to give a more structured finish. 

For this flat pouch, we're going to use All-Purpose interfacing which is fused on the wrong side of the exterior fabric. This interfacing is best to use for padded pouch or bag as well as no-padded ones. 


For this project, I am using cotton batting scraps from my quilts, because the pouch is intended to store mobile phone. You can make without batting or wadding, to make a floppy pouch. 


This flat zipper pouch is very handy. You can use it to keep a cell phone, a face mask, and a few cards or cash. Now, let's start making. If you have any questions, feel free to comment and I'll help as much as I can. 


If you like the tutorial, don't forget to share it with your fellow crafters. And if you make one, please use hashtag #chezviespatterns on your social media post or tag me on Instagram, Pinterest, and Twitter


Thank you for stopping by!

Happy Sewing
- Elvira-

Resources:


Latest Fabrics

Latest Video