Powered by Blogger.

Simple quilted patchwork table runner

Kitchen table runner
Green Patchwork Quilted Table Runner


Hello, 

This is another quilt project that I recently finished. A simple quilted table runner! When I am feeling uninspired, I like to dig into my fabric stash and found this green fat 16th pack Japanese fabric, which I got long ago from my trip to South Korea.

To make this table runner, I cut the fabrics into 5" squares and decided to make a simple table runner. The finished size is 13.5" x 39" , it's great size for dining table, kitchen table or even coffee table. 

Sometimes simple project is very satisfactory. Nowadays I don't feel like making complicated project, especially quilts. Maybe because I am in my perimenopauses stage now. Although I keep saving a lot of projects on my Pinterest board, maybe one day I get excited to try more complicated pattern again. 


table runner


I used cotton batting and quilt it in my Husqvarna viking machine using serpentine stitch. That's another fave stitch! Looking good without too much effort - which I wish I could do the same with my body, hahaha. 

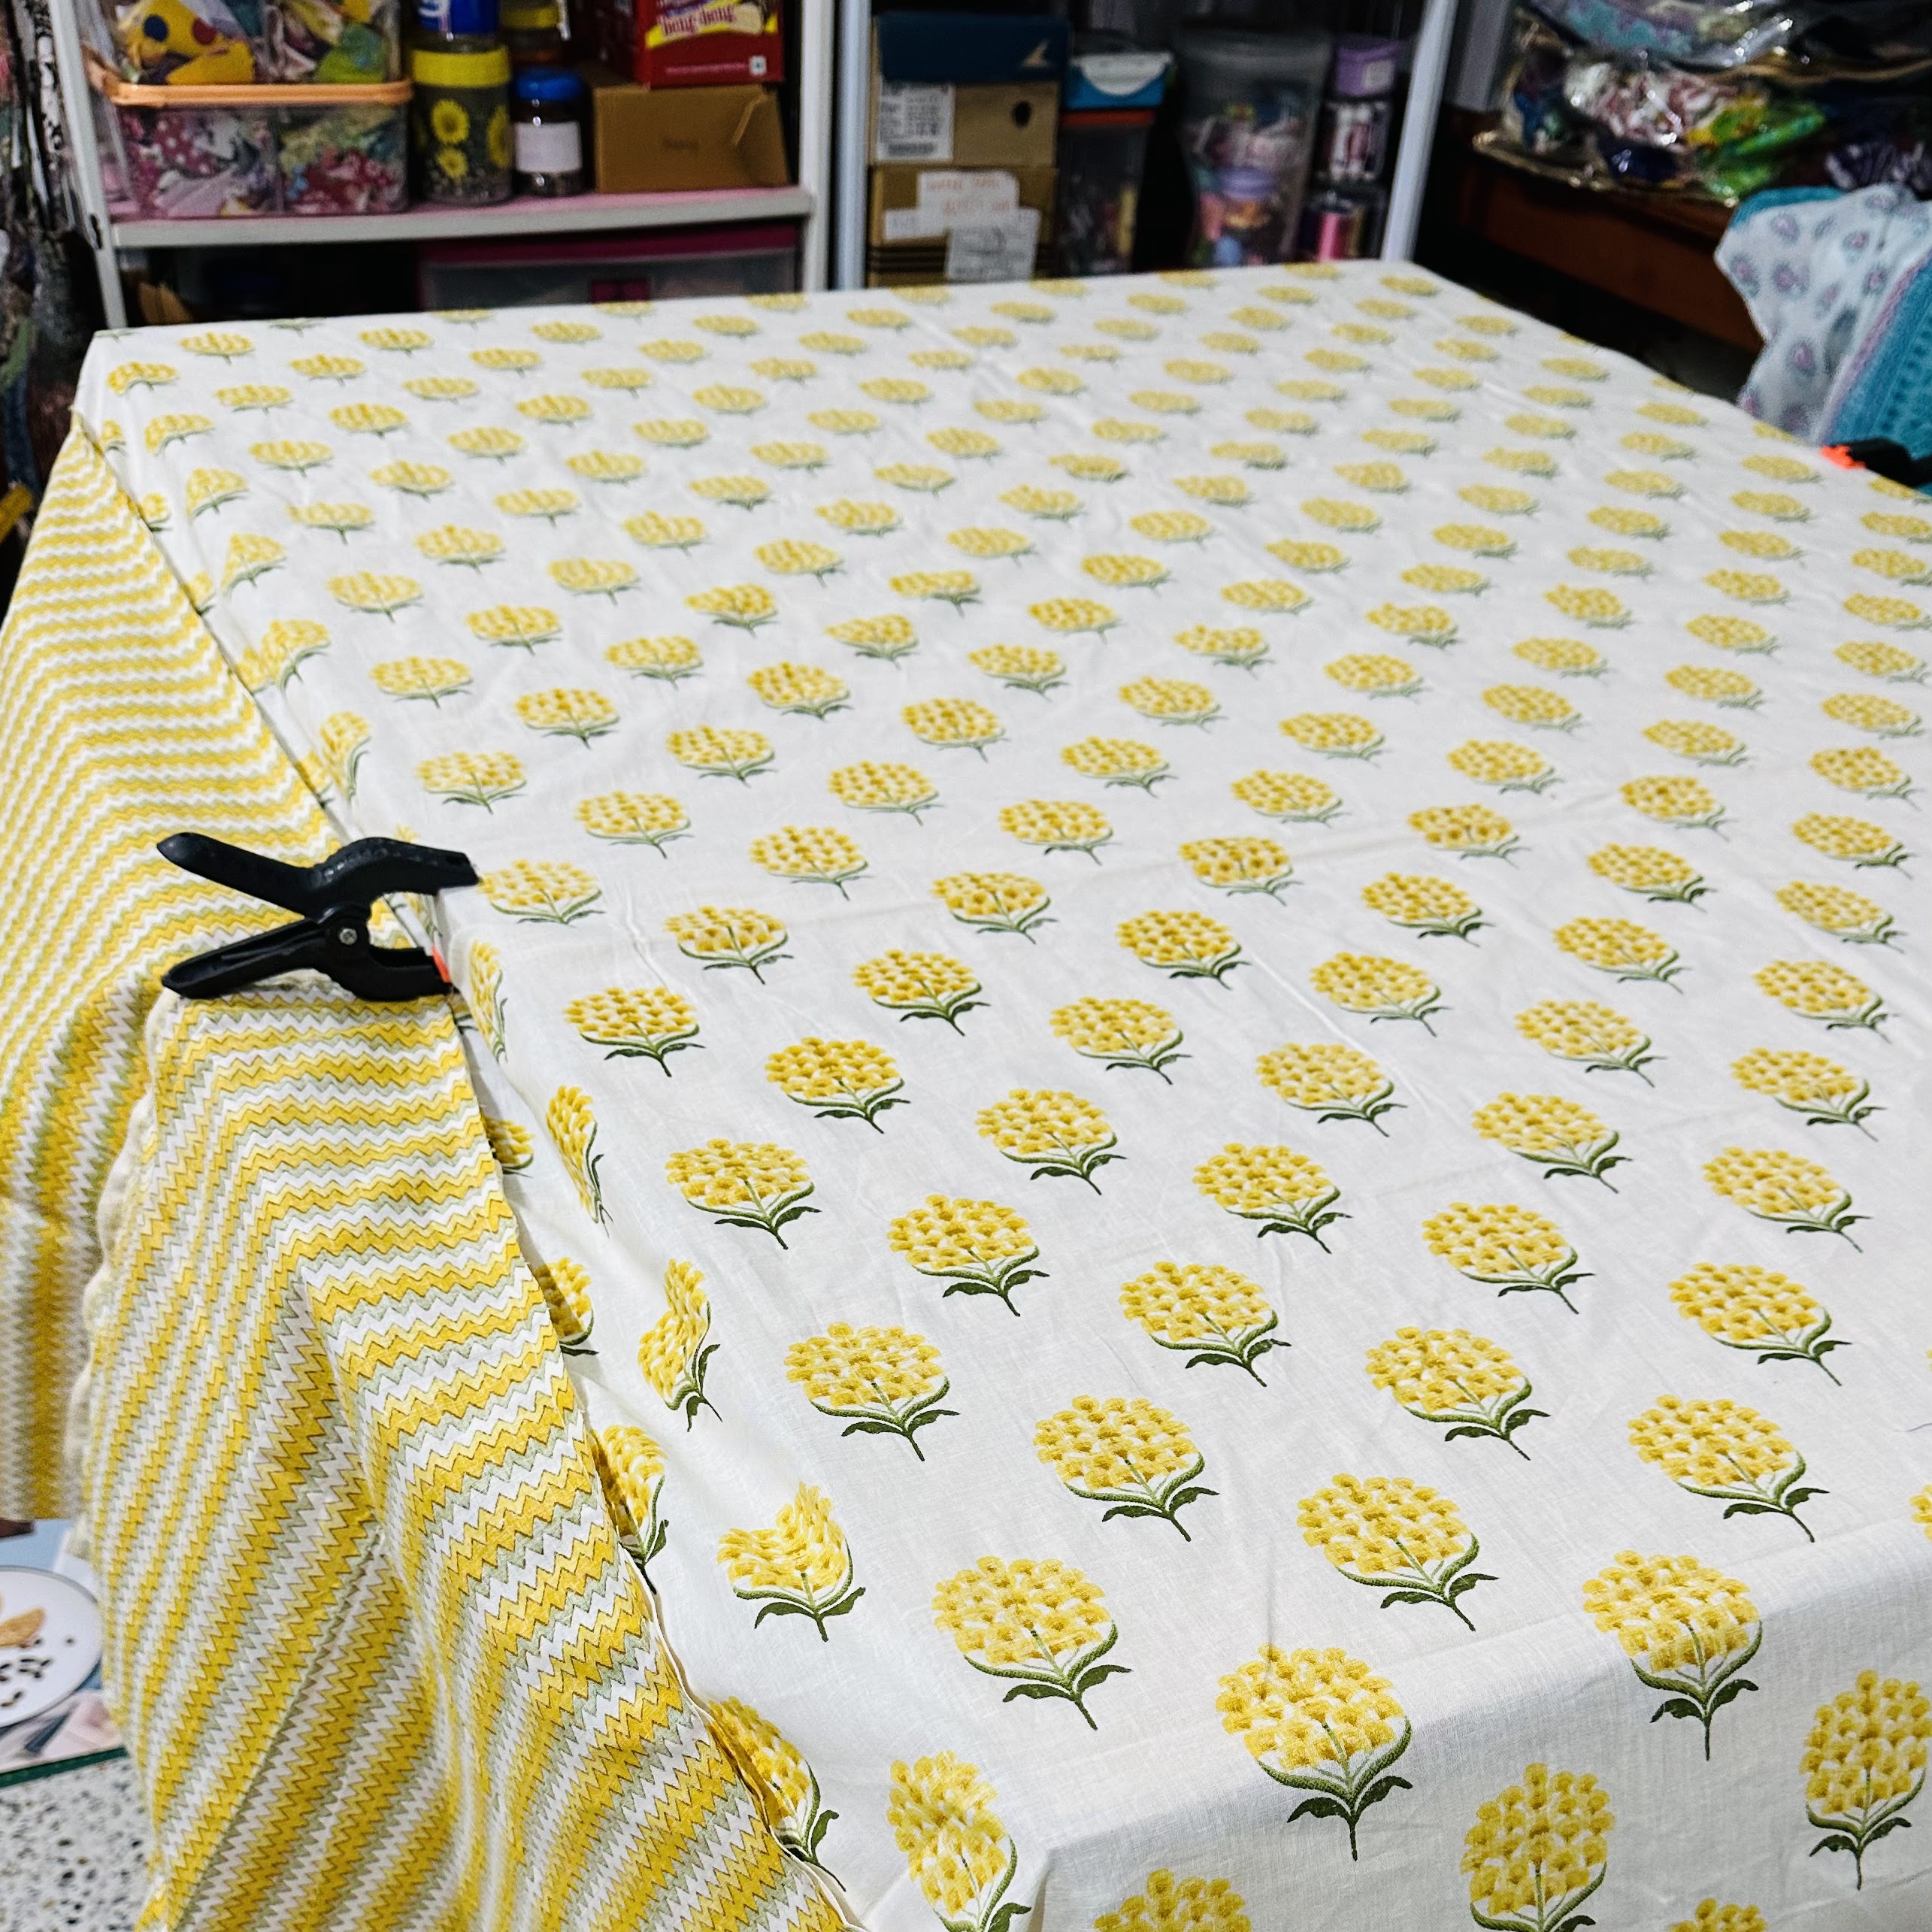
As for the backing, I used this pretty green and yellow floral print cotton fabric. It's local fabric and the cotton is really good. Sometimes we get pretty fabric like this locally, it's 100% cotton, the print and color is good and it's fast color. It's a quilting weight cotton but the width is only 35-36 inches. I used to go to the wholesale market to source these fabrics. I wonder if those shops are still exist because the market was caught on fire a few years ago. 


Anyway, the quilt came together pretty fast and I am happy because I can finish another quilt in one go! I have a few table runners that I need to quilt. Some are simple and some are not. I hope my quilting mojo is not disappear! 

Here's a short video of the process making this table runner! 


The table runner is now available in my ETSY SHOP and my WEBSITE if you are in India. 


That's all for today. Thank you so much for stopping by. 


Have a nice day! 

Elvira


Quilted Tote Bag


Quilted Bag


Hello,
It's a bit late for this post, but I just want to write it down here on the blog. Last month, I went to Singapore for a few days. As usual, before I travel, I always have this urge to make a new bag! 

I dug into my fabric stash and found this patchwork print cotton twill fabric I bought from Nippori. Now to decide what kind of bag is another dilemma. I was in two minds between this Batik Bag and the woollen bag (which is my fave). 


I decided to go with the tote bag like the woollen bag. It has gussets on the sides and bottom. I used light denim for the gusset. The colour matched perfectly with the fabric. For the main front and back panels, I just did straight-line quilting around 3/8" apart. And for the gusset, I did curvy lines, just eyeballed them as I go.  On the lining, I used light indigo colour block print cotton fabric that I have in my stash. I added all-purpose fusible woven interfacing to make the bag more structured. 

The tote bag turned out slightly slimmer than the woollen bag.  It still can hold quite a lot of stuff. I did not follow any pattern here, I just made up the bag measurements based on the fabric. I only have a fat quarter and after making the bag, only a few inches left, I am thinking of making a matching mini sling bag

I added a key ring on the front handle to hold a small keychain wallet. Although I can actually also use the side D-ring :D. Anyway, the keychain wallet has proven very handy to keep my hotel room key, transport card and small change during my stay in Singapore. 


Tote bag with keychain wallet


Here's what the inside look like. The bag has 2 slip pockets for my phone and my reading glasses. It also has a zipper pocket. As shown in the picture below, it can hold my safari passport wallet, the triple zippered bag and more. I sewed a long lanyard inside the bag to keep small pouches so that I could retrieve them quickly. 


Mini pouch to keep my spare camera battery & earphones 


I added D-rings on the sides so that I could attach a long strap and use it as a crossbody bag when I roamed around the city and just remove the strap when I am on the plane. I am quite happy with the size as it's not too big for me. 


That's all for today. Thank you so much for stopping by. 

Have a nice day!

Elvira


Multi Zippered Bags - New Video Tutorial


I recently made a small batch of Triple Zipper Bags. The pattern I used is the Doitrei Zipper Pouch. A couple of weeks before, I had prepped the fabrics, which were just sitting in my WIP drawer. Finally, they are now done and I am planning to make more for the shops!

Triple Zipper Bags
Triple Zipper Bags


This time I was experimenting with different types of fabrics. I used linen, cotton and canvas. When working with different types of fabrics, it's important to adjust the interfacing to get the result that you desire. I explained the interfacing I  used in this video

This triple zipper bag is about 8" W x 6" H. It's a perfect size to carry around in your tote as a tote organizer. I recently used one for my short trip to Singapore and used it to keep my digital camera, basic makeup, emergency medicine, charging cable and ear pod. It's just so convenient to keep everything in one bag. 


Map Print Zipper Pouch


Floral Zipper bag
Floral Travel Pouch


As I was making these pouches, I realized I hadn't done a proper video tutorial, so I decided to record one which hopefully will help to better understand the construction process of this multi-zipper bag


If you're looking for an easy gift to sew this holiday season, this Doitrei Triple Bag is an easy and quick project to make for your family and friends. You can use your scraps for more added fun. 


A very handy gift to make for everyone in your family and the bag can be used as a wallet, purse, pencil bag/pouch, travel pouch, make-up bag, etc. You can even add tabs on both sides, add a long strap and it will become a stylish crossbody bag. Use coupon CVG20 to get 20% OFF on the PATTERN only

Thank you so much for stopping by!

Have a nice day,

Elvira


More Tulip Wallets


Mini Wallets with Keyring
Tulip Mini Wallet


Hello, 
Last weekend, I made more Tulip Mini Wallets. These wallets are just so much fun, easy, and quick to put together, especially if you have fun off-cut fabric scraps. This wallet is pretty sleek and compact, you can slip it into your jeans and hook the key ring on your belt loop. It can easily carry 8-10 cards or a few cards and folded notes. Or just clip it in your small purse or tote bag. 


Mini keychain wallet
Pink Blue Floral Wallet


The pattern has two versions, vertical and horizontal. The pattern also included instructions on how to finish the seam in two ways. I did the easy one as shown in the video tutorial. If you have a wrist problem (CTS) like me, don't worry, this one is pretty easy on the wrist :). 

I mostly used polka dots this time because I have a lot of them. I used it a lot in my other projects, so I have quite a lot of off-cuts that I can use to make this keychain wallet. 


Blue Strawberry Keychain Wallet


Blue Floral Mini Wallet


If you're looking for easy gifts to sew, this Tulip Mini Wallet is a great project for you. To make this wallet, basically, you need only 1 fat eighth of fabric, all-purpose woven interfacing and lightweight interfacing. This project is great for beginners as well as seasoned sewists. 


Thank you for stopping by today. 

Happy Sewing! 

Elvira


Scrappy Quilt

Hello,

Last month, I finally completed my first scrappy quilt, which I had wanted to make for a long time. During the pandemic, I had a lot of odd off-cut fabrics from making facemasks, so I cut some of them into 5" squares and some into smaller squares.

I had a box full of 5" pieces and a few weeks ago, while rearranging my sewing room, I decided to take the box out and started piecing 9 patch block.

My plan was to sew a few blocks in a week. I figured I needed 35 blocks to make the quilt size that would fit our rather large single bed. Making smaller blocks is less overwhelming than making one long single row at a time. Since it's meant to be scrappy, so I don't think about color coordination. It will work out in the end :)

It took me a few weeks to make the top and then I found this VIDEO about basting quilt on a small table. Frankly basting a big quilt is a bit daunting for me!  Now with this method, I can easily baste my quilt without breaking my back!I fact I could baste the quilt pretty quickly. 


basting quilt on table


scrappy quilt


Next to cleared my sewing space and started quilting it on my Jack sewing machine. I have not quilted a big quilt in a while so I was a bit nervous. I decided to quilt it 1/4" from each side of the square, vertically and horizontally. I wanted a slightly fluffy quilt this time. I used 150 gsm cotton batting. 

For the backing, I opt for this cheerful yellow print from HERE . There is  a similar one in Orange . I used the floral one for the middle part and the chevron print for the sides. The fabric is soft and it's great for quilt backing! 


Now I can't wait to make another one, maybe with bigger squares. I still have quite a lot of 5" squares and also 10" squares. If you'd like to see the process, I have made a video and put it up on my YouTube channel a few weeks ago. 


Thank you for stopping by my blog! 

Have a nice day! 

Elvira


Latest Fabrics

Latest Video