Powered by Blogger.

Sunday Stash 15 - Indian saree Ribbons and Laces

Hello,

I've been doing a lot of destashing in the last few months and I will still be doing it as time permits for me to take proper photos and add them to the shop. 

In the meantime, I have these ribbons and laces that are now available in the shop. 

Destash - 2 Meters Embroidered Ribbon
jacquard ribbon
Destash - 2 Meters Embroidered Ribbon Yellow Green Floral with Goldren thread
Embroidered Saree Ribbon
4 meters - saree embroidered lace ribbon
Embroidered Saree Lace


Destash - 2 Meters Embroidered Ribbon
Brown Jacquard Ribbon

More will be added from time to time. All those ribbons and laces are perfect for embellishment on dresses, bags, card making, etc.
Make sure to check out the SALE section in the shop to see more destash fabrics and sewing supplies. And yes, I do ship worldwide from Chezvies Webshop.

Thank you for stopping by,

Happy Sunday!

~ Elvira ~

Handpiecing Applecore Patchwork - WIP

Hello,
It all started with this photo in pinterest and I just know I had to make one like that. I know applecore is challenging, but when you can't get it out of your head, you just have to do it, right? 

I bought the apple core template stamp from Tokyo last January, took out one of my jellyroll stock and got down to work. I started this project last September.


I must admit, the stamp really helps a lot. I hate tracing pattern or templates and for this one, it is quite small. But I love working with small pieces of fabrics. 


I searched for tutorials on how to do hand piecing for apple core but could not find one, so I just jumped in and started doing. At the beginning, it was all wonky but as I keep going, I am getting better :)

I always want to try hand piecing and  even though it's challenging, I find it calming. It's nice to be able to sit and steadily sewing without rushing. 


It's going to be another quilted bag and I almost finish with the first panel. I want to finish it at least by New Year or 1st week of January. 

A few tips for you who wants to start this apple core block is "clip the valley and notch the hill" . That will make the stitch line neat. I will take picture and share in the next post update! Let me know if anyone wants tutorial or video tutorial in the comment below. 

Ah, yesterday I showed hubby my progress, and he asked, "how much time  do you need to make that?"  and I said "16 episodes of Korean drama"  LOL.

Thank you for stopping by,

Happy Sewing!

~ Elvira ~

Yuwa Crossbody Bag and Evening Purse

Hello,

Yuwa Micci Collection Bag
Cutting a fave fabric really make me nervous. Because nothing should go wrong. I was thinking for a few days what projects would be best for this Micci Collection from Yuwa Fabrics that I bought from my trip last year. 

Purple Wristlet

I have 4 colors in the same print, I chose this brown background first to make a clutch using the same pattern as the Monochrome Wristlet. I used grape color handloom fabric as accent fabrics. 

To complete the look, I added a short PU leather strap which has pretty pink flowers on it. It  makes a perfect evening bag!


image 0
Kawaii Sling Bag

The second one, I wanted to make a mini sling bag. I made a pouch with similar pattern before, this time I made it slightly bigger. Maybe I will tweak the pattern again and make it a medium size one. What do you think?


But I love how this cute cross body bag turned out. I can fit in my One Plus 3 phone nicely and the interior zipper pocket, can be used to keep cash or cards. 

I added both the evening bag and the small sling bag in my Etsy Shop. I'll be adding more  products using fun prints in the next few week, Insha Allah. I need to sew all those pretty fabrics, right?  

What about you? What is your recent finished project? 

Thank you for stopping by,

Have a nice day!

~ Elvira ~


Patchwork Quilted Cross Body Bag

Hello,


When I went home to Indonesia last July, I bought fabric scraps and lots of them. Hubby and my mom were wondering what I am going to do with the extra baggage. Well, I could not just leave those pretty prints behind, right? 

I've been wanting to make another quilted sling bag after the previous ones, HERE, HERE and HERE

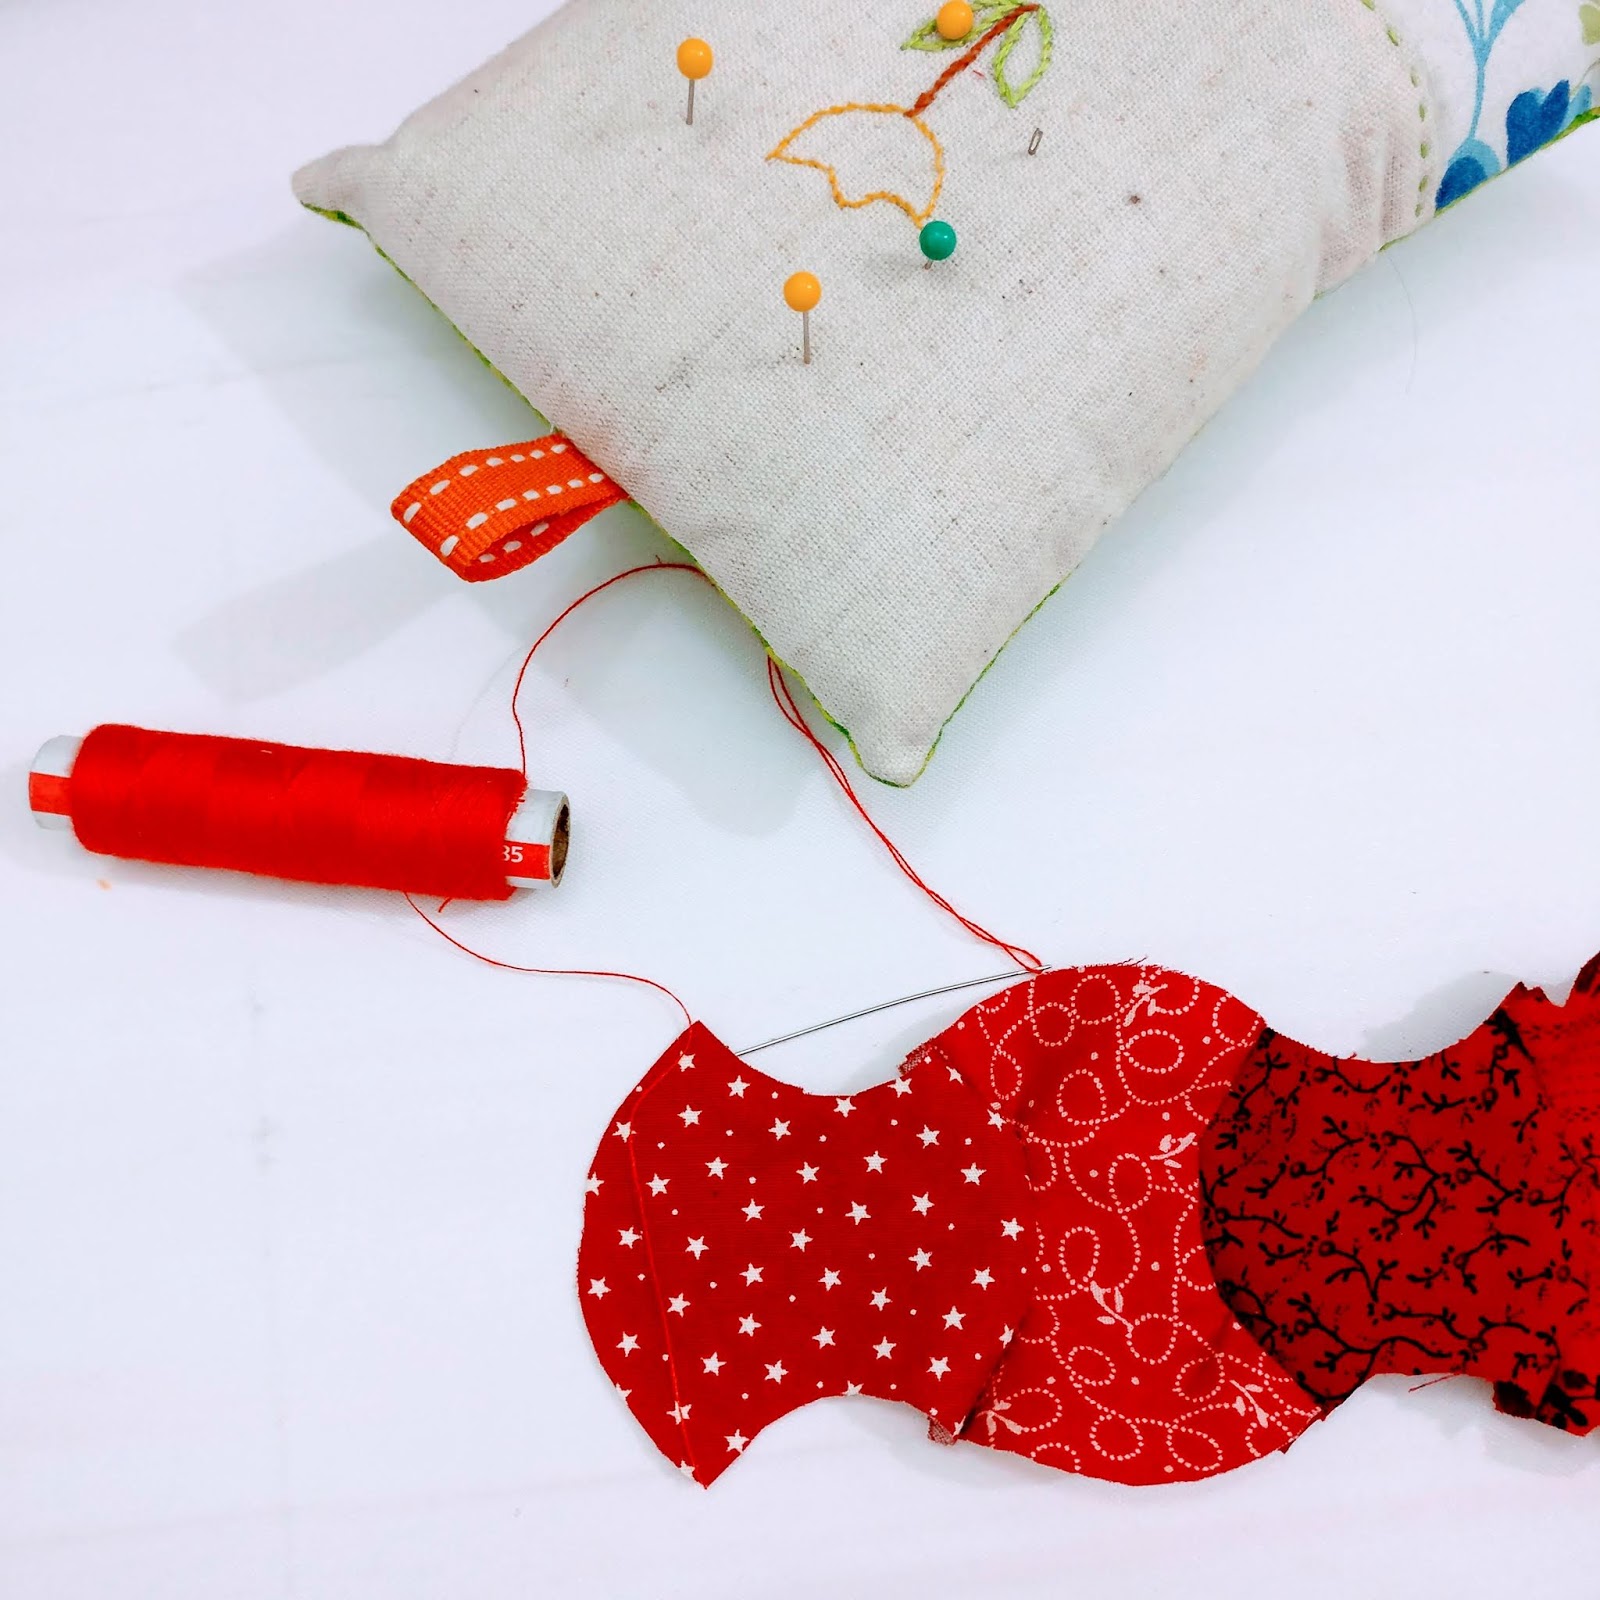
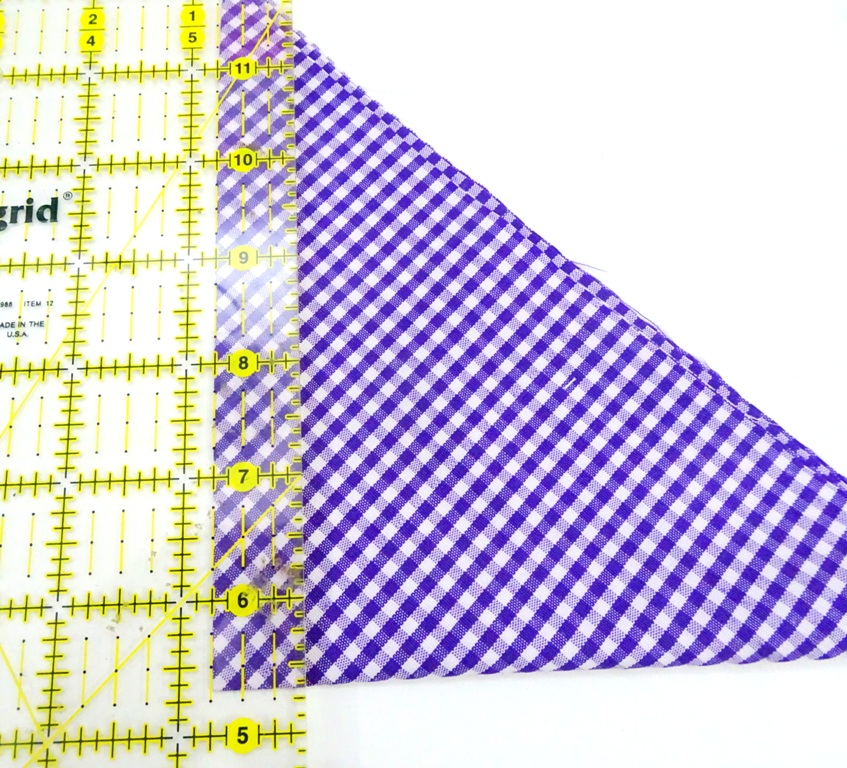
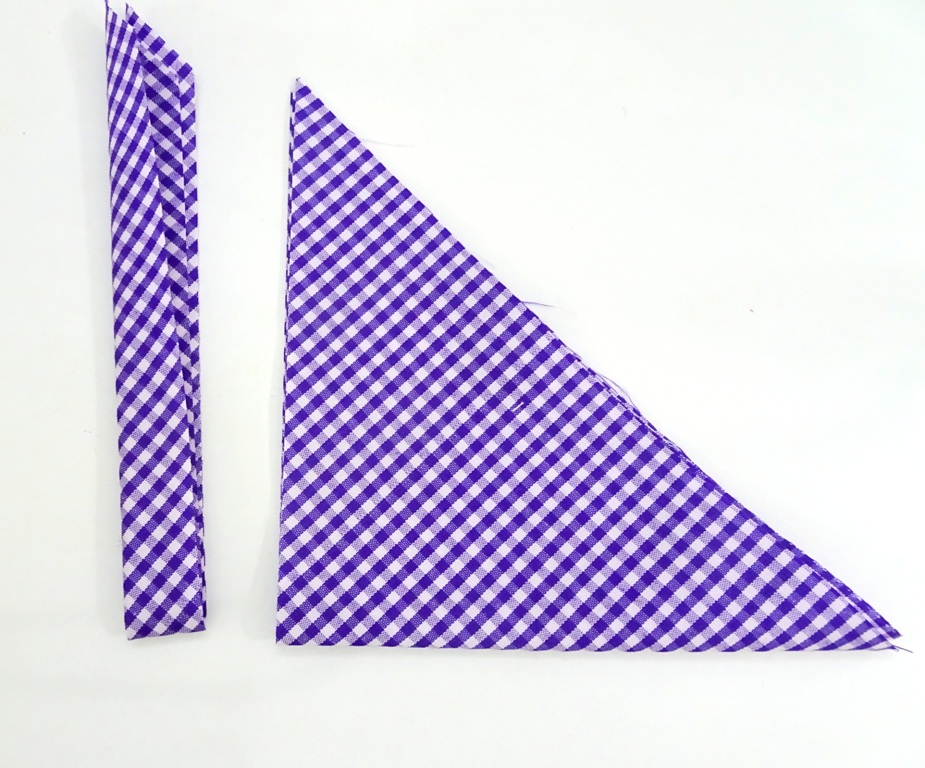
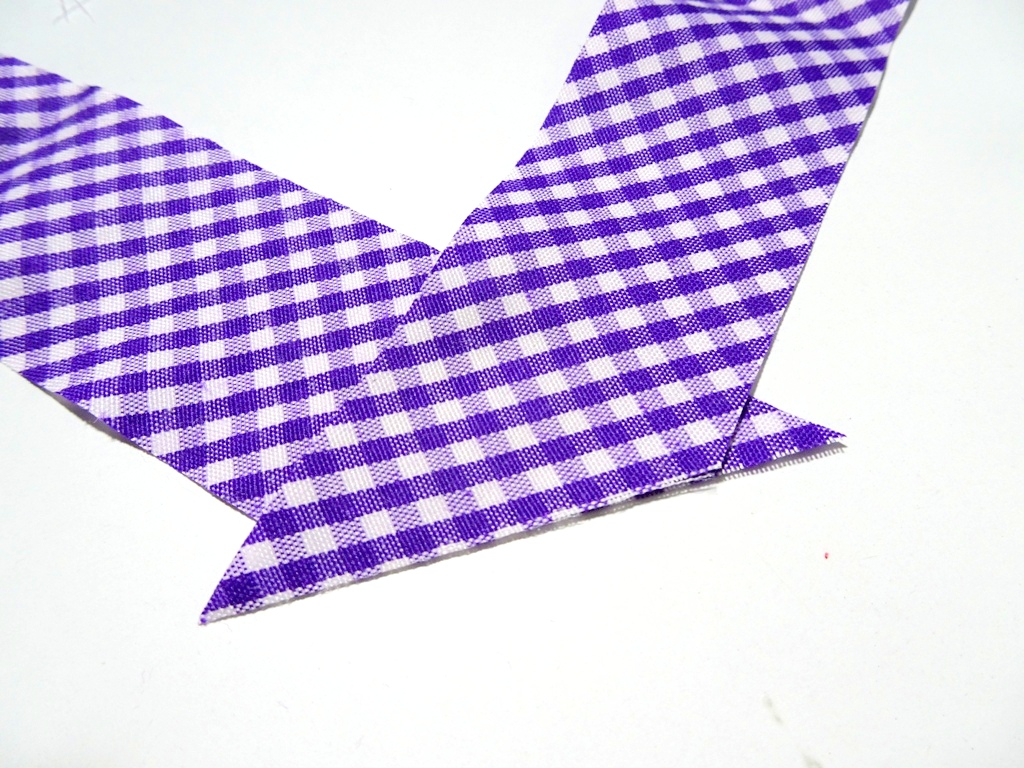
Yesterday, I started to take out my floral scraps and got down to work.  I cut the strip 1" wide and piecing them on my Jack machine. The finished tiny strip blocks are 2 1/8" square. 


I always excited to work with small blocks!! 
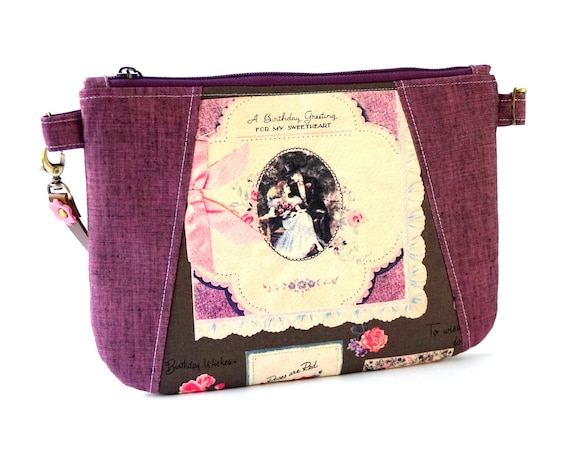
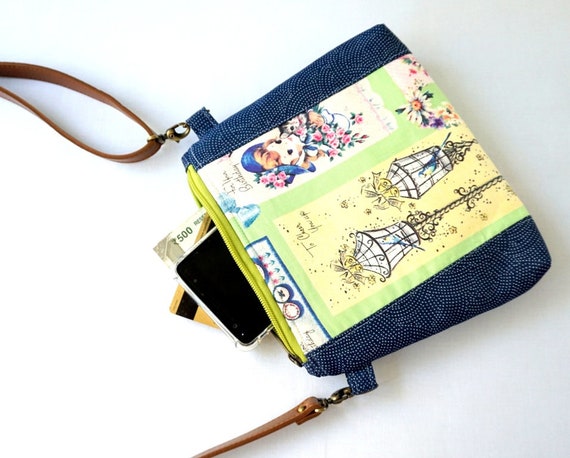
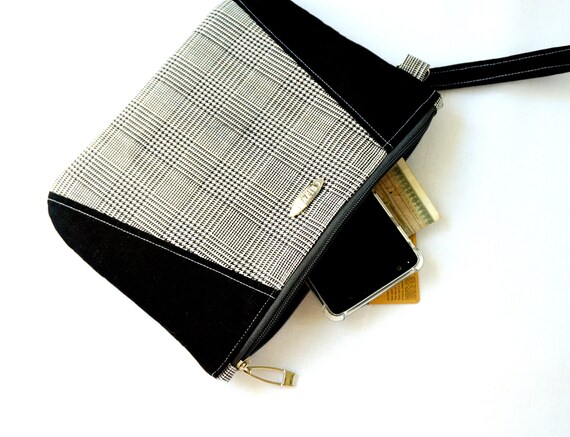
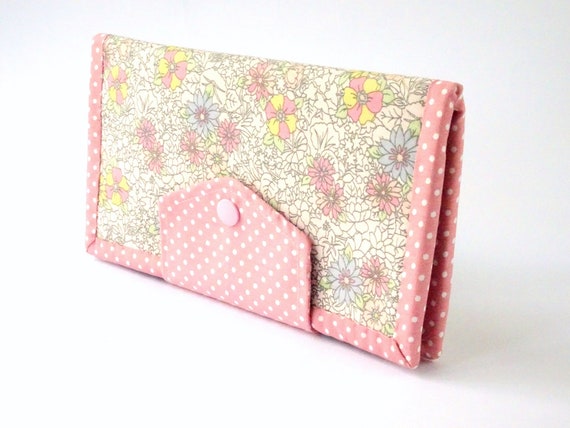
The plan was to make 2 big pieces for front and back. Then I changed my mind because I want an exterior pocket. 

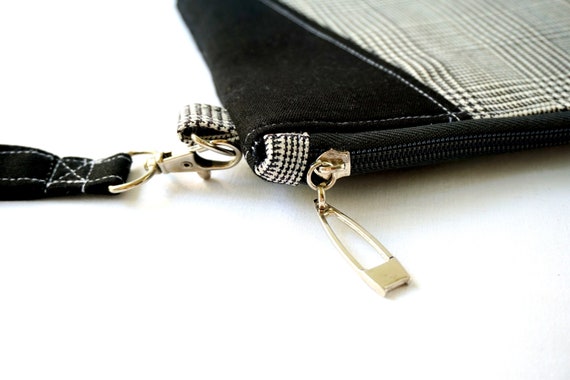
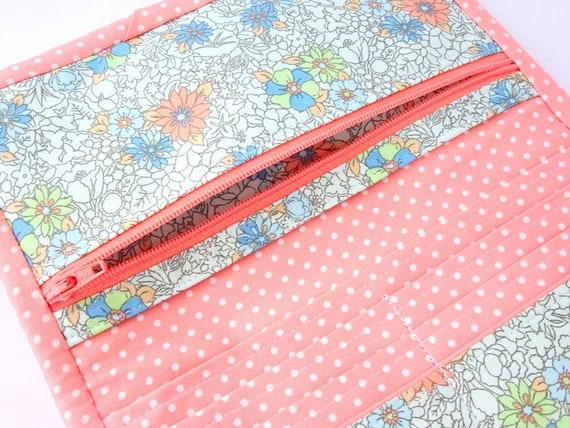
Because exterior pocket is always handy, right? I thought of  using magnetic snap as closure but on second thought, it's better using zipper closure. 


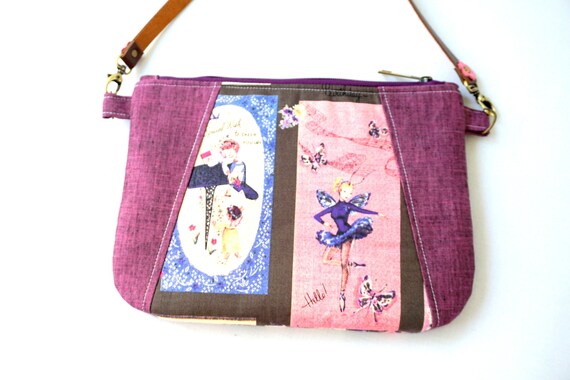
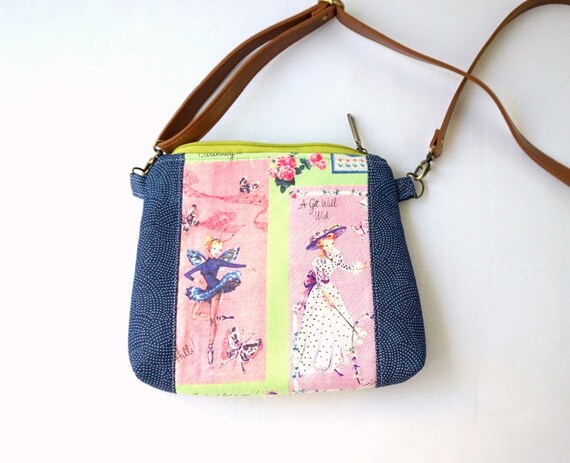
On the back is the full patchwork panel! I really love this full panel look! Well, it's always nice to have 2 pretty sides! 


For the side gusset I use the same plain linen as the front panel one. For the sides I just did wavy lines quilting and one the main panels, I did grid quilting. 


When in doubt, grid quilting is always the best choice.


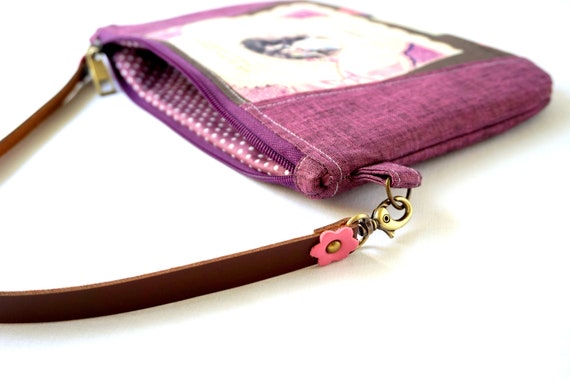
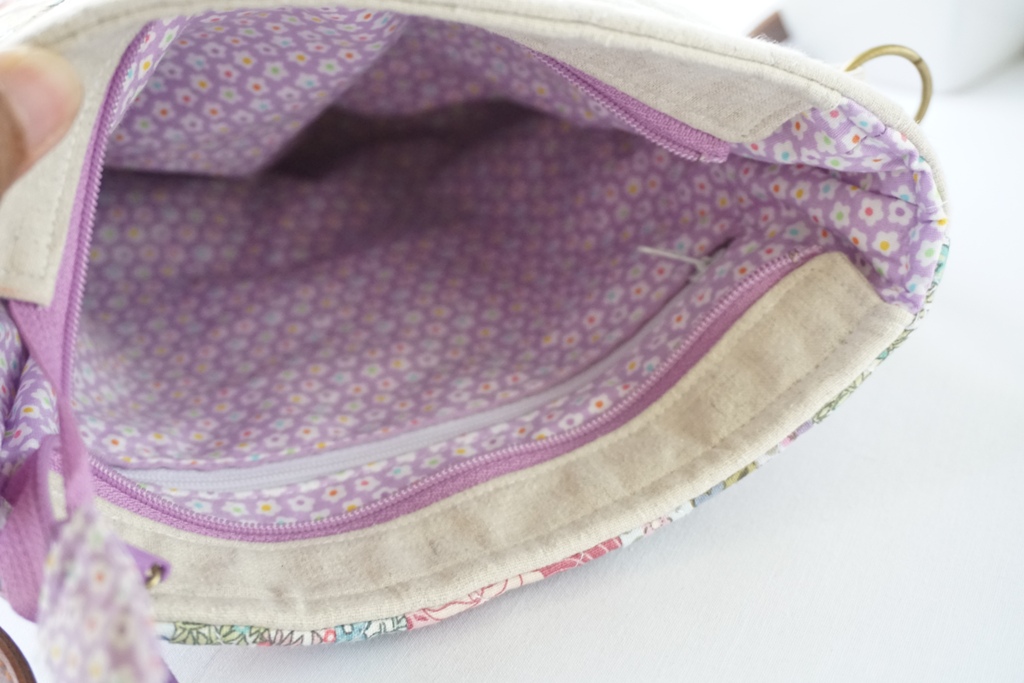
This time, instead of top zipper closure, I did recessed zipper and I am happy that I did! 


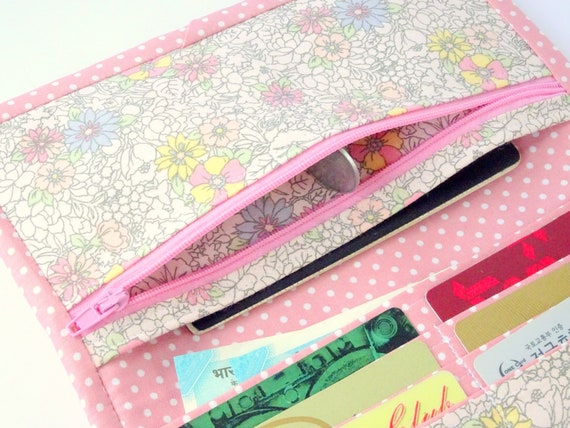
I added interior zip pocket too. I thought of adding slip pocket, but after using many sling bags, I found that slip pocket is not really useful (at least for me). I always prefer a simple interior in bags. 


The bag finished at 8"W x 9.5" H x 2" D 
A perfect size for travel cross body bag, right? It can easily fit in the passport covers, wallet, mobile phone and pocket camera.

What do you think?

Thank you for stopping by,

Have a nice day

~ Elvira~ 

Monochrome Wristlet Clucth

Hello,


The weather is getting cooler and it's perfect weather to try new stuff. I've been working steadily to freshen up my shop with more products. I made a few pretty floral wallets and also new passport covers . More stuff with new prints are coming up soon!

Last week I made this  monochrome wristlet clutch. I got the plaid fabric from my trip to Shillong a few weeks ago. 


While working on this clutch, I googled about plaid, tartan and check fabrics! I was just curious and right enough, plaid and tartan is different in the sense that tartan is the design and plaid is the garment. At least originally that was the meaning.

Interior Zippered Pocket

But in some discussion, people agreed that plaid is the North America  term for tartan.  And tartan was supposed to be colorful. So I am wondering what should I call this black and white one? 


image 0

Anyway, I am very pleased with this wristlet and the size is just perfect for evening bag.  It has interior zipper pocket too,  very useful to keep your important stuff. You can find the Free pattern HERE.

What do you think?

Thank you for stopping by,

Have a nice day,

~ Elvira~


Linking up to: 

Women's Bifold Wallet - Floral Series

Hello,
Just pop in for a little shop updates! If you follow me in Instagram, you probably have seen my latest wallet collections. I've been making bifold wallets almost everyday in between working on Passport holder orders.

I'm currently finished 3 out of 6 wallets that I am planning to make. The floral fabrics are just too pretty to just sitting in my cupboard, right?


Here are the three wallets that I have completed:

The purple floral wallet with gingham binding! Frankly, I am so in love with this one, esp the gingham bias binding. You can check my previous post for making Bias Binding. 

image 0
Purple Flower Bifold Wallet

And I have a matching zipper too!! 

The second one is this peach bifold wallet. The background color is so pretty, I was in two minds whether to use teal blue combination or peach, and decided to do the latter. 

Maybe I will use teal blue or green combination next time!


And here is the Floral Pink Wallet. The powder pink polkadot looks very lovely. I've been saving the fabric for the right project! And this women's wallet is just perfect!

Floral Pink Wallet


These pretty wallets are slightly wider than the previous wallet, so that it can double up as travel wallet or phone wallet. 


I used medium weight woven interfacing and a stiff poly batting which is a great combination. It's study yet soft to hold. These bifold wallets will be a great gift for your loved ones! 

They are now available in my ETSY SHOP and it's Free Worldwide Shipping. 

Thank you for stopping by!

have a nice day,

~ Elvira~


Mini Tutorial - How to make bias binding strip for wallets

Hello,


Today I will share a little tutorial on how to make your own bias binding. If you follow my blog, I love using binding for all my wallets. Though sometimes, I tried to make one without binding like this wallet. 

Bias binding strip is a narrow strip of fabric cut diagonally (on bias). There are many tutorials and video tutorials on how to make a continuous bias binding, but I prefer the good old slow method. The extra minutes of making this binding will be so worth it!

Ok, in this tutorial I used a square fabric 10" x 10" which is sufficient to make binding for single wallet. Bias binding effect is best if you use gingham or stripe fabrics.

First, make sure that your fabric's grain is straight. If not, do straighten your fabric first. This is very important!

Now fold the fabric diagonally 


and then fold it again (upwards) to create a small triangle shape


 Then using the quilting ruler and rotary cutter, cut the first strip 0.75" wide. That will make a 1.5" Wide binding strip. 


 Then cut the next strip 1.5" Wide. Continue cutting until there's small triangle left. I normally do not use the smallest strip but I keep the leftover triangles for scrap projects. 

Now, take the first strip that you cut and straighten the end of the binding strip.


Take the second strip, lay the triangle end on top of the straight one, RIGHT SIDE TOGETHER and overlap  by 1/4" . 

Sew diagonally with 1/4" seam allowance and trim. 


Take the next strip and lay the triangle like in the picture below (right side together) and overlap by 1/4" and sew with 1/4" seam allowance.


The strip will look like in the picture below and ready to be sewn into the wallet!


I really love how this gingham binding look on this Purple Flower wallet


See, it's super easy! It may seem like a lot of work, but this method will always yield a perfect bias strips! Don't be afraid, go ahead and try it and let me know how do you like it!


Have a lovely day!
Until then,

~ Elvira~

LINK UP:


A Short Break and Travel Wallet

Hello,

Last weekends we went to Shillong for a short break. We stayed in a new B&B resort called Windermere Resorts. Currently they only have 7 rooms available but the rooms are lovely. It has a feeling of country home. The resorts is on the hill top, surrounded by pine trees. It was nice relaxing trip for all of us!

Windermere Resorts

The boys just wanted to stay in and watching soccer match on TV. Luckily I brought a couple of wallets that needs to be handsewn. 


This purple travel wallet was for Nia. She wanted purple polka dots and chose this fabric from the photos in my Instagram page. The fabric is a lightweight Indian cotton fabric


I combined the polkadots with a matching solid purple to tone down a bit so that it won't look too busy. 


Wonder clips always be a great help when finishing the binding. 


And here is the view when it's filled up. It can hold up to 6 cards, 2-3 passports and boarding passes, pen holder, slip pockets and zipper pocket.


 All in one wallet! If you want to make the wallet, you can get the pattern HERE


As I work with different thickness of fabric, I often experimenting with the interfacing. For this purple wallet, since the fabric is thinner, I used heavy weight interfacing on both main body and added a layer of thin batting. If you're in India, you can read about interfacing in this post. I hope she will like it! 


Thank you for stopping by,

have a nice day!

~ Elvira~


Latest Fabrics

Latest Video