Powered by Blogger.

Mini Tutorial - How to make bias binding strip for wallets

Hello,


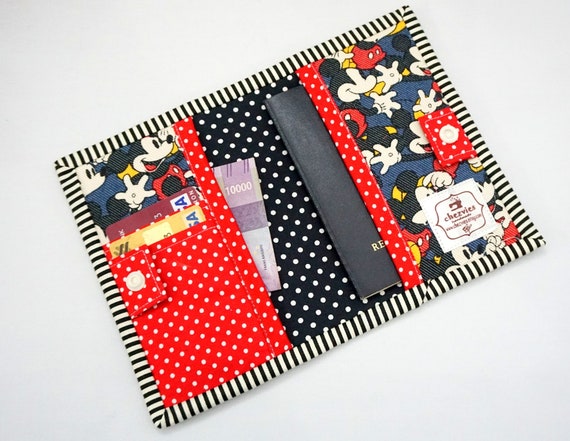
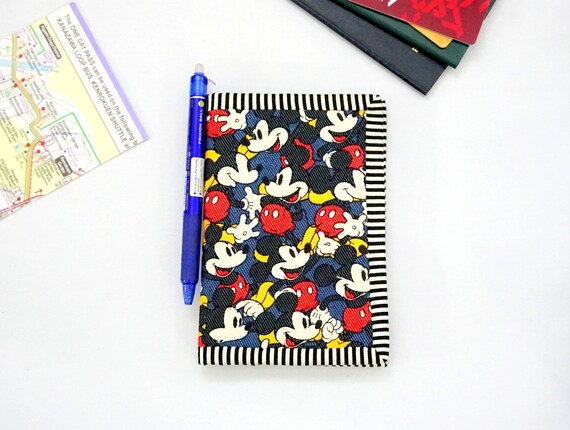
Today I will share a little tutorial on how to make your own bias binding. If you follow my blog, I love using binding for all my wallets. Though sometimes, I tried to make one without binding like this wallet. 

Bias binding strip is a narrow strip of fabric cut diagonally (on bias). There are many tutorials and video tutorials on how to make a continuous bias binding, but I prefer the good old slow method. The extra minutes of making this binding will be so worth it!

Ok, in this tutorial I used a square fabric 10" x 10" which is sufficient to make binding for single wallet. Bias binding effect is best if you use gingham or stripe fabrics.

First, make sure that your fabric's grain is straight. If not, do straighten your fabric first. This is very important!

Now fold the fabric diagonally 


and then fold it again (upwards) to create a small triangle shape


 Then using the quilting ruler and rotary cutter, cut the first strip 0.75" wide. That will make a 1.5" Wide binding strip. 


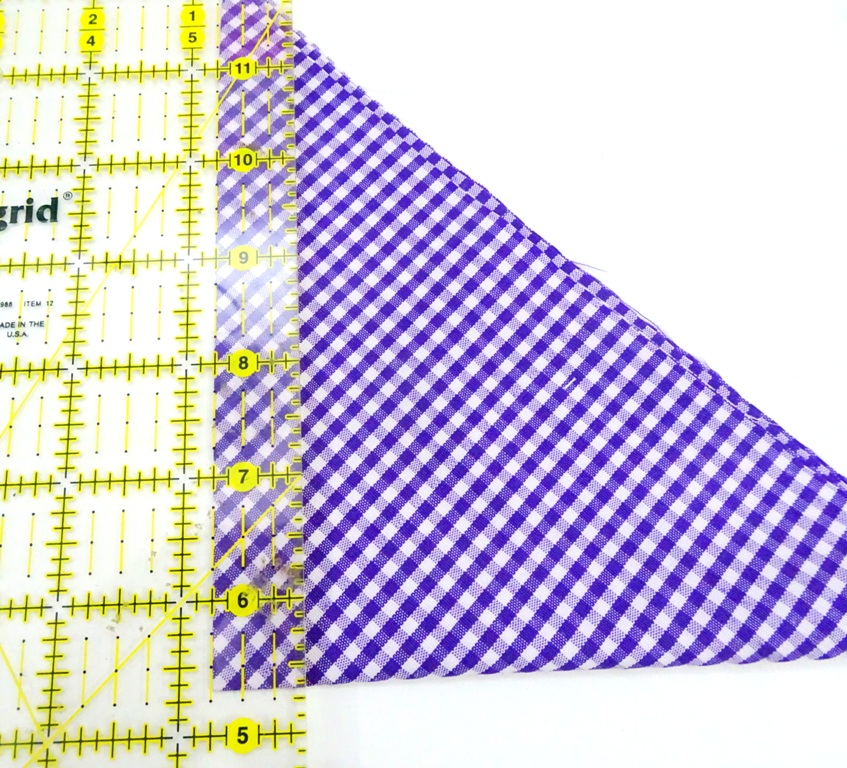
 Then cut the next strip 1.5" Wide. Continue cutting until there's small triangle left. I normally do not use the smallest strip but I keep the leftover triangles for scrap projects. 

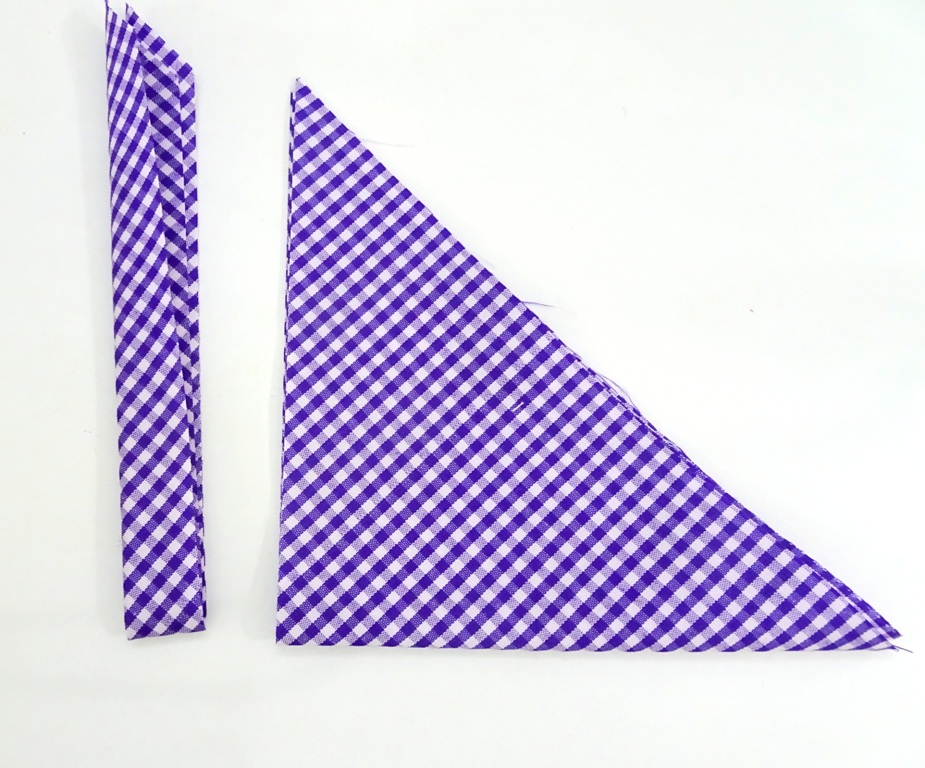
Now, take the first strip that you cut and straighten the end of the binding strip.


Take the second strip, lay the triangle end on top of the straight one, RIGHT SIDE TOGETHER and overlap  by 1/4" . 

Sew diagonally with 1/4" seam allowance and trim. 


Take the next strip and lay the triangle like in the picture below (right side together) and overlap by 1/4" and sew with 1/4" seam allowance.


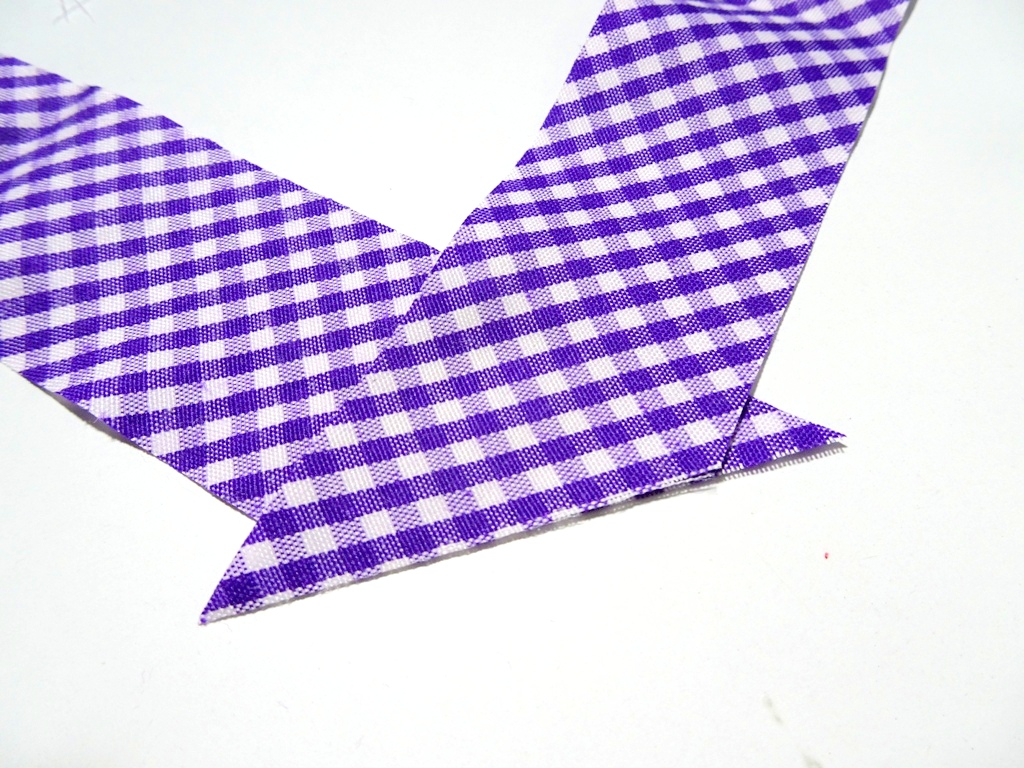
The strip will look like in the picture below and ready to be sewn into the wallet!


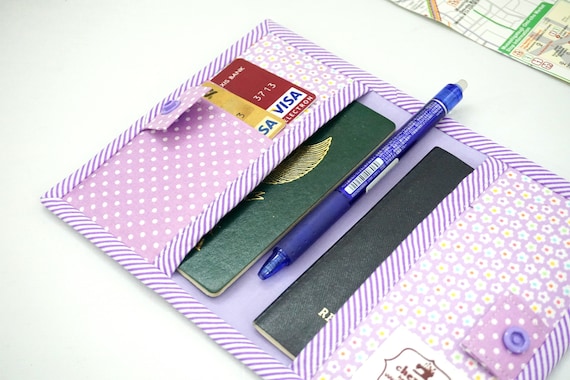
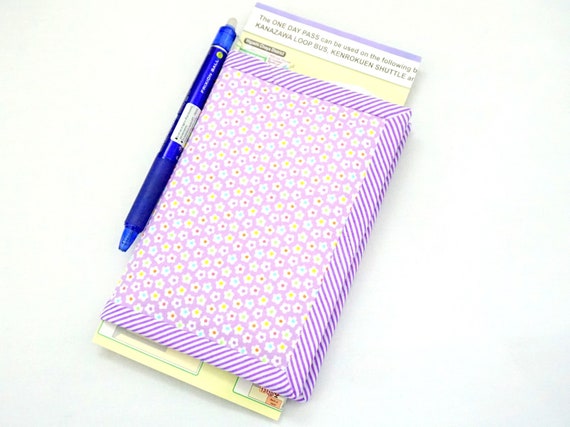
I really love how this gingham binding look on this Purple Flower wallet


See, it's super easy! It may seem like a lot of work, but this method will always yield a perfect bias strips! Don't be afraid, go ahead and try it and let me know how do you like it!


Have a lovely day!
Until then,

~ Elvira~

LINK UP:


A Short Break and Travel Wallet

Hello,

Last weekends we went to Shillong for a short break. We stayed in a new B&B resort called Windermere Resorts. Currently they only have 7 rooms available but the rooms are lovely. It has a feeling of country home. The resorts is on the hill top, surrounded by pine trees. It was nice relaxing trip for all of us!

Windermere Resorts

The boys just wanted to stay in and watching soccer match on TV. Luckily I brought a couple of wallets that needs to be handsewn. 


This purple travel wallet was for Nia. She wanted purple polka dots and chose this fabric from the photos in my Instagram page. The fabric is a lightweight Indian cotton fabric


I combined the polkadots with a matching solid purple to tone down a bit so that it won't look too busy. 


Wonder clips always be a great help when finishing the binding. 


And here is the view when it's filled up. It can hold up to 6 cards, 2-3 passports and boarding passes, pen holder, slip pockets and zipper pocket.


 All in one wallet! If you want to make the wallet, you can get the pattern HERE


As I work with different thickness of fabric, I often experimenting with the interfacing. For this purple wallet, since the fabric is thinner, I used heavy weight interfacing on both main body and added a layer of thin batting. If you're in India, you can read about interfacing in this post. I hope she will like it! 


Thank you for stopping by,

have a nice day!

~ Elvira~


More Passport Covers

Hello,

Purple Flower 

Time flies when you're having fun! That saying is quite true. This week started with meeting a new friend, who happened to travel to Guwahati. It was a fun meeting her though very briefed since she had to go back to Indonesia. 

Traveling alone needs a certain degree of organization. Everyone has their own way of keeping everything organized. Some people love to carry many things and always need to print out the e-tickets and hotel booking, etc, that they need a bigger passport wallet where they can keep everything in one place. Many people also prefered a multi compartment zippered bag. 

perfect gift for mom

I do love to carry a bigger family passport wallet whenever we travel as family. However, when I travel alone, sometimes I like to go minimalist and carry a compact passport sleeve just for my passports and a few cards like the one above. 

Slim and Compact

I can easily put this inside my sling bag and the snap button will keep it secure. 
I made another passport cover using the fabric I bought from my Japan trip this year. It's a cute Mickey Mouse print in Denim! It is the same fabric as the Snoopy Passport Cover.

Disney Passport Cover
image 0
Mickey Mouse!

hand sewn binding

Hand sewn binding is always my prefered method and in fact my fave part of sewing wallets! When it's done and the binding turned out beautifully, it always gives me joy, a sense of victory! 

What about you? What is your traveling style? 

Thank you for stopping by. 

have a nice day!

~ Elvira ~


New Pattern - Doitrei Zipper Pouch Sewing Pattern

Hello again,

Introducing  DOITREI zipper pouch!!

Doitrei Zipper Pouch
As promised in my earlier post that I will be releasing the pattern for the triple and double zipper pouch. This time I decided to give it a name and I'm not very good with naming things. I even asked my younger one, what should I name this pouch, and he said banyan tree! Boys 0_0 

What is Doitrei? It's from Romanian Language which mean two three. Ha!!
This is a really great project to make with those scraps you keep for 'someday I use it' . 


Like this strawberry double zipper pouch. The fabrics are from this patchwork pillow and when I made them into this cute patchwork little pouch , I just loved it!!


This will surely make a great gift for anyone in your family. 


As suggested by my dear friend, Maria, I included pattern templates too.The pattern is now on 20% off both in my ETSY SHOP and WEBSHOP.  

Don't forget to use hashtag #chezviespatterns when you're posting in Instagram or facebook, so that I can find you! 

Thank you so much for your support!

Happy Sewing!

~ Elvira ~


More mini quilts

Hello,

More mini quilts are finished. Some of them I finished a few  weeks ago but just get the time to take a blog worthy pictures!


This morning after breakfast, I set up my camera, gathering the prop and background and taking some pictures.


This pink table topper was finished a couple of weeks ago. The fabrics are all Indian fabrics. I love the multi color floral print matching the small floral pink and the ikat prints. The quilting was done in my Jack industrial machine with organic curvy lines (my new fave!!). 


I also finished another 2 mug rugs. This design is my all time fave. I used 2.5" x 2.5" for the patchwork pieces and added a blue shot cotton fabric to tone down the bright pink and orange fabric. 


I always find simple quilting lines are best! I used straight line and diagonal grid for the mug rugs. 


The green mini quilt above was an orphan block. I called it monsoon in a jar because of the umbrella print! I did the curvy quilting diagonally and I love the effect on it! 


All binding for the mini quilts were finished my hand. 

Stay tuned for more mini quilts!! 

What is your fave quilt size to make?

Thank you for stopping by!

Until then,

~  Elvira ~

Latest Fabrics

Latest Video