Powered by Blogger.
Showing posts sorted by relevance for query kawandi. Sort by date Show all posts

Hand quilted Trivets - Moonshine and Valentine

 Here are some 9980 hours to mastering hand quilting 😃


I'm a big fan of Suzuko Koseki and I collected a few of her books. The one I particularly love and want to learn from is the Modern Quilts book. It has an interesting quilt pattern from simple to complicated ones, or at least it looks complicated to me :D. 

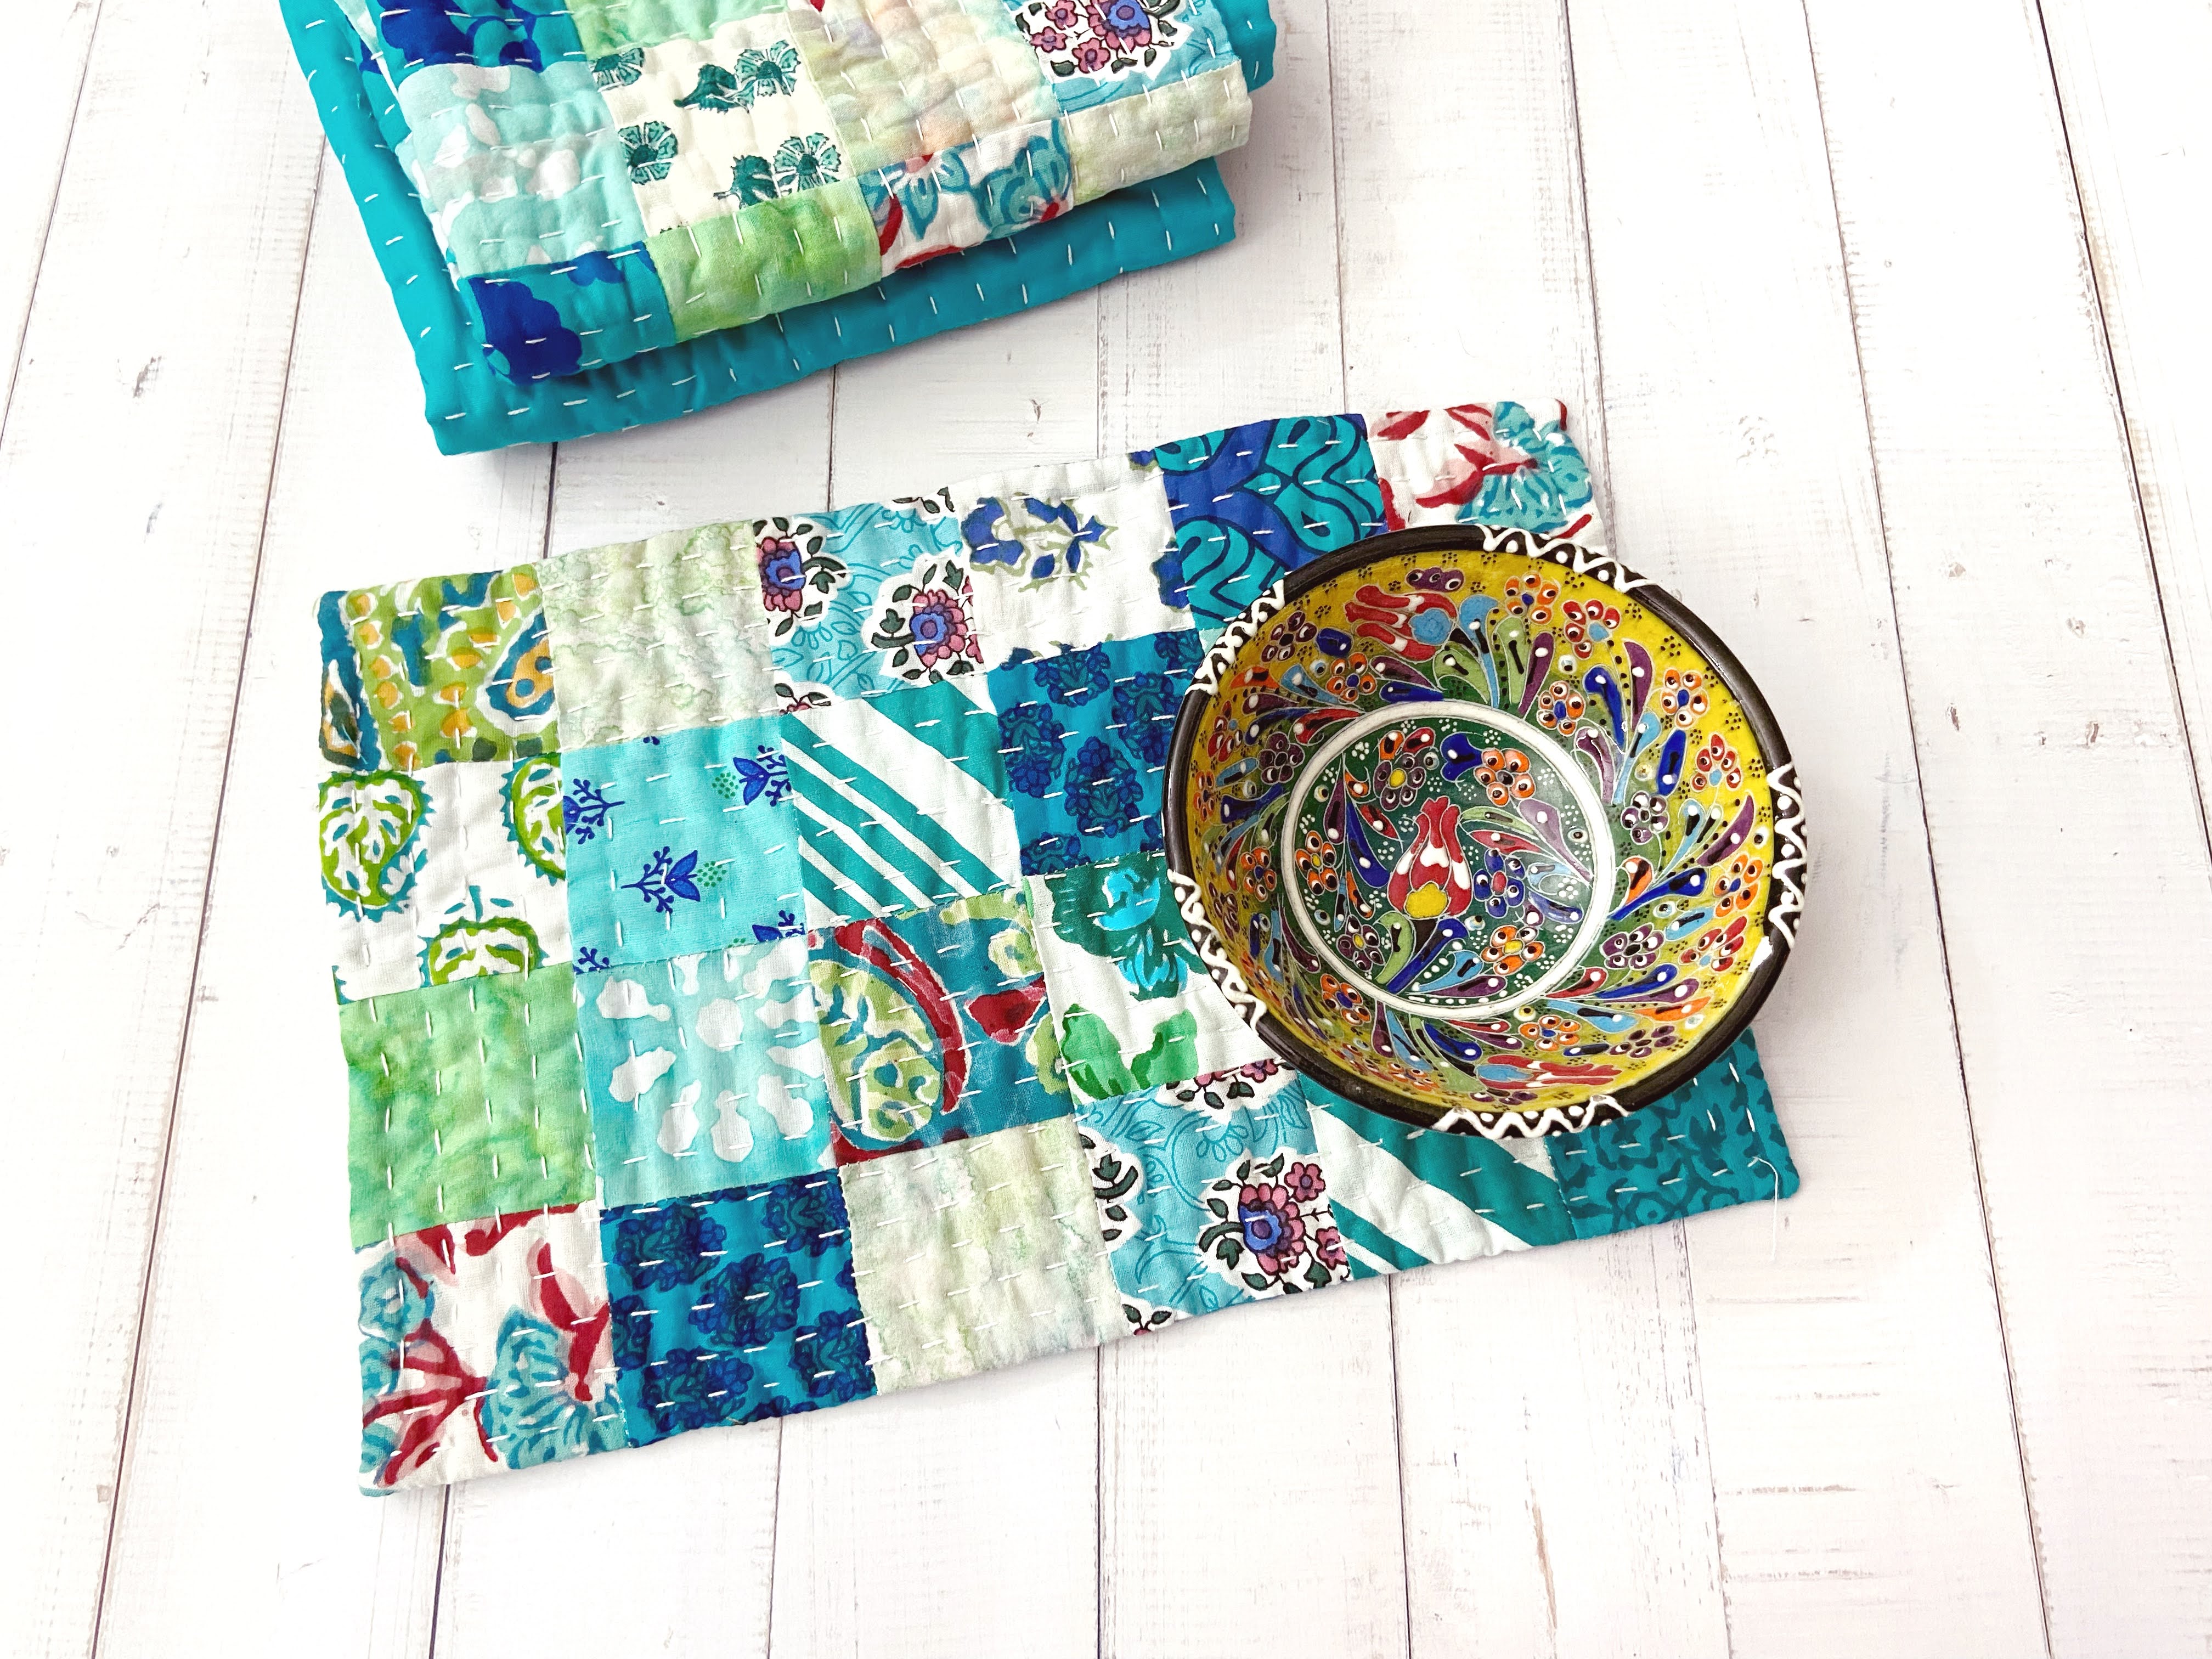
In these 2 mini quilts, I am using Indian Handloom fabrics in high contrast colors. I was not sure in the beginning but once done, they turned out really pretty. Sometimes, we have to try something out of our comfort zone! 


Colorful Trivet


The book only gave dimension of the block but not really gave instructions. But I supposed it was to be pieced in half circle. So I did with this teal and orange one. 

I made another one which I cut 5" square and piece quarter circle block. I don't know if this is the correct term :D. 


I called these block my Moonshine and valentine - just because it the shape remind me of the moon and I was watching C-Drama with the same title. Johnny Huang is stunning in the drama 💙! 


Hand Quilted Trivet
Mug Rug

On the back, I used glace cotton fabric in dark teal and I love the texture of the finished quilt. They turned out very soft. The trivets finished at 8" x 8" and it's just the perfect size for anything. From mug rug, doily, trivets, or even for indoor plant mat.

I am still curious about the block and plan to make more but using poplin cotton instead of handloom fabrics. Although handloom colors are gorgeous, it's a bit too stiff for circle piecing. Maybe I can do better with cotton or Bali Batiks! 


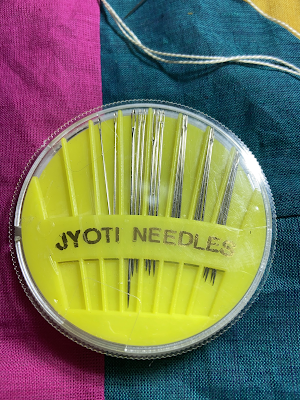
I bought this local brand needle Jyoti Needles before I did the Kantha Workshop. I was skeptical in the beginning but the shop owner didn't have Pony Needle when I went. And guess what? It turned out really good and all the needles are sharp. I always have a problem with Pony Needle for hand sewing my wallet. But this one turned out better than Pony. I may need to stock up now.


I am still doing the quilting based on the Kawandi Quilt as I really love it. I plan to make more small kawandi quilts too, but it may take a while before I finally get down to make it. I have a few UFO quilts that I want to finish. Most of them are small quilts and a few single bed quilts. 


If you want to know how I did the quilting, I uploaded a small video on my Youtube Channel. It was recorded during my first Instagram Live. You can watch it here. 


Thank you for stopping by, I hope you enjoy your visit!

Happy Sewing,

Elvira

***Linking up to these wonderful Blogs ***


Resources:

Book: Modern Quilts by Suzuko Koseki

Fabric: Handloom / Shotcotton


Scrappy Table Runner

India


Patchwork Quilt Table Runner
Scrappy Table Runner


Finally another finished quilt! Nothing fancy, just a simple 25-patch table runner. It's been on my mind for a couple of weeks to make a simple scrappy quilt in blue. I pull out a couple of blue fabrics and came one with this table runner. 

I only used 1 jellyroll strip from each blue fabric to make this 14" x 38" table runner. Practically we only need 5 jellyrolls for the main patchwork, 4 jellyrolls for the background, and half a yard for the backing. Now I know what to do with the leftover jellyrolls! 


blue jellyrolls
Blue fabric bundle


jellyrolls blue table runner
Blue Quilted Table Runner


blue table runner

On the back, I have this pretty blue and white floral Kota cotton fabric. This print is my fave. I had one in green and I made it into a tunic. Ha! 


reversible table runner

centre table runner
On my center table 


And here's the green runner. I used the leftover from the jellyrolls  race quilt I made two years ago. I love the combination of green and teal in this one. The size is just perfect for a center table to maybe the foyer table. 


green table runner

scrappy green table runner


I have a couple of Kawandi quilts to finish and also more scrappy quilts in my WIP bucket! And of course wallets and other stuff
Nowadays I really enjoy making shorts videos and uploading them on Youtube. Shorts videos are easier because I can edit them on my phone. Although I enjoy making longer videos, it needs more planning and of course editing. For now, I just do what I can and when I can, at my own pace. 


Thank you for stopping by! 

Happy Sewing

Elvira


==============


Learning Traditional Indian Kawadi Quilt


When there was Kawadi Quilt workshop a few years ago in Bangalore, I really wanted to go but couldn't. It's been on my bucket list to learn this Indian traditional quilt. 
When Brinda Ma'am from Moments of Quiet announced on Desi Quilters Group on Facebook that she will have another workshop, I quickly registered. And I am glad I did.

 I already learned so much during the first lesson. The story and the wisdom behind Kawadi Quilt, also what set it apart from the other form of quilts in India. Kawadi or Kawandi is originated from Siddi tribe in North Karnataka. Apparently, every tribe has a different unique design. 

We are given a list of materials we have to gather. Preferably old muslin saree or muslin dupatta. I have this pink muslin dupatta which I don't use and it's just perfect. 
Also, we have to provide some kind of saree borders. I decide to use this fancy one. Though traditionally they are using saree border. 

My stitches are not even as yet but I thoroughly enjoyed this! I finished sewing 3 lines running stitches around the border and looking forward to the next class where we will add more fabrics and special design! 

Check out the Moments of Quiet Facebook Page if you want to know more information about the next class. Choosing fabric was fun, cos I have lots of Indian mulmul/muslin scraps and pre-cuts

In the second class, we learned to add patches to the border and also make a special design. The special design is quite tricky for first-timer, I had to rip it several times before I managed to do a decent one. These special designs or motifs symbolizes everyday life like Kites, Angan (Courtyard), and temples. The Kawadi quilt also always has 4 flowers at the corners. This a must-have. Without the flowers, the quilt will look incomplete. 


As for the quilting, it is done by doing running stitches from the outside border going around towards the inside. We don't use any measuring tape or ruler, instead, we learn to measure using our fingers. The space between stitch lines is usually 1 finger apart and you can use any fingers. 


Another unique thing is we should "feed" the quilt before we finish with a few grains of rice. The wisdom behind it is that the quilt must be nurtured, and that is by feeding the quilt so that it will last for along time.


While doing Kawadi, I learned that I should only focus on the patch and stitches that I am working on, don't worry about how it will turn out cos this is supposed to be organic. When we reach the end of one patch, we simply pick up another one, fold and cover the raw edges and move on. We don't need a design wall. The result will always be a surprise. It reflexes who you are and how you feel at the time you make the quilt. It's liberating! 


Most of us finished our quilts before the last class. So on the 3rd meet, Brinda Ma'am told us more history about it and we kinda have a show and tell what quilt we're working on. You can check her experience when she did a residential workshop with Nirmala Akka
Check out these few quilts from Nirmala Akka that Brinda Maam shared with us. You can also see her Kawadi Quilts  on her BLOG.


It was a really lovely workshop and I'm looking forward to more! We need to learn this ancient art and preserve the authenticity of this art. 

I'm looking forward to making more of kawadi quilts. I really enjoyed the freedom and the hand quilting process. 

Update: This post is featured on Handmade Monday! Thank you Julie!!

Thank you for stopping by!

Stay safe & happy sewing!
Elvira

Hand quilted scrappy mug rug

Scrappy Mug rug
Making hand quilted mug rug video


I made this teal mug rug a couple of weeks ago. Still use the green and teal scraps from my scrap buckets and I cut them into my fave square 2.5" x 2.5". The size is rather biggish - the finished size is 7.5" x 11.5". I think it will be great as a mug rug or mat for smaller tables, side tables, etc

This scrappy mug rug is very easy to make. All you need is assorted  2.5" scraps and you are good to go. And if you prefer you can always machine quilt it but I love to hand quilt it in the kawandi style. That is quilting from the outside edge first and moving inwards in a circular way. The effect on the reverse side (if using solid backing) is just beautiful. Plus with hand quilting, the quilt always turns out softer. 


 I made many small quilts that I quilted this way and here's one that I recently did. I keep a bunch of ready-to-quilt small items near my computer table and I can easily pick them up and quilt away as I am catching up on the Kdrama or Cdrama!  


For the scrappy mug rug, I used Indian mul mul fabrics for the patchwork and poplin cotton for the back. I added a thin fleece batting, sometimes I used cotton batting too. I made placemats in the same color hues earlier.


Kantha Mug Rug

Scrappy Mug Rug in Green Teal Color


Don't you love the effect of this big stitch quilting style on the back? This can easily become a reversible mug rug! 

Big Stitch quilting


Scrappy Mug Rug


If you've been thinking to start learning about hand quilting, you may want to start with this kind of big stitch quilting and you don't have to start with a big quilt! I wrote and uploaded the video about what needle I used and the process in THIS POST


That's all for today, thank you for stopping by!

Happy Sewing!

Elvira

******


First time mending a quilt


mending a quilt

I mend a quilt! This is the first time for me. I watched a lot of quilt mending videos and I particularly love the visible mending one. This quilt was on my son's bed and last week  I took it out for washing when I noticed there's a small tear.  


After inspecting it for a little while, I then re-attached the border first, where the stitches came off using a slip stitch. I took a video below while I was working on it. 

I used a yellow dyed fabric from my scrap bins. I tried searching for the same fabric but could not find it. And it was a pretty humid day, so I did not want to waste my energy looking for a small scrap piece. 


The tear was only on the top of the quilt. So while mending it, I did not sew all the way through the backing. Now I am thinking, maybe I should? What is your opinion? 


Quilt mending

After washing it, I noticed there are a few places where the stitched came off, so I will mend those in the next week. This was a quilt made from quilt bee blocks, some blocks are sewn with longer stitch lengths. I suppose that's why the seam easily breaks. 

I am pretty happy with the result, though! At least for now it will do. If you watch the video, please let me know what you think and what I should keep in mind while mending a quilt. 


quilt mending


********************************


Indian block print fabrics


And I have some exciting news! As I wrote a couple of months back regarding my fabric shop, I am happy to announce that I am back! I have been taking stocks of what I have and have been busy creating exciting one-of-a-kind fabric bundles. Also, I am able to find a few resources so that I can provide a more competitive price and better service. So more pretty Indian fabrics are coming to the store soon! 
For international orders, shipping on ETSY is only via FedEx at the moment. I offer flat rate shipping for now. 

Here are a few that are already in the stores: 

ETSY | WEBSITE
 

ETSY | WEBSITE

ETSY | WEBSITE


Check all the collection of fabric bundles in my ETSY and WEBSITE


Cutting fabrics and making bundles always boost my sewing mojo. I have a couple of projects in mind, some Kawandi projects and also 2 hand quilting projects. I think I will make a couple of videos as I am working on it. I started this one but I think I will re-do the quilting. Maybe doing Kantha style. Let's see. 


That's all for today. Thank you for stopping by! 

Happy Sewing!

Elvira

______________________________


Simple Kantha Coasters for Two


Today is quite a busy day. Besides the usual home chores, I have several orders to send out in the afternoon, so I spent the first half of the day packing and printing labels. I am using DHL e-com and FedEx to shipping out my Etsy orders. 


Sometimes, we're scared to start something new because we're so comfortable in our current situation. This is what's been happening to me in the past year or so. As much as I enjoy making wallets and small bags, I truly miss the joy of "just create" something! Experimenting with my crafts and sharing joy with others. And if you're an Etsy seller, sometimes the pressure is more. You feel like everybody is doing much better than you, especially if you spend more time on social media (Instagram or Facebook). This year, it will be about me enjoying making my craft. I will not take too many custom orders so that I will have more time to learn new things, experiment, and sharing a few tutorials or sewing tips with you all. 


Ok, so this is what I've been working on after the Heartbeat Kantha Coasters! I have this beautiful block print fabric and want to make something with it. I guess, when you start your first step, the inspiration will just flow into your brain. I know I wanted to do more kantha but not sure what design. I wanted something simple and one day after dinner, I thought, why not using the design from the fabric, and this simple linen Kantha coaster is born. The design is about 3" in diameter and the inner circle is about 1" in diameter (I used my machine's bobbin to draw the circle). I used tricot interfacing for these coasters. I'll write more about it in my next post, Insha Allah. And if you want to try the design, be my guest! I'm trying to draft the template, hopefully, I'll have more time this week to complete it. 


Kantha and Block Print Coasters


I sent out 2 sets of Kantha coasters today and I'm so happy and grateful for the response I received on my small quilt shop! I really love making these small quilted coasters and practicing my hand quilting while I binge-watching my C-Drama on Viki after dinner. 


A customer wanted a round and rectangular coaster set. The round coaster was a bit of a challenge to do in a kawandi style of quilting, but it was a great experience. Maybe I will make a few more round coasters. Hmm, another idea to try! 


It's been quite cold in the past few days but today is better. After dealing with couriers almost the whole afternoon, I decided to make muffins but didn't turn out so good, because I found out afterward that the oven was set on upper heat only. This is why you should not multitask or arguing with your son while baking LOL. But the boys enjoyed it, anyway. I need to lookup more muffin recipes! 


That's all for today. Thank you for stopping by! 
Take care & stay safe!

Latest Video