 |
| I love the texture of this khadi fabric |
 |
| The back |
 |
| I love the texture of this khadi fabric |
 |
| The back |
Hello,
I have a mountain of scraps in buckets and bags all around the house. Somehow I just don't have the heart to throw them away. Whenever I see my fabric scraps I feel inspired and full of ideas, but then those ideas remain on my "bucket list".
A few weeks ago, Tina and I discussed the next swap, after the successful swap we has last month in Desi Quilters. This time she has with the idea of exchanging Potholders and as usual, she came up with the most suitable name "pot of gratitude". This is to remind us to always be grateful during this Pandemic and by making a gift for our virtual friends who always be there to help in our crafting or quilting journey.
So, let me talk about potholders that I usually make.
1. Batting
The first question that people ask is always about what kind of batting to use for potholders. Well, we don't have thermal batting for retail here in India. I usually use double or triple layers of cotton batting. A few years ago before cotton batting was easily accessible, I use a few layers of cotton flannel (like THIS coaster). If you have scrap batting, you can use it even if it's narrow strips you can layer them.
2. Fabrics.
Store-bought potholders usually use thicker or canvas cotton. I normally use quilting cotton or poplin cotton. And if I use Indian fabrics (mulmul) I usually use nonwoven interfacing to give additional weight. On the back, you can use casement fabric or canvas if you have one.
3. Quilting.
You can either sandwich two layers of batting with top and backing and quilt them together or you can quilt the top and back separately like in THIS mug rug. I personally prefer the latter because it turned out thicker which is perfect for potholders. You can quilt the top with denser quilting lines but I'd suggest using less dense quilting lines for the backing.
4. Binding
For square or rectangle potholders, I'd suggest using a jellyroll strip. A 2.5" wide is a good one, but if you use thicker batting, you might want to use a 3" wide binding. I normally used 1.5" wide binding for small quilts, but since we're going to use the potholders a lot, thicker binding is always better.
The same applied to bias binding. In this pumpkin potholder video, I use scraps of about 11" x 17" fabric to make 2.5" wide binding which yields around 1.65 meters of binding strips. Enough to make 2 potholders.
I wrote about making bias binding in THIS POST using a square of fabric. You can make bias binding from fat eighth or fat quarter like in THIS VIDEO
 |
| Bias Binding Tutorial |
Alright, now about the POT OF GRATITUDE SWAP, here are the rules:
- It should be pieced or appliqued
- Should be quilted by hand or machine
- Embroidery can be added but avoid beads and sequins
- The edges must be finished with binding or facing.
- There must be a loop for hanging the potholders.
- Must be made according to your partner's mood board. Sonalee wrote how to create a mood board on her blog HERE.
In the videos below, I shared 2 projects that I made using fabric crumbs. Not really make a dent in my scrap bins but I am using only scraps here. So I'm pretty happy!
For the Crumbs Potholder, you need:
I hope you find the video helpful, especially for beginners. Please do let me know in the comment below if you have any questions.
Thank you for stopping by!
Happy Sewing
Elvira
Linking up to these wonderful BLOGS
 |
| Quilt in Progress |
 |
| hand quilted table topper 14 x 14 inches |
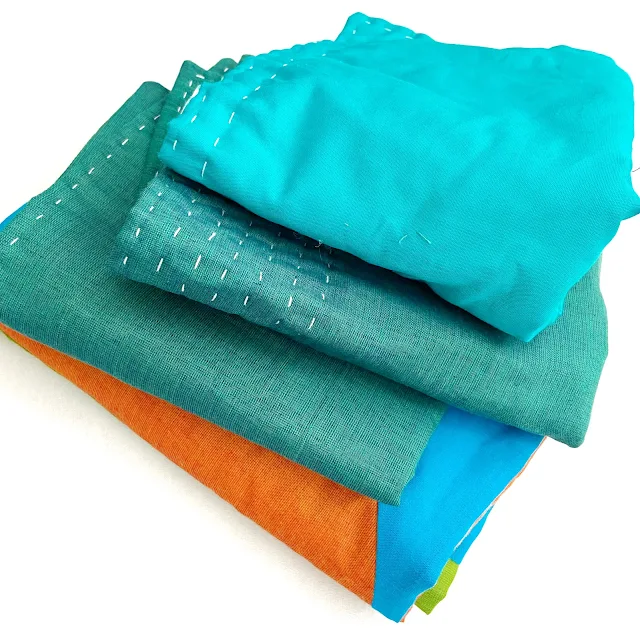 |
| QIP using Handloom /Shotcotton fabrics |
 |
| Dust Bag and Family Passport Holder |
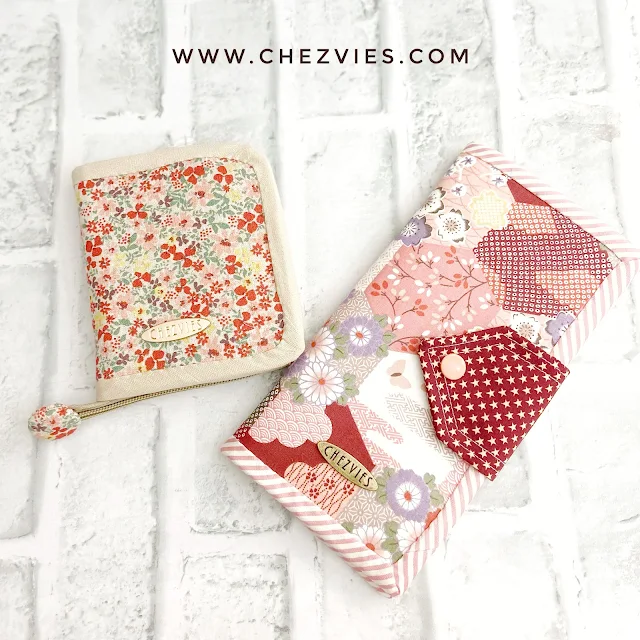 |
| My fave wallets |
 |
| Multi Zipper Bag |
 |
| Triple Zipper Bag Thats' all update for today. I hope you enjoy reading my blog. Take care and stay safe! Elvira Linking up to these wonderful BLOGS |
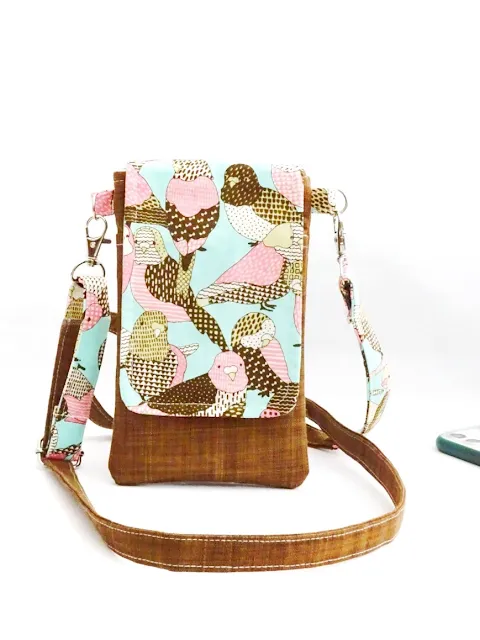 |
| Mobile Sling Bag |
 |
| Mini Sling Bag |
 |
| Resource: Tart Shell | Lemon Curd |
Hello,
Finally, I finished editing the Family Passport Wallet Pattern and decided to rename it to Ohana Passport Wallet. The original pattern was the first pattern I wrote and there is a lot of scope for improvement. As time goes by, the pattern evolved and when I wrote the tutorial for adding zipper closure, this version became more in demand.
In the new version, the main tutorial is for a wallet with a zipper closure based on the previous tutorial, also single tape zipper closure can be seen on the Video. I added links to video tutorials and also blog posts for more references.
Here is how the wallet looks with the flap closure:
And here's the zipper around version:
Watch the video on how to sew the wallet from beginning to end.
The Ohana Passport Wallet is also written in the new format, which I find easier to understand and I hope you agree :). The pattern consists of 29 pages (including the templates), so it's pretty much compact but details.
 |
| Safari Travel Wallet Video |
Hello,
Finally, the video tutorial for the Safari Travel Wallet is up on my YouTube Channel. I hope the video can help to visualize how to make the wallet from the beginning. I am trying to get a better angle as I recorded the video and also try not to skip the process. The video is sped up 2 to 3 times from the original. If you want to watch it at a slower speed, you can do so by clicking the setting on your YouTube screen.
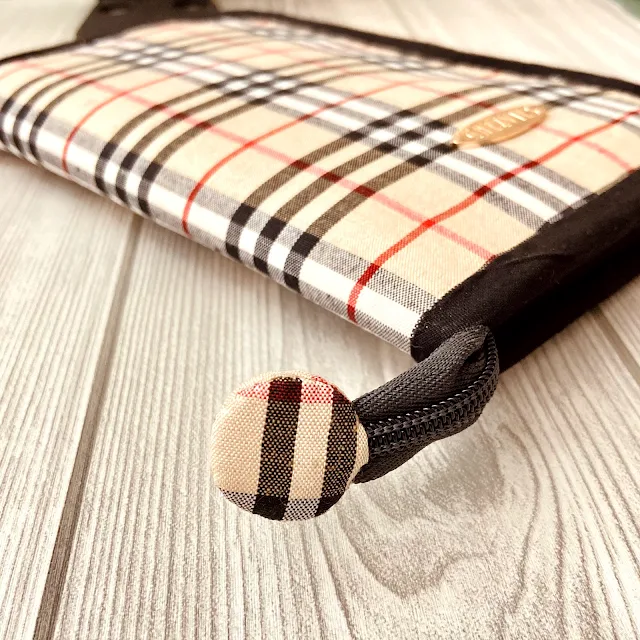 |
| Cute Zipper End |
 |
| Zip Around Travel Wallet |
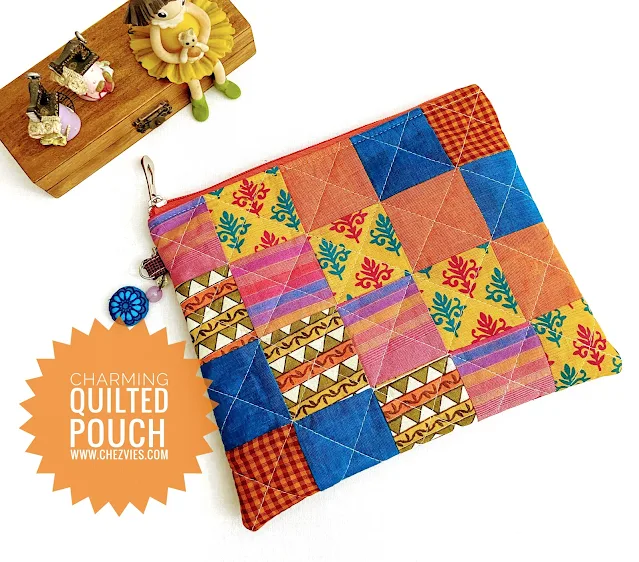 |
| Charming Quilted Pouch (video tutorial) |
Hello again,
 |
| Video Part 1 |
Finally, I finished editing the videos for the Family Passport Wallet pattern. The supporting video tutorial comes in 2 parts. The first part is the making process of the passport slots.
I made a few changes :
1. The LINING for the zipper pocket, I use ONE piece of lining 5" W x 6.5" H. (in the original pattern it was 2 pieces of lining fabric).
2. Passport Slot construction is different from what's written on the original pattern. This new way I found it better and faster to make.
Let's jump to the video below:
For Part 2, I am showing how to attach the zipper closure using a single tape zipper. It's the same way as the Nuno Small Wallet. For the zipper length, I use the #5 nylon zipper approximately 44-45 inches long. This is my new fave in attaching a nylon zipper.
I hope the video will give you a clear understanding of the pattern. I will update the pattern when time permits. Do let me know what you think in the comment below.
Thank you for reading my blog.
Happy Sewing!
Elvira
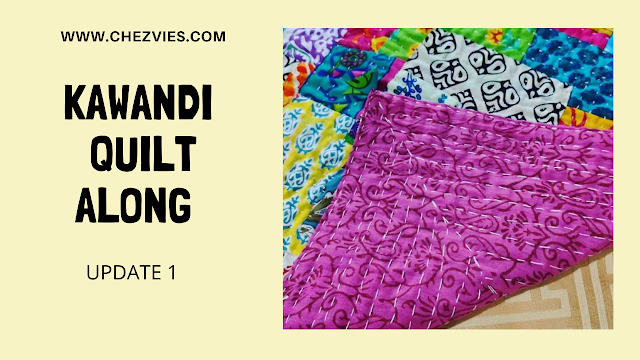 |
| Kawandi QAL |
 |
| Hand sewing side effect :) |
And why not making two kawandi ? Yup, I'm easily distracted like that. I was searching for scraps and found leftover strips from the Jellyroll Quilt I made earlier. I thought why not started another one? I am making one without border as I plan to turn it into maybe a tote bag? My mind keeps changing as I am quilting it.
What about you? What are you working on this week?
Happy Sewing,
Elvira