Powered by Blogger.
Showing posts with label sewing. Show all posts

And all these little things

Your hand fits in mine like it's made just for me
But bear this in mind, it was meant to be
And I'm joining up the dots with the freckles on your cheeks
And it all makes sense to me...


I know you've never loved the crinkles by your eyes when you smile
You've never loved your stomach or your thighs, the dimples in your back at the bottom of your spine
But I'll love them endlessly


I won't let these little things,
Slip out of my mouth
But if I do...It's you....Oh it's you...They add up to
I'm in love with you...

And all these little things


song by One Direction 
Little Things

Pouches available for sale at ChezVies
Fabrics available for sale at Chezvies Fabrics


until then,

Happy Quilting


When the boys are on holiday

Yesterday afternoon the boys wanted to make shirts and pants for their WWE heroes. So I taught them how to make the simple pattern and cut the fabric. 


They were excited and started taking out which wrestlers will get customized clothes first ^_*


With basic running stitches, they managed quite well. 


what do you think?


I think I must get a lycra fabrics for them ^^

The boys said they will make clothes for all of them
mmm there are about 2 dozens of them
let's see 

It was a well spent afternoon ^^

Until then,

Happy Sewing


Lots of brightness

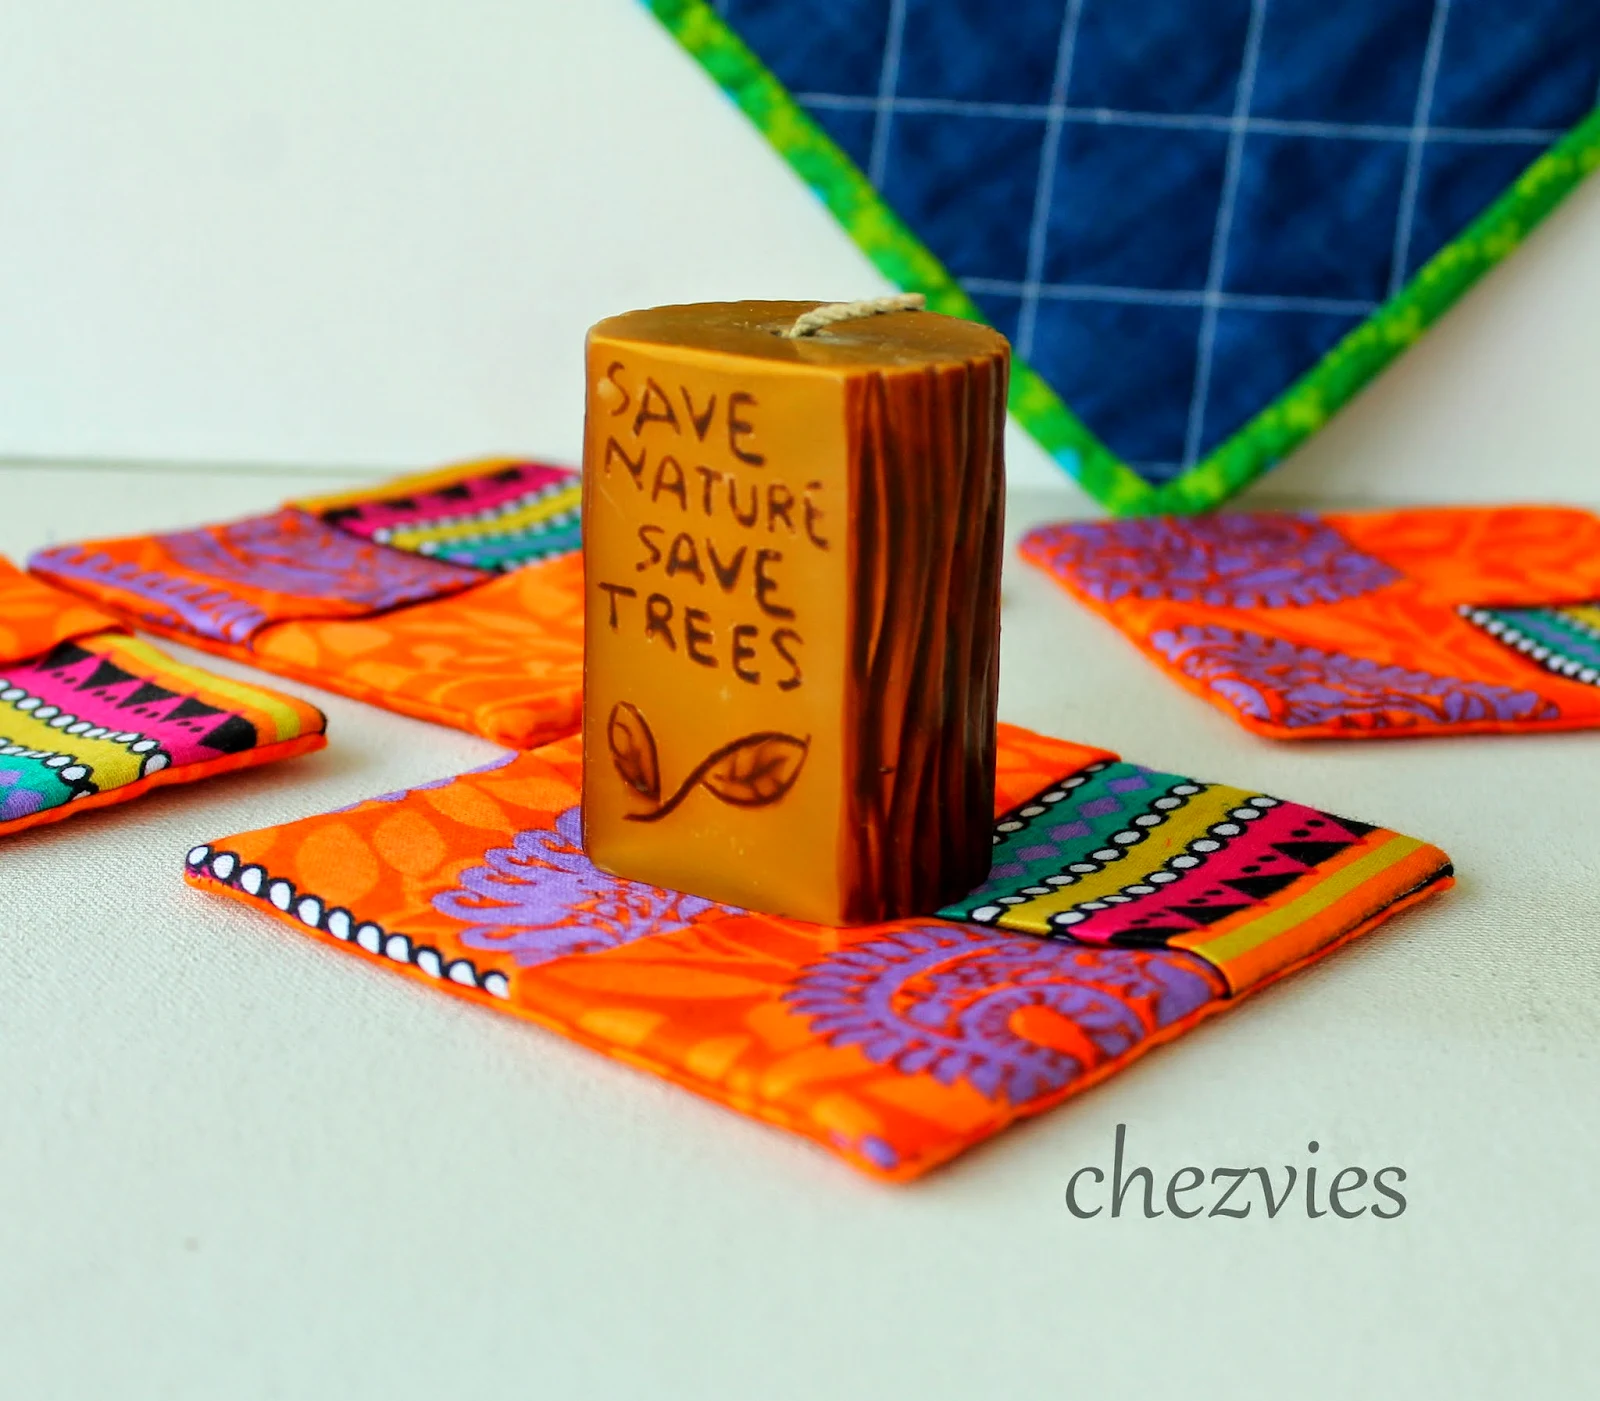
I've been making mug rugs and coasters for the past 2 days


I love making mug rug and coasters
mostly, I made for gift and for home

I love using these folded coasters as candle mats


the handmade candle I bought from one lady I met when I was having local craft show

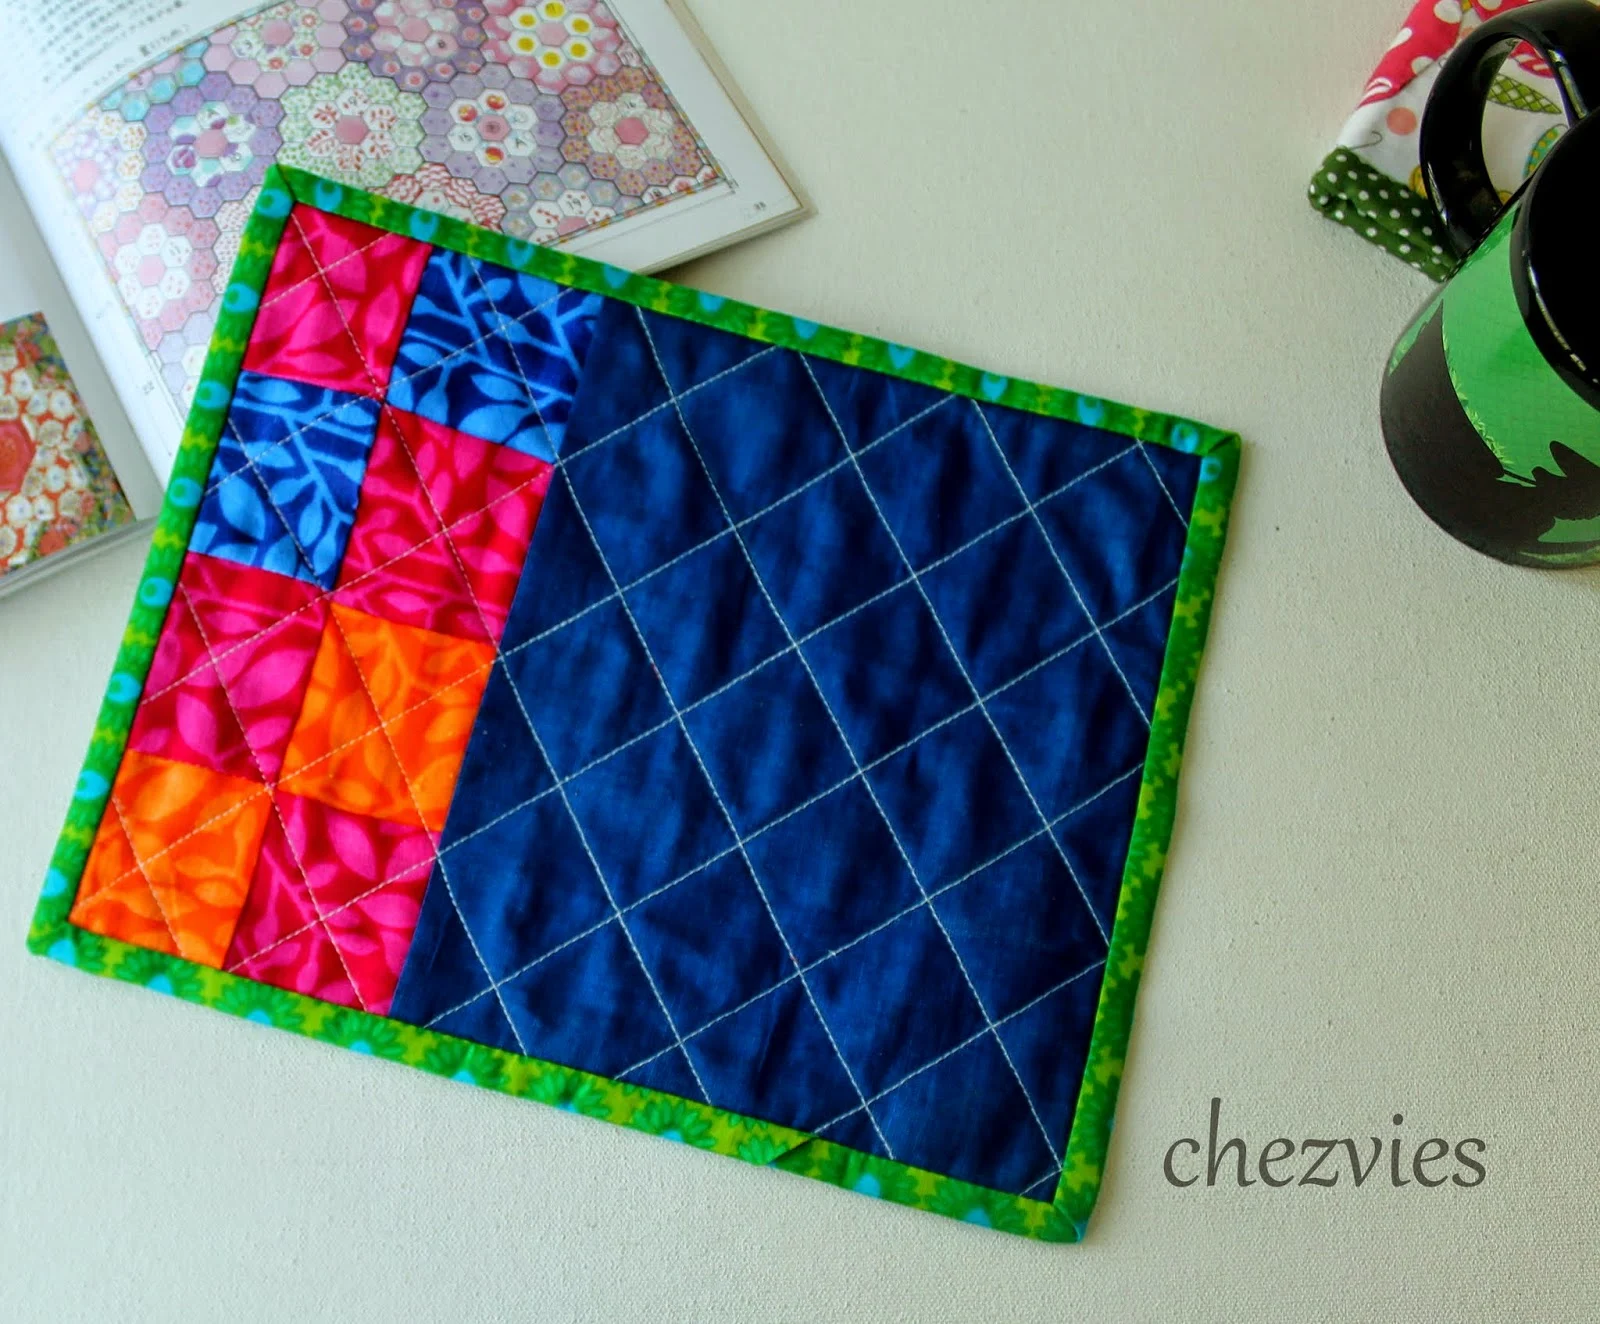
And who doesn't love mug rug? 


I used a lot of mug rug. Some of them are gift 

 I have one in my room which I use to cover my mini chest drawer
one next to my laptop as mouse pad
One I use as a mat to put my study lamp


Now, I started listing them in the SHOP


 I'll be making a lot more 
since I love gifting them to my customers too
and they always love it


once more shot of the mug rug
the denim blue fabric is shot cotton or we call it handloom here in India

Ah, nothing like India when it comes to fabrics
unique prints and vibrant colors
even after 12 years, I still go mad whenever I visited fabric market


I have 7 mug rugs but only listed 6 of them
 I'll be keeping one
since the same fabric is no longer available

Until then

Happy Quilting


A little tutorial : how to make less stressful lanyard

While making lanyard for custom order today, I remember those days when I started sewing again. When WiFi  was not yet heard and modem connection was very slow and making those funny crackling noise ^_^ 

Yes, I learned most of my sewing tricks and tips from bloggers who generously share their step by step pics. I am a visual reader {is that the correct term?}. So, I need tutorial with lots of pics in it. 

Anyway, here's a little tip how to make lanyard less stressful ;)

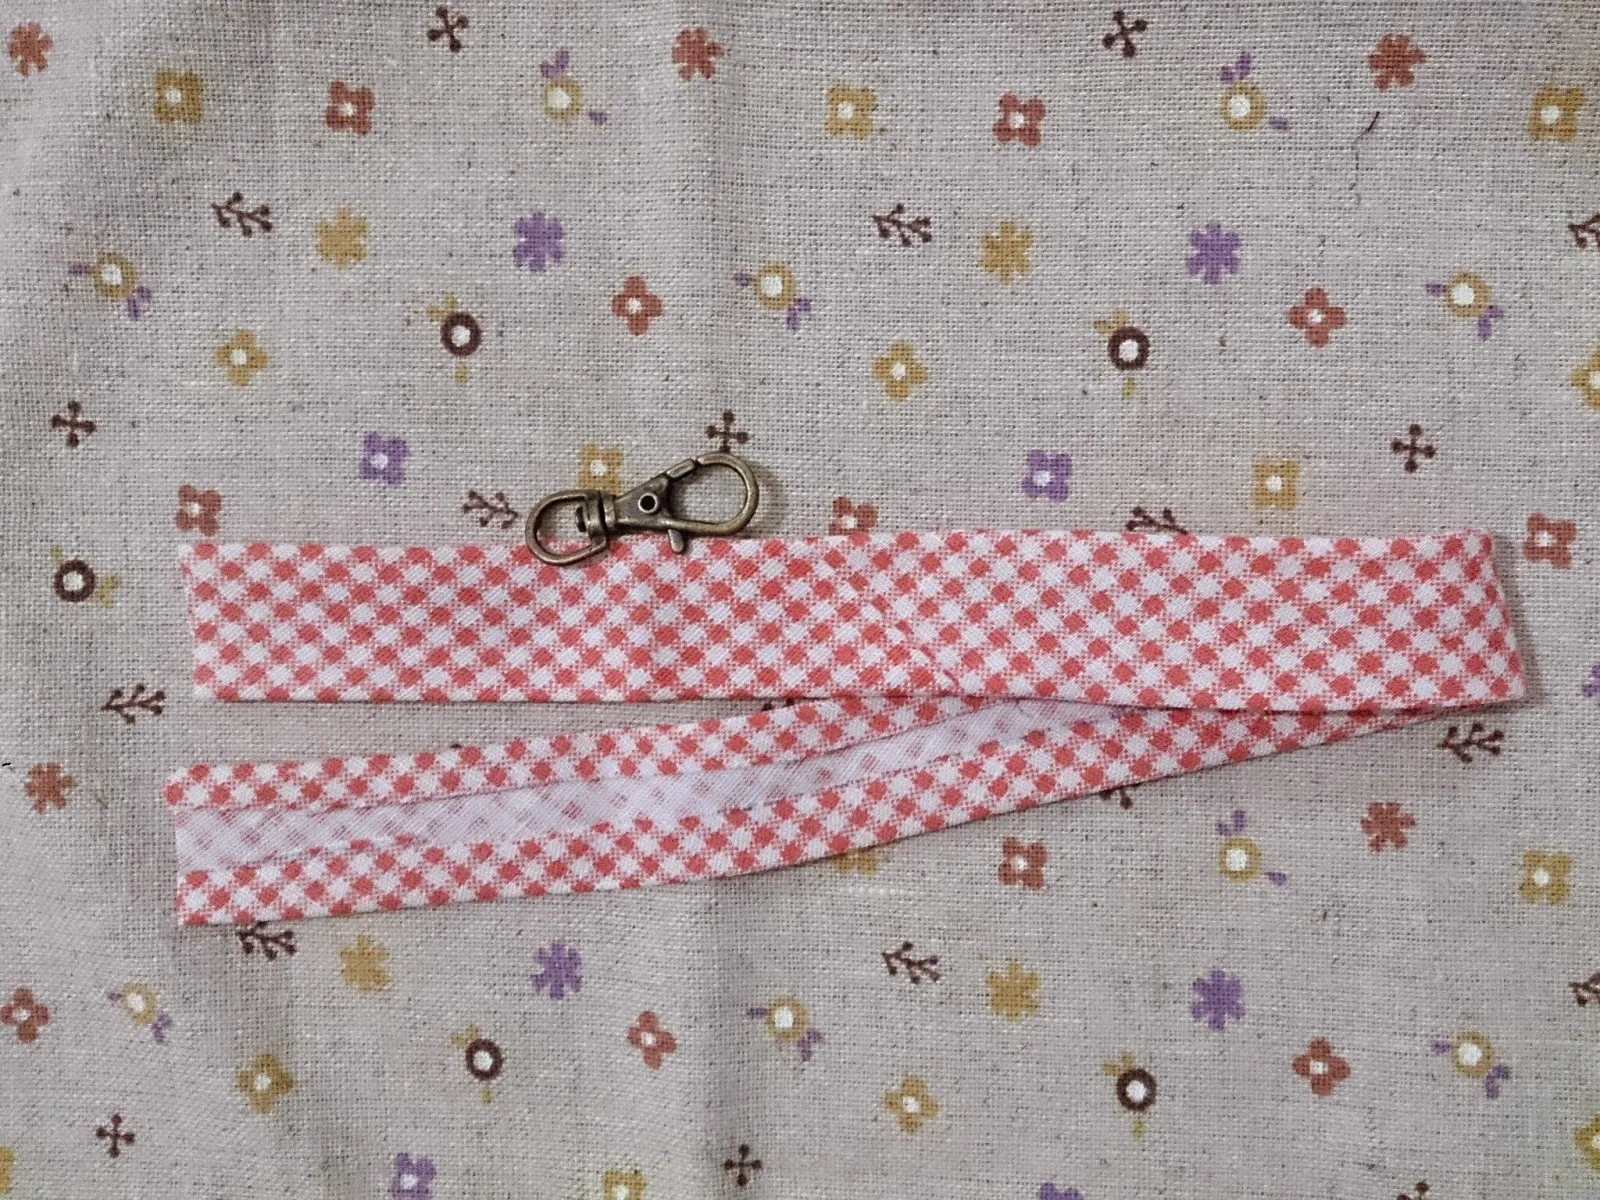
First you need your DOUBLE FOLD bias tape or any binding tape and the hook. I like using bias though.

{bias tape tutorial video in my previous post)


and then, insert the tape into the hook


now, put the end of the tape, right side facing and sew 1/4" 
open the seam and press it flat 
make sure you put it correctly, or else you'll end up with twisted lanyard {I did once :D }


Now fold the bias tape and start sewing closely to the edge


Now you're almost done
you just have to double stitch around 1/2" under the hook


Voila! you get a pretty lanyard with no stress ^_*


Oops, looks like someone is looking for me. Ha!!


I hope the little trick will help you
Now, time to relax with my fave drama

Until then

Take care and happy sewing


Red Riding Hood Tote Bag

This is also a custom order from the Exotic Lady (that's her boutique's name) - the story in my previous post . She wanted a pink tote bag /diaper bag. 

I have this red riding hood fabric from my trip last year which she chose. It has a drawstring closure which is very convenient for diapers bag. 


I match it with a dark grey cotton. I used interfacing and batting for this bag and it's perfect. It's sturdy and soft. 


a wide box bottom give it enough space to carry baby's stuff around. 


polkadots is always my favorite lining. it gives a happy aura ..or is it just me ^_^


and of course my fave hexies has to be there. I spy Red Riding Hood hexies ^_^

Until then

Happy Sewing


First Post of 2014 - A very hungry Caterpillar quilt

Oh.my.God ...I haven't been blogging for a loooooong time! Well, I mostly post my work on my facebook page or my Instagram.

The last few months I've been busy with my Etsy shop, taking few orders for passport wallets, tunic, quilts etc. It's been quite a busy months for me.

Few months back, I was doing this very hungry caterpillar quilt for one customer. Panel quilt seems easy to do, but it's quite tricky if you don't plan properly. Or maybe it's just me ^^.

front side

I always need to draw the quilts I am going to make with detail measurements of the block's size.


There was few ripping moments while I was doing this one. It's really a learning experience for me. 

back side
It was really fun doing it and I'm happy that she liked the quilt too! 

Until Then...
Happy Sewing


Lots of zippy pouches


The birthday party went off well last Sunday and even the grown ups wanted the zippy pouch that I made to fill in the goody bags.


It was on impulse that I decides to make these zippies. I asked the birthday boy to choose the fabrics and he did.


The big bro even wanted to me to show him the sewing process. Later on I found out that he bragged abit about his mom sewing the pouch to his friends. How sweet is that! My best compliment!

A friend saw my post and wanted for her daughters, hence the pink series ^_^


Some of these pouches already up the my ETSY SHOP .
Go and grab few now, it comes in a Gift Pack of 3 

I really enjoy making pouches. In fact I always do. 


I have done few more of this pouches yesterday. 

and now, I better back to my quilt ...


pssst! don't you like all those fancy picture editor in your android? Well, I am addicted to them. recently found this pipcamera which is awesome!

until then

Happy Sewing


Little Girl Kaftan

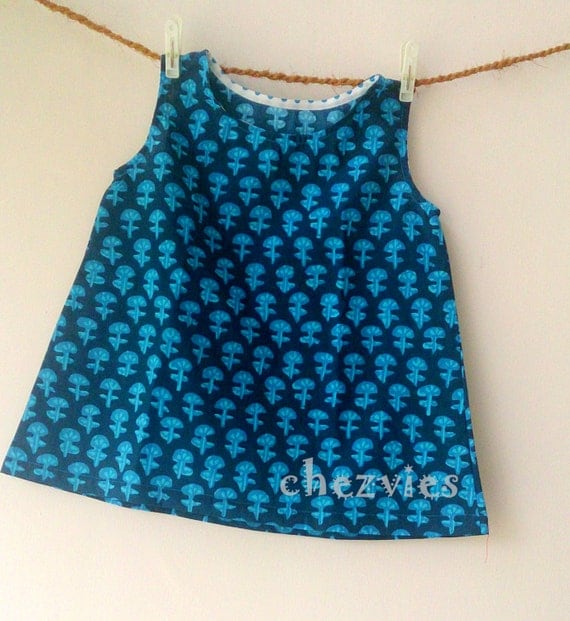
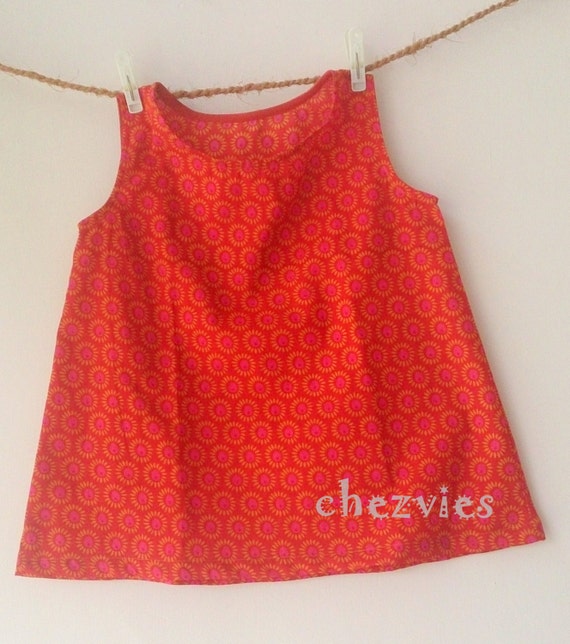
This is what I completed last week. I love the simple design and the easy pattern. The yellow trimming is a surprise addition. I was thinking of using solid white but then I saw this yellow fabric peeking out from my cupboard.


Here's the detail of the sleeve

What do you think?


Look!!

My simple little tunics are ready. Yay! It will be available in the SHOP soon. 


I'm thinking of starting children clothes more seriously since I enjoy making them. I started end of last year with dirndl dress, but had to stop in between due to my MIL's illness. For me, family always comes first, no matter what. 
I've got few simple pattern ready and even picked up the fabrics. I just need to be more organized and  focus. Now, I'm working on a few custom orders for local customer and hoping to make a couple set for the shop too. Let's see....

Until then,

Happy Sewing


TUTORIAL : Twisted Infinity Scarf

Everyone loves infinity scarf. It's the "grab n go n look fab" kind of accessories. So, recently I've been making my version of infinity scarves. You can use any kind of fabric, cotton, flannel, georgette, crepe, chiffon, etc.  I happened to have these saree blouse fabrics which I got from my MIL. Saree blouse comes with the saree. It's usually less than a meter (80 -90 cm) of fabric which has to be cut off from the main saree. 

I thought of sharing with you how I made my scarves. This is a quick project which make a perfect gift. So, here we go:

What you need:
1. A piece of fabric (depends on how WIDE and LONG of your scarf). and since I'm making from a saree scrap my piece is 80 cm x 115 cm


2. Sewing machine and sewing supplies (matching thread, handsewing needle, etc)

Let's get started:

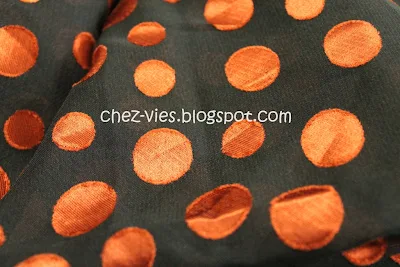
1. This is my fabric. It's georgette fabric with fancy dots ;). Make sure you straighten your fabric, which means BOTH ENDS have the SAME WIDTH. 


2.  Now, FOLD it once and pin it. ( you can see the selvedges on both sides) .


if you make a longer and wider one, and you'll fold it length wise -  selvedges meet the selvedges. 

3. Sew 0.5" along the pinned side to make a TUBE. 


4. Turn your tube inside out. Lay it flat (iron it if necessary, if you use cotton esp) and now match the open side of the tube by TWISTING the fabric. 


So the SEWN seams will meet the FOLDED sides.


5. Match the middle seam and the sewn seam RIGHT SIDE together and PIN. You can pin all the way around, or like me, I usually put 3 pins at the beginning. 


6. Now start sewing 0.5" along the tube's opening. 


when the opening is getting narrower, you just PUSH the whole SCARF inside the opening. Keep sewing and LEAVE 2"-3" as a turning hole. 

7. You're almost there...now, pull out the fabric and see...you're almost done it ^_^. 


8. Closing the gap with slip stitch using a matching thread. 


And VOILA...wear it as you like ^_^


It's easy peasy, isn't it?

This scarf and a lot more is available at my SHOP.

Until then..

Happy Sewing


Latest Video