Powered by Blogger.

{HOW TO} - How to Edit Instagram Photos that Sells - Simple Guide

Hello again, 

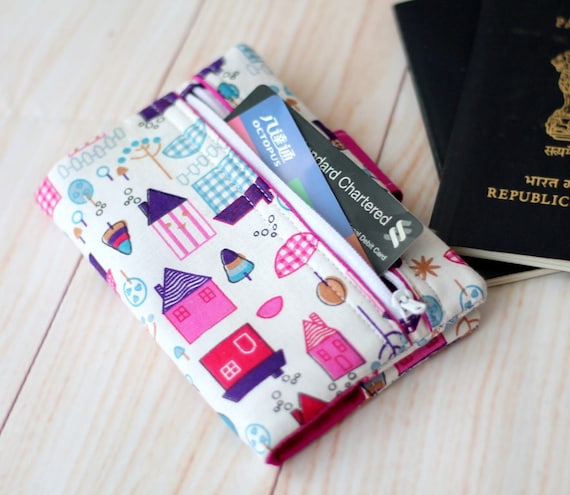
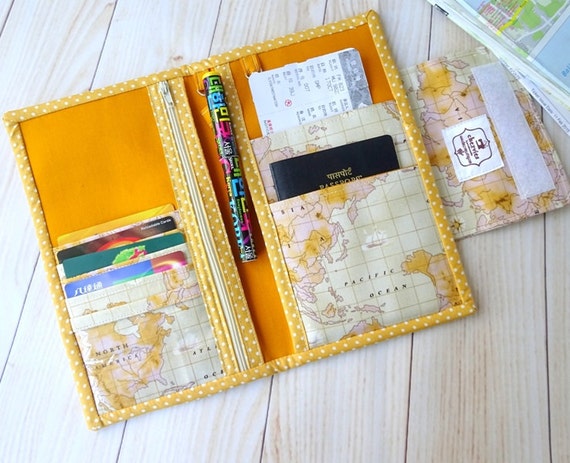
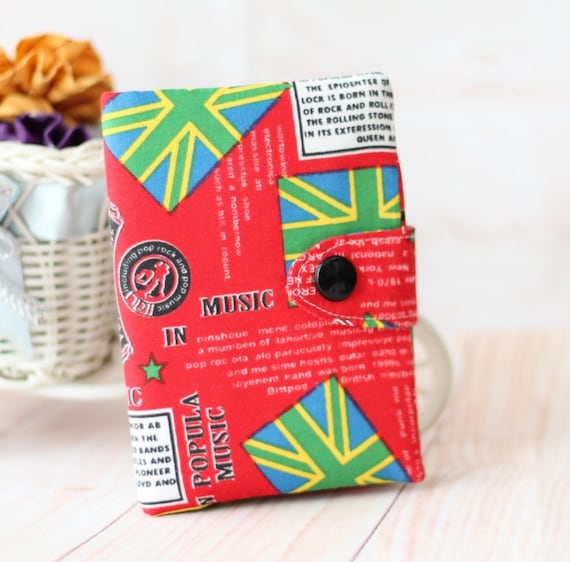
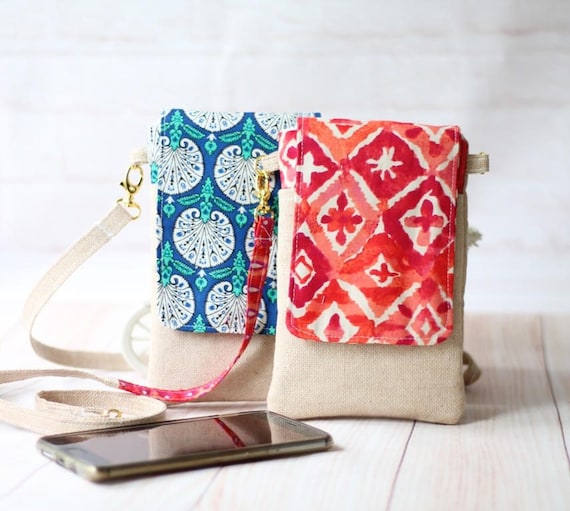
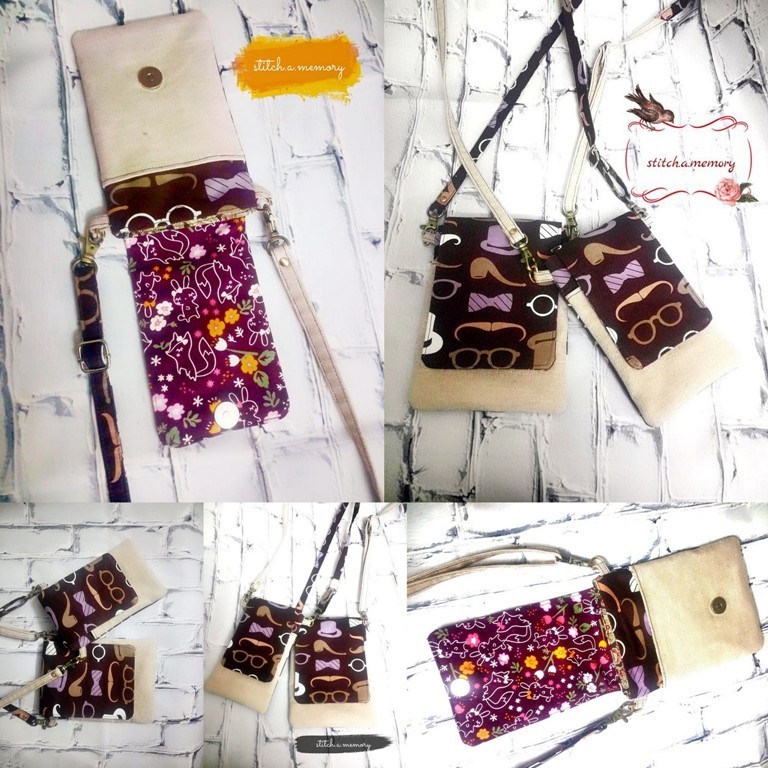
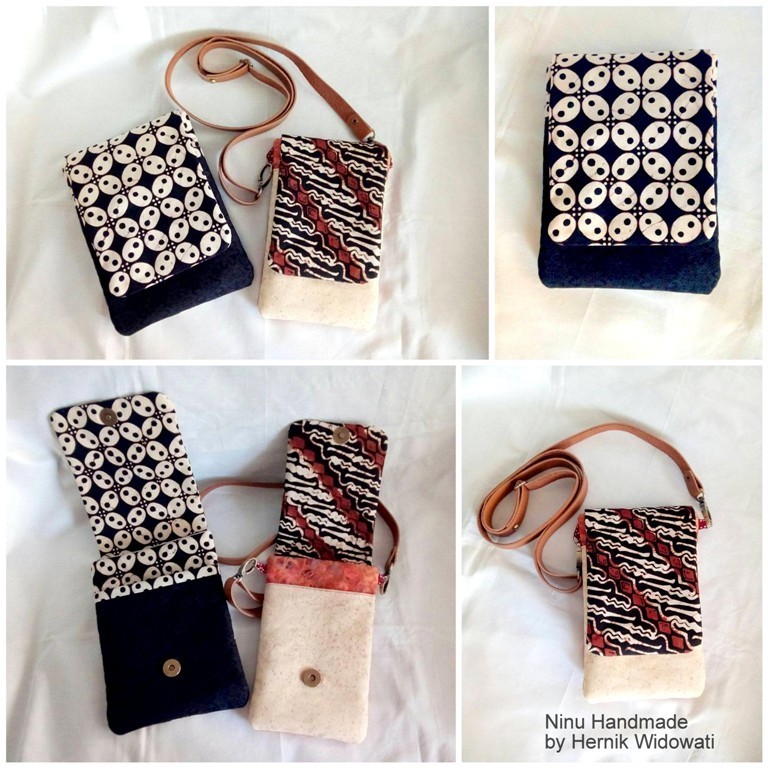
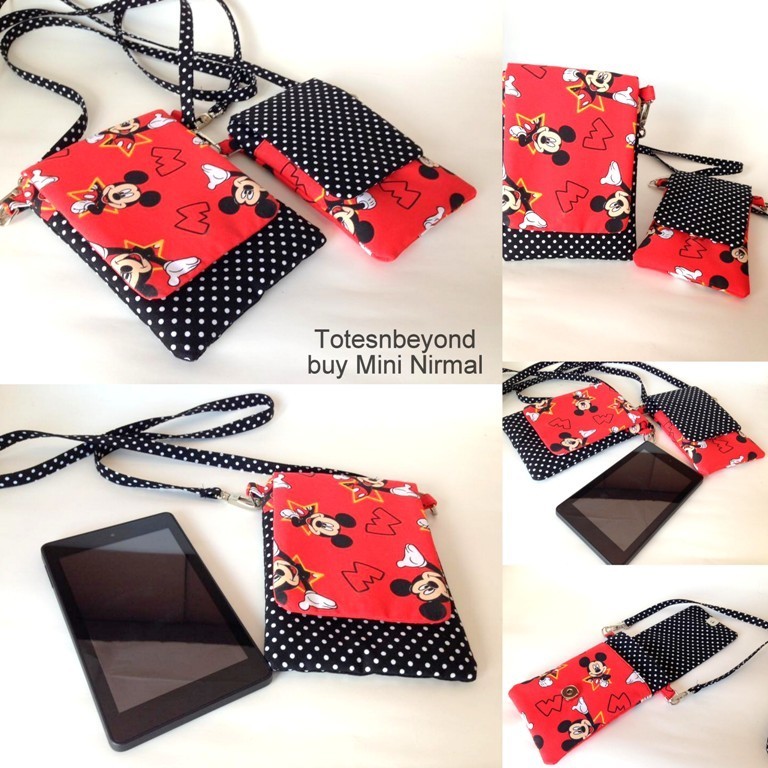
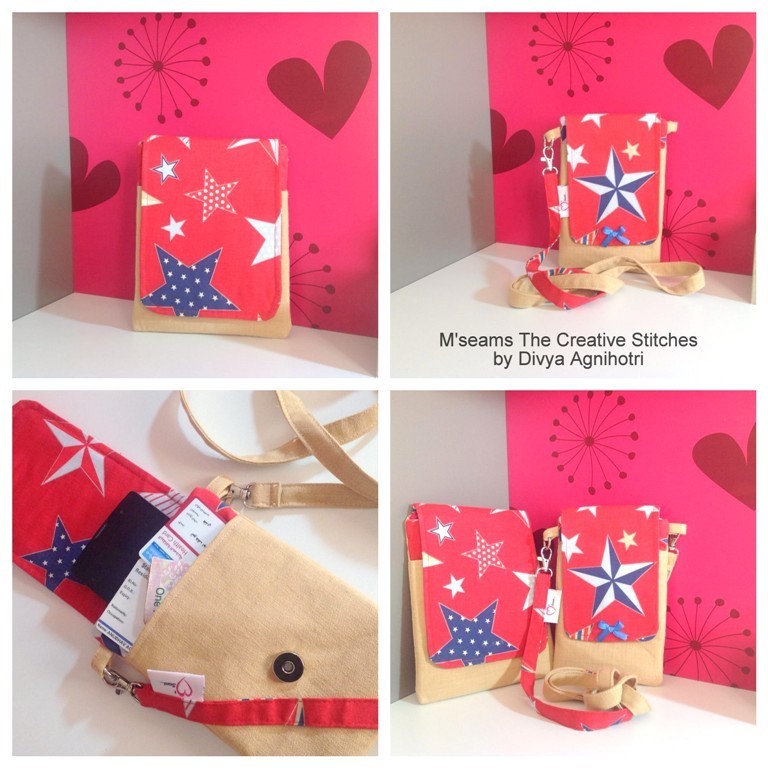
Everyone is on instagram nowadays. It's the best social network to share your photos, videos and now even life event. People love instagram more because we want to SEE. Yes visual is very important, especially if you are a  mompreneur  and running an online shop or selling via instagram but don't have time to edit photos from editing apps. You want your product to stand out, to be drool worthy. 

Most of us mompreneurs don't have time to go back and forth from editing apps to Instagram. And we are not quite happy with the stock filters too.  

Here's what I usually do before sending out my product photos to the world. 

1. Open your instagram and click your profile, and click that + sign at the bottom of the screen. 


2. Instead of using photos from the gallery, choose PHOTO.  Position your mobile camera in the angle that you you like best. This way, your photo is just perfect size for Instagram. Cropping your stock photos will (more often than not) make your photos size look odd for Instagram frame. 


3. I know there are so many apps out there offering various of filters including instagram. Don't use that. Instead, click EDIT where you can adjust the photos to look bright and natural. 


4. What I am using most is  BRIGHTNESS. Adjust it so that it looks natural. If you set your phone brightness to Auto, change it. That way you know how the photos will look in reality. 


5. My next step usually CONTRAST. Especially if the object is dark or bright colors. Adjust it to look like the real color as much as possible. 


 6. Next is SHADOWS. Use this if your source of light is not evenly distributed. 


 You can see the difference here. 


7. I  use TILF SIFT if I want to focus on one part of the photos. It's perfect for highlighting your speciality, your new label, your perfect stichetes, etc. 


 8. You can experiment with the rest of the Editing taps. Now, you're ready to post your photos. Don't forget to add those #hastags. Use suggested popular hashtag. 


It's super easy right? I know many mompreneurs out there who don't have time to sit and edit every single photos before posting it. I hope this simple guide will help you improve your Instagram photos. Write your comment if you want more simple guide.

I will talk about #hashtag your post in my next post. Subscribe for my post at the top of this blog to get updates. 

Until then,

Happy Posting


{TUTORIAL} Quilted Passport Sleeve

Hello,

What do you plan to sew this weekends? I've been making few small projects and learning new things. I want to share with you how to make this quick quilted project. This will perfect gift to make or to sell in your weekends market. 
Ok, let's start

What you need:
Fabric scraps  at least 8" wide - Fat Eighth would be great
Coordinated or contrast lining fabric
 Fleece/Batting
Thread

First, you can download the templates from HERE 

Print the templates at ACTUAL of 100%  

Cutting Instructions:
Cut the interfacing and fabrics according to the instructions written on the templates. 
Seam allowance already included in the templates. 

Now the fun part: 

Place the sleeve pockets on each short side of the  Main Body A (RIGHT SIDE TOGETHER) and sew with 3/8 seam allowance. 


Cut the  batting slightly bigger than the templates. Place the  exterior on the batting Right Side Down. (if using fusible fleece, here's HOW)


Start Quilting using your fave quilting lines. I love this decorative stitches in my HV machine. Once done, trim the excess batting.


I love the look of serpentine stitch. Alway!

Fuse the lightweight interfacing on the wrong side of lining fabric and place it together with the exterior piece, right side together. 


Sew the short edges with 3/8" seam allowance, turn the right side out, press the seam and top stitch with 1/8" seam allowance.
(you may find the lining is a bit longer, DO NOT TRIM)


 Now fold in one  short side towards the lining (to create sleeve). 


and pin the folded sleeve with the lining piece, like the picture below.


then turn the wrong side out again. 


it should look like the picture below. 


Now pin them all together


There should be separate fold of lining and exterior (see picture below). I hope I make sense here ^^

Now sew one of the longer seam with 3/8" seam allowance. 
Backstitch at the beginning and end.  


Mark the other long edge and stop 1.75" from the end. Flip the lining fold and draw mark line on the wrong side of the batting.  Sew along the mark line on the lining and back stitch as you stop at the end of the line. 


Flip the fold of the lining backward and  sew the exterior close along the line you made earlier. Backstitch at the beginning and the end. 


trim all the stitched corners. 


Turn the passport cover right side out through the small opening. It's a bit difficult but doable ^^. 


Take out your chopstick and start pushing those corners.


Pull the opening out, you can sew the opening by hand or machine. 

Now spray your passport cover with diluted starch water and and give it a good press. 

Voila, your weekends project is done!! 


Shibori Tie Dye Passport Cover


Show me what you make by tagging me in INSTAGRAM.

As usual don't forget to sign up for blog updates by subscribe through email. 

Until then,

Happy Sewing


Linky party to Show Off  Saturday


New Kits on the Shop

Hello,
It's already Thursday. The past week several week I was busy mostly with non-sewing related works. The boys' annual exam, then the piano concert at the same time preparing for another cricket tour to Delhi. At the same time I was releasing the new pattern. 


Meanwhile, few of you are requesting me to make sewing kits for my patterns {thank you!!} and yes, finally I added them today. In fact you can request me to make custom kits for you. I'd be happy to do so!

Pattern & Kit - Phone/Kindle sleeve

I have been making my own pattern for my own use. Well, not until recently that I decided to digitalised them. It's so much easier to have a pattern ready to print then referring to my book every time I want to make the same thing.


Today, I added two more kits and patterns in the shop. You can purchase directly from this blog. 

Let me know what you think!! 

Until then,

Happy Sewing


Solo Travel Passport Cover

Hello,
I've been working on new  products for the shop for sometimes now.  I'm happy that since it's first released a couple of years back, my Family Passport holder is remain the most popular one in my shops, both Etsy and locally. 

The recent trend of solo travel prompts me to create this small passport cover. 


It's similar to any other passport cover out there, the only special is I added mini zipper pocket at the back. 

Passport Cover with Mini Zip Pocket

I realized during my solo travel early this year that I do NEED this small passport holder. I'm using the Single Passport Holder Card Organizer from my shop and it worked great during my solo traveling. I can keep all my hotel bookings, forwarding boarding passes, tickets, travel insurance paper, frequent flyers card and foreign currencies all in one organizer. 


However, when I reached my destination, I only need to carry my passport while I'm exploring the city. I need something small, but secure that I can tuck in inside my sling bag. The big passport organizer can be kept in the safety box at the hotel.

Red  Passport Cover, Basic Passport Sleeve, Sleek Passport Case, Passport Credit Card Holder, Mini Passport Holder, Gift for him
Minimalist Passport Cover

Currently I'm listing these 2 passport covers. More will be added as soon as I finished my custom orders :D.

Meanwhile, if you want an updates and exciting offers, sign up for my newsletters at the top right corner of this blog. 

Until then, 

Happy Sewing


{NEW PATTERN} Smart Phone Sleeve & Kindle Cover

Hello,
I'm so excited to announce my new pattern! It's now available on special Price in  ETSY and CHEZVIES 

The phone pouch with a detachable strap is one of the popular items in my shop. I keep getting repeated orders since it's perfect for everyone.


Check out some of my generous Facebook and Instagram friends who's willing to test it for me. Thank you! xo 

Now let's see what these talented ladies have come up with!

Hanie of Arewhana  made this cute Phone Pouch and Kindle Cover. Red and blue never goes wrong. It's one of my fave color combos.


Sudesh Jangra of Stitch a Memory came up with this one too. Aren't they perfect as a gift for him? 


I love these classic Batik version by Hernik from Ninu Handmade  . She used a leather strap which made her pouch stand out more. Batik and Leather always perfect combo. 

Don't you love these cute Mickey Mouse pouch by Mini Nirmal of Totes N' Beyond


Divya from M'seams The Creative Stitches came up with pretty stars and beige combo. She said she takes the phone sleeve when she goes for her morning walk. Well, you can make one too!


Who doesn't love the classic black and white? More so if it has these unique prints! These beauties are from Shruti Pothnis, a dentist behind pretty bags at Miz T  Handmade .


And other unique Indian prints are used by Prabha Mathew of Quiltaholics.


This is a perfect pattern to use all those scraps you've been waiting to use. A great personalized gift to make or make for your next market stall or your Handmade Shop.

Why wait, grab the pattern now while it's still on Special Price. Valid thru This Weekends! No Code is needed.

Happy Sewing

-Elvira-


{Coming Soon} New Pattern ~ Something Simple and Practical


I love to something simple. Simple to sew and practical. I've been making this phone pouch with detachable strap for the last 2 years.  Many customers always come back for more. 

No automatic alt text available.

This pattern will be a great project to use up your scrap or to use your favorite fabrics.

Image may contain: indoor


It's a perfect gift for all ages.
I will be making few for my sons' teachers, now that the session is ending.  


The pattern will have full colorful diagram, which I really enjoy drafting it. I included pattern for Kindle / E-Reader too. 


Personally I prefer separate file for instructions and pattern templates, but since it's small pattern, the instructions and templates will be in one file. 


If you plan to make one, subscribe to my newsletter at the top right corner of this blog to get first preview of the release.


Until then,

Happy Sewing


Latest Video