Powered by Blogger.
Showing posts with label Pattern update. Show all posts

Adding 2 in1Zipper Pocket to Nuno Small Wallet


Nuno Small Wallet Pdf Pattern


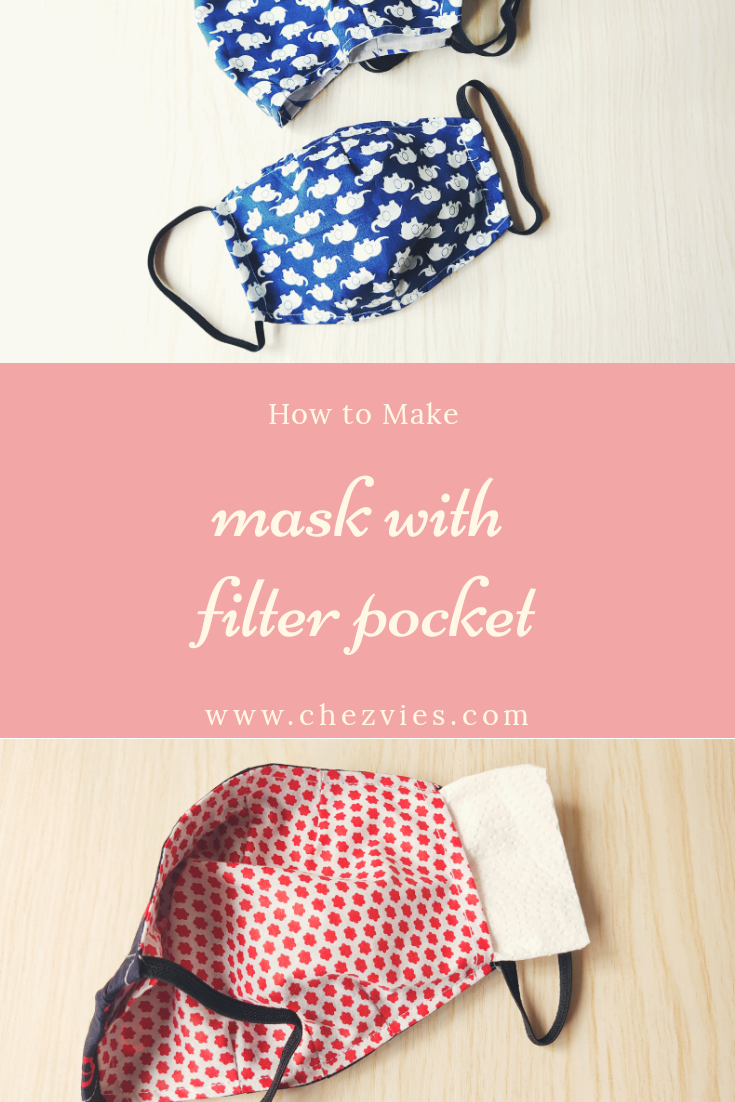
I got a few questions about adding an exterior zipper pocket on a wallet after I posted several wallets I made with a zipper pocket on my Instagram. I really like this kind of pocket because you get 2 exterior pockets and looks so cute! And my customers loved them too. 

So, as promised here's a quick tutorial for you all. This is I added a zipper pocket on Nuno Small Wallet. This will work with any wallet, like this mini travel wallet I made last month. 


Nuno Bifold Wallet


Let's get started:

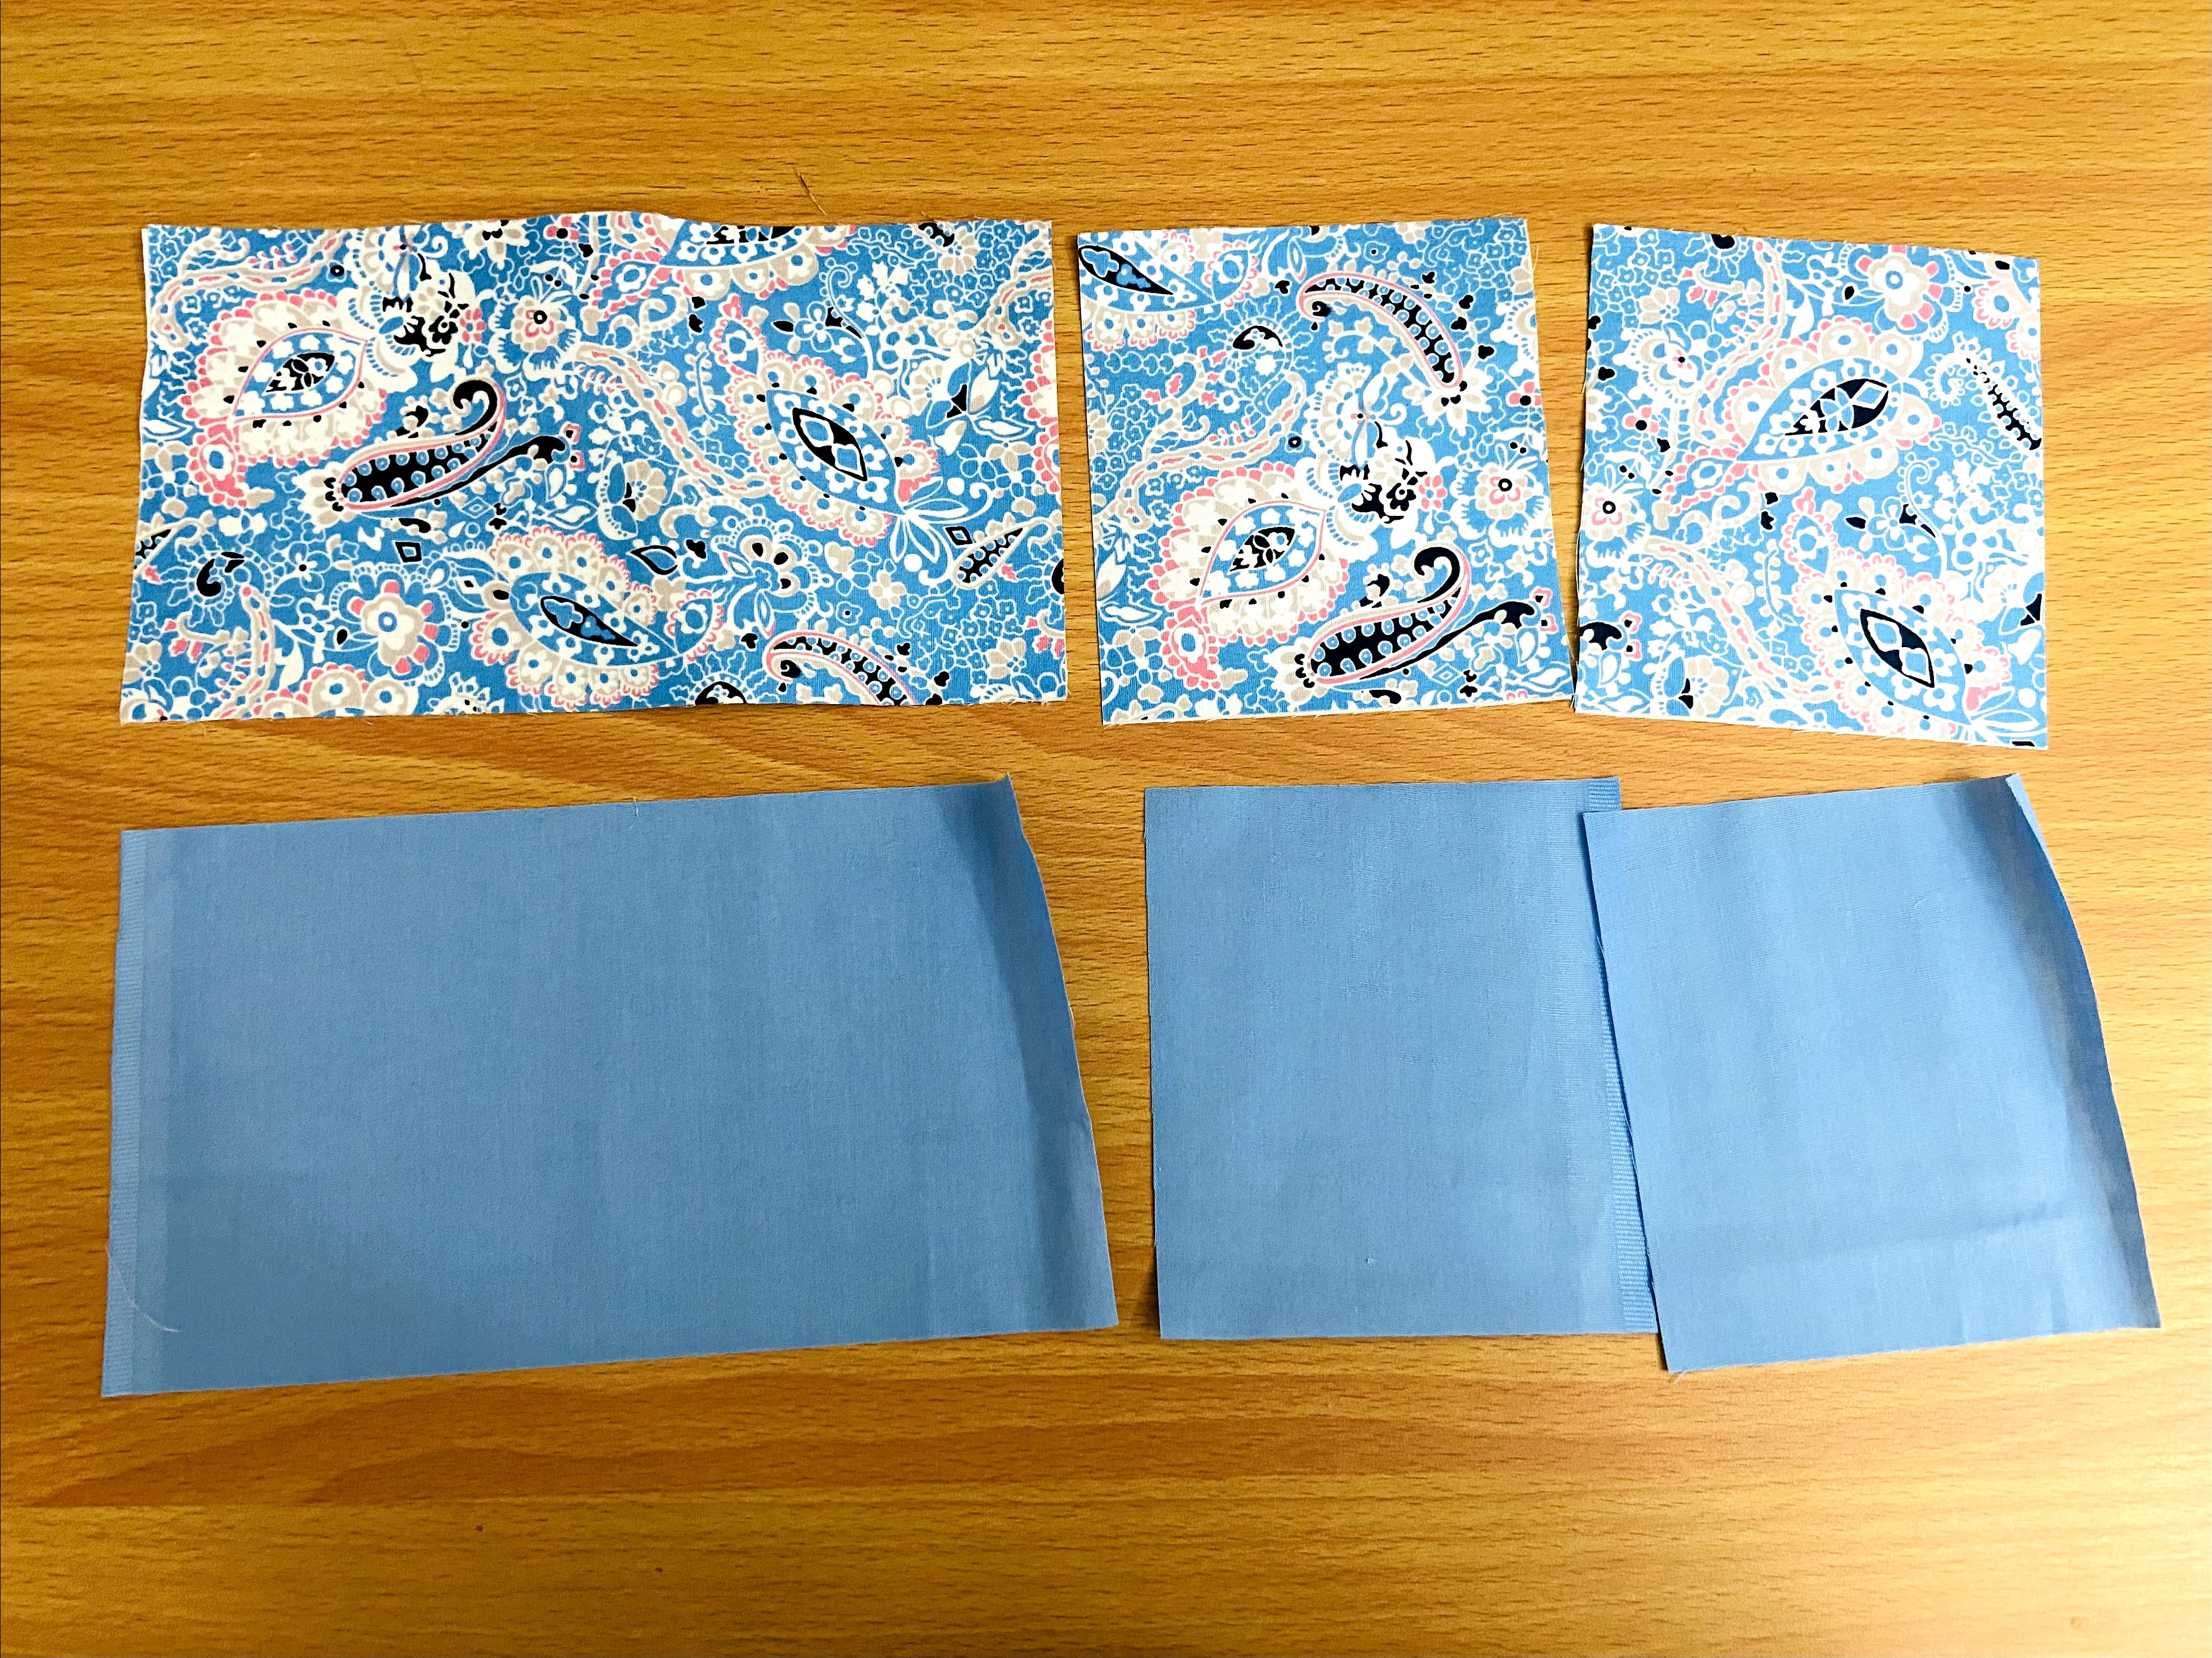
1. Cut 2 pieces of zipper pocket lining the same size as the wallet main body panel. Then cross-cut one of the wallet lining and the exterior body panel (cut the exterior after interfacing is applied).


2. Sandwich the zipper between the exterior and the lining and sew in place using a scant 1/4" seam allowance


3. Pull the exterior and lining panels away from the zipper so that the wrong side is together and topstitch using 1/8" seam allowance. And since I am using a longer zipper here, I cut one end of the zipper at this stage. This way it's easier to line up the panels while sewing the other part of the pocket.


4. Now repeat step 3 with the other panels. 


5. Cut off the other end of the zipper after you pull the zip head in. Stitch on both ends of the zipper to prevent it from sliding off the zipper tape. 


This is how it looks on the reverse side. 


6. On the reverse side, place the remaining lining panel on top of it, right side together. Sew the short sides of the lining together (don't sew through the exterior panel) and then baste stitch the long sides too. The finished size of the exterior with the zipper panel should be the same size as the main body panel. This is where the seam allowance while attaching the zipper is important. The zipper tape I used is a little narrow, hence I used a scant 1/4" seam allowance. 


7. Now your exterior wallet with zipper pocket is ready. Proceed according to the pattern to finish the wallet. 


What do you think? It's super easy, right? I'm working on a video tutorial now and hopefully will be up on my Youtube Channel by end of this week. Wish me luck!


If you have any questions, you can write them on the comment below or you can reach me via Instagram or our Facebook Group. I'll be glad to help you. 

If you find the tutorial helpful, please share it with your friends and on your social media accounts. 

By the way, I will be changing the platform for delivering the blog into your email since Google has announced that they will discontinue Feedburner which I'm currently using. I'm still learning the rope of using the new platform, so please bear with me. I apologize in advance for any inconvenience. Thank you so much for always supporting me. 

Until next time,
Take care & stay safe!

Elvira


Mask Pattern Hack Link - See through Mask Tutorial from Sarah


When Sarah from Confession of a Fabric Addict tagged me on Instagram that she made a see-through version of Trio 3D Face Mask I was so happy, to say the least. I mean, I follow her blog for many years and sometimes posted on her popular blog link party "Can I get a whoop whoop?" 

Everyone who sews has been making masks for family, friends, donation, and for sale. And with the pandemic, people can be really creative. When I started sharing my first mask tutorial, I never thought that in the next few months mask design will evolve so much. And Sarah's see-through mask is one of them! This kind of mask is important for lip readers so that they can communicate while being protected! Yes, wearing masks is about being considerate of others, even though it's a little uncomfortable!
If you already bought the TRIO 3D face mask, you can check out Sarah Tutorial on her blog HERE. 

Go and check the tutorial!


I'm still busy making masks too and here's a stack of Trio 3D Mask I made recently, already sent and received with a lot of love. Thank you! I'm still making a few more batches of masks. Batching is boring but that's the fastest method. Collecting fabrics, iron the, cut the strips, separate it by part, put on my fave Kdrama and start sewing. Even if I have only 1 hour sewing time before bed at night, at least I can finish sewing some parts. 


Download Trio 3D Face Mask

I already have a few orders lined up for the next few weeks and I'm making for my mom and sisters in Indonesia. If you sew, you can download the pattern from my webshop or EtsyAnd if you need help, simply email me!

Thank you once again Sarah for sharing the tutorial! You can check my other mask tutorial HERE. Some tutorials come with Pdf Printable version and some are not. 

Thank you for stopping by!
Happy Sewing & Stay Safe!

- Elvira- 


Mini Sling Bag Pattern Hack

Hello, how's everyone doing? I've been pretty busy making masks and few custom orders. I really appreciate your supports in the past few months since the pandemic started. It's been very tough for everyone, especially with heartbreaking news everywhere. Let's stay positive,  be kind, and help each other. Do what we can as an individual as well as a community. 

Today I will share how to scale up the mini sling bag the easy way without any computer involved. I know it's frustrating to scale up the pattern on the computer and print it a few times before you get the size that you want. 

This mobile sling bag pattern is very versatile. You can easily adjust the pattern based on 2 things:
  1. Phone model
  2. Whether or not it has a softcover. Softcover makes the phone slightly thicker. 
The basic is if you scale up the height of one part of the pattern do the same with the rest of the pattern pieces too. If you increase the height of the main body panel, increase the height/length of the pocket and flap too. Unless you want a shorter flap. Since the pattern pieces are mostly rectangle it's easy to increase the length or the height.

This basic rule applied if you want to increase the width too. I'd suggest increasing the width especially if you want to add a thicker batting or wadding.  Now, here's how to increase the width of the curvy flap:
  1. Take one piece of paper and fold it in half lengthwise. From the fold, mark how much you want to increase by drawing a straight line e.g 0.5 inches away from the fold. 
  2. Fold the original pattern lengthwise and place the fold on the line you just made and trace the pattern.

  3. Now it will look like picture # 3. Cut along the line you just traced.
  4. Your new wider pattern is done. This will increase the overall width by 1 inch. If you want to increase the overall width by 0.5 inches, draw the line 0.25 inches from the fold.


This matryoshka phone sling bag is to fit the new iPhone 11 and the newest android phone. I increase the length and width using the method above. 


If you want to learn how to make this mini sling bag, you can get the pattern on ETSY or my Webshop. 

Here is a supporting video I made a few months ago. I'll make better video when time permits :)


More Pattern Hack/Update

Thank you for stopping by.

Take care & stay safe!

- Elvira- 

Alternative Filter Pocket for 3D Fitted Face Mask

Face Mask with Filter Pocket

Everyone has their own preference and that's including masks. Some people prefer a surgical pleated mask, some prefer box pleated masks, some people prefer 3 D mask without filter pocket (including yours truly). As I wrote in my previous post, in a homemade mask the most important is as long as it dense enough. 

As I progress making more 3D masks, I improvised the pocket construction for the 3D Fitted Mask. Instead of cutting 2 lining fabrics like in the pattern, I cut one piece of lining and reduce the sides to create a pocket. The advantage of this pocket is you need less time to sew them together. 

So here's how to do it:

  1. Cut the short sides of the lining fabric by 0.75". I usually fold it in half, mark it using an erasable pen and cut it on the line. 

2. Fold the raw edge by scant 1/4" and fold it again by 1/4" and topstitch the short edges. The mask lining will look like in the picture below. 


3. Sew the lining and exterior panels together as per the pattern and turn the mask right side out.  Now, with the lining facing up, press the seam of the exterior panel nicely and topstitch all along the top and bottom seams only. 


4. Fold the short edge of the exterior panel towards the wrong side by scant 1/4 inch.


5. Fold it again by 1/2" and pin/clip in place.


6. Now the tricky part (don't worry, you can do it!). As you feed the fabric under the needle, pull the lining fabric gently so that it's away from the fold that you're going to stitch. Put the needle down, backstitch a couple of stitches and sew to the end. As you reach the end, gently pull the lining fabric again, away from the end of the fold. Finish sewing with a couple of backstitches. 


7. Tada! now your mask with filter pocket is ready. Insert elastic or fabric ties as you prefer.


Here I used a kitchen paper towel and folded it a couple of times. Insert the paper and you're ready to head out. 


3D Fitted Face Mask in ETSY

What do you think? which type of mask and filter pocket do you prefer? Let me know in the comment below. 

Thank you so much for stopping by.

Take care & stay safe!

- Elvira


Pattern Update : Pleated Mask without Binding

Just a quick post regarding pleated mask. If you don't want to do the binding like in the original tutorial, you can do the following : 

1. Cut the fabric 9.5" Wide x 14" long. (For broader face, you can cut 10" W or as needed). The measurements in this tutorial here is based on general surgical mask.

2. Follow the tutorial for creating pocket, nose wire and pleats. 

3. Once, you're done, the mask should measure more or less as follow: (please note that you can modify the pleats, the tutorial is guidance, esp for novice sewist) 

4. Now,  fold the raw edges by 1/8" or so towards the lining side (where the pocket is) and then fold it again by 1/2" and edge stitch. (I am making mask without lining here) 


5. Insert the elastic or ties and it's ready. Super easy! Maybe a bit fiddly in the beginning but you will get the hang of it. 
Thank you for downloading the tutorial. And if you have any questions, don't hesitate to email me. 

We're all in this together and we will get through this pandemic together. Keep sewing, stay healthy and safe, everyone! 

Happy Sewing,
Elvira


Pattern Update: New Video for Family Passport Wallet Pattern

Get the Pattern on Etsy

The Family Passport Wallet is my first Pattern that I release a few years ago. Although I write blogs and tutorials, but pattern is totally a different experience. I will try to keep sharing the updates through this blog. I'm thinking of re-writing the pattern but it will be difficult to resend the pattern to those who already purchase it. So, I thought sharing an update in this blog and my Youtube Channel is the best solution for all. 

The question I got the most is about assembling the passport slot and the zipper pocket. So, here's the updated version on how to make the passport slot and the mini zipper pocket. The method is  slightly different from the pattern: 

Mini Zipper Pocket (Easy Method)


Passport Slot (Easy Method)


I hope you find the videos helpful!
 Please subscribe to my blog and Youtube Channel so that you won't miss an update. 

Thank you for stopping by,

Happy Sewing

- Elvira- 

 ****
Resources: 


Passport Wallet Pattern Improvisation

Hello again,

I made this Mini Passport Wallet few weeks ago. This is an improvisation from the original pattern. This time I used faux leather and I really love how this turned out.


Ok, let's start!
First you have to download the Passport Cover Pattern from ETSY or HERE
You also need BIAS BINDING strip(around 10 inch long or so). 

Take the card slot base and cut the fabrics and interfacing by 1/2" and draw a curve on the TOP RIGHT corner only. Now, place the card slot as per pattern instructions on the card slot base. From the reverse side, attach the bias binding. Go easy on the curve and do not pull the binding. 


Snip along the curve, be careful not to cut the stitches :D


Fold the binding over the raw edge of the card base and pin in place


Carefully stitch the binding edge. Now your card slot is ready to be assembled. 


Finish the wallet as per the pattern:) It's super duper easy, right?


 I use all purpose interfacing for the faux leather to stabilize the stretchy leather.
I've been experimenting with faux leather in the past few weeks. I bought high grade FL from local shop and oh I love the colors they have!! I will show you soon. 

Do tag me using #chezviespatterns when you're posting on social media, or tag my INSTAGRAM account. I'd really love to see your creations! 

Happy Sewing!!

- Elvira - 

Zip Around Wallet with Binding Tutorial


As promised here is the tutorial for the zip around wallet. This method is finished with binding. We are going to use bias binding here and you can check how to make bias binding in this Post

What you need:

- Bias binding 1.75" wide 
- #5 zipper - 24" long
- ZIpper Foot (Optional)

Let's start :

1. Assembled the passport wallet as per the pattern instructions, minus the FLAP making part. Mark the centre top and bottom of the wallet with erasable pen. Then mark approx 3/8" to 1/2" on each side of the centre mark, like shown the in the picture below. 


2. Prepare the zipper : 

On the open end, fold the zipper tape diagonally like the above picture

Then fold it down and hold it with a clip or pin

sew along the edge like the above picture.


Sew across the close end of the zipper to prevent the zip puller from slipping off

3.  Attaching the zipper.

We will attach the zipper from the interior part of the wallet. Open the zipper and start at the top, align one folded end of the zipper , right side up,  on the right side mark. 


 Using wonder clips, clip the zipper tape all around and start sewing from the top with 1/8" seam allowance and stop when you reach the right side mark at the bottom. 


Go slow around the corners. Sew one stitch at a time as you maneuver the wallet. 


Now close the zipper and draw a line on the zipper tape from where the stitch end, like in the picture below. 


Now open the zipper again and place the marked zipper tape  in line with the left side mark at the bottom. Clip all around and start sewing from the marked line all the way to the top of the wallet with 1/8" seam allowance and stop on the left side mark. 


When finished, it will look like the pictures below: 


4. Attaching the binding. 

Fold end of the bias binding  diagonally and place it on one side of the wallet, covering the zipper tape. Sew with scant 1/4" seam allowance. 


Be careful while maneuvering around the corners. Remember to always push the zipper teeth away. Setting the machine speed lower will help. 


when you reach the bottom, just pull the zipper tail inward and continue sewing. 


Before turning the bias binding, slightly cut /round the corners and make small clips on the zipper and binding fabric in the corners.  


Now, put on your fave movie and start hand sew the binding :D


Last step, trim the zipper end by about 2" and encase the end of the zipper tape with a matching fabric. 

et Voila!! Pat yourself on the back for completing your beautiful wallet with all around zipper! 


I hope the tutorial is clear enough. I will try to make a video tutorial when I make my next passport wallet! It was kind of difficult to take photos and video at the same time ^_^ 

here is the wallet in action on my YouTube Channel


Do tag me in Instagram if you make one based on this tutorial. 

Thank you for your patience reading this long post :)

Happy Sewing!

- Elvira -


Latest Video