1. Iron the interfacing on the wrong side of the contrast fabric and fold the longer sides towards the center like in the picture below.
2. Now fold the flap so that the short ends meet.
3. Sew around the three sides, leaving the raw edge side unsewn.
4. Place the flap on the center left of the exterior panel and baste stitch. The seam allowance is 1/8" (3 mm).
5. On the right side, install the snap button socket, approximately 1" (2.5 cm) away from the center.
6. The button cap should only placed through the exterior panel and the first lining panel. You can install the button cap before attaching the binding or after.
7. On the flap, install the other part of the snap button approximately 0.5" (1.3 cm) away from the top.
Now continue finishing the wallet as per the pattern. That's super easy, right?
If you are not sure whether you will be able to sew Rosie Wallet yet, you can watch the video below for more guidance.
If you already purchased the pattern and have any doubts, feel free to email me. If you have not, don't forget to use the coupon codeCVG20when purchasing the pattern
Thank you so much once again for your continued support! If you have any questions regarding sewing or quilting and want me to make video tutorials, simply reply to this email. I'd love to hear your ideas!
Recently I updated the Voyage Passport Wallet pattern to include the zipper closure tutorial, especially for those who prefer the written tutorial to the Video Tutorial. The pattern is the same as the original one and I only added the instructions for zipper closure.
If you purchased the Voyage Passport Wallet Patternbefore Dec 7, 2023, you can download the tutorial for FREE. The Add-On file DOES NOT INCLUDE a complete tutorial to make the passport wallet.
The Voyage Passport Wallet is a quick and easy-to-make accessory with a minimalist design that can hold a lot of items. It can hold up to four passports (two on each sleeve), as well as two cardholders. Its compact size makes it perfect for carrying it in your travel handbag or backpack.
The trick for sewing a zip-around wallet is to always use a zipper foot! I don't always use it as the regular foot I am using is pretty narrow (don't be like me 😀 ) and if you can set the speed, use the slower speed. Take your time to learn. It's not rocket science, so with enough practice, I am sure you can master it too.
In the tutorial, I showed how to sew the zipper end tab the easy way, but you can always use the metal zipper end or the button style like in this video.
Don't forget to use the coupon code CVG20 when purchasing the pattern either from myWEBSITE or ETSY SHOP.
Thank you so much once again for your continued support! If you have any questions regarding sewing or quilting and want me to make video tutorials, simply reply to this email. I'd love to hear your ideas!
A few weeks ago I had a customer asking for a zipper pocket instead of a flap pocket for the Nuno Wallet. While making the order, I decided to take photos of the process and share it with you. In this additional tutorial, I will also share how to create Faux Binding.
So without further ado, let's start.
Additional Material and Cut:
- #3 All-purpose zipper 5" long
- Cut the divider panel lining piece 4.75" wide.
Please note that this is an additional tutorial for Nuno Wallet. The original pattern may not include this tutorial.
1. Use #3 or an all-purpose zipper around 5" long or longer. Fold the end of the zipper tape as shown in the picture below.
2. Place the zipper right side facing down on the right side of the fabric, 1.5" away from the center crease. Baste stitch with a seam allowance of 1/8" (3 mm).
3. Now bring the left part of the pocket fabric on top of the previously sewn zipper and top stitch with a seam allowance of 1/4" (6 mm). Don't forget to backstitch at the beginning and at the end.
4. Turn the wallet right side out, poke the corner, and finger-press the seam flat. Now, top stitch with a seam allowance of 1/8" (3 mm). Trim the excess zipper tape.
5. Fold the pocket 1.5" away from the left at the point where the zipper is and top stitch with a seam allowance of 1/8" (3 mm). Backstitch at the beginning and end.
6. From this point, follow the pattern by placing the pocket panel and the card slot panel on the divider piece. Then, Place the assembled panel on the divider lining piece. Baste stitch along the sides and bottom with a seam allowance of 1/8" (3 mm).
7. Fold the extended lining piece towards the wallet's raw edge and then fold it to encase the raw edge. Make sure it covers the previous stitching line. Pin in place.
8. Carefully topstitch close to the edge.
and that's it! It's pretty simple and easy, right? Sewing a wallet or bag with a zipper is not difficult. I personally like to baste the zipper first before doing the permanent stitch. That way it will come out neater.
Now you have an option for making The Nuno Wallet with a zipper pocket instead of a flap pocket. This Nuno small wallet is very compact and functional. With cashless payment becoming a trend everywhere now, many people carry fewer cards.
I hope you can learn a few things from the tutorial. Do let me know in the comment below if you have any questions.
Last week, I was pretty productive. I made a couple of wallets for orders and also finished 2 wallets from my WIP bucket! It feels good to be able to finish a few from the WIP list.
This pink strawberry wallet is one of my best sellers! There's a Blue and Red one too in the shop. I love making this Nuno Small Wallet and is still my fave wallet to use for everyday, and I made one for my son too!
I love this wonderland fabric from Rifle Paper Co. Well, I love all their fabrics and purchased a few fabrics before the pandemic, but now it's too expensive to buy because the shipping charge is pretty high. Anyway, I recorded the video when I was making this Wonderland wallet. I am still editing it now and hopefully will be able to share it soon! Pattern available HERE.
When making a wallet, choosing the fabric combo always takes a long time for me. Sometimes, I even end up using a different combo than what I initially picked.
(I had fun making the BTS video below!)
The second WIP I finished was this Red Floral Wallet. The fabric is from Sevenberry and I love the tiny floral print. This time, I used metal zipper and I love how this turned out. Also for the zipper end, I used the metal zipper end cap. I kinda love it although putting the tiny screw on the cap was a bit hard for me! I need to get the small screw driver!
Earlier this week, I went to the Post Office with Meenakshi, from Rustic Origin. We thought we'll check the latest update regarding sending parcel via India Post. It was totally waste of time because the person in charge in the main Guwahati PO were not interested or not willing to help. So we deciced to go hang out for a bit at the Starbucks at the Brahmaputra Heritage Center. It's good we decided to go there because the view is so good. I think during sunset would be lovely!
Brahmaputra Heritage Centre
Brahmaputra River
After chilling out in Starbucks we went back to the PO and I still could not send my parcels. I decided to go the the University PO near my house, instead. The lady at the PO is very nice and seems to be well informed, and very helpful. Finally all my packages were on their way.
In front of the University PO
This week, I will catching up on my Quilting Bee block. I have 2 blocks to finish! Wish me luck!
It's been a long time and I hope
you all are doing great. There are a lot of things happening right now at ChezVies,
some are sewing related and some are not.
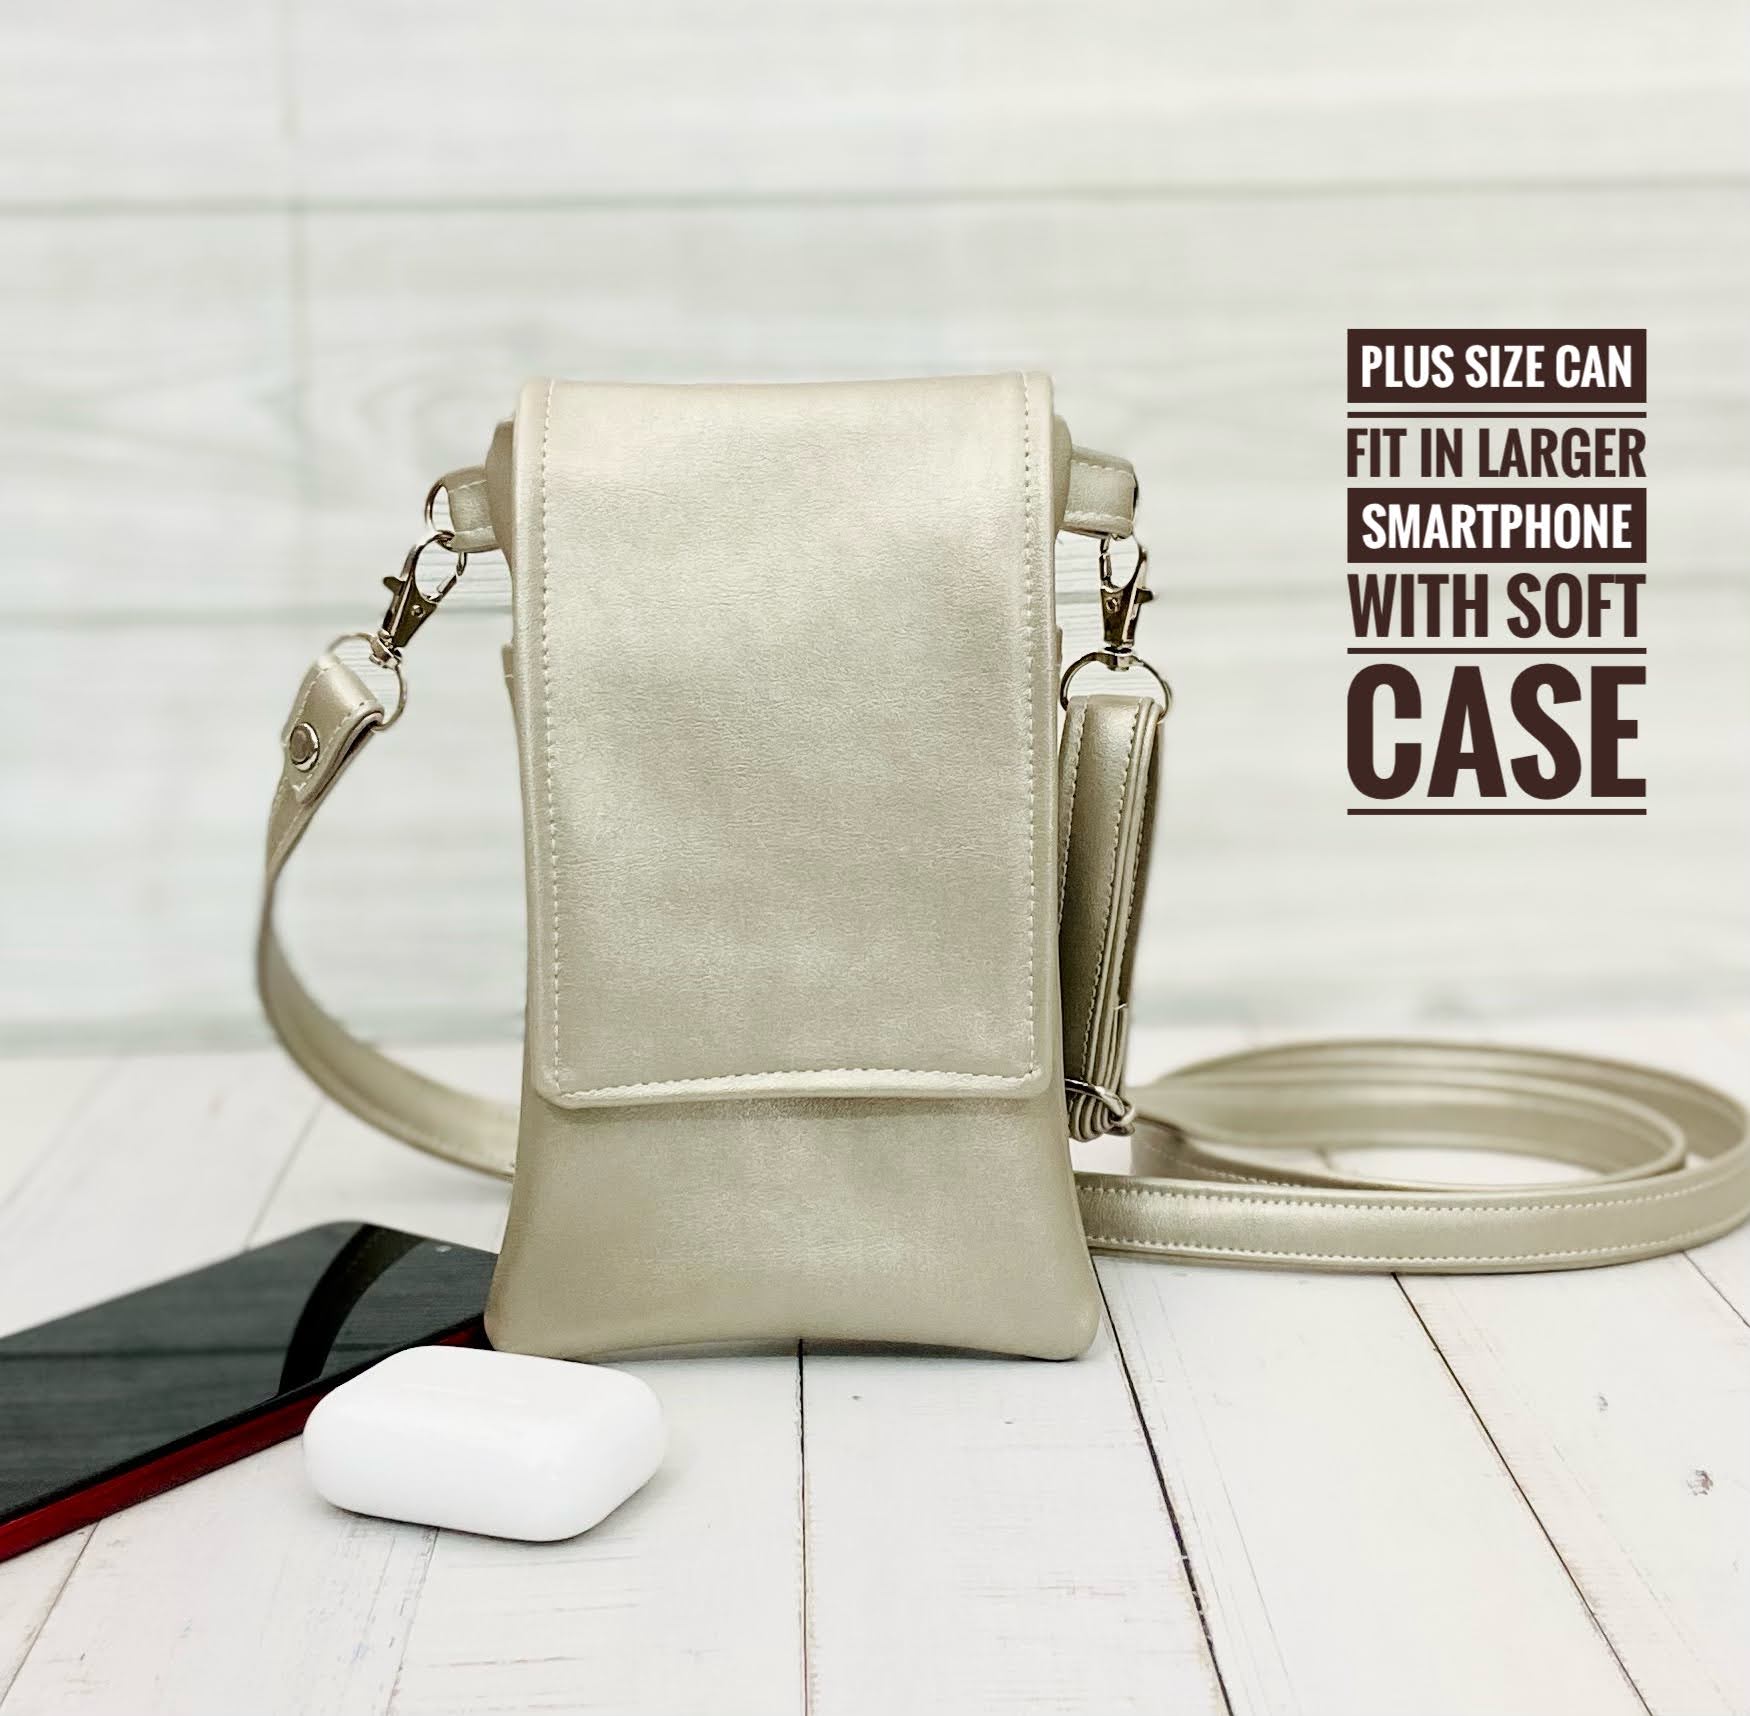
At my sewing corner, recently I
updated the Phone & Kindle Pouch pattern after getting a lot of
constructive feedback via emails as well as comments on Youtube.
Oh, I also name it the MiniMax Crossbody bag. It's a mini bag with
maximum utility. Truly giving a name to a pattern is not easy, it took me 3
days to find the name that I feel will match the bag.
For the second one, I also added
instructions for adding a back zipper pocket, which I also previously shared in my blog.
In the new version, instead of a
picture diagram, I used real photos in the tutorial with clear step-by-step
instructions. I also added a video tutorial for using faux leather or vinyl.
Thank you for being part of my
sewing journey and this creative community! If you shared on social media
please use hashtag #chezviespatterns. I would love to see your lovely
creations.
As promised in my previous post, finally the video tutorial for the small passport wallet is up on my YouTube channel now. And as I edited the original pattern to add the link, I also gave a name to the pattern. Well, I am really not good at giving names but then, as I make more patterns, I suppose it's inevitable for me to give a certain name. This time, I go with the simple name Voyage Passport Wallet. I plan to update the original pattern with better photos when I get the time, so please bear with me.
In the video, I cut the pattern pieces slightly bigger than the original one, because I want to use it for Journal Cover like in my previous post
For the zipper version, all the basics remain the same as the original pattern. If you want to make it with zipper closure, here are the additional materials to cut/change:
✓ Cut 2 - Medium or All-purpose interfacing for main exterior and lining
✓ Cut 1 - Fleece Batting - the same size as the main exterior
✓ #5 Zipper – 24” Long (based on the continuous zipper that is cut to size)
If you're new here and wondering about the interfacing I used in my wallets, I wrote my secret guide for interfacing in THIS POST and THIS POST. My suggestion is to keep experimenting until you find the combination that you like the most. In the hydrangea passport wallet above, I used all-purpose interfacing for the main body and using medium interfacing for the sleeves' base. The wallet turned out softer and I can even fit it with more passports - up to 4 passports and it still closed nicely.
I made another Voyage Wallet with Snoopy Print as a custom order. Some of the crafters, DM me on Instagram asking how to do bias binding nicely. As I mentioned in my previous post, before cutting the binding (cross-cut or bias), make sure the fabric grains are straight. This small step is very important to get a good finish. And of course, practice! Practice makes improvement. Sometimes even I had to rip off the already sewn binding because I didn't straighten the grain nicely and resulted in sloppy finish.
Another question is, can I use cross-cut binding instead? Yes, you definitely can. I made a couple of passport wallets with zippers using cross-cut binding. It will be like the usual wallet binding, like in THIS tutorial. When you want to use cross-cut binding for a zipper wallet, do not CURVE the corners. I will make the video next time when I am working on a wallet binding.


