Powered by Blogger.

Scrappy Wallet Video Tutorial

 
Scrappy Mini Purse

Hello,

Over the last month, I've been quite occupied. Although I intended to write blogs on a regular basis, I never got around to doing it. However, with my younger son's half-term exams completed and my elder one returning to college, I finally have some free time to write! 

Today, I just wanted to share with you that I recently made some really cute mini wallets from scraps and even created a tutorial on my YouTube channel! These wallets turned out great and I think they could make awesome gifts, especially with the holiday season coming up. 


I found that using narrow strips with a maximum width of about 1.5" worked best for me. Personally, the narrower the better! All the details on how to do this are provided in the video, but if you prefer to read rather than watch, there's a written tutorial available on my website.
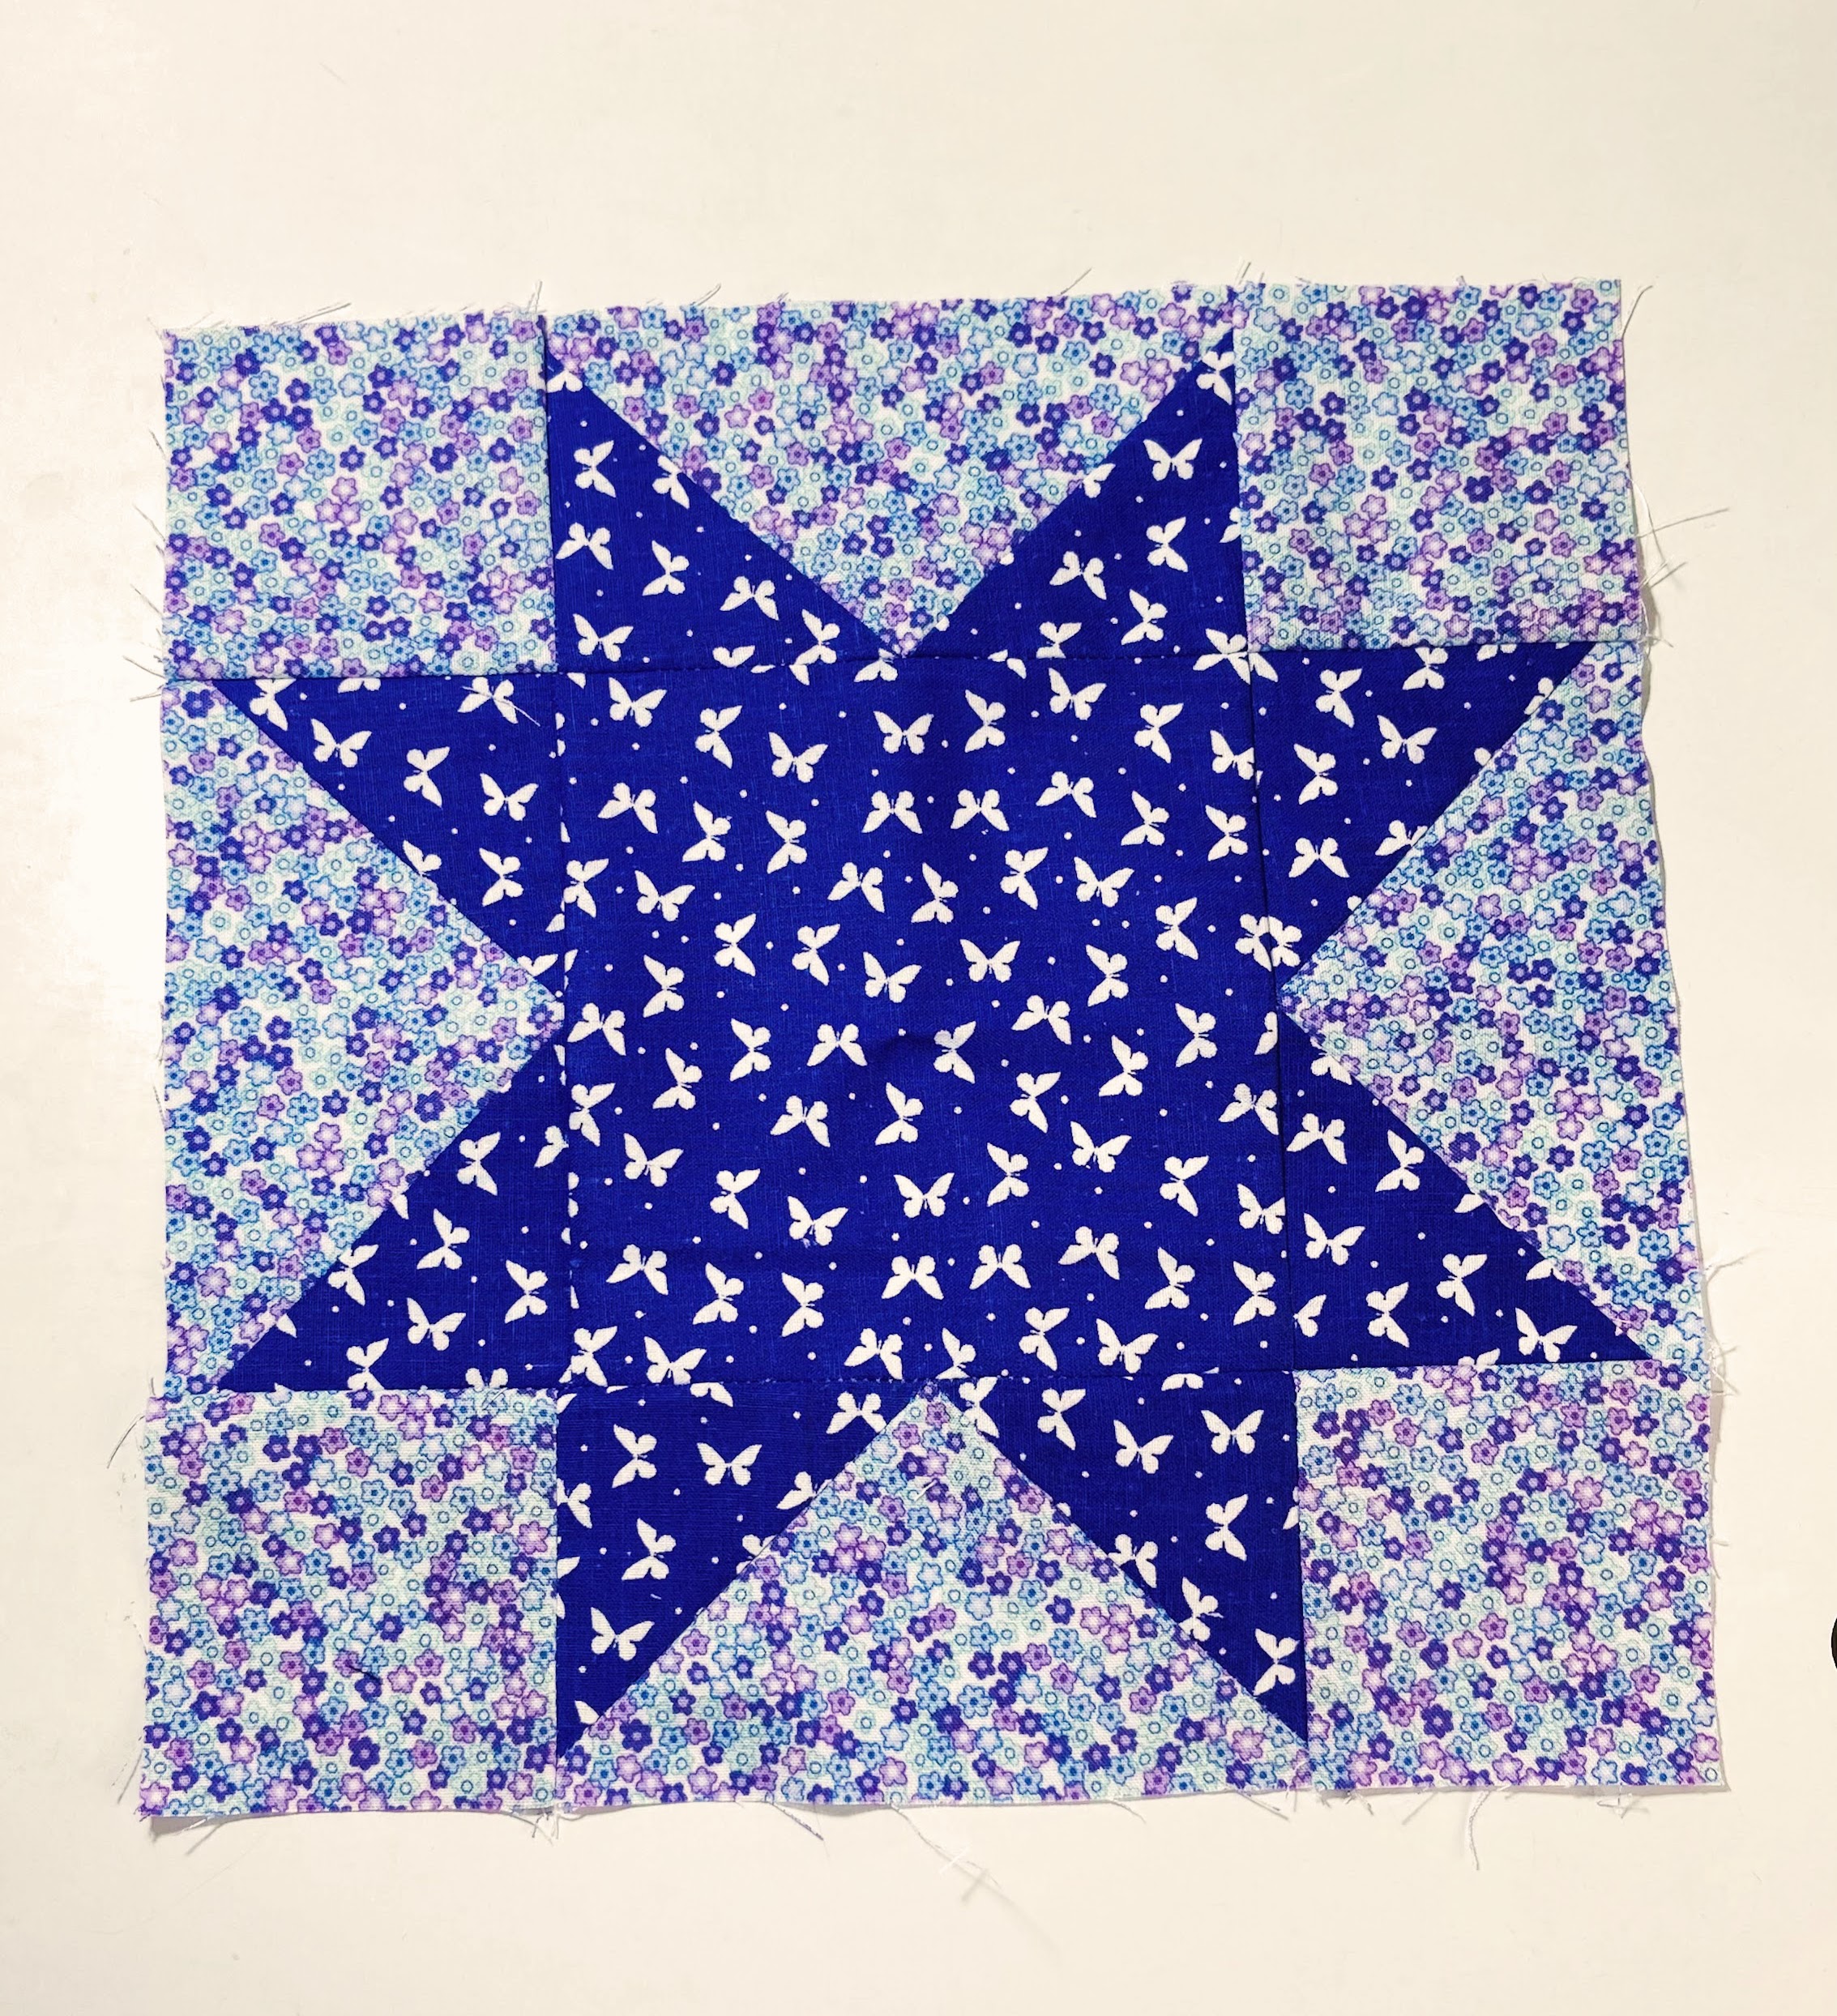


When making scrappy patchwork, color combination is crucial. If overwhelmed by choices, it's best to stick to single-color shades or a maximum of two colors, such as pink and green.

small wallet with lanyard


mini wallets with wrist strap


I also created a wrist strap that matches! You can find the tutorial for making the wrist strap on my YouTube channel as well. It seems that mini wallets with short lanyards have become quite trendy these days. What about you? What's your favorite scrappy project to work on?


Thank you for stopping by today!

Happy Sewing,

Elvira


Linking up to these wonderful BLOGS


Coasters from Leftover Scrap Fabrics (Video Tutorial)

 Hello,

I wanted to share with you what I recently made - a couple of coasters as gifts. I didn't really feel like sewing, but I needed to make something quick. So, I grabbed the scrap bag under my cutting table and started picking out a few fabrics. I decided to keep it simple and use just one set of colors for the coasters. They turned out pretty nice, and I hope my friend loved them!


These coasters are really easy and quick to make. It takes around 10-15 minutes only. Well, I spent more time picking up the fabrics. I mean, rummaging through scrap bins is really fun, right? I just made some coasters and they were so easy and quick to make! It only took me around 10-15 minutes to finish them. Although, I must admit that I spent more time picking out the fabrics. Going through scrap bins is just so much fun, don't you think?


Materials I used:

Leftover strips of fabrics 5 1/2 x 5 1/2 inches lightweight non-woven interfacing (optional) 5 x 5 inches fabric for backing

As I love making videos, here's the video tutorial to make the coasters!


When it comes to fabric choices, I like to use cotton batting for my larger projects, but for smaller ones, I'll use whatever is available. Recently, I made a pink-green coaster using poly batting, but it turned out a bit flat, even though I didn't quilt it too densely. On the other hand, the blue coasters I made with cotton batting and only quilted along the seams turned out great. In the video, I used block print scrap fabrics, which have different shades of every color. To give my final product more structure, I always use nonwoven lightweight interfacing, but you can skip it if you prefer a different finish.


I have a few more unfinished projects in progress. Follow me on YouTube where I share almost daily updates on my work.


Thank you for stopping by,

Happy Sewing!

Elvira


Pattern Update: Adding Zipper Coin Pocket on Nuno Wallet

Nuno Wallet with Zipper Pocket 

Hello, 

A few weeks ago I had a customer asking for a zipper pocket instead of a flap pocket for the Nuno Wallet. While making the order, I decided to take photos of the process and share it with you. In this additional tutorial, I will also share how to create Faux Binding.


So without further ado, let's start.


Additional Material and Cut:

- #3 All-purpose zipper 5" long

- Cut the divider panel lining piece 4.75" wide.

Please note that this is an additional tutorial for Nuno Wallet. The original pattern may not include this tutorial.


WATCH THE VIDEO


Let's go:

1. Use #3 or an all-purpose zipper around 5" long or longer. Fold the end of the zipper tape as shown in the picture below.


2. Place the zipper right side facing down on the right side of the fabric, 1.5" away from the center crease. Baste stitch with a seam allowance of 1/8" (3 mm).


3. Now bring the left part of the pocket fabric on top of the previously sewn zipper and top stitch with a seam allowance of 1/4" (6 mm). Don't forget to backstitch at the beginning and at the end.


4. Turn the wallet right side out, poke the corner, and finger-press the seam flat. Now, top stitch with a seam allowance of 1/8" (3 mm). Trim the excess zipper tape.


5. Fold the pocket 1.5" away from the left at the point where the zipper is and top stitch with a seam allowance of 1/8" (3 mm). Backstitch at the beginning and end.


6. From this point, follow the pattern by placing the pocket panel and the card slot panel on the divider piece. Then, Place the assembled panel on the divider lining piece. Baste stitch along the sides and bottom with a seam allowance of 1/8" (3 mm).


7. Fold the extended lining piece towards the wallet's raw edge and then fold it to encase the raw edge. Make sure it covers the previous stitching line. Pin in place.


8. Carefully topstitch close to the edge.


and that's it! It's pretty simple and easy, right? Sewing a wallet or bag with a zipper is not difficult. I personally like to baste the zipper first before doing the permanent stitch. That way it will come out neater.


VIDEO TUTORIAL:


Small Bifold Wallet


Now you have an option for making The Nuno Wallet with a zipper pocket instead of a flap pocket. This Nuno small wallet is very compact and functional. With cashless payment becoming a trend everywhere now, many people carry fewer cards.

I hope you can learn a few things from the tutorial. Do let me know in the comment below if you have any questions.


Thank you for stopping by!

Happy Sewing

Elvira


New Rosie Wallet Sewing Pattern with Video Tutorial

Rosie Wallet Pattern


Hello, 


Hello there! It's been a while since I posted here. I hope you're all doing well and healthy! 


I recently returned from my holiday to Indonesia and have been keeping busy working on my latest creation - the Rosie Wallet! This wallet is not only stylish, but it's also functional and can hold more than 10 cards, folded notes, and coins. It's a great pattern for both beginners and experienced sewists and makes for the perfect gift during festive seasons and birthdays.


Handmade Wallet 


Before my trip to Indonesia last month, I made several gifts (although I didn't get a chance to take pictures of all of them). My friends and sisters instantly loved the gift because it was easy to slip into their small bags or jeans without being bulky.

Rosie Wallet is pretty easy to make and with 2 in 1 zipper pocket, you can easily have 2 zipper pockets by installing 1 zipper! I think it's my current fave of pocket. Because we always need space to keep odds and ends in our wallets, such as my hijab pins, a ring, etc. 


The Rosie Wallet features: 

- Slim and compact design
- 2 slip pockets for cash and extra cards
- 4 cardholders - can fit in 3 cards in each slot! 
- Hidden Kam snap button closure
- Dual Compartment Exterior Zipper Pocket

It does not take much material to make this wallet. You can practically make the wallet using the scraps! That is how I first came up with the idea! 

As for the binding, in this pattern, I included step-by-step photos to finish the binding by machine and also you can watch the VIDEO TUTORIAL for more details. 


The pattern is now 25% off on both ETSY and WEBSITE until the end of the month! 


I hope you enjoy making the wallet. If you have any questions, leave a comment or two, I'd be glad to help you. 

Please use hashtag #chezvies or #chezviespatterns when sharing your handmade wallet so that others can see your beautiful works too. 


Happy Sewing!

Elvira


New Video Tutorial - Classic Bifold Wallet

Classic Bifold Wallet


Hello, 

Finally, the supporting video to make this classic bi-fold wallet is here. I hope you enjoy making the wallet. This chic classic wallet is slim and spacious for organizing your cards, cash, phone, and other necessities. 

The pattern is written in simple English and includes a cutting guide, full-scale templates for various flap designs, step-by-step photos, and helpful diagrams to guide you through the sewing process. The wallet is designed to be sturdy and durable.


The materials needed to make this wallet: 

- Assorted quarter yard of fabrics

- Quarter-yard all-purpose interfacing

- Fleece batting 

- Lightweight Interfacing

- Zipper

- Kam Snap Button


DETAIL FEATURES:

* Finished Size: 4.25" W x 8" H

* 6 card slots

* 2 slip pockets that can accommodate a smartphone and passport,

* a long zipper pocket for cash

* a snap button closure


VIDEO TUTORIAL: 


I hope you enjoy making the wallet. If you have any questions, leave a comment or two, I'd be 

glad to help you. 

Please use hashtag #chezvies or #chezviespatterns when sharing your handmade wallet so that others can see your beautiful works too. 


Happy Sewing!

Elvira


Quilting Bee Update - February March Blocks


Hello,
In the past few months, I am enjoying making blocks for the quilting bee that is going on in the Desi Quilters Group on Facebook. This red quilt as your go block is for Deepti. Oh, I love doing QAYG, and looking at what others have made in the group is really inspiring. This red QAYG block is approximately 14.5 x 14.5 inches unfinished. 

The challenge of making a bee block is when the Queen Bee is only asking for the unfinished block size without specifying what kind of block or what color they prefer. When this happened I tend to choose the traditional blocks. Like this Purple Star Block. Aparna was asking for 101/2 inches block and I am in the mood to do some HST.


I searched on Pinterest and found this star block from Bernina  Summer Sparkle Quilt Along on We All Sew. I thought this will be perfect! 


Made another one using Indonesian Batik


As usual, I recorded the video as I sew just for fun! 


Another block I made is for Revathi. She wanted courthouse steps log cabin block. The log cabin is another fave block of mine and I'm so excited to make this one. Here's what I sent to Revathi. The block is based on THIS tutorial
The centerpiece is 3.5" square and the strip is 2" wide. You can cut the fabric strip before sewing them together, or (my preferred method) is just sew and cut later like in THIS video


Courthouse Steps Log Cabin for Revathi


And of course, I made a mini version just because I love this pink and blue bundle! The block is 7 x 7 inches unfinished, I think I am going to make a coaster with it. 


This quilting bee is really a great and fun learning experience for me. For some blocks, I made a few and keep, and maybe will assemble them together later on. Meanwhile, I have received all my blocks! I will share them in my next post! I always plan to write regularly but never happened. I really should make an effort to write more.  

Thank you for stopping by today! 

Happy Sewing! 

Elvira


*************


*************

A few wallets

 Hello,


Last week, I was pretty productive. I made a couple of wallets for orders and also finished 2 wallets from my WIP bucket! It feels good to be able to finish a few from the WIP list. 

This pink strawberry wallet is one of my best sellers! There's a Blue and Red one too in the shop. I love making this Nuno Small Wallet and is still my fave wallet to use for everyday, and I made one for my son too! 
 

Cute Strawberry Wallet


I love this wonderland fabric from Rifle Paper Co. Well, I love all their fabrics and purchased a few fabrics before the pandemic,  but now it's too expensive to buy because the shipping charge is pretty high. Anyway, I recorded the video when I was making this Wonderland wallet. I am still editing it now and hopefully will be able to share it soon! Pattern available HERE. 


Wonderland Bifold Wallet


When making a wallet, choosing the fabric combo always takes a long time for me. Sometimes, I even end up using a different combo than what I initially picked. 
(I had fun making the BTS video below!) 


The second WIP I finished was this Red Floral Wallet. The fabric is from Sevenberry and I love the tiny floral print. This time, I used metal zipper and I love how this turned out. Also for the zipper end, I used the metal zipper end cap. I kinda love it although putting the tiny screw on the cap was a bit hard for me! I need to get the small screw driver! 


Floral Small Wallet

Small Bifold Wallet  


Earlier this week, I went to the Post Office with Meenakshi, from Rustic Origin. We thought we'll check the latest update regarding sending parcel via India Post. It was totally waste of time because the person in charge in the main Guwahati PO were not interested or not willing to help.  So we deciced to go hang out for a bit at the Starbucks at the Brahmaputra Heritage Center. It's good we decided to go there because the view is so good. I think during sunset would be lovely! 


Brahmaputra Heritage Centre


Brahmaputra River


After chilling out in Starbucks we went back to the PO and I still could not send my parcels. I decided to go the the University PO near my house, instead. The lady at the PO is very nice and seems to be well informed, and very helpful. Finally all my packages were on their way. 


In front of the University PO

This week, I will catching up on my Quilting Bee block. I have 2 blocks to finish! Wish me luck! 


Until next time,

Happy Sewing


Elvira

********

Linking up to these wonderful BLOGS

********


Latest Fabrics

Latest Video