The most FAQ regarding the mini crossbody phone bag is "can I make it with Vinyl or Faux Leather?"
Absolutely! So yesterday, I made one for myself and also recorded a short video as I sewed.
Sewing with faux leather is pretty fun, meaning I cut fewer materials and the result is always looking great! I used high-grade sofa leatherette that I bought from a local furnishing shop. It was pretty expensive but it's worth it! It's just the right thickness, pliable and a dream to stitch.
A few things to keep in mind when making this bag with Vinyl is to skip the interfacing and batting.
So basically you cut fewer materials! Unless the vinyl is thin and soft, you might want to add lightweight interfacing for that.
Another thing is to always double stitch the seam.
Faux Leather Bag
For the detachable long strap, I cut 2" wide x 58" Long faux leather. The finished strap is a little wider than 0.5" wide.
As for the D-ring tab, I cut 2 of 0.5" W x 2" H faux leather. Put them on the wrong side together and just top stitch along the edges. I still have a lot to learn about sewing with faux leather. I have a couple projects in mind, but I still keep procrastinating a lot!
Well, I hope these few tips will answer your doubts in case you want to sew the phone sling bag using faux leather. Do let me know if you have any questions, I will try my best to help you.
I have not done much sewing since Ramadan started but I have a few projects that are ready to sew when the mood strikes and I have time. Yes, bacthing your work does help! I have many projects (mostly wallets and small bags) that are ready to sew now.
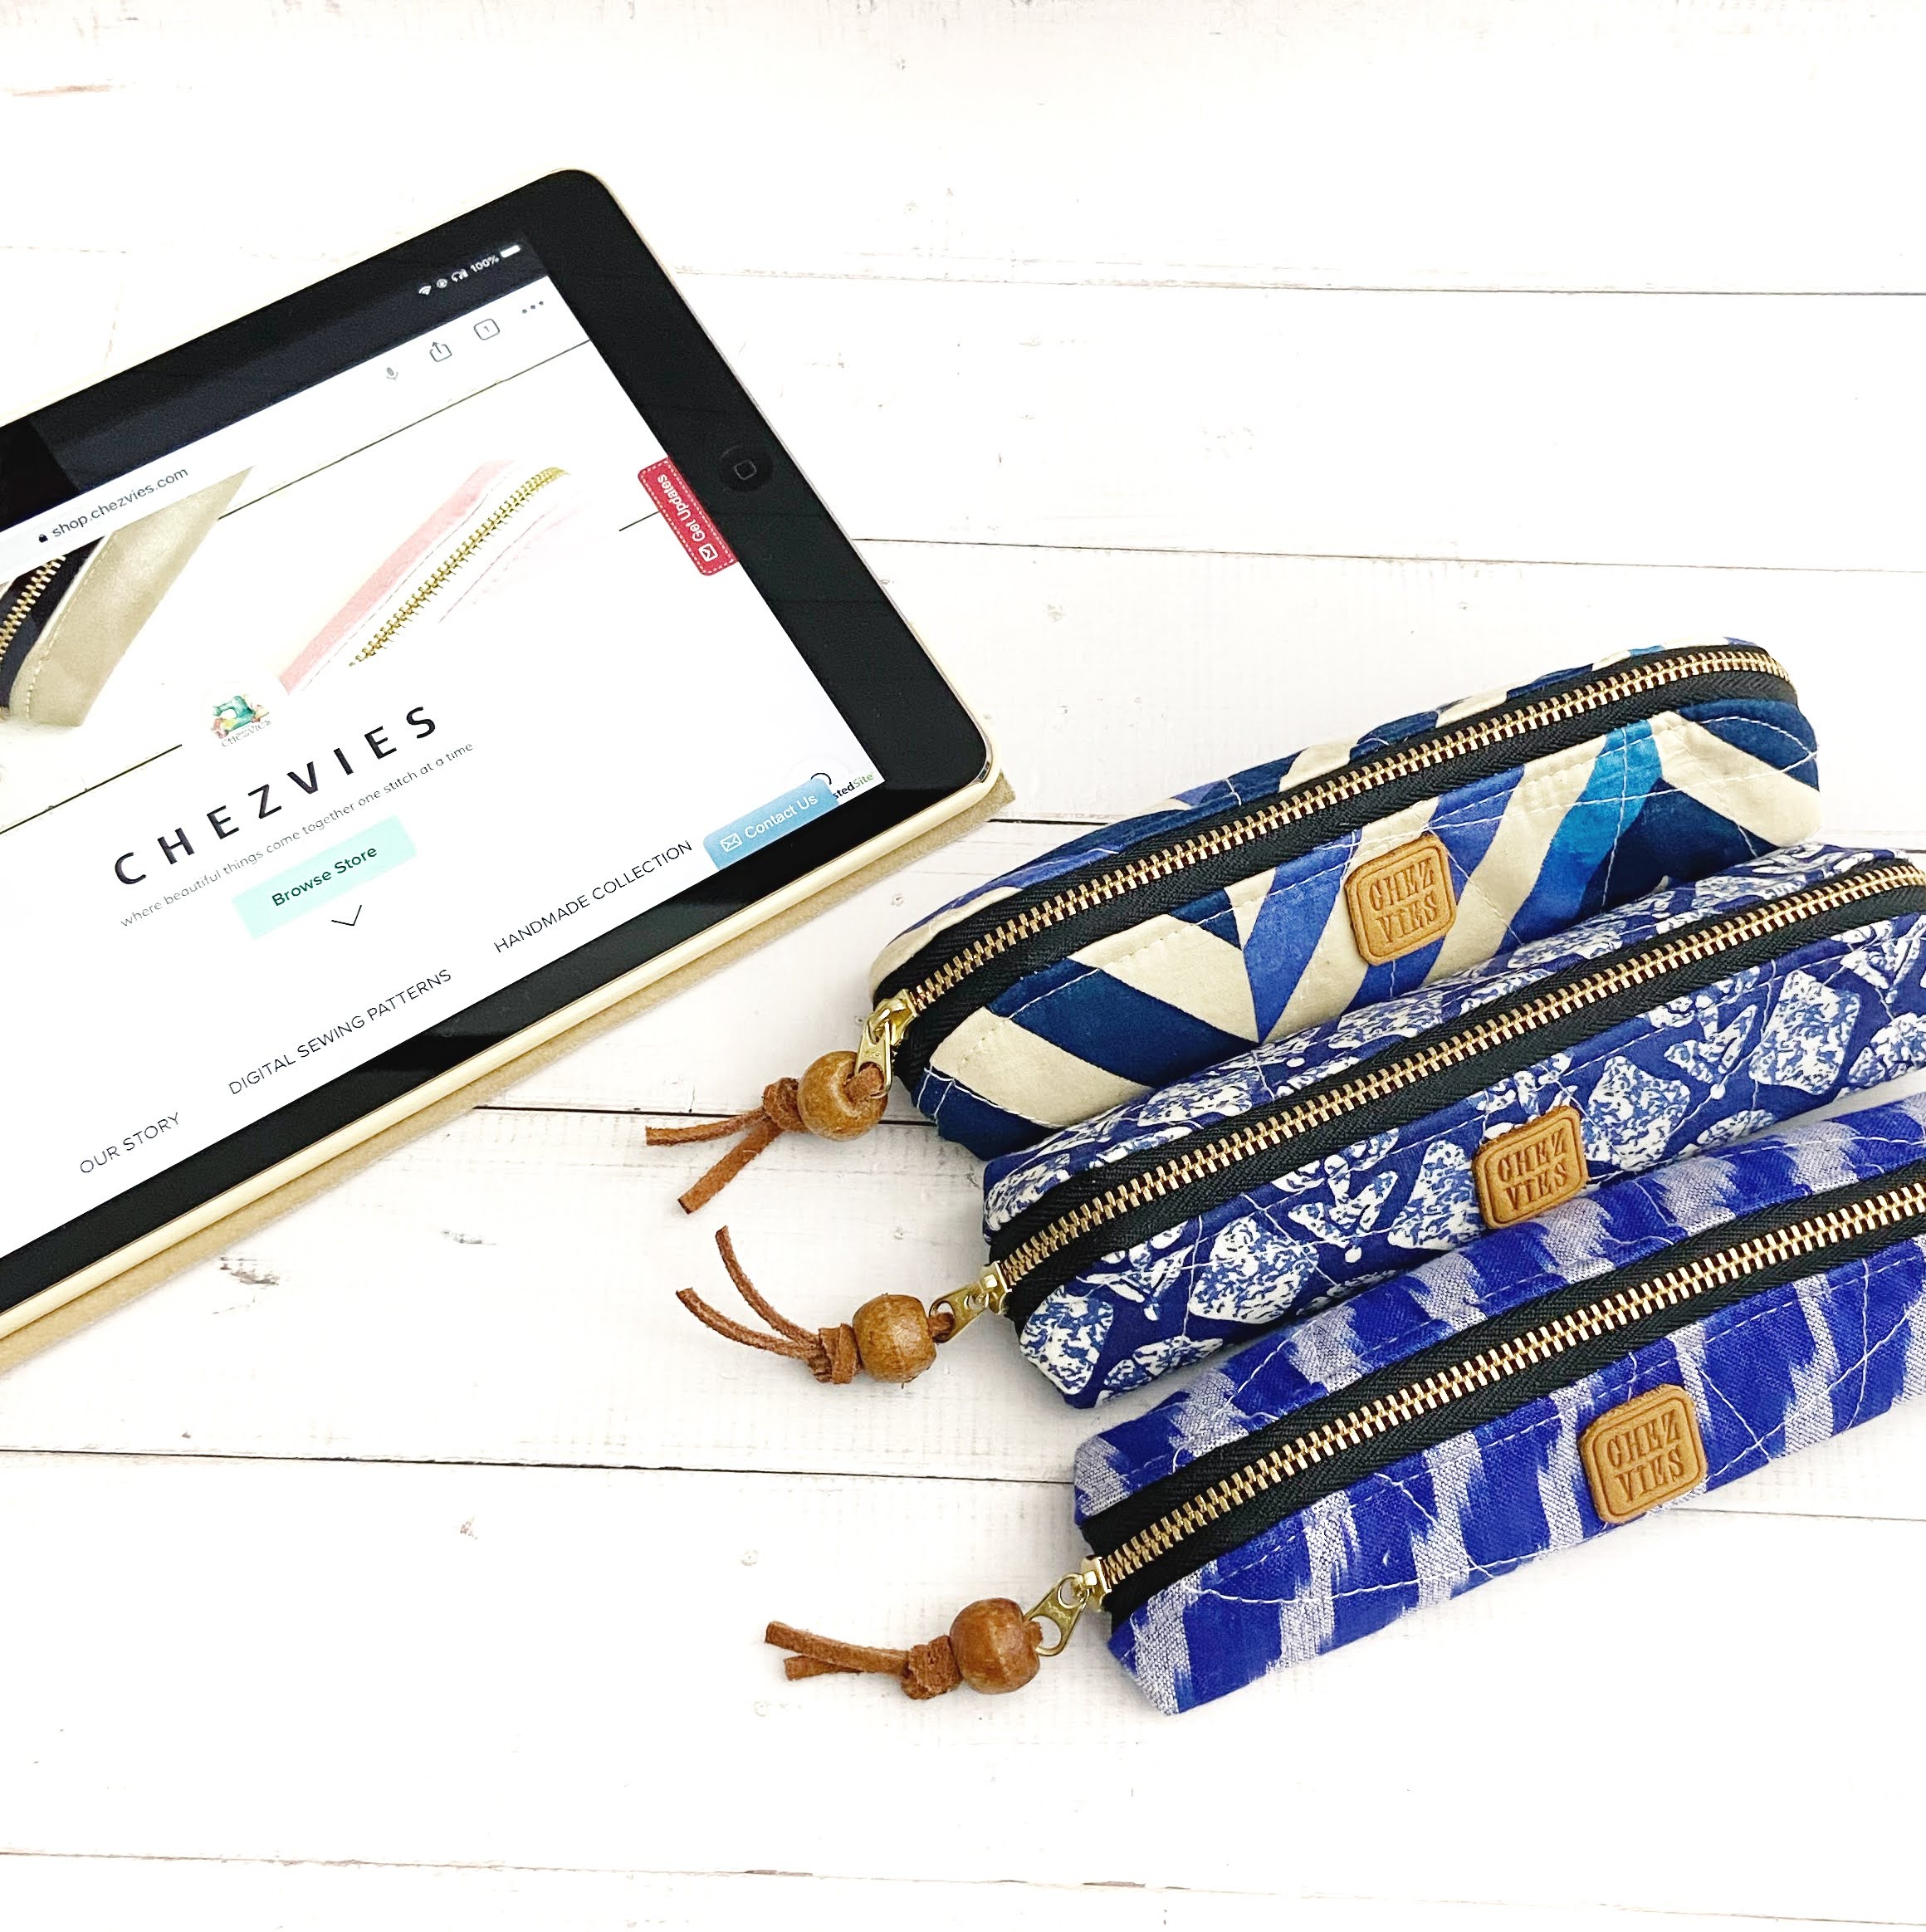
Today I finished these 3 slim pouches. I've always wanted to make these pouches. They are so useful to keep a few pens or digital pens, ear pods, or even brows and lipstick, and eyeglasses.
I used the small size template from the Trapeze Zipper Pouch pattern and added 2 inches length-wise. I placed the template 1" away from the fold and then cut the fabric piece accordingly.
I created the templates in such a way that's easier for you to resize them. Just like these pouches. Here's the comparison with the original size. They are so cute!
These pouched are quilted and my current fave is walking foot style quilting. Well, I am using my Jack sewing machine so I do not really use the walking foot. But the Teflon foot that I am using works out fine.
I added a wooden zipper pull using the suede string. I have a couple of suede strings I bought (impulse buying) from Amazon, and glad I can use them.
This is a super-duper easy project that you can sew over the weekends. I have the videos for the quilted version and the faux leather version on my Youtube Channel. I am thinking of making a couple faux leather slim pouches next, maybe sometime next month. Right now, a lot of things going on, and my mind is sort of all over the place. First thing firts!
As promised in my previous post, finally the video tutorial for the small passport wallet is up on my YouTube channel now. And as I edited the original pattern to add the link, I also gave a name to the pattern. Well, I am really not good at giving names but then, as I make more patterns, I suppose it's inevitable for me to give a certain name. This time, I go with the simple name Voyage Passport Wallet. I plan to update the original pattern with better photos when I get the time, so please bear with me.
In the video, I cut the pattern pieces slightly bigger than the original one, because I want to use it for Journal Cover like in my previous post
For the zipper version, all the basics remain the same as the original pattern. If you want to make it with zipper closure, here are the additional materials to cut/change:
✓ Cut 2 - Medium or All-purpose interfacing for main exterior and lining
✓ Cut 1 - Fleece Batting - the same size as the main exterior
✓ #5 Zipper – 24” Long (based on the continuous zipper that is cut to size)
If you're new here and wondering about the interfacing I used in my wallets, I wrote my secret guide for interfacing in THIS POST and THIS POST. My suggestion is to keep experimenting until you find the combination that you like the most. In the hydrangea passport wallet above, I used all-purpose interfacing for the main body and using medium interfacing for the sleeves' base. The wallet turned out softer and I can even fit it with more passports - up to 4 passports and it still closed nicely.
I made another Voyage Wallet with Snoopy Print as a custom order. Some of the crafters, DM me on Instagram asking how to do bias binding nicely. As I mentioned in my previous post, before cutting the binding (cross-cut or bias), make sure the fabric grains are straight. This small step is very important to get a good finish. And of course, practice! Practice makes improvement. Sometimes even I had to rip off the already sewn binding because I didn't straighten the grain nicely and resulted in sloppy finish.
Another question is, can I use cross-cut binding instead? Yes, you definitely can. I made a couple of passport wallets with zippers using cross-cut binding. It will be like the usual wallet binding, like in THIS tutorial. When you want to use cross-cut binding for a zipper wallet, do not CURVE the corners. I will make the video next time when I am working on a wallet binding.
Finally, I finished editing the Family Passport Wallet Pattern and decided to rename it to Ohana Passport Wallet. The original pattern was the first pattern I wrote and there is a lot of scope for improvement. As time goes by, the pattern evolved and when I wrote the tutorial for adding zipper closure, this version became more in demand.
In the new version, the main tutorial is for a wallet with a zipper closure based on the previous tutorial, also single tape zipper closure can be seen on the Video. I added links to video tutorials and also blog posts for more references.
Here is how the wallet looks with the flap closure:
And here's the zipper around version:
Watch the video on how to sew the wallet from beginning to end.
The Ohana Passport Wallet is also written in the new format, which I find easier to understand and I hope you agree :). The pattern consists of 29 pages (including the templates), so it's pretty much compact but details.
If you already bought the pattern and want to download the new version, please email me using the email you used when purchasing the pattern, and I will send you another link to download the pattern.
Finally, the video tutorial for the Safari Travel Wallet is up on my YouTube Channel. I hope the video can help to visualize how to make the wallet from the beginning. I am trying to get a better angle as I recorded the video and also try not to skip the process. The video is sped up 2 to 3 times from the original. If you want to watch it at a slower speed, you can do so by clicking the setting on your YouTube screen.
The original pattern only has instructions for flap closure which is pretty easy, but as many customers like zip-around closure more, I decided to make the video for the zip-around version. If anyone wants to see the flap closure version, I will record one when I make my next wallet. Do let me know in the comment.
I really enjoy recording the video and I really hope to share more sewing tutorials in the future. If you heard some funny noise in between the videos, that's because my son was watching a football match, or sometimes, someone came and asked something in the middle of the recording. Maybe I should put a sign like "recording in progress, do not disturb" LOL
I hope you find the video useful and you can understand the process of making the wallet. I'm looking forward to your feedback!
1. The LINING for the zipper pocket, I use ONE piece of lining 5" W x 6.5" H. (in the original pattern it was 2 pieces of lining fabric).
2. Passport Slot construction is different from what's written on the original pattern. This new way I found it better and faster to make.
Let's jump to the video below:
For Part 2, I am showing how to attach the zipper closure using a single tape zipper. It's the same way as the Nuno Small Wallet. For the zipper length, I use the #5 nylon zipper approximately 44-45 inches long. This is my new fave in attaching a nylon zipper.
I hope the video will give you a clear understanding of the pattern. I will update the pattern when time permits. Do let me know what you think in the comment below.
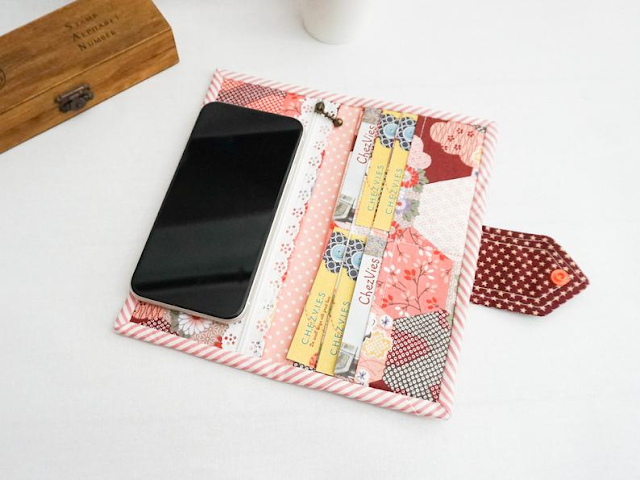
I've been making a lot of wallets these past few weeks, from family passport wallets to small bifold wallets. The picture above is the most recent ones. As I am sharing my works on Instagram, I'm getting a few messages asking about interfacing. If you're in India and new to bag-making, I know your struggle! You can read about interfacing for bag-making in India in THIS POST.
But I want to share a few things about wallet-making from my experience here. As I work with different kind of fabrics with different weight, it is important to know which interfacing work best for each fabric.
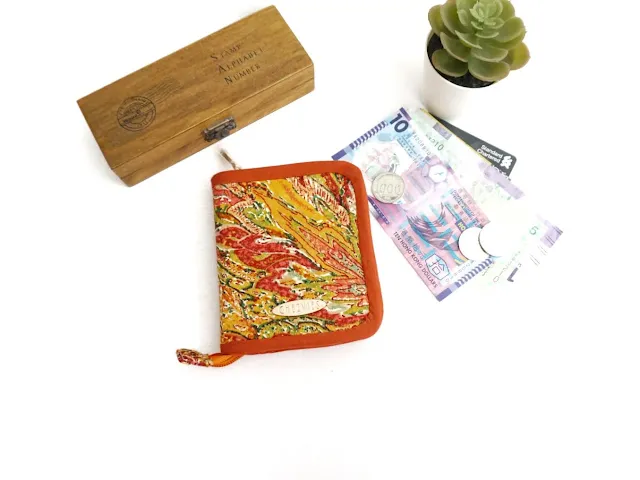
For the Orange Small Wallet, the fabric is lightweightCotton Satin. Depends on the project, I used all-purpose interfacing when I make this mobile phone bag and this pouch. But for the wallet, even though in the pattern I suggested using all-purpose interfacing, but I used medium weight interfacing for the orange wallet. I made one using all-purpose interfacing but it turned out too floppy.
For the Camo Family Passport Wallet, the fabric is twill cotton which is pretty thick. In the Pattern, I suggested using Heavy Weight Interfacing, but since the fabric is already thick, I used all-purpose interfacing for the main wallet and passport slots and using medium weight for the passport base. This will make the wallet sturdy and yet easy to sew on a domestic machine. And although I always prefer to hand-sewn the binding, for this Camo Travel Wallet, I sewed the binding by machine.
Beside the interfacing combo, in India we also struggle to find the padding we use for our bags or wallet. Even though India is known for manufacturing all kinds of wadding/batting, but they are not available in retail and we don't even have a brand name!
And living in the Northeast of India means even less access to all those bag-making and quilting luxury supplies :). We got to find an alternative that works best for us.
Here's my secret sauce for wallet making:
If I am using heavyweight interfacing, I used either flannel or low loft felt as padding/wadding. Felt and flannel are easier to find in the market or even online. The kind of felt that is used for soft toys will work or a little heavier that is used for car padding. Felt pretty expensive though, in the market here it was around INR 280 per meter (36" Wide), while flannel is much cheaper.
Low Loft Felt
If I am using medium or all-purpose interfacing, I use a stiffer felt (170 GSM), like this one on Amazon.
Stiff Felt
I made the wallet below using a combination of all-purpose interfacing and stiff felt. I kind of like how the wallet turned out, like my most recent custom bifold wallet below. It's light and crisp. If you want a more padded wallet, you can always double-layer the felt.
As you keep making and experimenting with different types of fabrics, you will find your best combo and a finish that you like best. I like my wallets to be crisp but not stiff, that way you can fit in more stuff, unlike leather wallets which have limited expandable capacity.
Finally, I finished editing the video tutorial for Nuno Small Bifold Wallet and upload it on Youtube. Pheew, that's one big list I can tick off my list this week. I hope it helps you to visualize when you decide to make the wallet.
I made the zip-around version of the wallet in the video and I also included how to add 2 in 1 exterior zipper pocket.
This Nuno wallet is pretty quick to sew. It takes longer to choose the fabric combo than actually sewing it:). This time, I learn to add a timestamp to the video description, so that you can just click the link and go to the part that you want to know more in detail.
The zipper closure is only using single zipper tape. You can use this zipper closure technique for any wallet. This is my fave zipper closure method now. Do let me know if you want a picture tutorial for this method.
I also made this Wonderland Nuno Wallet with Exterior Zipper for a customer on Etsy. She wanted 2 card slot sets inside and a zipper pocket on the outside. When I showed her the 2 in 1 pocket, she readily agreed.


