Get the Pattern on Etsy The Family Passport Wallet is my first Pattern that I release a few years ago. Although I write blogs and tutorials, but pattern is totally a different experience. I will try to keep sharing the updates through this blog. I'm thinking of re-writing the pattern but it will be difficult to resend the pattern to those who already purchase it. So, I thought sharing an update in this blog and my Youtube Channel is the best solution for all.
The question I got the most is about assembling the passport slot and the zipper pocket. So, here's the updated version on how to make the passport slot and the mini zipper pocket. The method is slightly different from the pattern:
Mini Zipper Pocket (Easy Method)
Passport Slot (Easy Method)
I hope you find the videos helpful!
Please subscribe to my blog and Youtube Channel so that you won't miss an update.
Finally, I finished editing the Family Passport Wallet Pattern and decided to rename it to Ohana Passport Wallet. The original pattern was the first pattern I wrote and there is a lot of scope for improvement. As time goes by, the pattern evolved and when I wrote the tutorial for adding zipper closure, this version became more in demand.
In the new version, the main tutorial is for a wallet with a zipper closure based on the previous tutorial, also single tape zipper closure can be seen on the Video. I added links to video tutorials and also blog posts for more references.
Here is how the wallet looks with the flap closure:
And here's the zipper around version:
Watch the video on how to sew the wallet from beginning to end.
The Ohana Passport Wallet is also written in the new format, which I find easier to understand and I hope you agree :). The pattern consists of 29 pages (including the templates), so it's pretty much compact but details.
If you already bought the pattern and want to download the new version, please email me using the email you used when purchasing the pattern, and I will send you another link to download the pattern.
Hello, how's everyone doing? I've been pretty busy making masks and few custom orders. I really appreciate your supports in the past few months since the pandemic started. It's been very tough for everyone, especially with heartbreaking news everywhere. Let's stay positive, be kind, and help each other. Do what we can as an individual as well as a community.
Today I will share how to scale up the mini sling bag the easy way without any computer involved. I know it's frustrating to scale up the pattern on the computer and print it a few times before you get the size that you want.
This mobile sling bag pattern is very versatile. You can easily adjust the pattern based on 2 things:
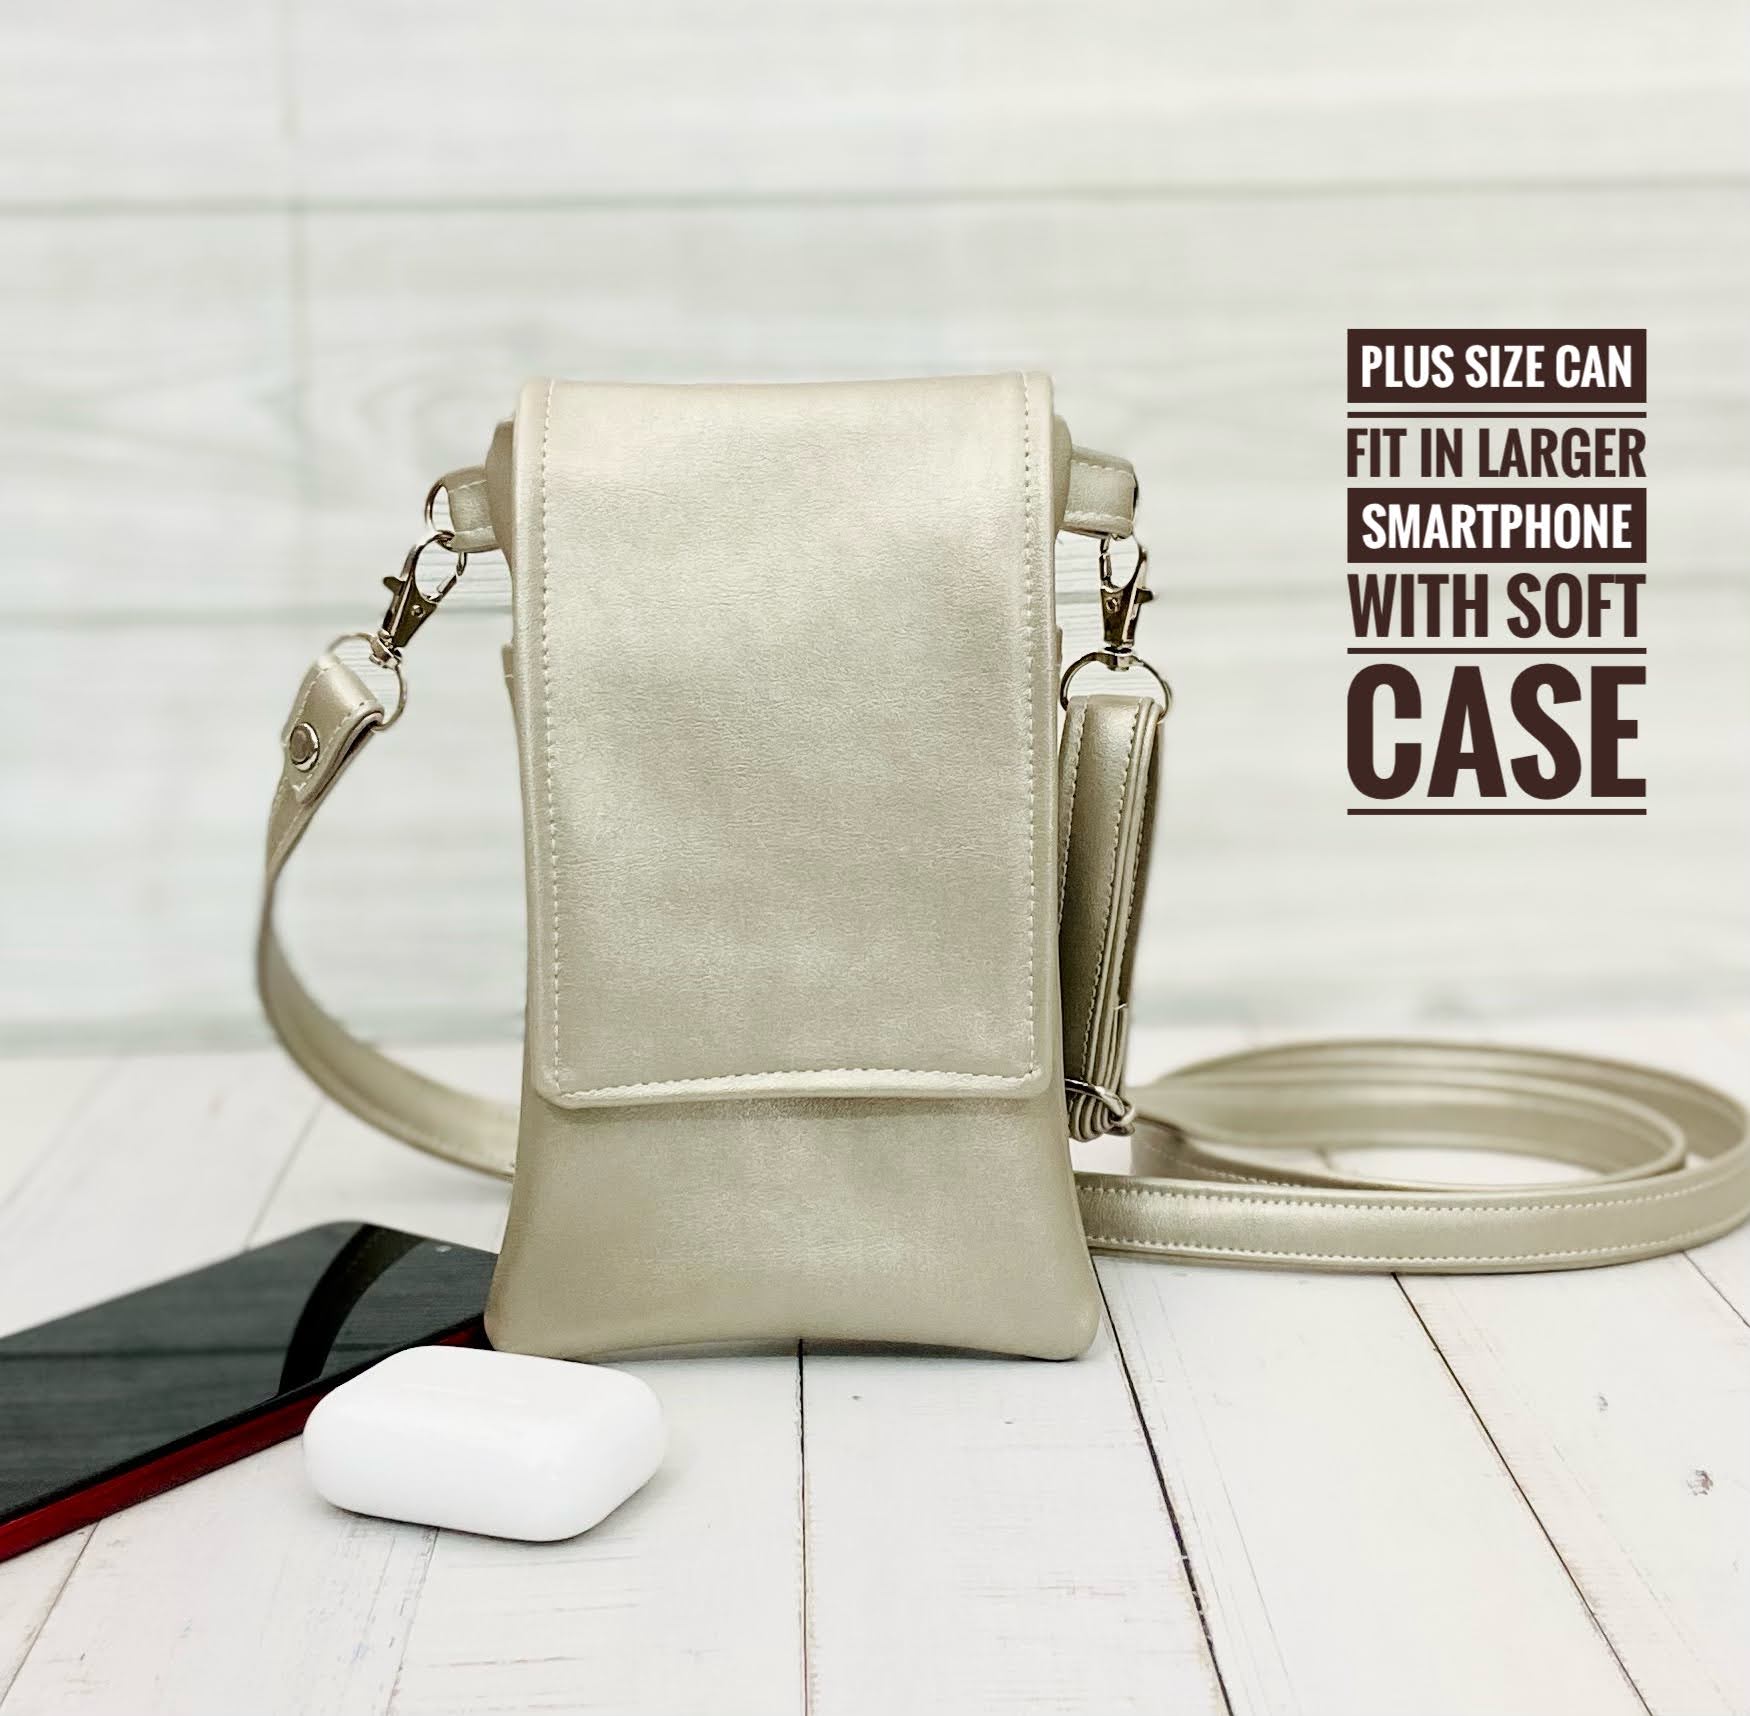
Phone model
Whether or not it has a softcover. Softcover makes the phone slightly thicker.
The basic is if you scale up the height of one part of the pattern do the same with the rest of the pattern pieces too. If you increase the height of the main body panel, increase the height/length of the pocket and flap too. Unless you want a shorter flap. Since the pattern pieces are mostly rectangle it's easy to increase the length or the height.
This basic rule applied if you want to increase the width too. I'd suggest increasing the width especially if you want to add a thicker batting or wadding. Now, here's how to increase the width of the curvy flap:
Take one piece of paper and fold it in half lengthwise. From the fold, mark how much you want to increase by drawing a straight line e.g 0.5 inches away from the fold.
Fold the original pattern lengthwise and place the fold on the line you just made and trace the pattern.
Now it will look like picture # 3. Cut along the line you just traced.
Your new wider pattern is done. This will increase the overall width by 1 inch. If you want to increase the overall width by 0.5 inches, draw the line 0.25 inches from the fold.
This matryoshka phone sling bag is to fit the new iPhone 11 and the newest android phone. I increase the length and width using the method above.
If you want to learn how to make this mini sling bag, you can get the pattern on ETSY or my Webshop.
Here is a supporting video I made a few months ago. I'll make better video when time permits :)
It's been a long time and I hope
you all are doing great. There are a lot of things happening right now at ChezVies,
some are sewing related and some are not.
At my sewing corner, recently I
updated the Phone & Kindle Pouch pattern after getting a lot of
constructive feedback via emails as well as comments on Youtube.
Oh, I also name it the MiniMax Crossbody bag. It's a mini bag with
maximum utility. Truly giving a name to a pattern is not easy, it took me 3
days to find the name that I feel will match the bag.
For the second one, I also added
instructions for adding a back zipper pocket, which I also previously shared in my blog.
In the new version, instead of a
picture diagram, I used real photos in the tutorial with clear step-by-step
instructions. I also added a video tutorial for using faux leather or vinyl.
Thank you for being part of my
sewing journey and this creative community! If you shared on social media
please use hashtag #chezviespatterns. I would love to see your lovely
creations.
Recently I updated the Voyage Passport Wallet pattern to include the zipper closure tutorial, especially for those who prefer the written tutorial to the Video Tutorial. The pattern is the same as the original one and I only added the instructions for zipper closure.
If you purchased the Voyage Passport Wallet Patternbefore Dec 7, 2023, you can download the tutorial for FREE. The Add-On file DOES NOT INCLUDE a complete tutorial to make the passport wallet.
The Voyage Passport Wallet is a quick and easy-to-make accessory with a minimalist design that can hold a lot of items. It can hold up to four passports (two on each sleeve), as well as two cardholders. Its compact size makes it perfect for carrying it in your travel handbag or backpack.
The trick for sewing a zip-around wallet is to always use a zipper foot! I don't always use it as the regular foot I am using is pretty narrow (don't be like me 😀 ) and if you can set the speed, use the slower speed. Take your time to learn. It's not rocket science, so with enough practice, I am sure you can master it too.
In the tutorial, I showed how to sew the zipper end tab the easy way, but you can always use the metal zipper end or the button style like in this video.
Don't forget to use the coupon code CVG20 when purchasing the pattern either from myWEBSITE or ETSY SHOP.
Thank you so much once again for your continued support! If you have any questions regarding sewing or quilting and want me to make video tutorials, simply reply to this email. I'd love to hear your ideas!
1. Iron the interfacing on the wrong side of the contrast fabric and fold the longer sides towards the center like in the picture below.
2. Now fold the flap so that the short ends meet.
3. Sew around the three sides, leaving the raw edge side unsewn.
4. Place the flap on the center left of the exterior panel and baste stitch. The seam allowance is 1/8" (3 mm).
5. On the right side, install the snap button socket, approximately 1" (2.5 cm) away from the center.
6. The button cap should only placed through the exterior panel and the first lining panel. You can install the button cap before attaching the binding or after.
7. On the flap, install the other part of the snap button approximately 0.5" (1.3 cm) away from the top.
Now continue finishing the wallet as per the pattern. That's super easy, right?
If you are not sure whether you will be able to sew Rosie Wallet yet, you can watch the video below for more guidance.
If you already purchased the pattern and have any doubts, feel free to email me. If you have not, don't forget to use the coupon codeCVG20when purchasing the pattern
Thank you so much once again for your continued support! If you have any questions regarding sewing or quilting and want me to make video tutorials, simply reply to this email. I'd love to hear your ideas!
I've been working on this wallet for a few days. It's super easy one but life happens. First, my crown broke and had to spend my birthday at the dentist. Well at least I am getting something new for the birthday, right? 😄😄
I'm super tickled when I saw the chicken print. It's too cute!!
And my next project is all set, Insha Allah will start tomorrow. Stay tuned for new bag pattern from Bagstock!! Yes, I'm testing for Namrata's next pattern! I know you're going to love it. I am so excited to try out this vinyl after I made the origami pouch for fun!
Sometimes, we really need to make time to learn and try new things right? And guess what? I am subscribing to SimplyPiano app on my phone and teaching my self to play piano 😄😄😄 I will update you with my progress. I am having fun practicing these few days!!
Speaking about piano, my son's music school is closing it's door after 7 years. The above photo was yesterday, the last day we went to Ace Music! What a journey it was. Thank you everyone at Ace Music for your hard work all these years !! But the good news is he will still continue learning with Ms. Promiti Phukan in her new brand music academy, Cadenza from April, after he finishes his board exam. Cheers to new journey!
That's all my little update. Do not hesitate to pursue your passion. When there's a will, there's a way!
Now, I'm going to hand sew my wallet and watching Notting Hill on Prime Video!
If you're asking, yes..I am working on the wallet pattern. Stay tuned!
As promised in my previous post, finally the video tutorial for the small passport wallet is up on my YouTube channel now. And as I edited the original pattern to add the link, I also gave a name to the pattern. Well, I am really not good at giving names but then, as I make more patterns, I suppose it's inevitable for me to give a certain name. This time, I go with the simple name Voyage Passport Wallet. I plan to update the original pattern with better photos when I get the time, so please bear with me.
In the video, I cut the pattern pieces slightly bigger than the original one, because I want to use it for Journal Cover like in my previous post
For the zipper version, all the basics remain the same as the original pattern. If you want to make it with zipper closure, here are the additional materials to cut/change:
✓ Cut 2 - Medium or All-purpose interfacing for main exterior and lining
✓ Cut 1 - Fleece Batting - the same size as the main exterior
✓ #5 Zipper – 24” Long (based on the continuous zipper that is cut to size)
If you're new here and wondering about the interfacing I used in my wallets, I wrote my secret guide for interfacing in THIS POST and THIS POST. My suggestion is to keep experimenting until you find the combination that you like the most. In the hydrangea passport wallet above, I used all-purpose interfacing for the main body and using medium interfacing for the sleeves' base. The wallet turned out softer and I can even fit it with more passports - up to 4 passports and it still closed nicely.
I made another Voyage Wallet with Snoopy Print as a custom order. Some of the crafters, DM me on Instagram asking how to do bias binding nicely. As I mentioned in my previous post, before cutting the binding (cross-cut or bias), make sure the fabric grains are straight. This small step is very important to get a good finish. And of course, practice! Practice makes improvement. Sometimes even I had to rip off the already sewn binding because I didn't straighten the grain nicely and resulted in sloppy finish.
Another question is, can I use cross-cut binding instead? Yes, you definitely can. I made a couple of passport wallets with zippers using cross-cut binding. It will be like the usual wallet binding, like in THIS tutorial. When you want to use cross-cut binding for a zipper wallet, do not CURVE the corners. I will make the video next time when I am working on a wallet binding.