Powered by Blogger.
Showing posts with label scrappy quilt. Show all posts

Patchwork Drawstring Bags


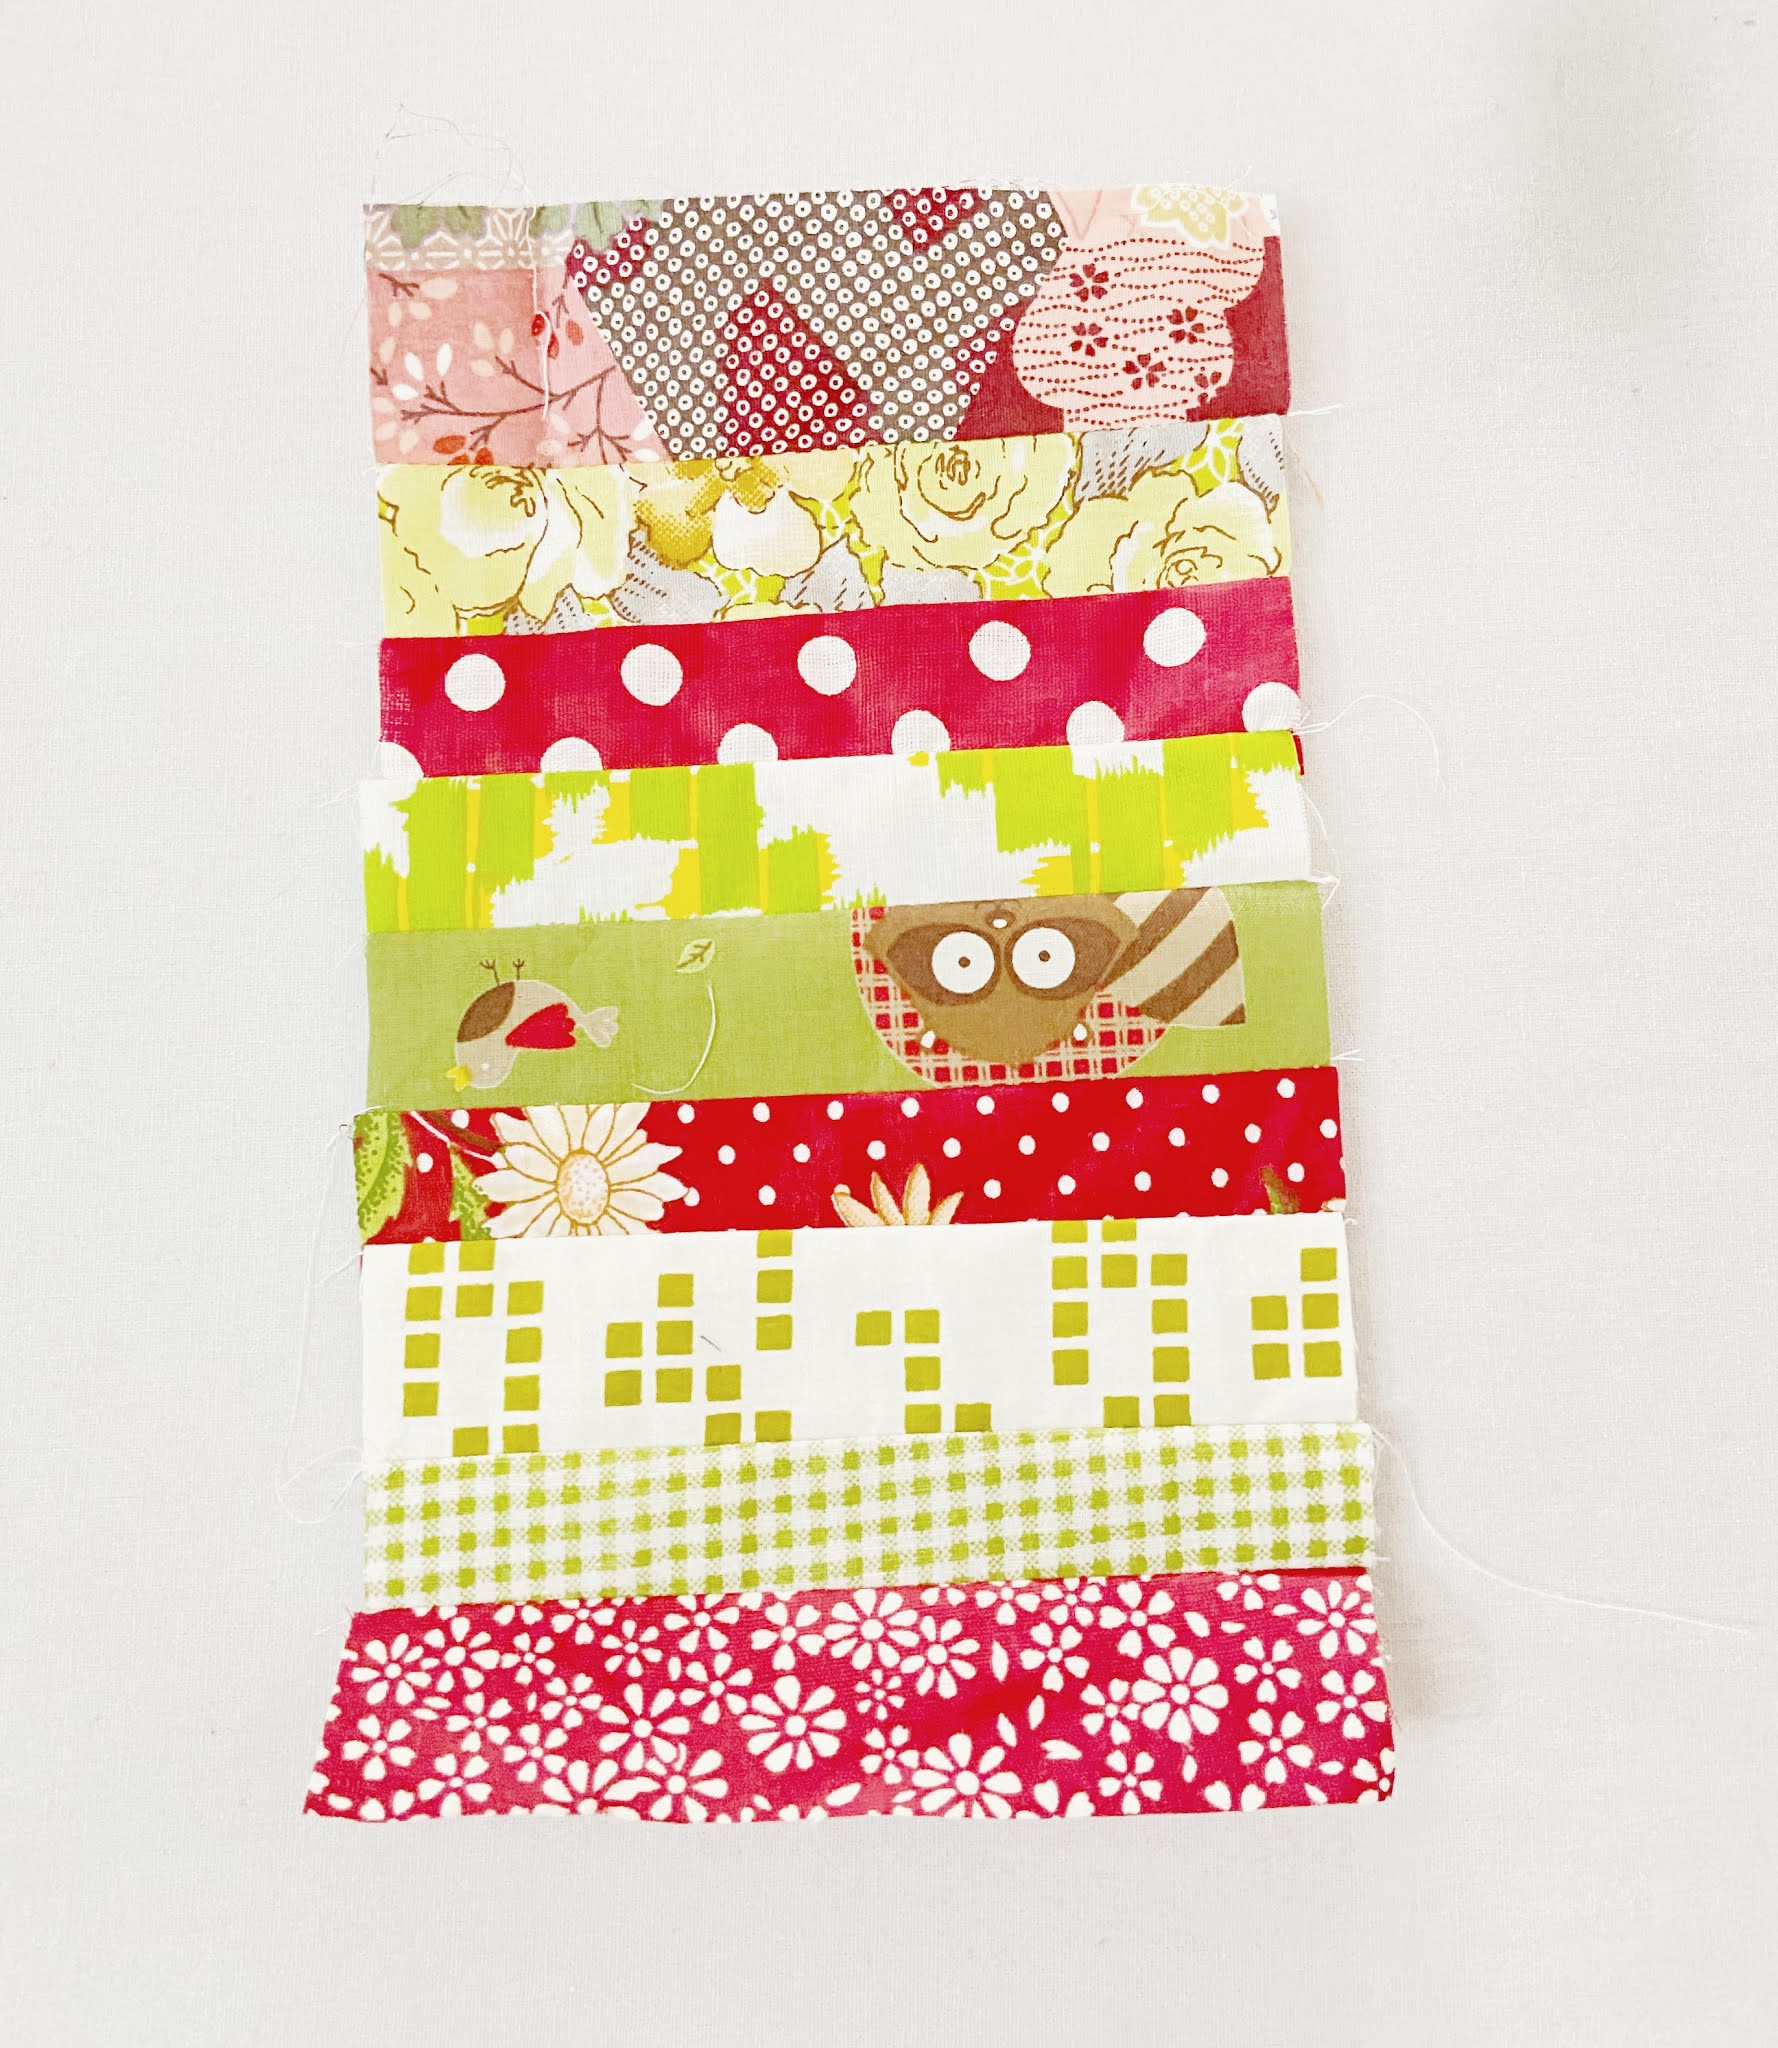
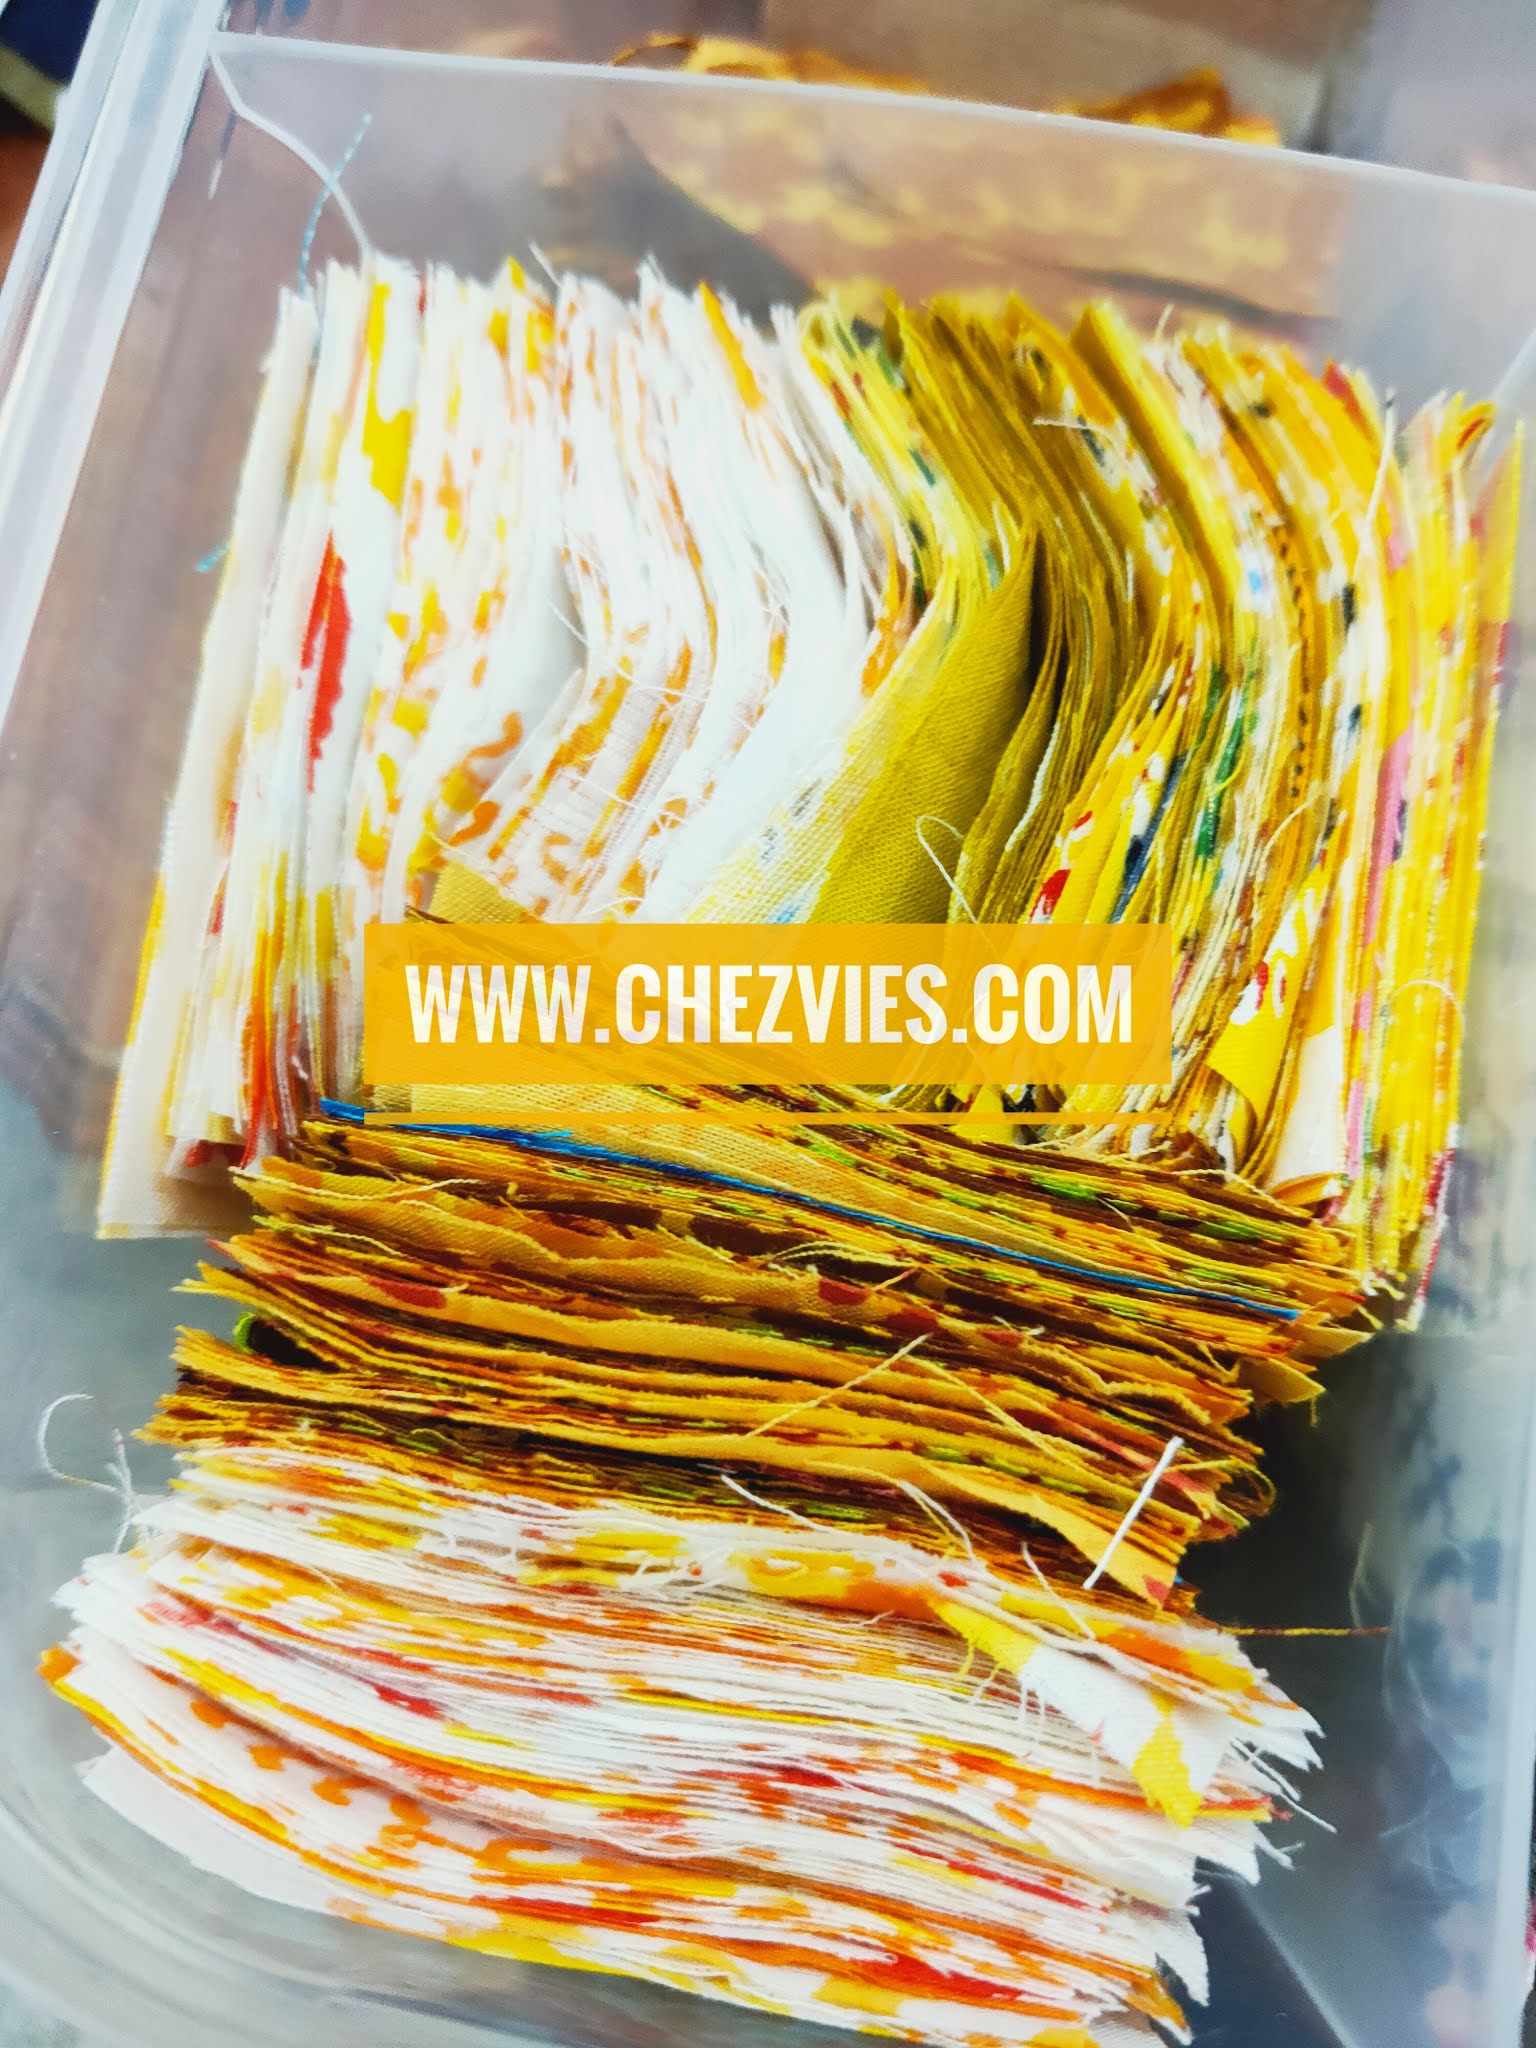
What do you do when you're not in the mood to sew? Well, I took out my 2.5" container and admiring my neatly stacked 2.5" squares, and started piecing idly. I did not have any specific plan, but as I went on chain piecing a few ideas pop up in my head. I even have an ambitious dream of a scrappy quilt. Ha! 


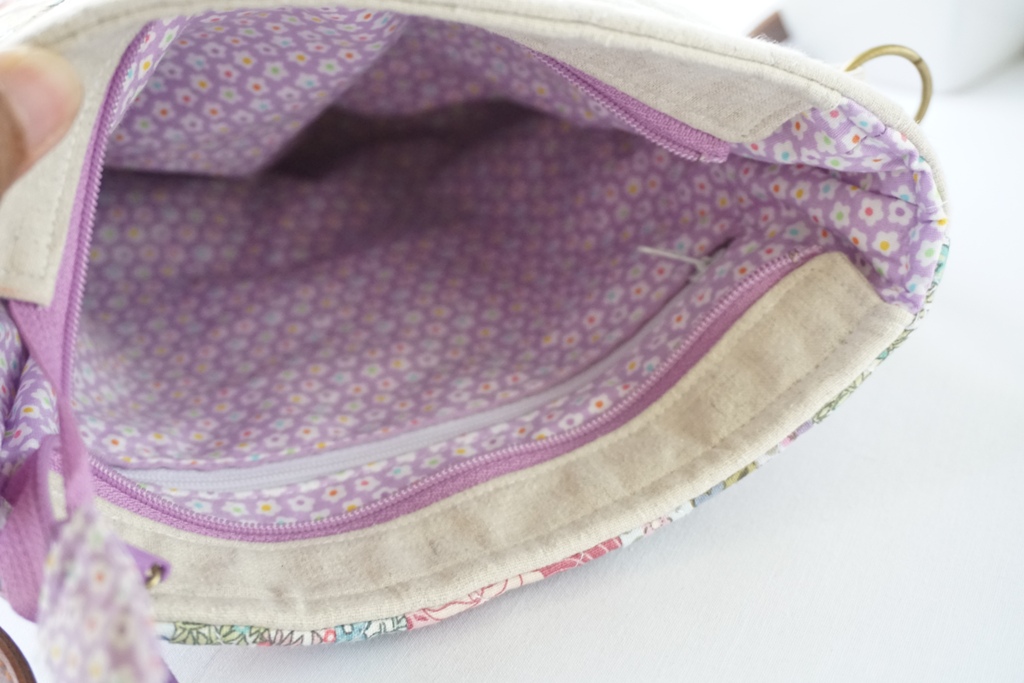
But then I decided to do a humble small project as a mood booster and this cute small drawstring bag is born. It's made up of 64 pieces of 2.5" squares. Padded and quilted by machine. 

Each bag measured approximately 7.5" x 7.5" and it's fully lined. I used contrast stripes for the string/cord casing. I used a macrame cotton cord from Amazon India here and I kinda like the look of it. But next time I'll get a thinner one. For the stopper, I used Chandan wood (sandalwood) beads. 


Patchwork Drawstring Bag


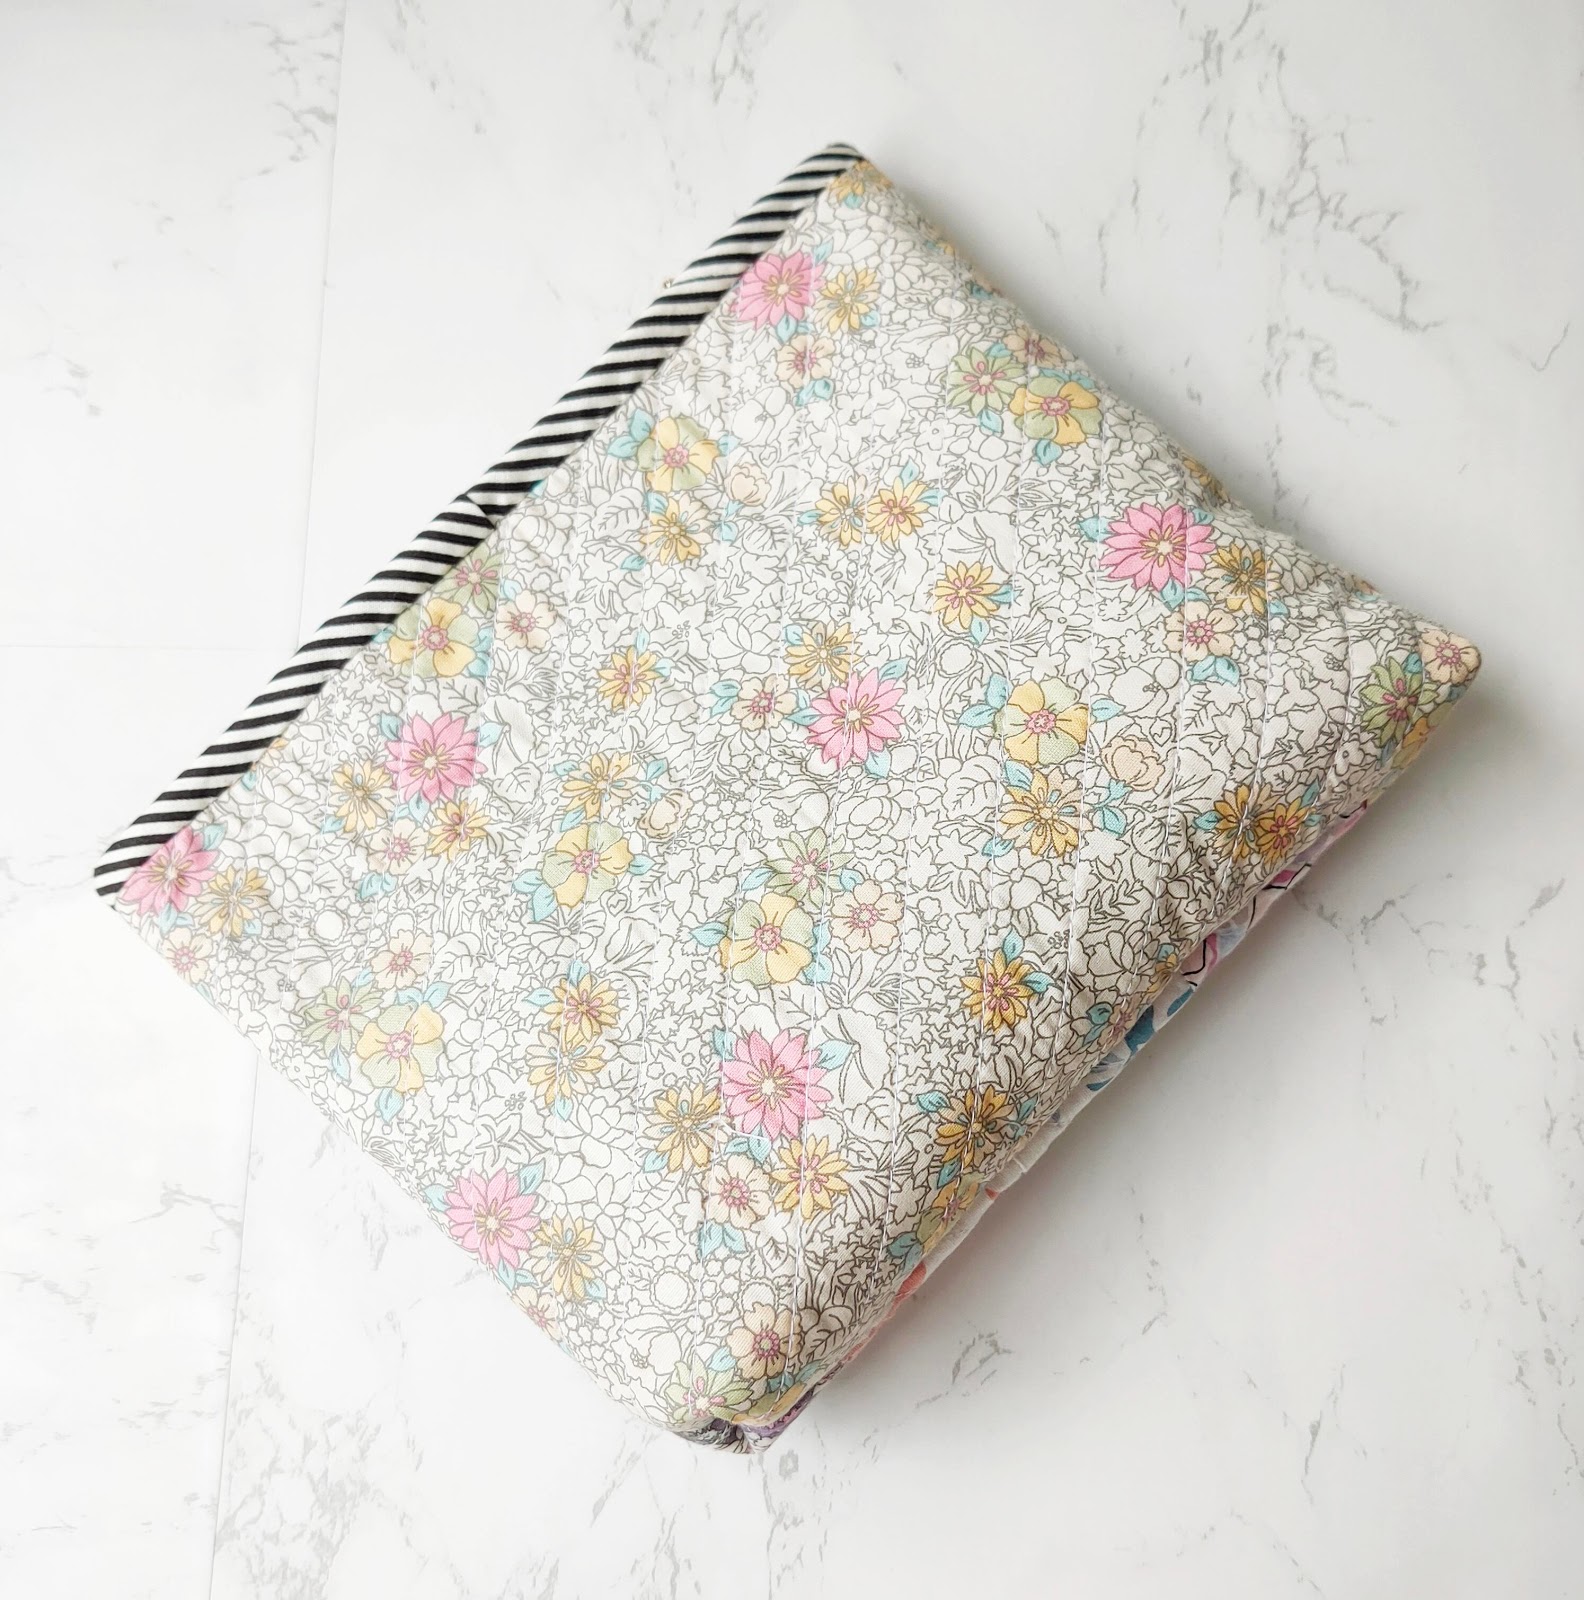
I was really inspired by Sensei Shizuko Kuroha's post on Instagram the other day. Well, I don't know how to read Japanese but from the translation, she more or less said "make everyday stuff that is small and useful". What she said really stuck in my head. I keep thinking, that often we make something that ends up piling up in the cupboard without being used (Like this quilt or this pillow). For me sometimes just for a sentimental reason :).  Although I also used my makes every day from bags, wallets, pillows, table runners, etc there are a few stuff that I still don't have the heart to use or give away. I guess I must learn to be more generous :D.


And when you're having fun, you cannot just make one bag, right? 


Another great news is the Kawandi QAL is officially started on Facebook Group. I'm so excited but still could not make up my mind what size I'm going to make. Most probably I will do a lap size quilt, cos  I plan to use my dupatta (Indian stoles) for the backing layers. Brinda ma'am explained in Facebook live session last Sunday how to go about it. Now all sorts of ideas running around in my head, so I'll just think about it slowly. I hope I can share with you soon about my progress. 

Thank you for stopping by,

Happy Sewing!

 Elvira

Linking Up to these Wonderful Blogs


Scrappy Patchwork Mug Rug - Scrap Buster Project


Making patchwork mug rug is my fave scrap buster project. This time I made this super easy one using strips of fabrics from my scrap bin. It's fun and quick to make plus it's a perfect project to make if you're looking for a quick last-minute gift.

Without further ado, here's what you need: Assorted fabric 5" long fabric strips 1" to 1.5" wide Contrast or solid fabric 6" W x 8" H Backing Fabric 12" W x 10" H Batting 12" W x 10" H

Binding 1.5" Wide x Wof (40")

Let's get sewing!

1. I used narrow strips, less than 1.5" wide. They should be enough to make 8" long patchwork panel. Don't be afraid to mix and match. The narrower the better, IMO :).


2. Sew the strips together using 1/4" seam allowance. You can use those selvages scraps too. My panel here finished at 5" W x 9" H. Iron the patchwork panel flat. 


3. Now sew the patchwork panel and the solid panel right side together using 1/4" seam allowance. Now your top panel is almost ready.


4. Iron the top panel flat and trim it into 10" W x 8" H. The patchwork panel is about 4" wide after trimming.


5. Now sandwich the batting in between backing and top panel and quilt it as desired. This time I did a diagonal gridline quilting which you can watch in the video tutorial at the end of this post. 


6. Once the quilting is done, trim the quilt top into 10" W x 8" H and now it's ready for binding. Watch the video below on how to sew the binding. I cut the binding 1.5" wide for small quilts, so it won't be too bulky. 


If you want to finish the binding by machine, attach the binding on the backing first. I attached the binding on the front first because I prefer to finish the binding by hand for small quilts.


Now your scrappy mug rug is ready to use. Make a few for your family and friends! 

I hope you find the tutorial helpful! Don't forget to subscribe to my blog or YouTube channel for more tutorials. 


Thank you for stopping by, 

Take care & Happy Holidays

Elvira


Linking up to these wonderful BLOGS


Some Bundle of Joy

Blue & White Bundle 


How's everyone doing? I hope you enjoy your summer this year even though you maybe just stay at home like me :D. The good thing is this year finally we put an AC in the living room which opens up to my drawing sewing room. So, I can do my work pretty comfortably during the summer, which can be very humid. 

Another good thing is I have time to update my shops in Etsy as well as my Website with a few face masks and fabrics. When you're a solopreuner, running your small business from the drawing-room, it can be quite overwhelming sometimes, especially now with everyone is doing work/class from home. I will add more fabric bundles in the next few weeks, maybe a few bundles at a time. Creating a fabric bundle is fun because I just love Indian prints and colors. A few days ago, someone asked for black and white fabric which I posted on Instagram Reel and asking if I have another black and white. While pulling out fabrics, I realize that even in white there are so many shades :D

Sometimes, I get inspired and started making stuff, like these few 3D face masks using my own pattern. I use a couple of them and I must say it's the most comfortable masks! So lightweight and breathable. I either use cambric or poplin cotton for the lining because they are more tightly woven which is good for filtering. Even the triple-layer mask is still very comfortable. 

Block Print Face Mask


Download Pattern for $2

In between, I managed to sew a couple of scrappy blocks from my 2.5" box. I haven't got time to continue my granny square quilt yet, but here I am started another scrappy project. This one doesn't need so much planning though. After looking at #scrappysquaresewalong on Instagram, I am so inspired to start one. Well, I'm not good at following a challenge or a quilt along. So, I'll do it at my own pace and will not stress over the deadline. It's supposed to be fun activities for me. 
The block is scrappy 36 patch blocks (I love the first one I made) and I finished around 8 blocks now. I make 4 mini  9 patch blocks and then put them together. Sometimes I only able to do 1 mini blocks and sometimes I can finish 3 or 4 mini blocks. 
I'm getting more addicted to making scrappy patchwork. For now, 2.5" squares is my fave cut. I don't cut them all at once, but I try to cut more frequently and I am so happy now I have more varieties from the remnants of the mask :D


If you'd like to see the fun scrappy bundle, check out my Etsy Shop or on my WEBSITE.  I ship internationally from website too via DHL or sometimes FedEx if the customer prefers it. I'm so glad I got the DHL account done and I've been shipping out regularly now. I'll talk about my experience in my next post! 


Thank you for stopping by today, stay creative & stay safe!

- Elvira- 


Scrappy Quilted Mouse Pad


Hello, I hope everyone is safe and well!

My scrap bag is growing rapidly with every single day from making face masks. I keep them in a laundry bag which now already overflowing. One day I was watching Darlene Video on Youtube about how she turned her skinny strip of fabrics into interesting panels and I just had to try it! 

I have a lot of scrap interfacing and batting. I found one that is around 6" x 8" all-purpose interfacing from making the phone sling bag and I thought it was just perfect. I pulled out a bunch of scraps and start arranging them randomly. 


This is liberating. you just arrange them the way you like it on the glue side of the interfacing and press them nicely. No rule here just covers the interfacing with fabrics!!


After ironing, I put the panel on a scrap batting and start quilting it pretty densely. The quilting really gave character to the panel, right? And once you're passed this stage the possibility of interesting projects will start popping in. I thought I'll make a mobile sling bag, this will make an interesting flap, right?  
But I decided to make a small mouse pad because I need one :D. It turned out just perfect. 


Did you recognize some of the scraps? It's a fun project and a small reminder of this ongoing pandemic. I'm still making masks and also working other projects Finished a couple of wallet orders, but yesterday the state government suddenly announced that we're going into strict lockdown again next week. Hopefully, after a week, there will be relaxation so that I can sending out your orders. Ah, one good news, from now I'll be sending all orders via DHL e-com or FedEx depends on your total orders! Remember my post about the shipping problem we're facing as an Etsy Seller in India? Well, Alhamdulillah more or less they are solved. A few orders have successfully delivered via FedEx. Thank you to all delivery men out there! May the Almighty always keep you safe & well! 

So, don't throw away your scraps, make something from them. Check out Darlene's video below to see her tutorial and her collection of scraps!! Now I feel less guilty of having 10 buckets of scraps LOL


What is your fave scrap project? leave your comment and link in the box below, I'd love to see them!!

Thank you for stopping by!

Stay creative & stay well!

- Elvira -

First Quilt of the Decade Ground Cover Quilt Top


Hello everyone, 
I hope your new decade started with a bang! Well, though political situation still pretty tense, but the show must go on, right. The school was forcefully shut for 3 weeks in December here in my city,which made all plan went awry. The elder son pre board exam was postpone to January (just finished yesterday). Besides, he will participate in the Cadenza concert again, Insha Allah on 19th January. So these few days I've been busy taking him to his practice. Wish us luck!


On sewing front, I'm taking a break for custom order until maybe March and will slow down a bit to rethink and re focus! 


I started the new year with a bang tho. I finish a  quilt top!! woohoo!. After watching this Ground Cover quilt tutorial from MSQC on Youtube, I know I must make it. The fabrics are leftover from my wallet and bag making. I used to cut several set of fabrics for passport wallet and it turned out I always make wallet from different fabrics. Lesson learnt!
It took me 2 days just to make the layer cake! But once everything is cut, sewing them doesn't take much time. 


I also started to sort out my overwhelming scraps! well, it takes a LOT of TIME to iron them and them cut them into usable sizes but it's so worth it when you see them neatly in the box! I went to Fancy Bazaar especially to get the boxes, they are around INR 250 each! 


I am cutting by colors, since I already sorted them out in colors, it's easier just to pick up one bucket and start ironing them. I already started another quilt project, and Insha Allah I will write the progress in my next blog post!

My sewing room is in a big mess right now but I'm happy that my fabric scraps are turning into something! I will send the top to be quilted as soon as I found a matching backing fabric which I like. 

Well, we can say that's my resolution this year! Let see!

Thank you for visiting & reading my blog! 

Until next time,

Happy Sewing!!

~ Elvira~

*******

Linking up to these awesome blogs
Handmade Monday
Craftastic Monday
TGIFF - Simply Crafting

Dotty Mini Purse Sew Along and Pattern Giveaway

Dotty Pdf Purse Pattern Small Handbag e-Patterns Patchwork image 7

It's finally happening, as I mentioned in the previous Post, now the first Video from Sequoia is live on her YOUTUBE channel and BLOG. Head over there to win Dotty Mini Purse Pattern. Three Patterns to be won and if you're already bought the pattern , if you win, you can choose any pattern you like from Chezvies Pattern.

Here's the first Video!


Dotty Mini Purse is so versatile. The size is perfect for a pouch! If you know someone who carry around essential oils, this will a perfect one!! 

Pattern available in 

LINK :


Let's start using those lovely scraps and make special handmade gifts this year!

Happy Sewing!


Scrappy Patchwork Zipper Bag

Hello,

Patchwork Zipper Pouch


Autumn is here, though we don't have the colorful leaves but the weather is very pleasant. I made few stuff last week, aside from few custom orders. Well, sometimes we have to make time for fun sewing, right?


One was this quilted zipper pouch which I made from scraps. I bought the scraps from Indonesia and the scraps are quite small, around 6" x 18" and some of them are uneven cuts. I cut few of them into 2.5" squares (my fave size) and choosing few dark, medium and light value from the squares. 

Work in Progress

I really love working with small scraps of fabrics and I promised myself that I will make more scrappy projects for myself and also to share with the world :D
I used fun apple print cotton fabric for the lining. It really brighten up the pouch. 


I was going to do the regular zipper top closure, but I want something to zest it up a bit. I have many bias binding from making passport wallets, zipper with binding is the obvious choice! There are 2 ways of attaching the binding that I did. The one like in THIS pouch or THIS one where I attach the binding strip to the main fabric before attaching the zipper.  On this pouch though,  I sewed the zipper first then attach the binding with machine on one side and then finish it with hand sewing. Insha Allah I will make a tutorial when I am working on the next one. 


I did simple diagonal quilting here with the help of  washi tape! Well, I usually just eyeball it though :D. On the other side, I used floral print and quilt it in the same manner. And if you're wondering about the tag which I attached on the side, it was not intentional. The fact is I forgot to attach D ring and had to make an improvisation here. 


 Please let me know what you think in the comment below. Thank you for spending time reading my post, I hope I can inspire you in a small way ^_^.

Happy Sewing,
Elvira


Scrappy Patchwork Pouch


Few weeks ago I made few scrappy log cabin blocks and share it in my Instagram. I was cleaning my sewing room and sorting out my scraps and instead of finish my cleaning, I sat down and started making a few blocks.


I really really love scrappy blocks and log cabin is just the easiest. The no rule log cabin blocks!  Since I completed my log cabin quilt I really want to make another one. 


These blocks are 6.5 x 6.5 inches and I really don't have any particular plan. So a few days ago, I made this pouch. Simple flat pouch.


I added a scrap denim which I have in my blue scrap bucket. I love using lightweight fusible interfacing and batting for quilted pouch. They are a perfect combo if you don't have fusible batting. I used fleece batting here. Really, you can use any batting like foam, flannel or even your old fleece blanket. Re-purpose or up cycle is always a good idea!

I used metal zipper this time. I really love the look of it. You can check my IGTV where I show you how to install metal zipper pull. Once you learn the technique, you will love it! 


I made a time lapse video :) I really want to make a proper tutorial video but it needs a lot of preparations and set up. Hopefully later on I can start sharing a better videos. In the meantime, I hope you enjoy this one. (don't forget to share and subscribe :D ) 
The pouch size is 6" x 8" which is a really great size. Just big enough to carry your phone and few stuff. 

Thank you for stopping by.

Happy Sewing!

- Elvira - 

Linky Party
Handmade Monday
Moving it Forward

Handmade monday featured.jpg

Patchwork Quilted Cross Body Bag

Hello,


When I went home to Indonesia last July, I bought fabric scraps and lots of them. Hubby and my mom were wondering what I am going to do with the extra baggage. Well, I could not just leave those pretty prints behind, right? 

I've been wanting to make another quilted sling bag after the previous ones, HERE, HERE and HERE

Yesterday, I started to take out my floral scraps and got down to work.  I cut the strip 1" wide and piecing them on my Jack machine. The finished tiny strip blocks are 2 1/8" square. 


I always excited to work with small blocks!! 
The plan was to make 2 big pieces for front and back. Then I changed my mind because I want an exterior pocket. 

Because exterior pocket is always handy, right? I thought of  using magnetic snap as closure but on second thought, it's better using zipper closure. 


On the back is the full patchwork panel! I really love this full panel look! Well, it's always nice to have 2 pretty sides! 


For the side gusset I use the same plain linen as the front panel one. For the sides I just did wavy lines quilting and one the main panels, I did grid quilting. 


When in doubt, grid quilting is always the best choice.


This time, instead of top zipper closure, I did recessed zipper and I am happy that I did! 


I added interior zip pocket too. I thought of adding slip pocket, but after using many sling bags, I found that slip pocket is not really useful (at least for me). I always prefer a simple interior in bags. 


The bag finished at 8"W x 9.5" H x 2" D 
A perfect size for travel cross body bag, right? It can easily fit in the passport covers, wallet, mobile phone and pocket camera.

What do you think?

Thank you for stopping by,

Have a nice day

~ Elvira~ 

Latest Video